
Warning: Undefined array key "titleWrapper" in /home3/jamil642r/public_html/wp-content/plugins/seo-by-rank-math/includes/modules/schema/blocks/toc/class-block-toc.php on line 103
In this article, we will teach you how to restore DNS server 2022. When a disaster happens with the DNS server, we need to recover the DNS zone to its previous state as soon as possible. The initial option in the active directory domain service is authoritative restore. A dependable restore of an AD would be complicated and time-consuming and would also require the use of backups and a restart of the domain controller.
Table of Contents
Restore DNS Server 2022
The restore process will take some minutes to restore a zone. We can apply to both forward/reverse lookup zones, either AD-integrated or text-based.
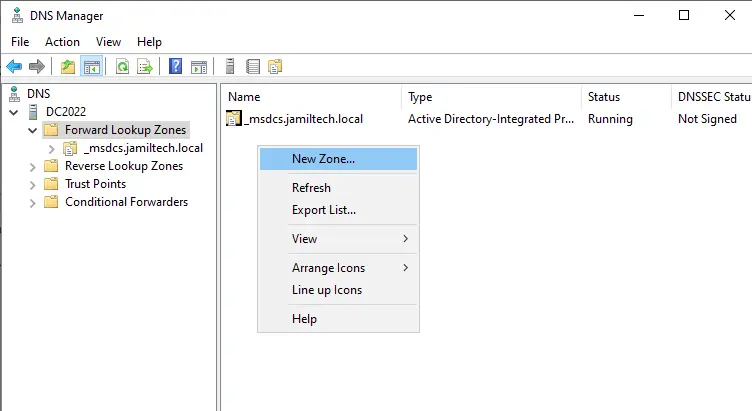
Open DNS Manager, and then expand your DNS server name.
Right-click on the Forward Lookup Zone and then choose New Zone.
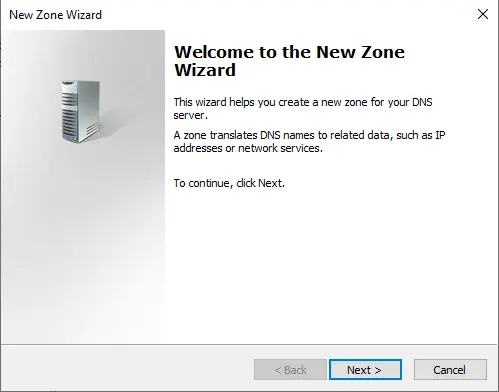
Welcome to the New Zone Wizard; choose next.
Choose Primary Zone and then untick “Store the zone in Active Directory. Click next.

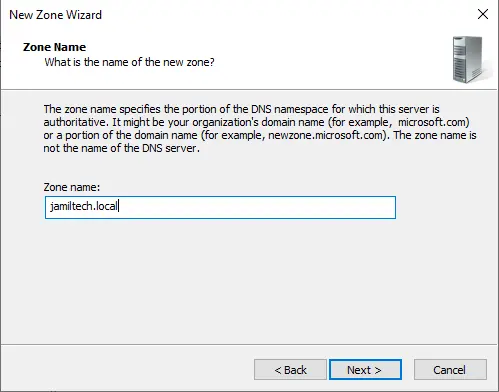
Enter Zone Name
Zone name page, type the name of the DNS zone being restored (jamiltech.local), and then click next.
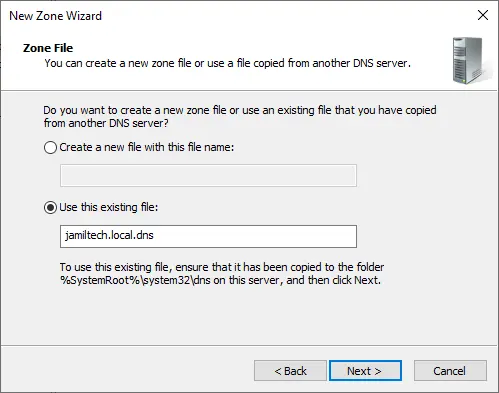
Choose the option “Use this existing file” and click next.
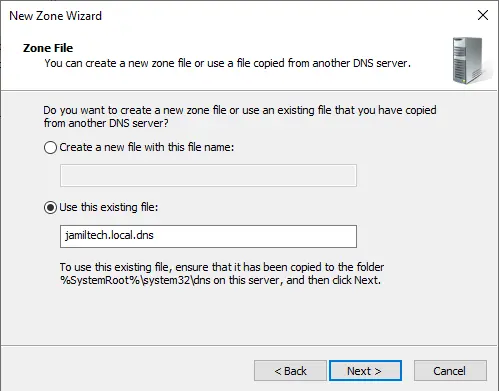
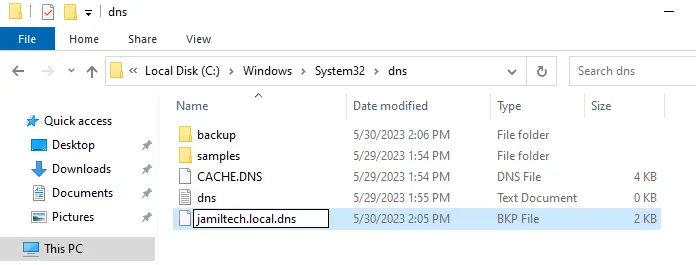
You need to make sure the current backup of jamiltech.local is available in the following location: C:\Windows\System32\dns\backup. Copy the jamiltech.local.dns.bkp file.

Paste it into the following directory: C:\Windows\System32\dns
Right-click on jamiltech.local.dns.bkp and then choose to rename.
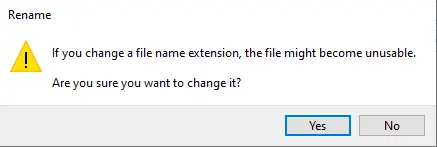
Remove .bkp extension and hit enter
Select yes
Go back to the new zone wizard, and then choose next.
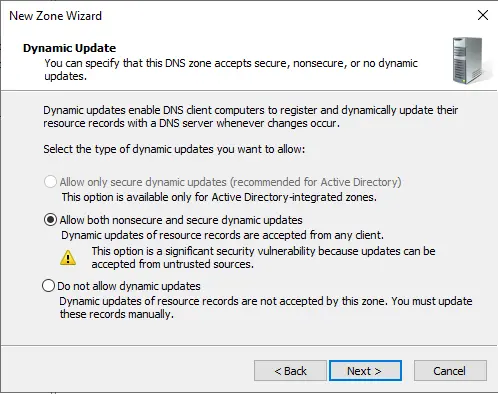
Tick the radio button “Allow both nonsecure and secure dynamic updates” and choose next.
Click Finish
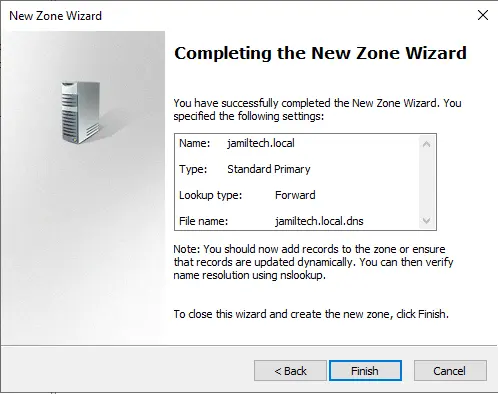
The forward lookup zone (jamiltech.local) has been created successfully.
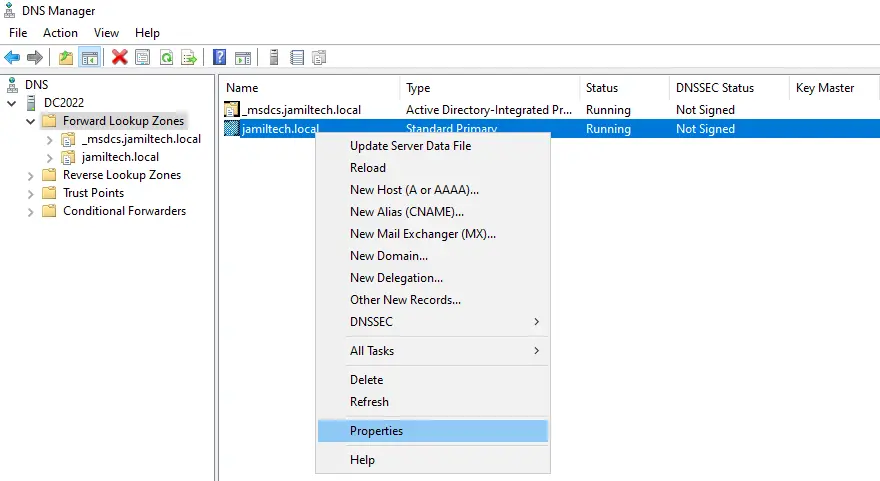
Right-click on jamiltech.local zone and then choose properties.
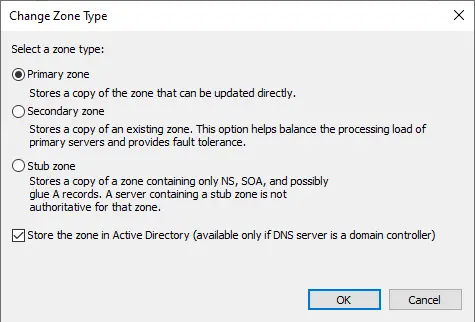
Change Zone Type
Click on Change… next to the primary field.

Change Zone Type interface, and please ensure the Primary zone is selected
Choose the box “store the zone in the active directory and click OK.
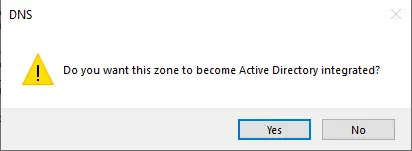
Click Yes to accept the change.
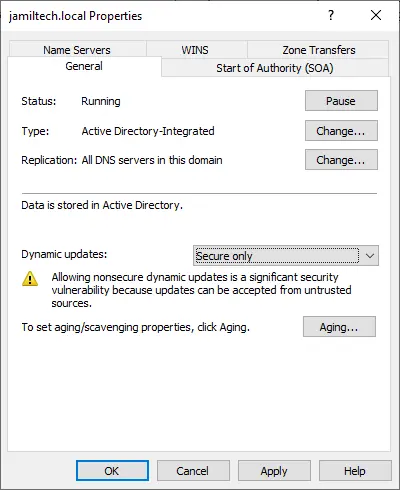
On the jamiltech.local zone properties, choose secure only under the dynamic updates field. Click ok.
Finally, we have our DNS server up and running. Follow this article for more information.
