So today, I will give a brief introduction to how to configure Hyper-V live migration. Business continuity is an essential concern, especially for enterprises, and any downtime may bring major costs. When it comes to Hyper-V virtual machine migration, many admins would also love to move running virtual machines from one Hyper-V Server to another without causing downtime, which is called live migration.
Microsoft offers VMs Hyper-V Live Migration feature in Windows Server. It offers wonderful flexibility so that running VMs isn’t dependent on a single host. Especially when we use the Hyper-V Failover Cluster, Hyper-V live migrations authorize a high-availability and fault-tolerant system.
Table of Contents
Requirements for Hyper-V Live Migration
There are several types of Hyper-V live migrations, for instance, migration in a cluster, migration with shared storage, or migration with no shared infrastructure. But there are a few requirements for any form of live migration.
Two or more hosts are running Hyper-V.
Support hardware virtualization.
Use processors from the same manufacturer, such as all Intel or all AMD.
Belong to either the same Active Directory or to domains that trust domain controllers each other.
VMs should be configured to use virtual Fiber Channel disks (no physical disks) or virtual hard disks.
For more information, you can refer to the Microsoft document
Enable Live Migrations on Hyper-V Hosts
To get started, first, we need to enable live migrations on the Hyper-V server. Let’s see how to enable it.
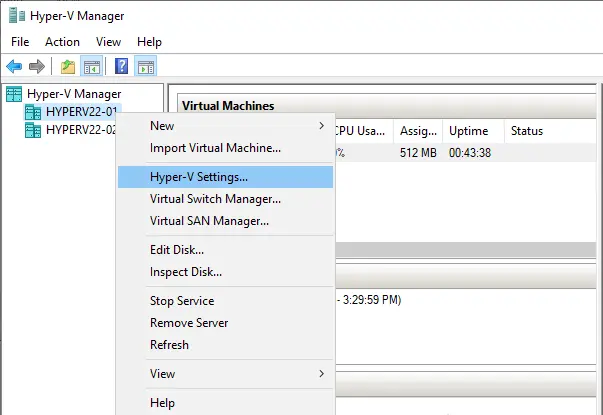
Launch Hyper-V Manager, right-click on the Hyper-V host, and then choose Hyper-V Settings.
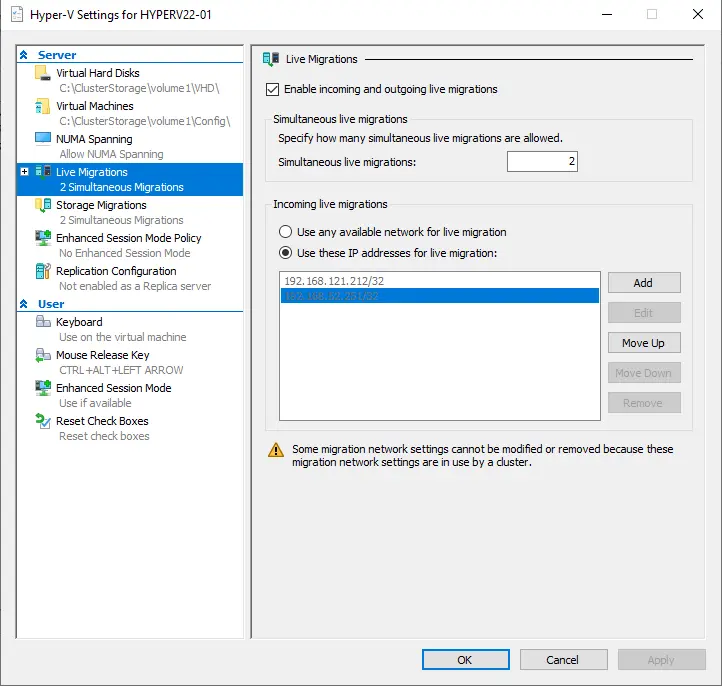
Go to the Live Migrations option from your left inventory and tick the box “Enable incoming and outgoing live migrations”.
Specify “Simultaneous live migrations”, and select “Use any available network for live migration” or “Use these IP addresses for live migration”.
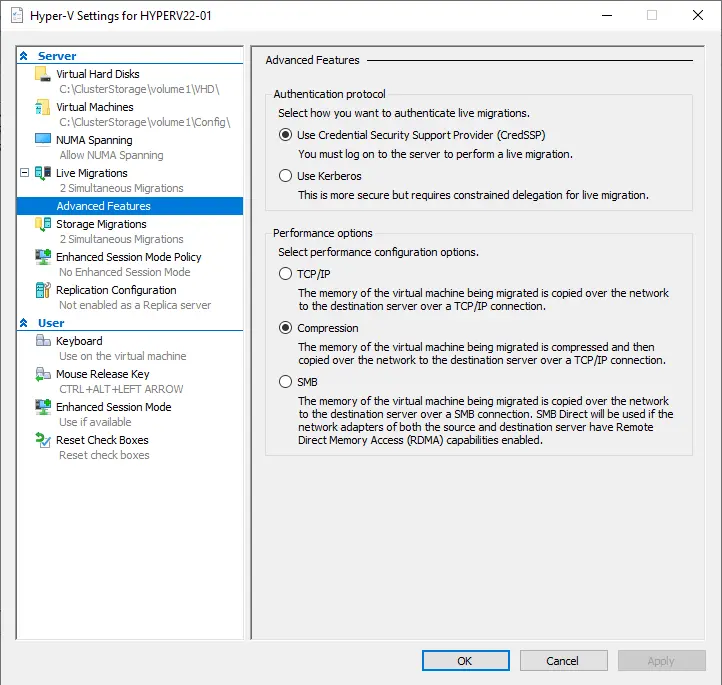
Expand Live Migrations and click on the Advanced Features settings. Verify what protocol you want to use to authenticate live migrations.
Configure Hyper-V Live Migrations with Failover Cluster Manager
As mentioned above, live migration is frequently used in conjunction with Failover Clustering to achieve fault-tolerant and high-availability systems. Follow the steps on how to perform Hyper-V Live Migration via Failover Clustering.
Open the failover cluster manager and go to the roles from the left inventory.
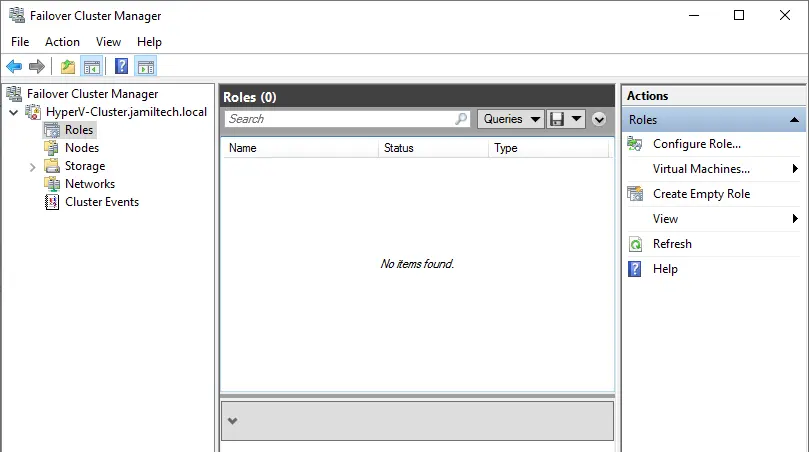
Right-click on the name of the VM (virtual machine).
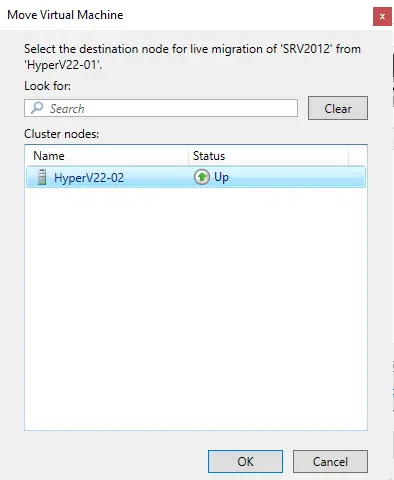
Choose move, live migration, and then select node…
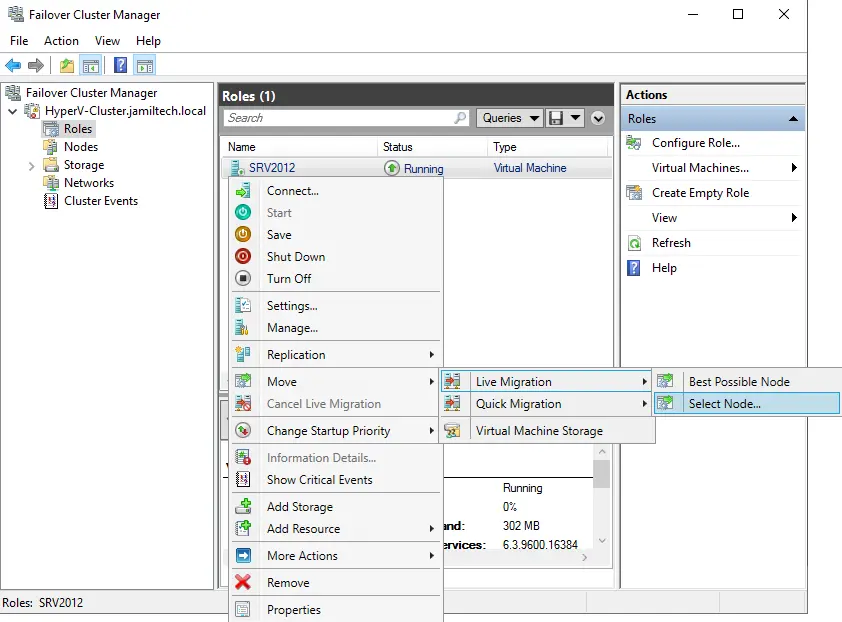
Select the destination node (Hyper-V server) for the live migration in the pop-up window, and then click OK to confirm.