
This article will explain how to configure StarWind Virtual Tape Library. You may identify that the StarWind console does not start automatically at this stage. If so, you can start it by double-clicking on the desktop shortcut. There is no username or password required to open the StarWind console. Now there are no devices configured, so we will need to create a VTL device. You can do this in a different way: either right-click the server icon from your left and then choose Add VTL Device, or click on the Add VTL Device link on the ribbon. You can read my previous article, Install StarWind Virtual Tape Library.
Table of Contents
Configure StarWind Virtual Tape Library
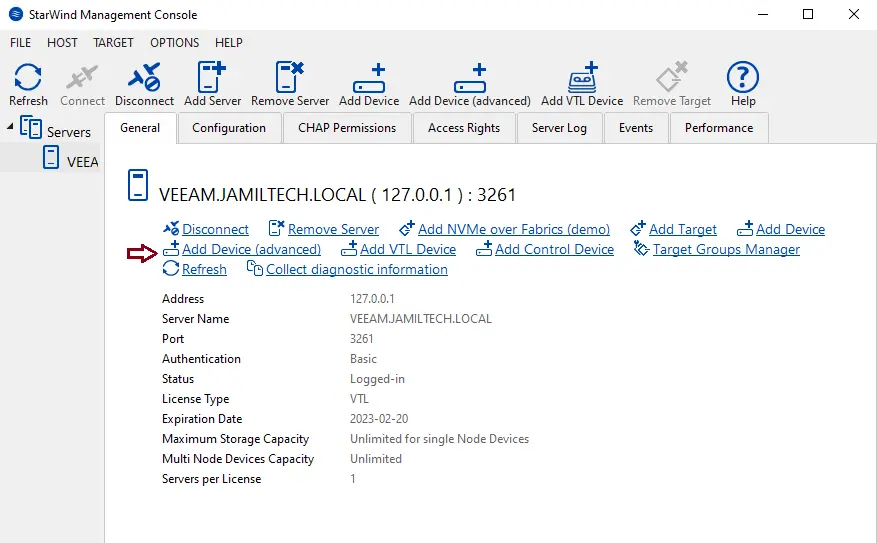
Open the StarWind Management Console and then click on the Add Device (Advanced) link.
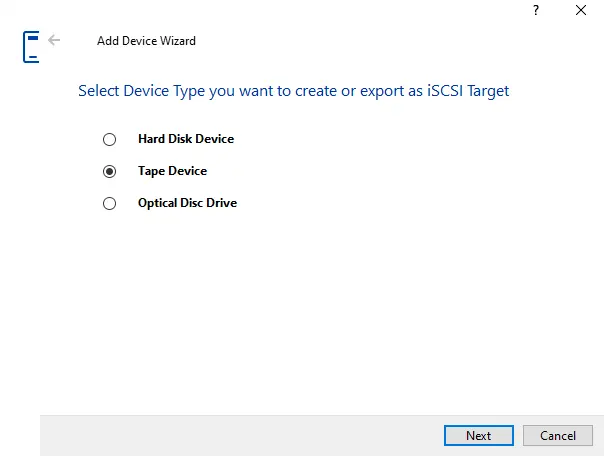
Add Device Wizard, select device type “Tape Device” and then click on Next.
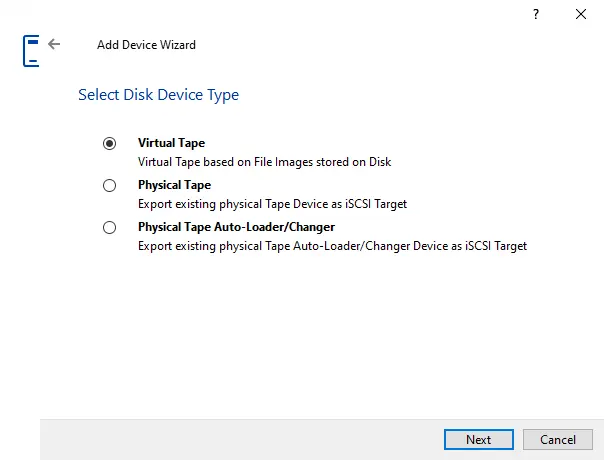
Choose Virtual Tape, and then click Next.
Select Create a new virtual tape library, type a name, and then click on the browse button to select a location.
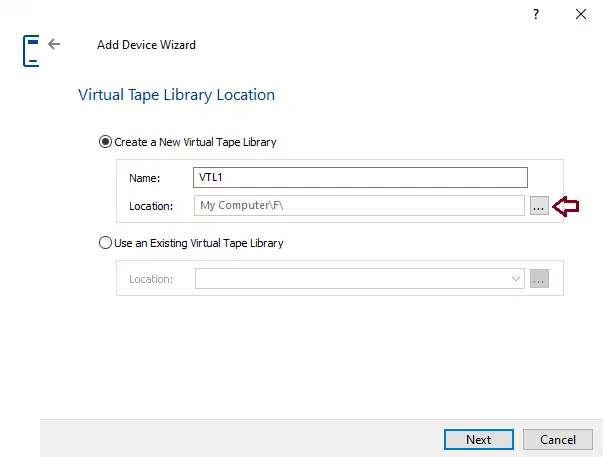
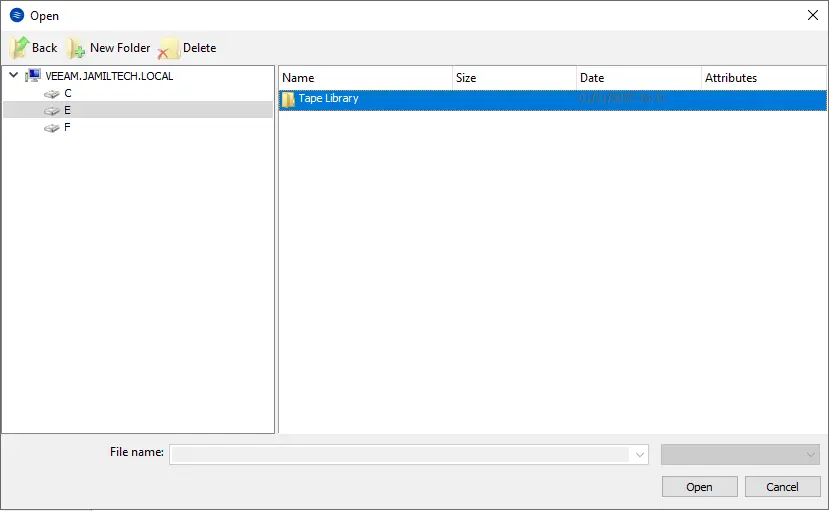
Select your location, and then click open.
Click next.

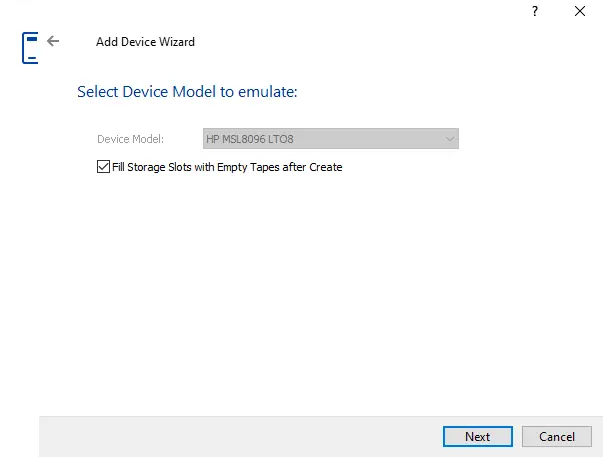
You can see here that the VTL is an HP MSL8096 tape library selected. This model is well-known, so it looks like a good choice. Keep the box selected “fill storage slots with empty tapes after creating” and then click next.
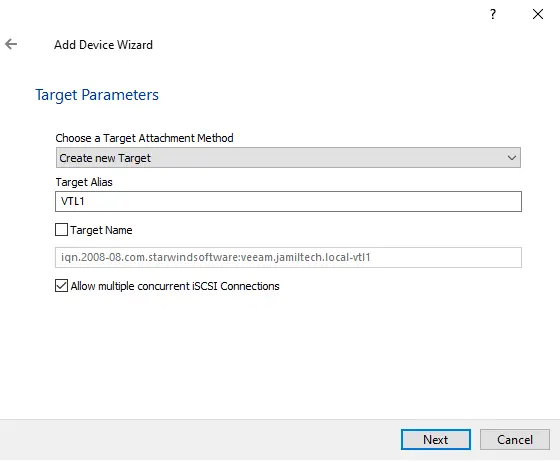
Configure the iSCSI target that the VTL will use. You can leave all the settings default and then click next.
Choose the Create button to create the Device.

Once the VTL and all other virtual tape files are created successfully, click close.

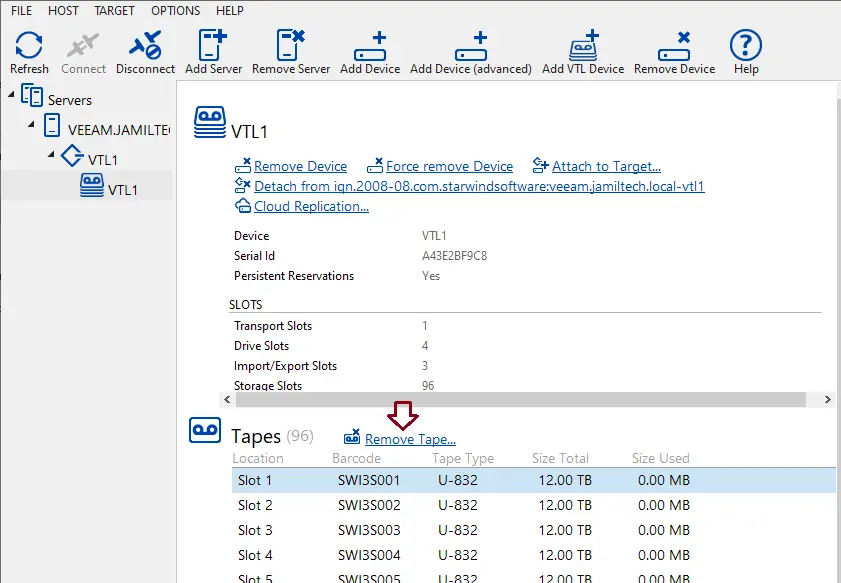
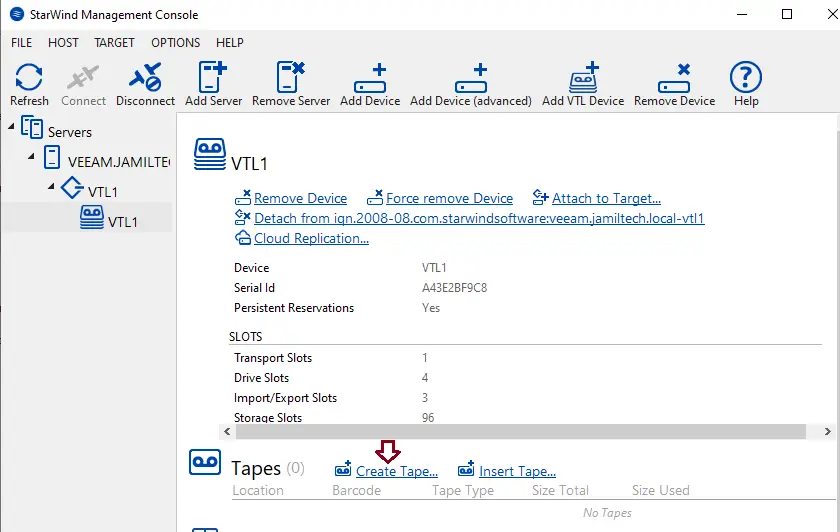
By default, it will create lots of tapes, so we need to delete them.
How to Create VTL Tapes StarWind
Click on Create Tape.
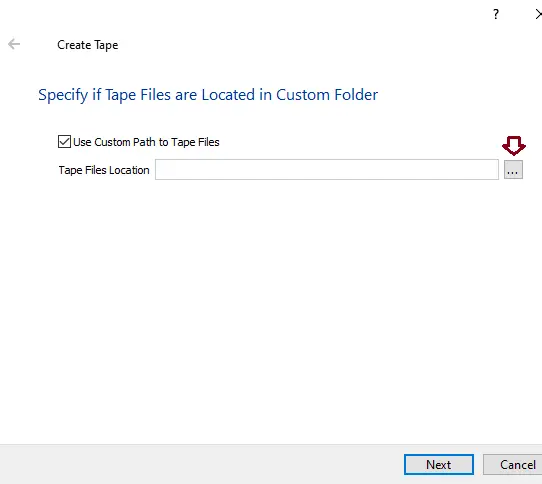
Specify the path where you want to save virtual tapes, and click on the … browse icons.
Select a folder, and then open it.
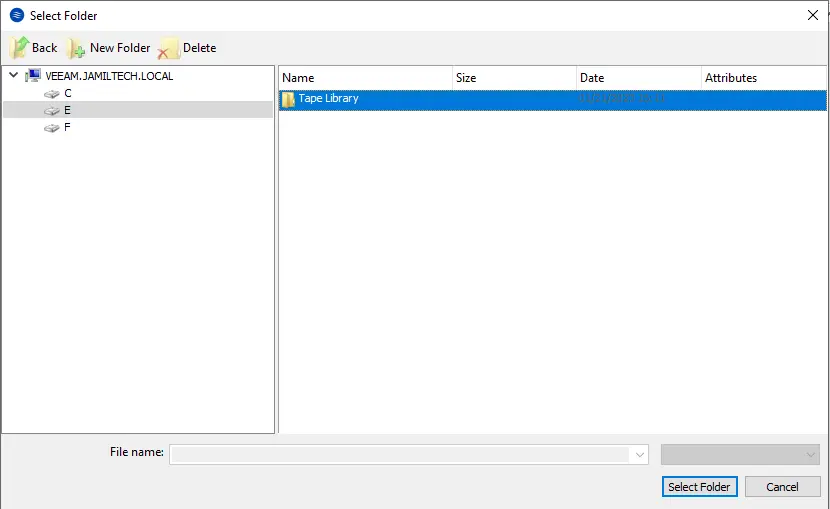
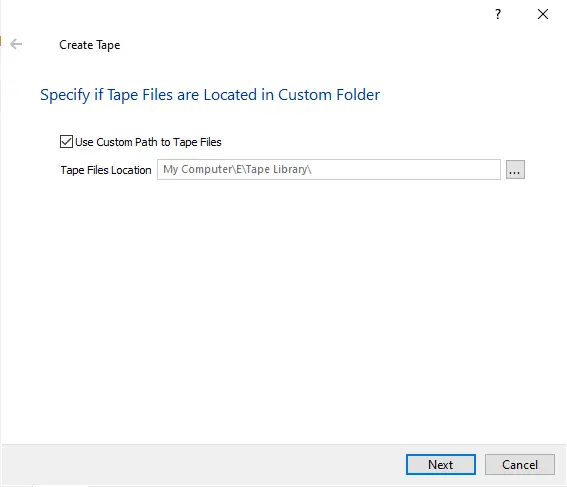
Click next
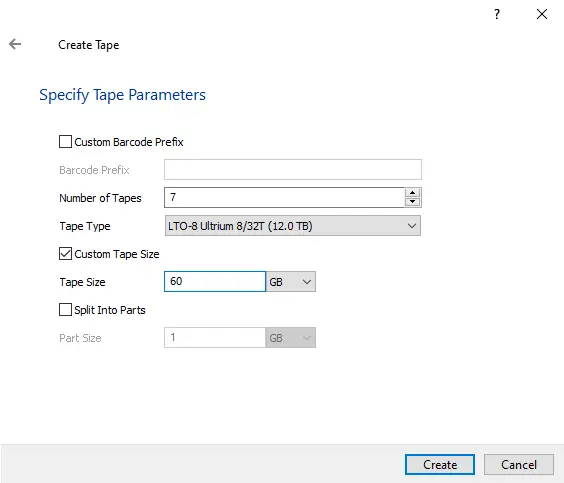
Specify the type parameter, choose tape quantities and a custom tape size, and then click Create.
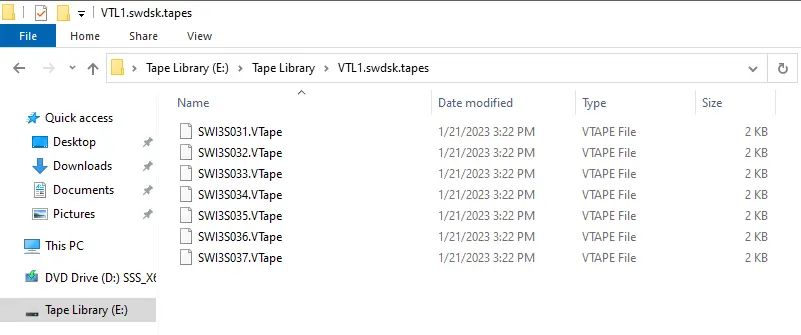
Now you can see the tapes.
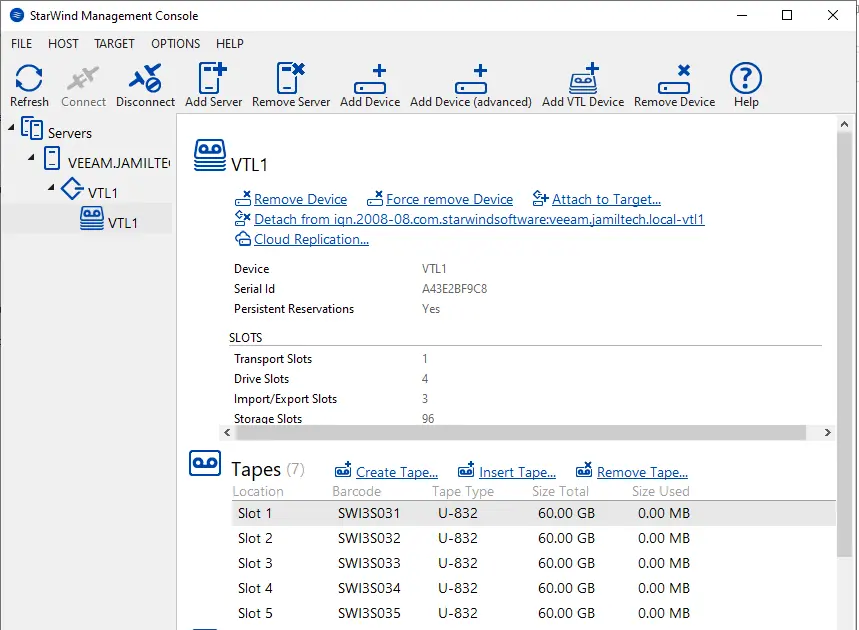
VTL tapes were created.
How to Connect to StarWind VTL
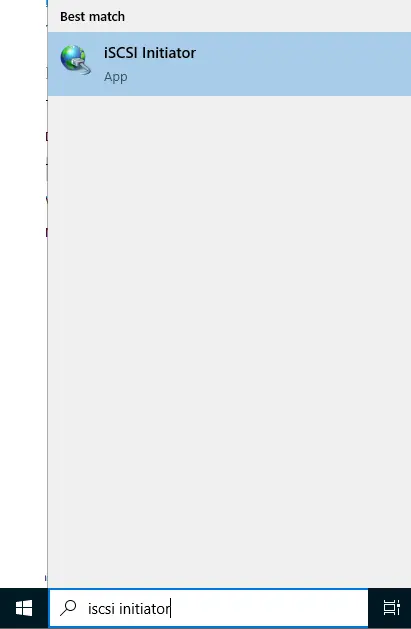
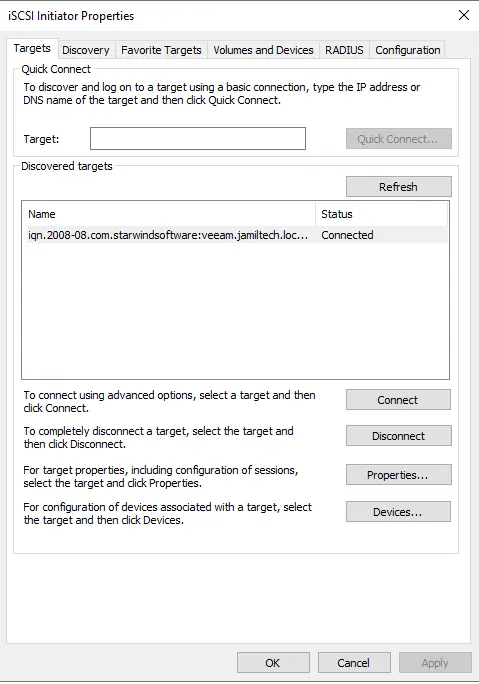
Search for iSCSI Initiator to open it.
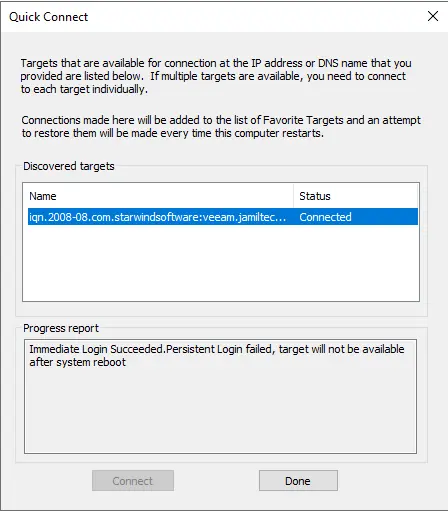
Enter the tape drive host IP address, and then click on Quick Connect.

The target iSCSI has been connected; click done.
Click ok.
Open Windows device manager. We can see the tape device is showing, and we want to install the tape drive driver.
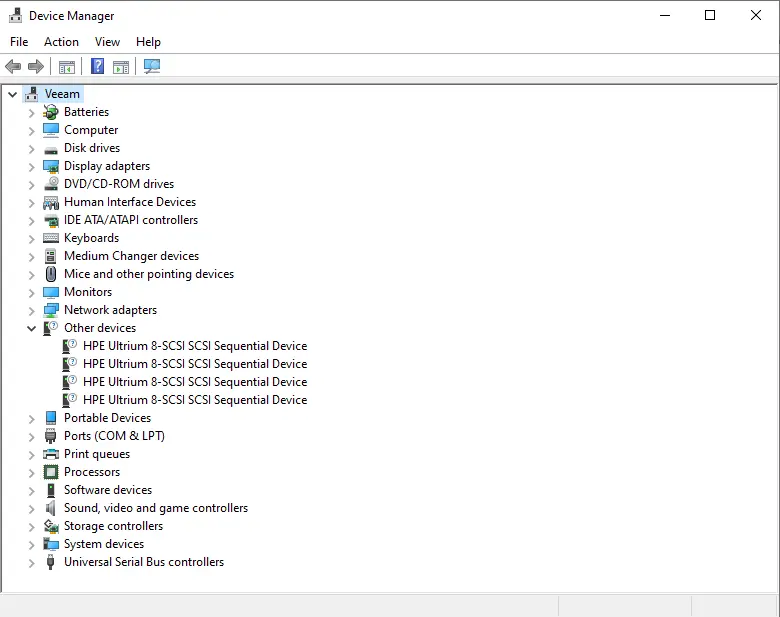
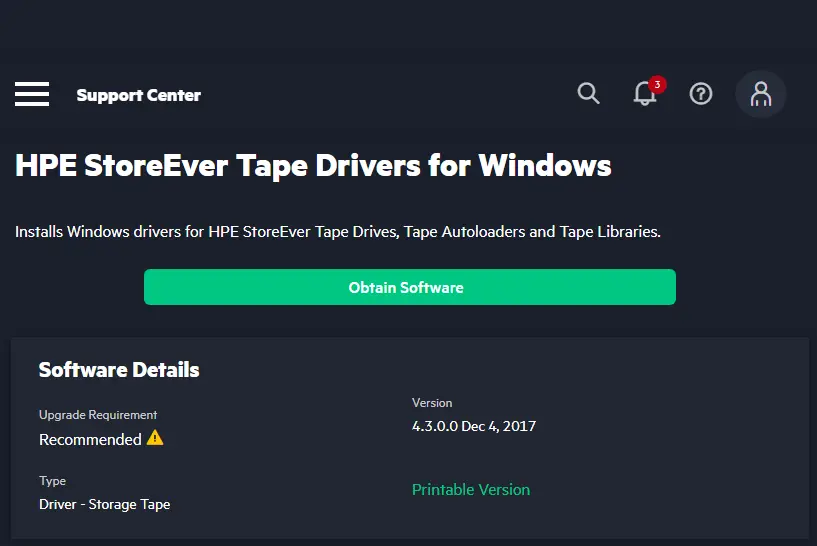
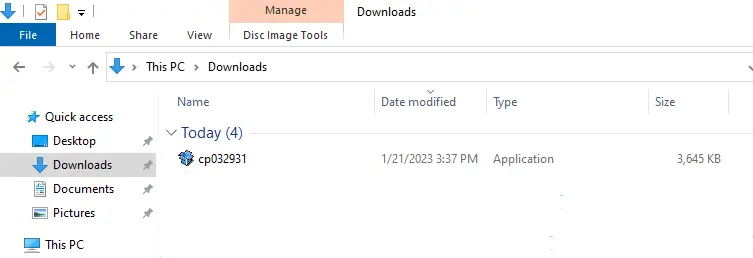
First, we need to download the HPE StoreEver tape driver, and then we can install the Tape Library Driver and download the driver from the HPE Official Website.
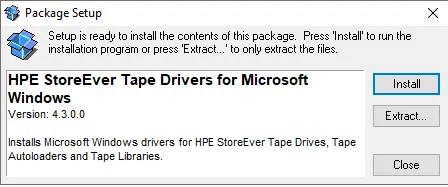
Run the HPE Driver Setup file.
Click on the Extract button
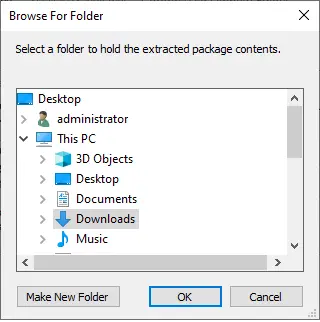
Select the location where you wish to extract the HPE StoreEver Tape driver, and then click OK.
Open the extracted location and then double-click on the setup file to install the HPE tape driver.

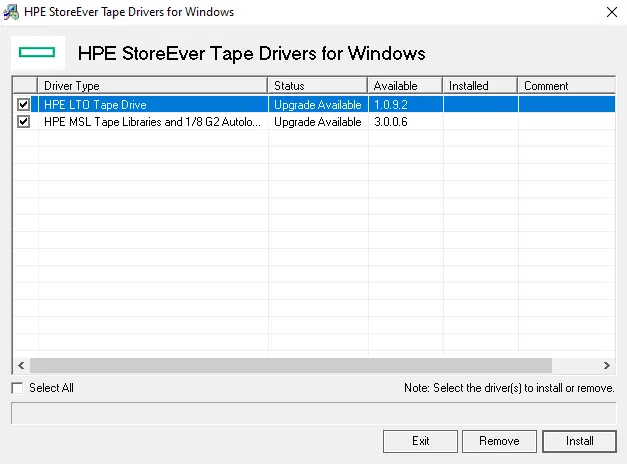
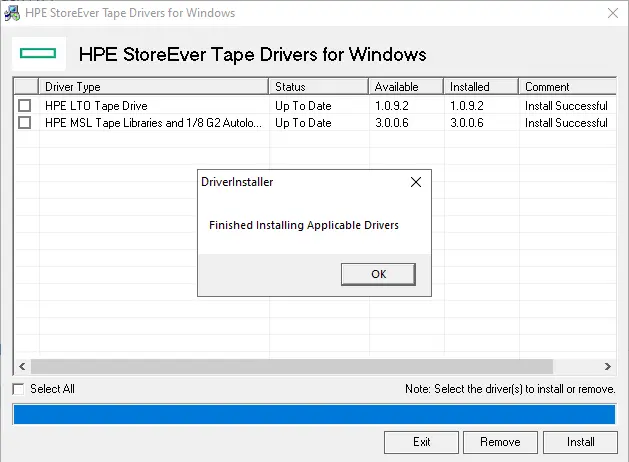
HPE StoreEver Tape drivers for Windows; click on the install button.
HPE Tape Driver was successfully installed; click OK, and then exit.
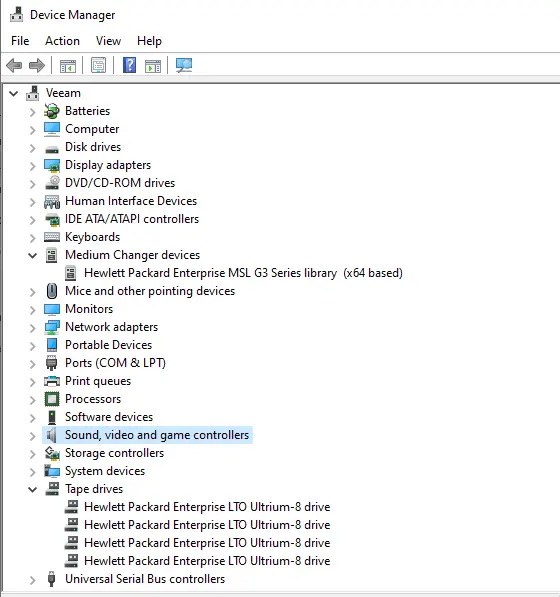
Once successfully connected, you can go to the Device Manager, and the tape drives will appear as local devices.
Conclusion:
You can now use your StarWind VTL device in your backup software, Veeam as a usable tape device. By following this article, you are now ready to start experimenting with StarWind VTL tape drives, which is a fine way to deploy a VTL device for testing or production purposes.

