
This article explains how to create database availability group (DAG) in Exchange Server 2019. We will go through the installation of Exchange 2019 DAG (database availability group) with two node members. The database availability group will have a primary network as well as one DAG (replication network). The file share witness is an additional member server in our domain that has no Exchange Server 2019 roles installed. In this scenario, I am using my domain controller (DC2022) as a file share witness server. Read this article to learn more about creating a database availability group.
Table of Contents
Create Database Availability Group
In my environment
| Server Name | Role | Operating System | IP Address |
| SRV2019-DC | Domain Controller File Witness Server | Server 2022 | 192.168.121.200 |
| Exch2K19-01 | Node 1 | Exchange 2019 | 192.168.121.201 192.168.52.1 |
| Exch2K19-02 | Node 2 | Exchange 2019 | 192.168.121.202 192.168.52.2 |
I have two networks, one primary and one DAG, for my DAG replication for all the nodes that I am planning to add to the database availability group.
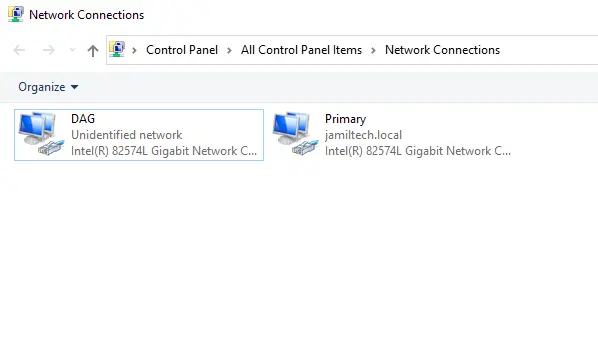
Please ensure these networks are in a different class of IP addresses.
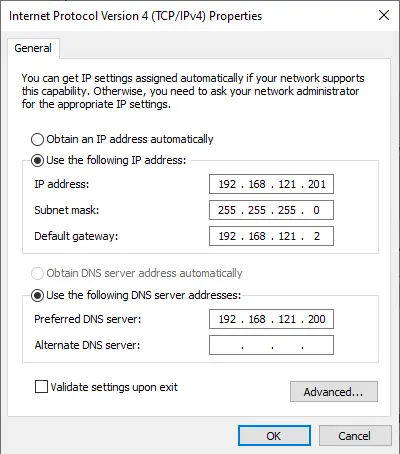
Primary Network
DAG Network
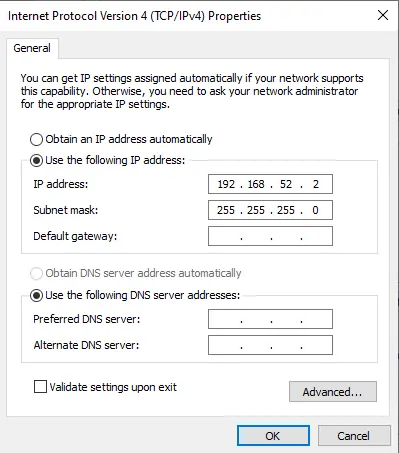
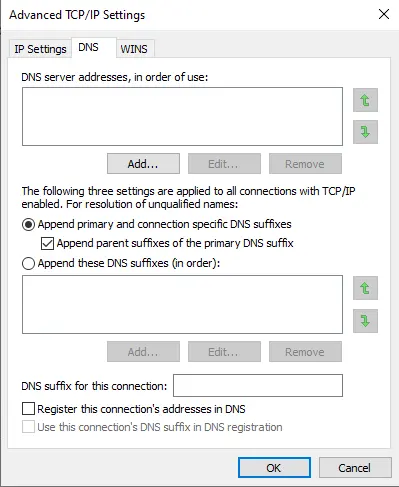
In the DAG network, go to the advanced option.
Click on the DNS tab and then untick “register the connection address in DNS.”
Configure File Share Witness (FSW)
First, we need to configure a file-sharing witness server. We recommend you use any server instead of the domain controller.
The DAG network IP address must ping other DAG IP addresses.
So that DAG replication will happen via these networks.
First, we need to create a computer account in the Active Directory.
Open active directory users and computers
Expand your local domain (jamiltech.local).
Right-click on computers, select New, and then Computer Account.
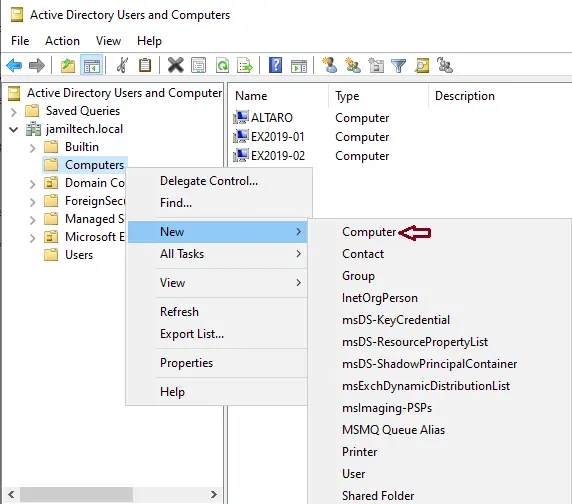
Type a DAG name (computer name) and then click OK.

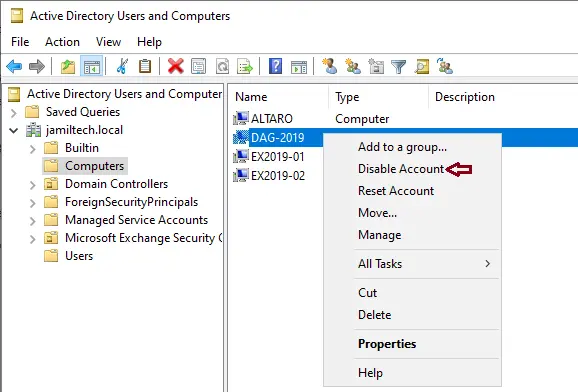
Right-click on the computer name and then select Disable the account.
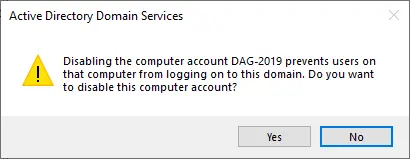
Click Yes.
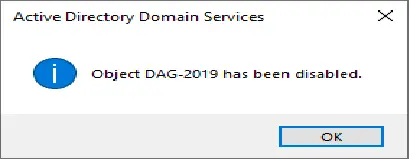
Select ok.
Allow Full Control for Exchange Trusted Subsystems
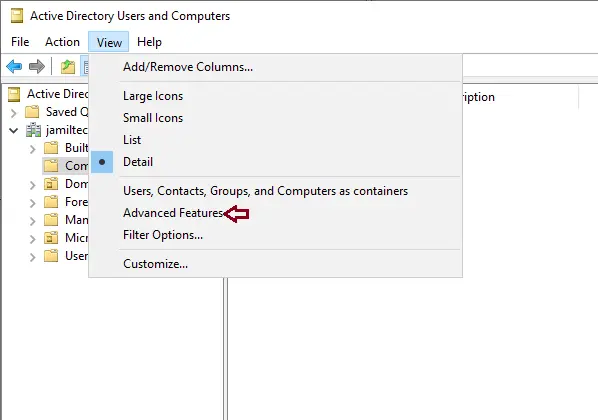
In Active Directory Users and Computers, click on the view tab and then select advanced features.
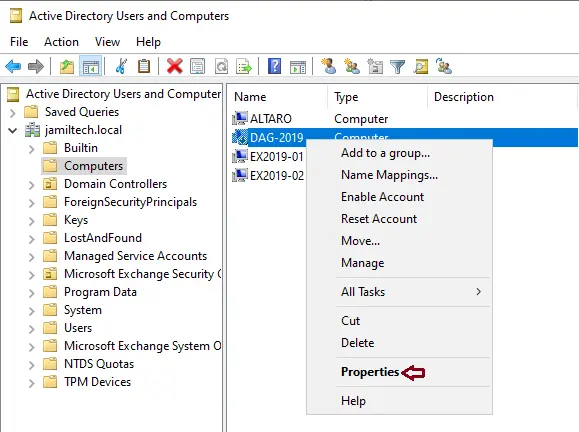
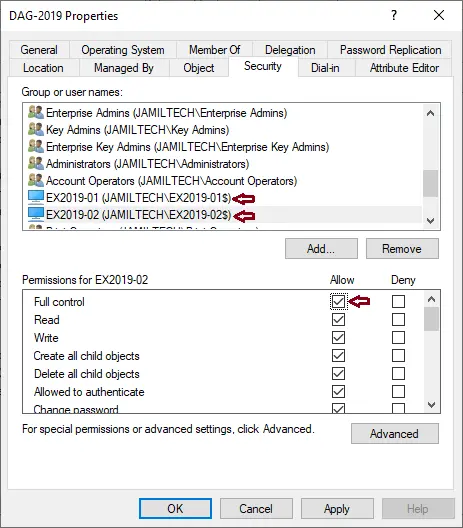
Right-click on the DAG-2019 computer name and then select properties.
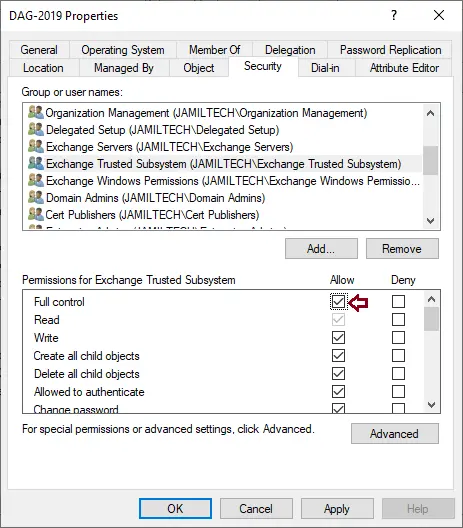
Select the security tab.
Click on Exchange Trusted Subsystem, select the full control checkbox, and then click Apply.
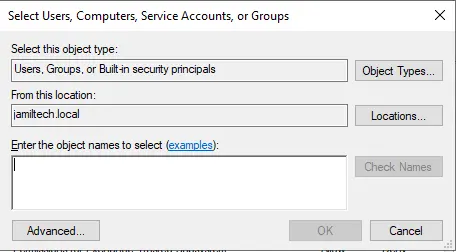
Now, under security, click on Add.
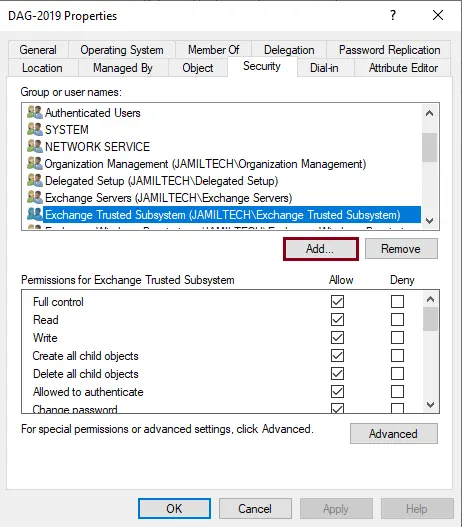
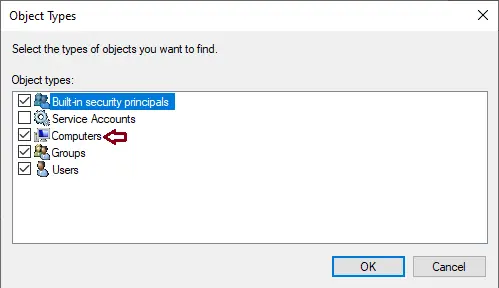
Click on Object Types.
Select the Computers checkbox, and then click OK.
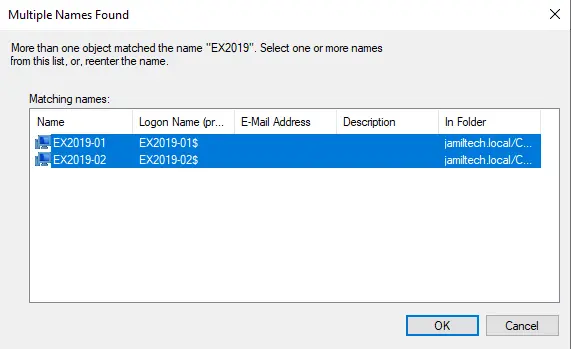
Type your node name, and then click on check names.

Select both nodes (EX2019-01 and EX2019-02), and then click OK.
Select ok
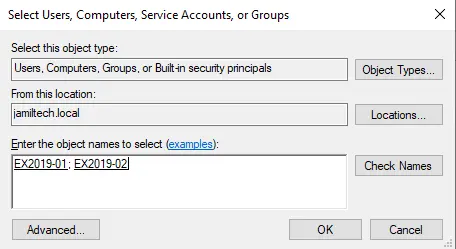
Give both the Node Computer accounts full control, and then click Apply.
Creating Database Availability Group DAG
The Exchange Trusted Subsystem security group must be a member of the local administrator group on a specified witness server.
I am using an Active Directory server (DC2022) as a witness server.
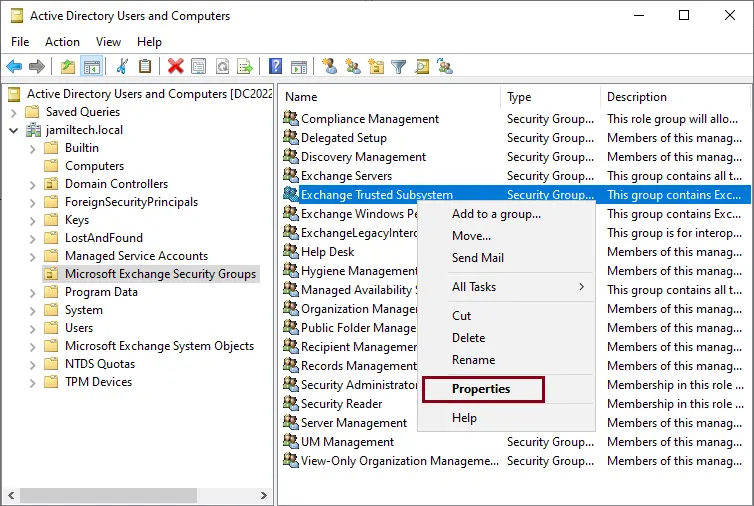
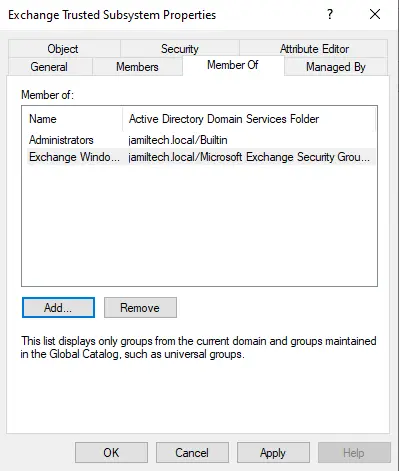
In the active directory of users and computers, select Microsoft Exchange Security Group. Right-click on Exchange Trusted Subsystem and then choose Properties.
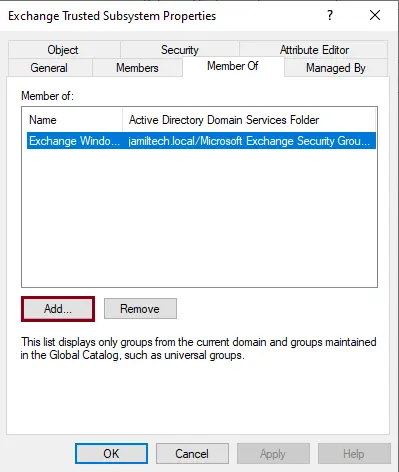
Select the Member of tab, and then click on the Add button.
Enter administrator, click check names, and then click OK.
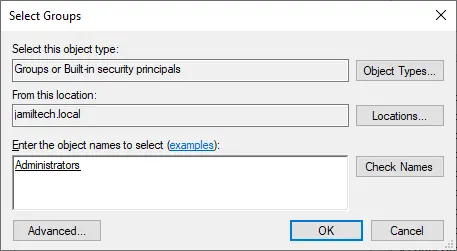
Click OK
Configure Database Availability Group DAG
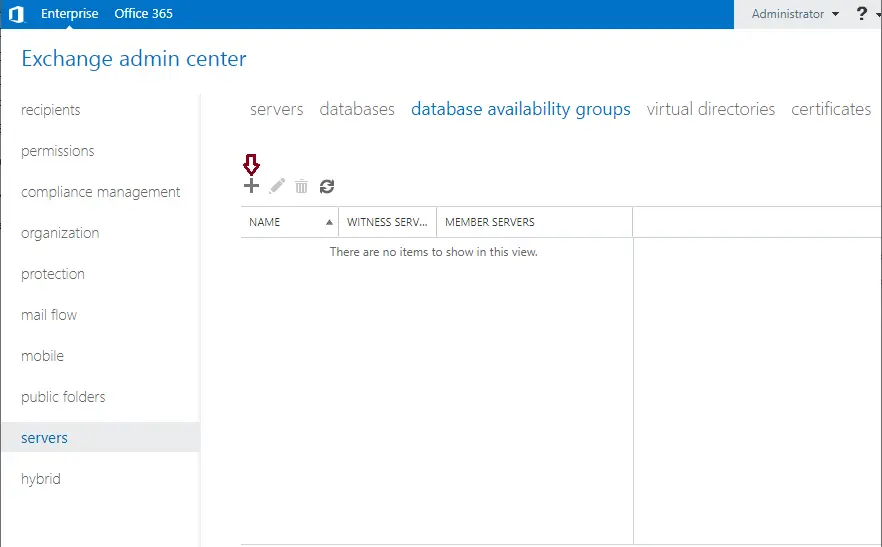
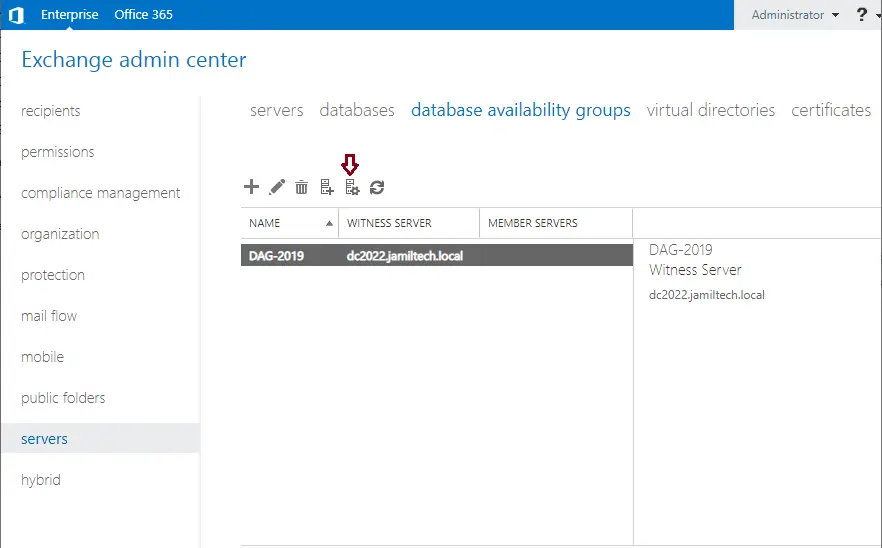
Log in to your Exchange Admin Center
Click on Servers and select the Database Availability Groups tab.
Select + Add button.
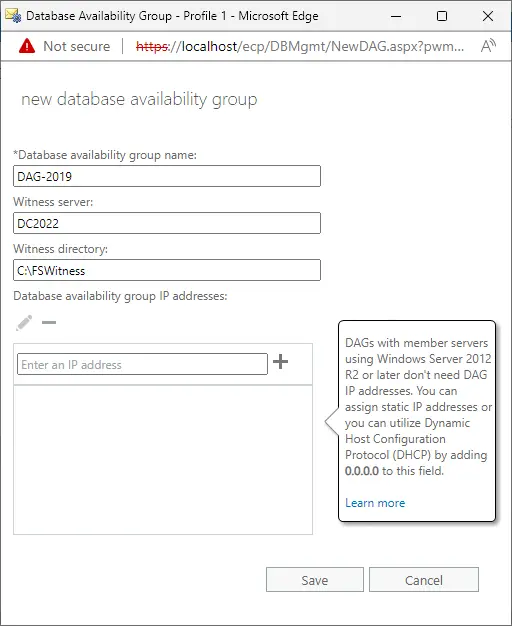
A new database availability group wizard
Type a DAG name.
Witness Server Name
Witness directory
Add Two DAG IP addresses (Static IP for the DAG), one for the Primary Site, and one for the DR site)
If you have a different subnet or a different class of IP addresses on either site,.
Have two IP addresses for the DAG so that DAG resources can be online while failover is on either site.
If you have only one subnet, then you can enter only one IP address for the DAG.
Click save.
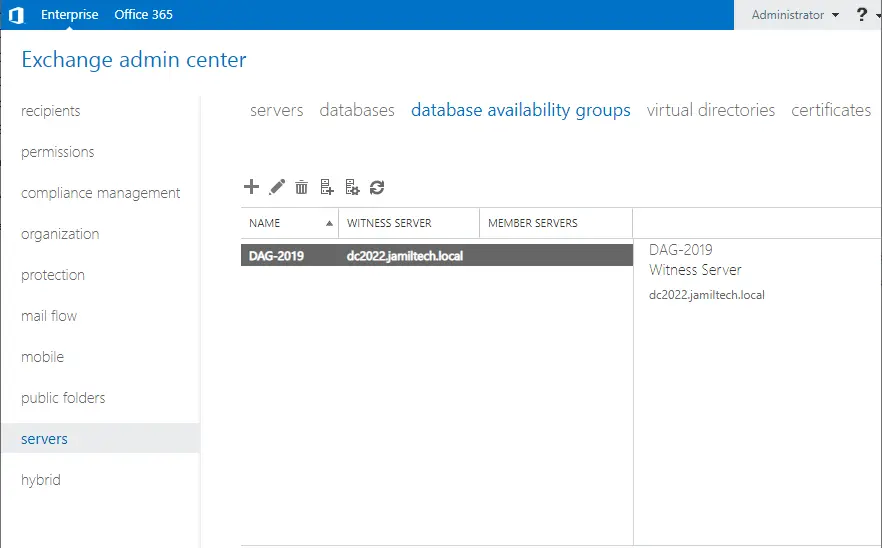
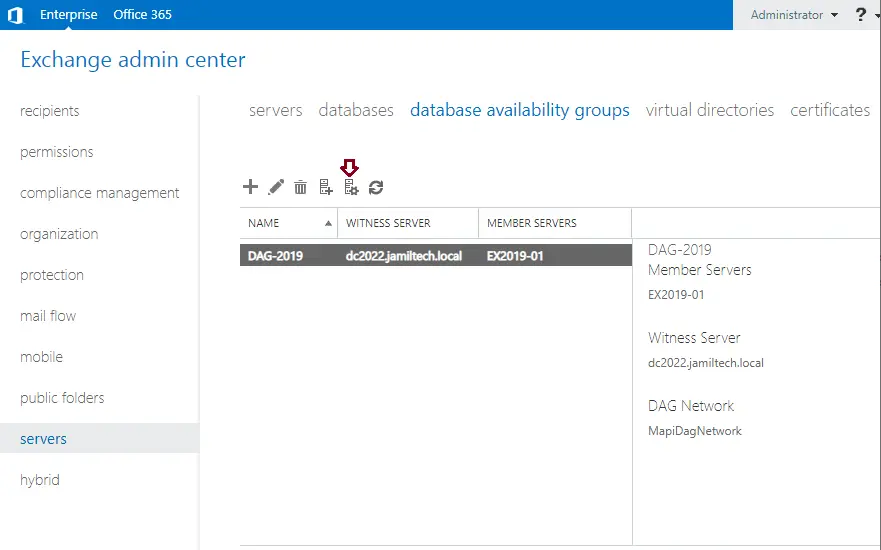
The database availability group has been successfully created. Now you can see the DAG in the list view.
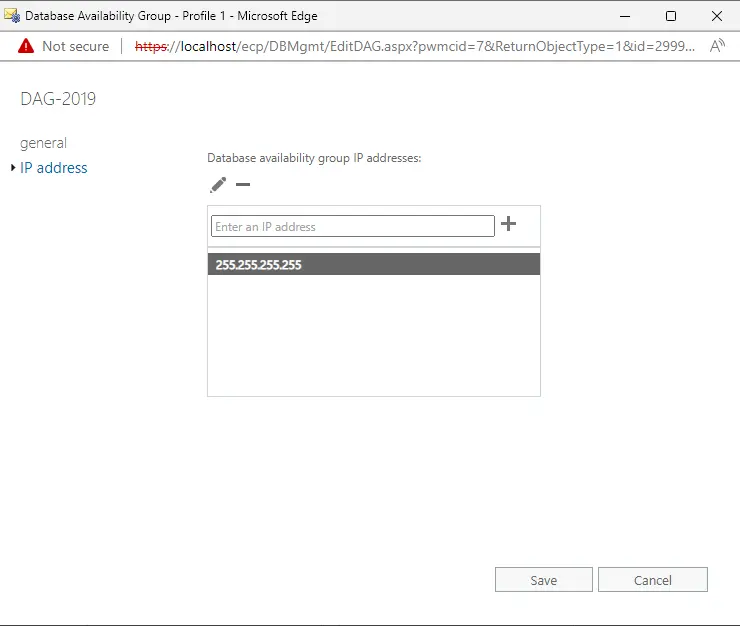
Double-click on the DAG-2019.
Click on the IP address and verify that you see the IP address: 255.255.255.255.
Add Member Servers to DAG
Now my database availability group configuration is ready.
Add a member status to it.
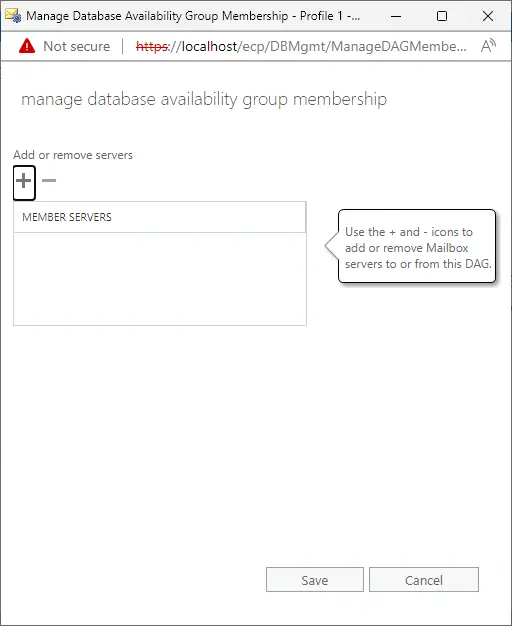
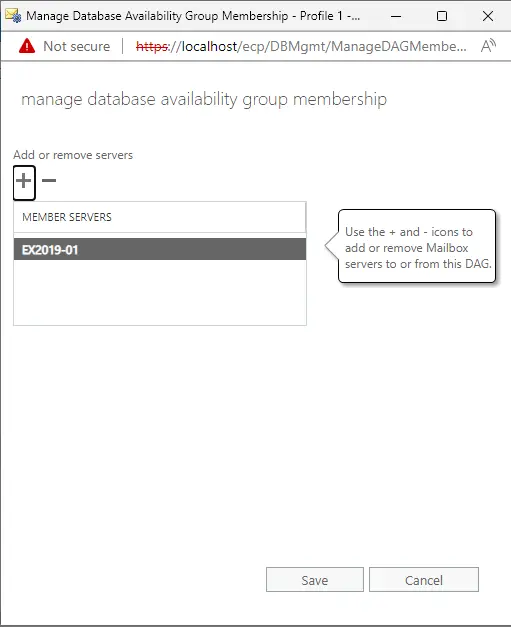
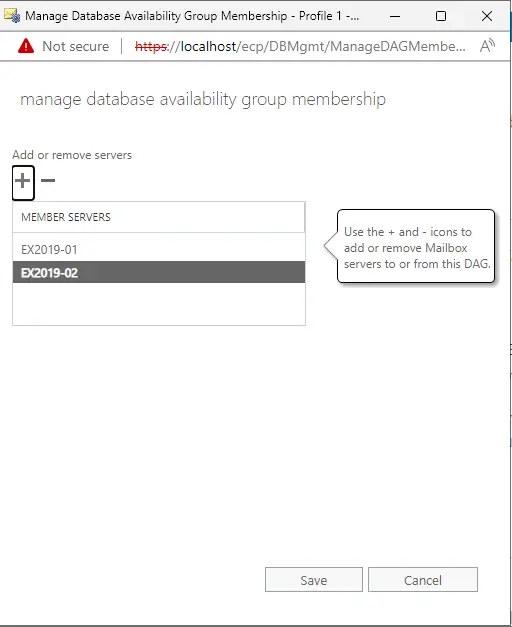
Select the Manage DAG Membership icon.
Click on Add +.
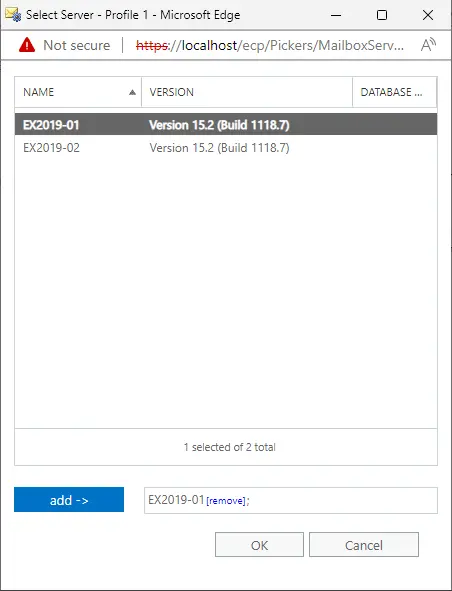
You can add both servers at once, but I am adding them one by one.
Select the first node, click on the add button, and then click OK.
Select Save.
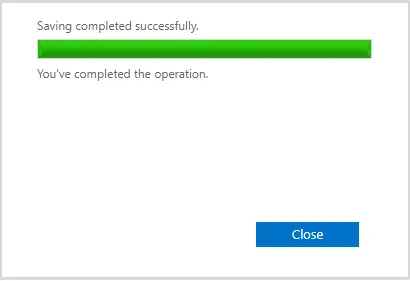
The first node member server completed successfully; choose Close.
Add Second Member Servers to DAG
Now we need to add the second DAG member server.
Again, select the Manage DAG Membership icon.
Select + Add.
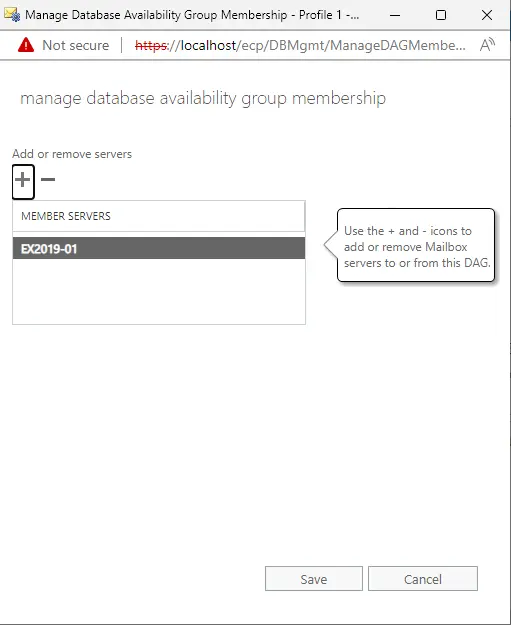
Click on the second node, click on add, and then choose OK.
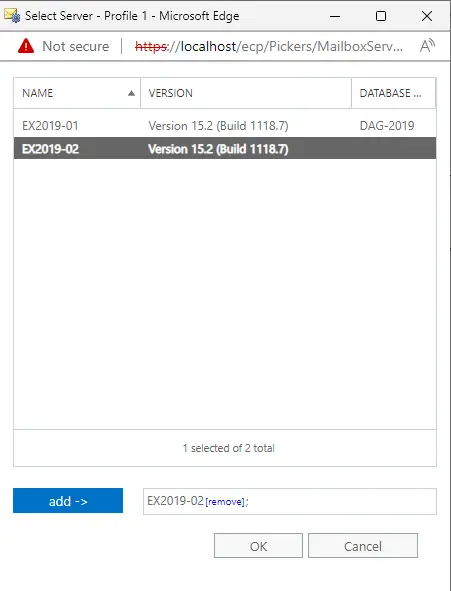
Click Save.
The second node server is completed successfully; click close.
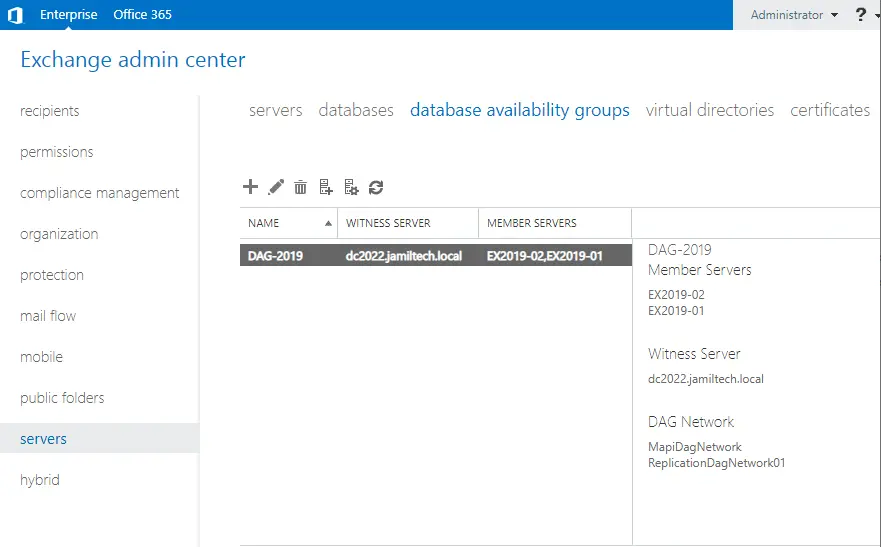
Now both nodes (EX2019-01 and EX2019-02) have been successfully added.
Add a Database to the Availability Group
Now, you need to add the mailbox database copies to the member mailbox servers (EX2019-02) to enable continuous replication. Please make sure the database remains active even if a member server fails. Follow the steps,
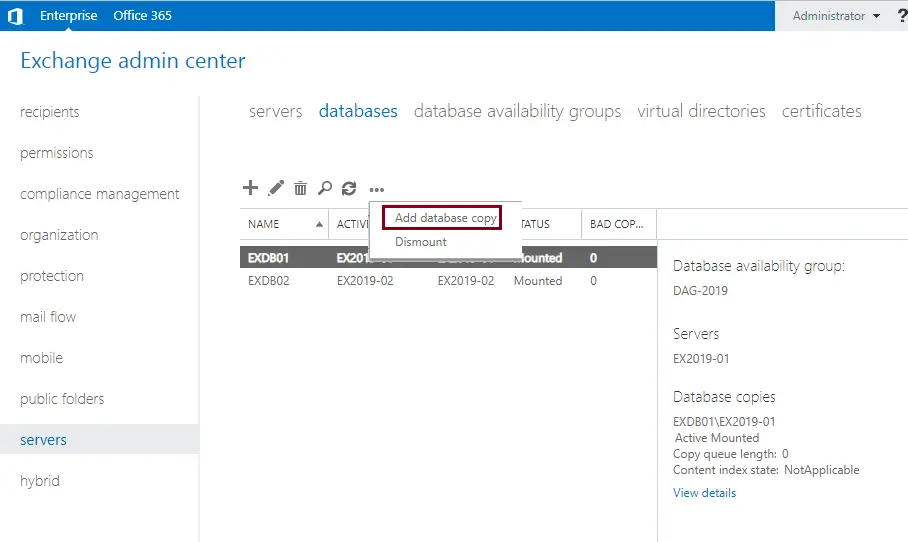
On the database tab, select EXDB01.
Then click on… and select Add a database copy.
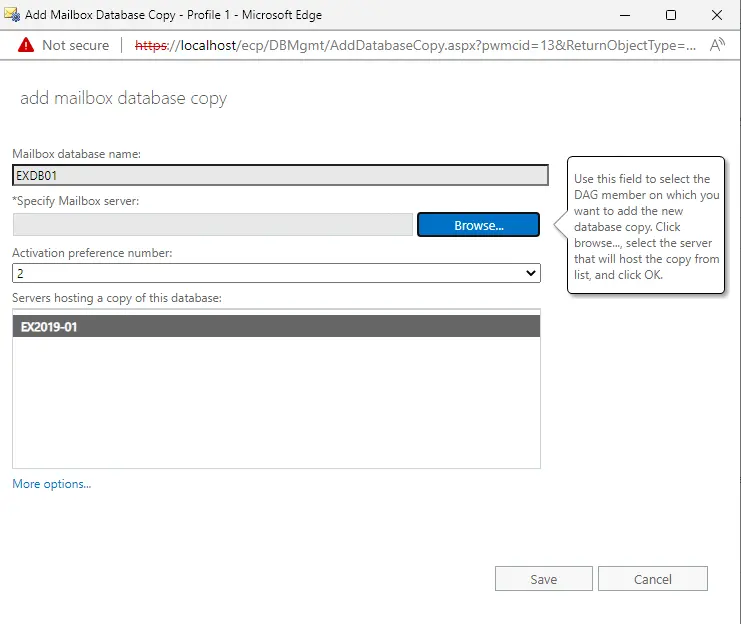
Click on the Browse button to select the server.
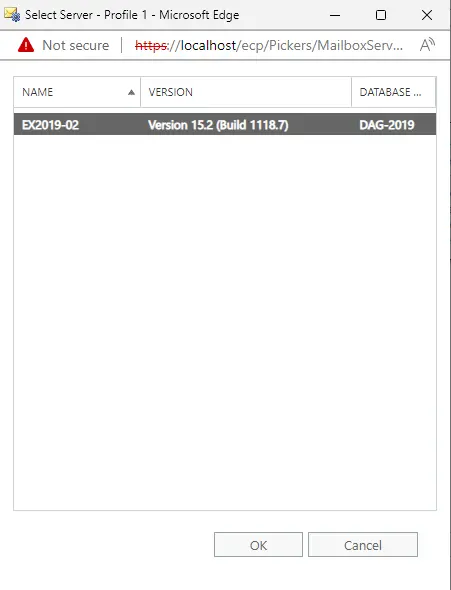
Click on the server, and then click OK.
Select Save.

When completed, click close.
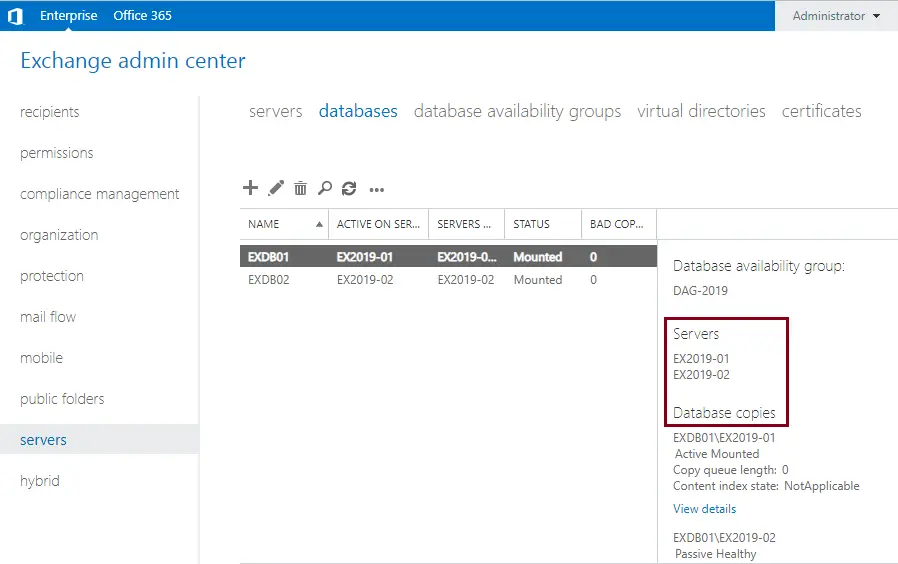
You can see that the database is copied between the two servers.
Related: How to Backup and Restore Database in Exchange Server 2019
Conclusion:
In this article, we learned simple steps to set up and configure Exchange Server 2019 DAG database availability groups from scratch. Although Exchange 2019 DAG supplies site resilience and protection against database and server failure,.


Excellent.. simple and very informative.