
In this article, we will learn how to deploy vCenter 8 in VMware workstation, or, let’s say, how to install VMware vCenter on a VMware workstation. The VMware vCener server appliance is used to manage the sphere infrastructure using centralized management. In the following article, from installation to configuration, everything is done on a VMware workstation, and no ESXi host server is used.
The new vSphere 8.0 is out there and ready to install in the development environments. Today we will show you how to deploy a new vCenter server 8.0. You can test in your own home lab using your workstation or laptop.
Table of Contents
Steps to Deploy vCenter 8 in VMware Workstation
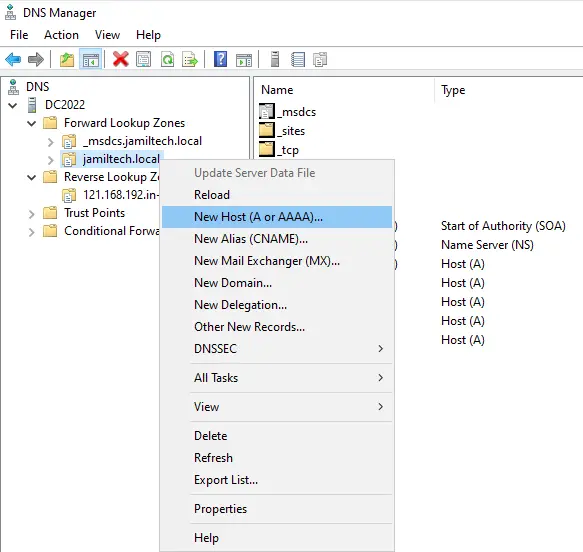
Before importing the virtual machine from the .OVA template, first you need to create host A and PTR records in the active directory DNS server for the vCenter. If we do not create a host record in the DNS manager, then the auto-configuration of the vCenter 8 virtual machine will fail.
It is an appliance; you cannot customize the virtual machine as you wish. You could only reduce or increase the VM resources (for instance, CPU and memory) on this appliance. For more details vCenter Server 8 Requirements
Open DNS Manager Console, Expand the DNS (DC2022), Expand Forward Lookup Zones, right-click on the local domain (jamiltec.local), and then select New Host (A or AAA)…
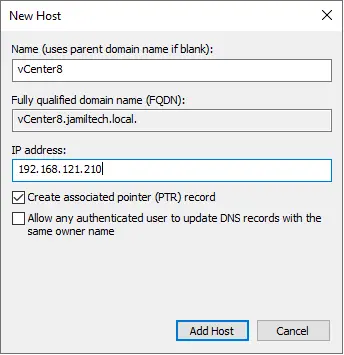
Enter a unique name and IP address that you wish to assign to the vCenter Virtual Machine, Select the box “Create associated pointer (PTR) record”, and then click the Add Host button.
Download VMware vCenter 8.0
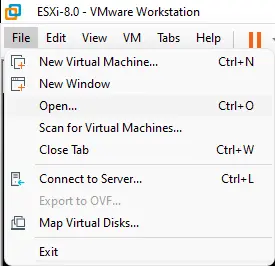
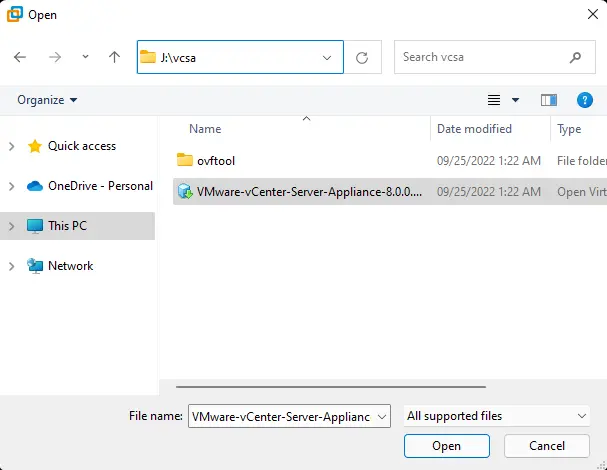
First, you need to download the latest vCenter server appliance 8.05 ISO from VMware, Mount it as a virtual CD/DVD, open VMware Workstation, choose the File menu, then go to open, and then on the file selection dialog box, choose the ova file from the vcsa folder inside the mounted or extracted ISO file.
Right-click on the VMware VCSA ISO file and then select mount.

Run the VMware workstation. Click on the File menu, and then select Open.
Choose the ISO image (VMware-vCenter-Server-Appliance 8.0) OVA file and then choose open.
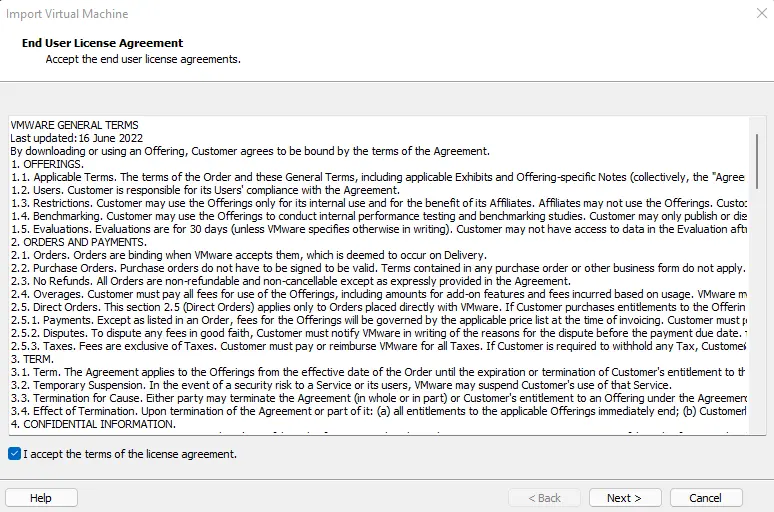
In the Import Virtual Machine window, choose the box “I accept the terms of the license agreement” and then choose Next.
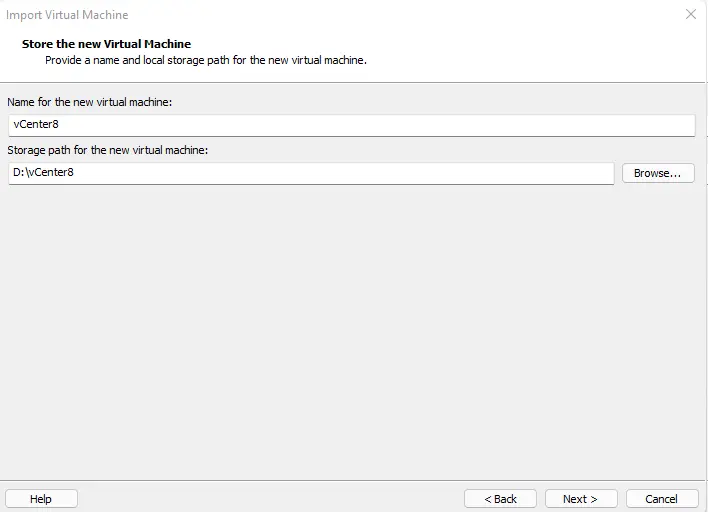
Enter a unique name for the appliance, provide a path where you wish to save the virtual server appliance files, and then click next.
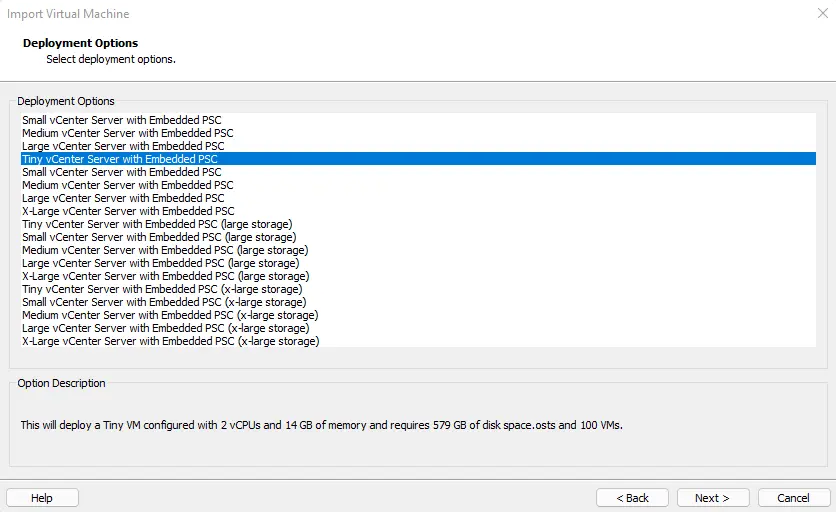
In the deployment option, select the vCenter virtual machine size (CPU, memory, and disk). I am selecting the Tiny vCenter server with Enclosed PSC, which will install vCenter a tiny virtual machine configured with 2 vCPUs and 14 GB of memory and a thin disk of 579 GB capacity. This option includes a vCenter server with an included platform services controller for managing 100 virtual machines. It is suitable for my home lab.
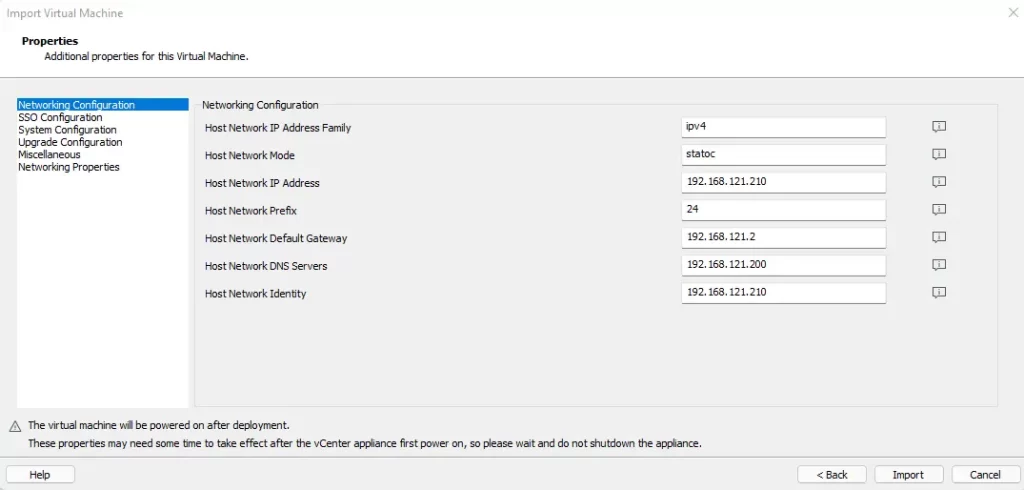
Import VCSA virtual appliance properties options that ask for additional properties for this VM.
IP Address You can either use IPv4 or IPv6.
Network mode
Host Network IP Address
Network prefix length
Default gateway
Network DNS Servers
Network Identity
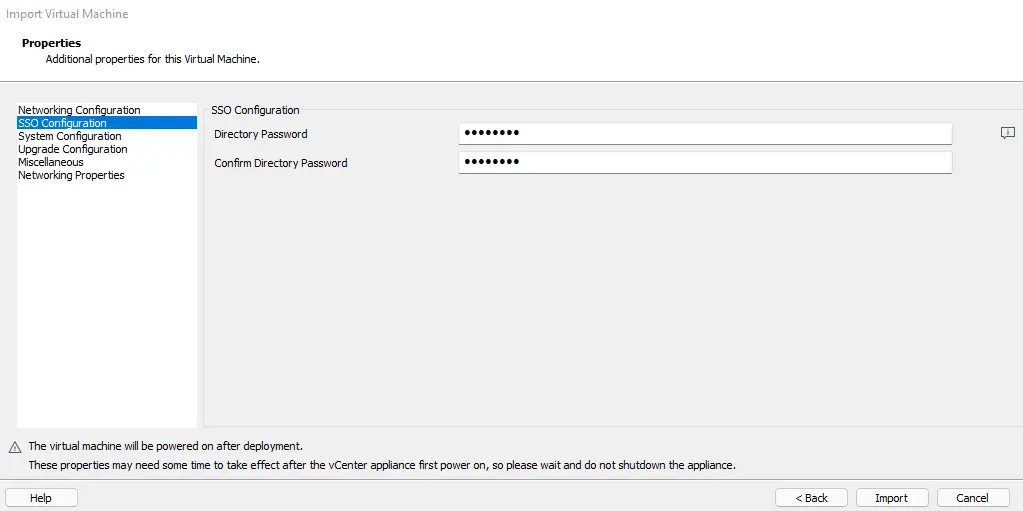
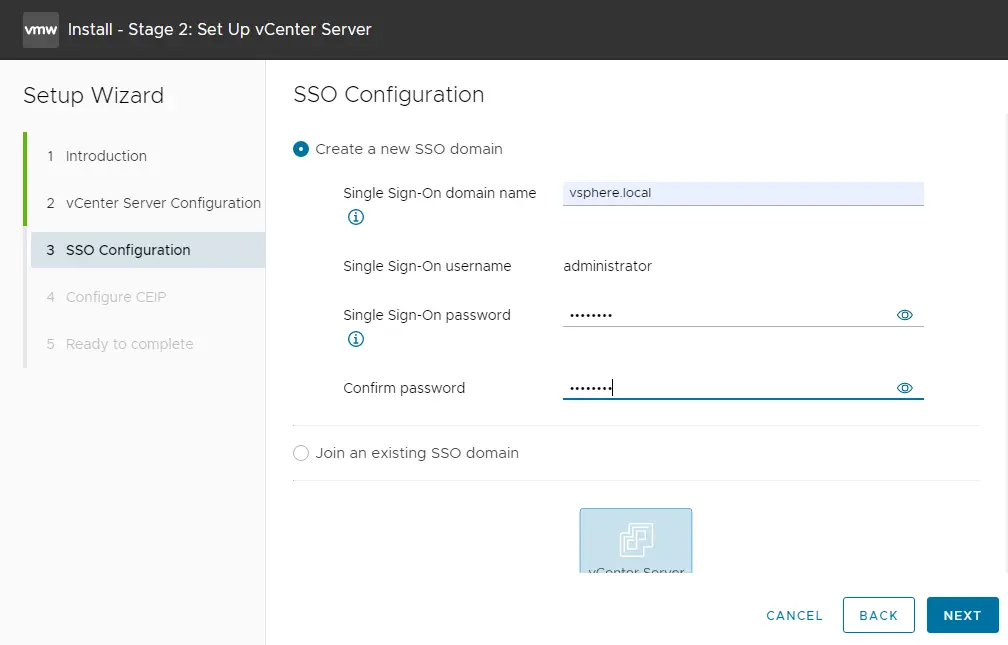
SSO Configuration
We need to enter the SSO password that we will use to further configure the appliance.
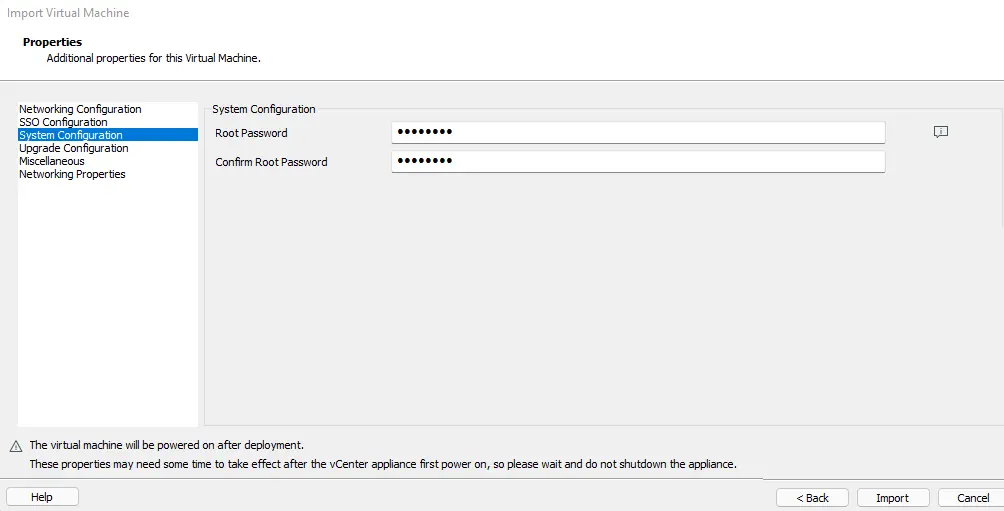
On the System Configuration page, we need to enter the root appliance password; this one is needed when connecting to the console’s appliance for troubleshooting.
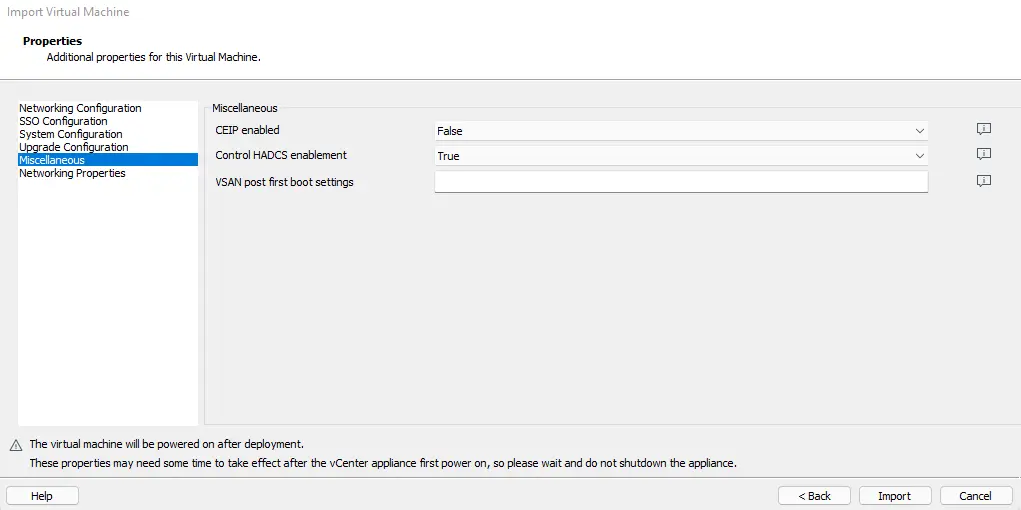
Miscellaneous page.
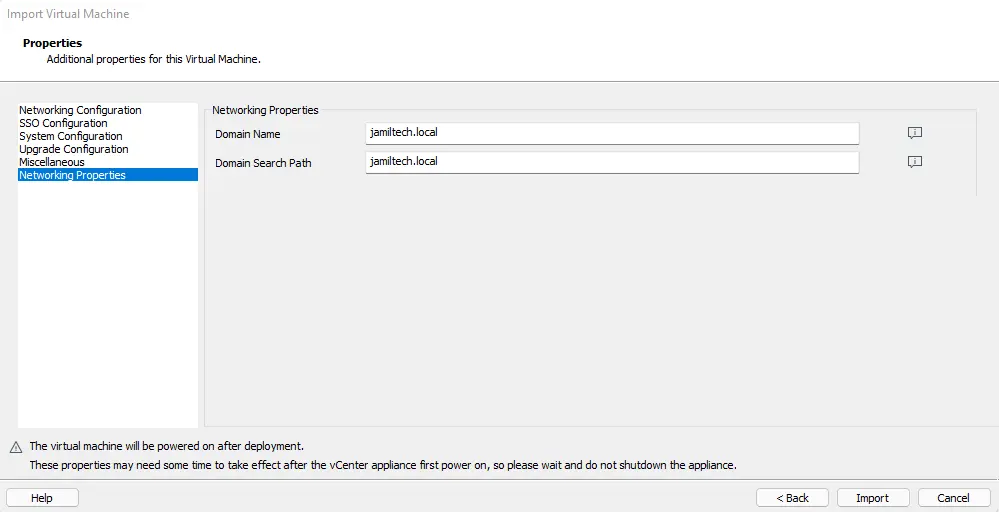
On the Import virtual machine networking properties page, we need to enter the FQDM domain name, the “domain search path” and then click the Import button.
The import vCenter 8.0 process is in progress; it will take some time to complete the vCenter 8.0 OVA.

All the VCSA VMware properties provided above will take some time to take effect after the vCenter appliance is powered on, so please wait and don’t shut down the appliance. Let the vCenter server virtual appliance initiate and wait for DCUI to appear to confirm all is going well.
If you would like to reconfigure your vCenter appliance settings, then press F2.
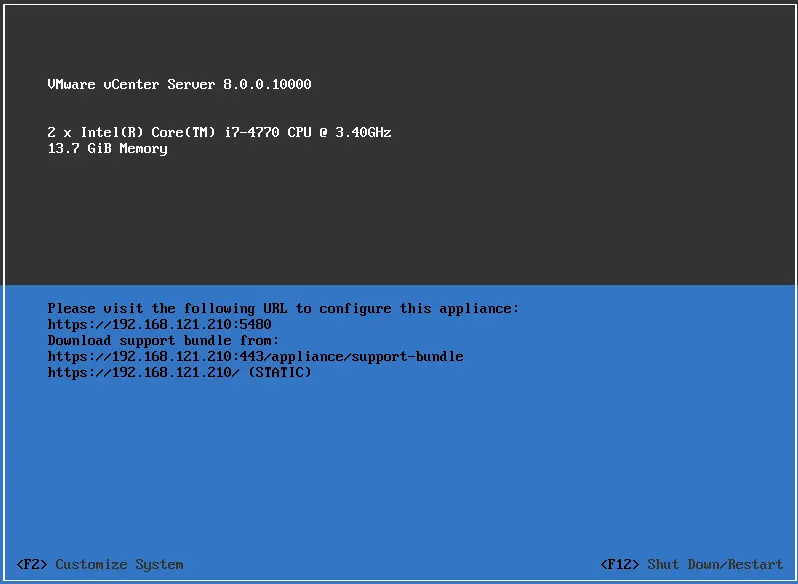
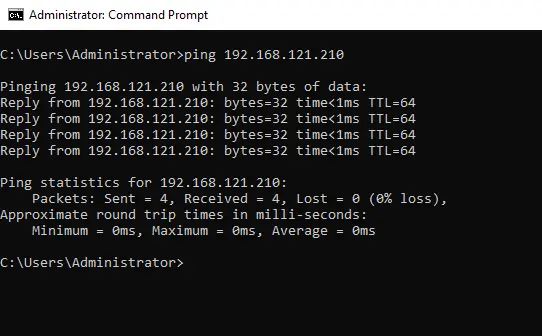
Ping the vCenter server IP.
How to Configure vCenter in VMware Workstation
To configure VCSA 8.0 Appliance as a new vCenter Server in VMware Workstation.
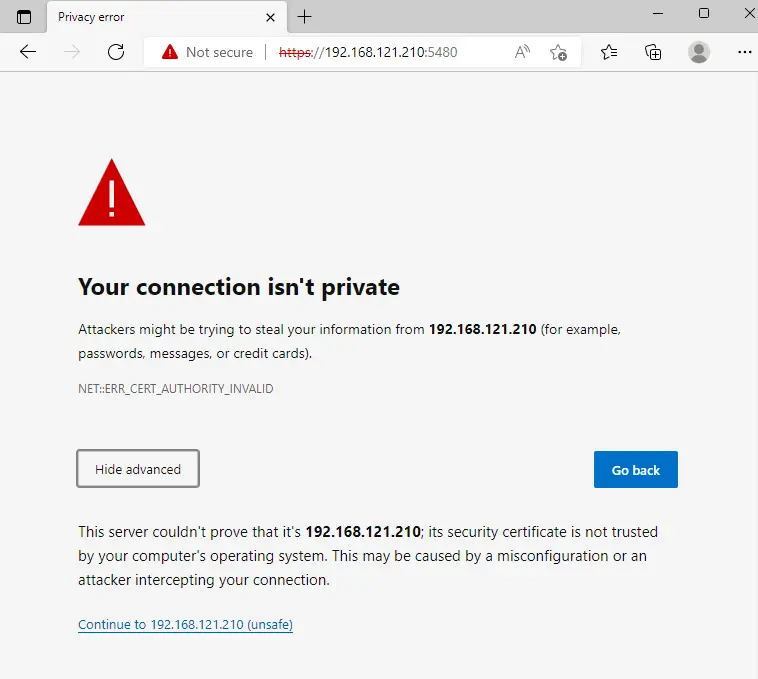
Open your favorite web browser and then enter the FQDN address of the VCSA followed by port 5480 (for instance, https://vcenter.jamiltech.local:5480) and then hit enter.
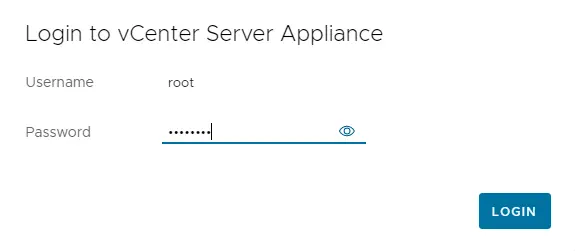
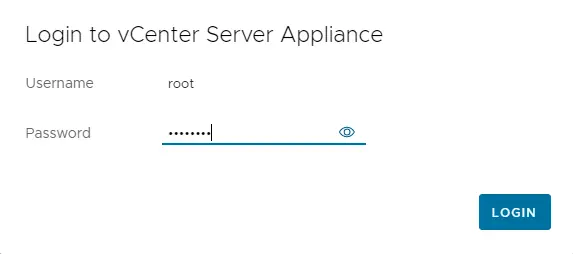
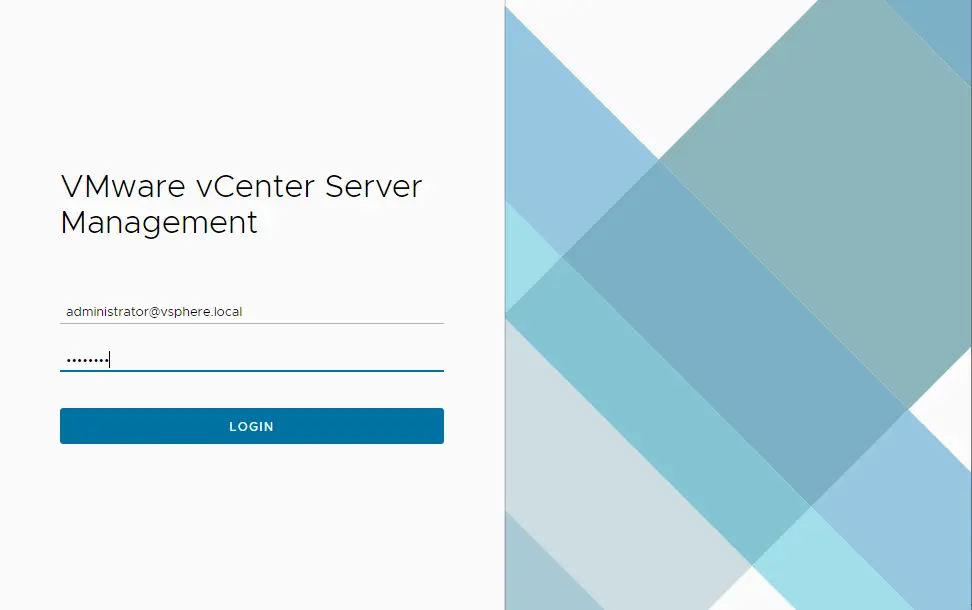
Enter the root password, and then choose LOGIN.
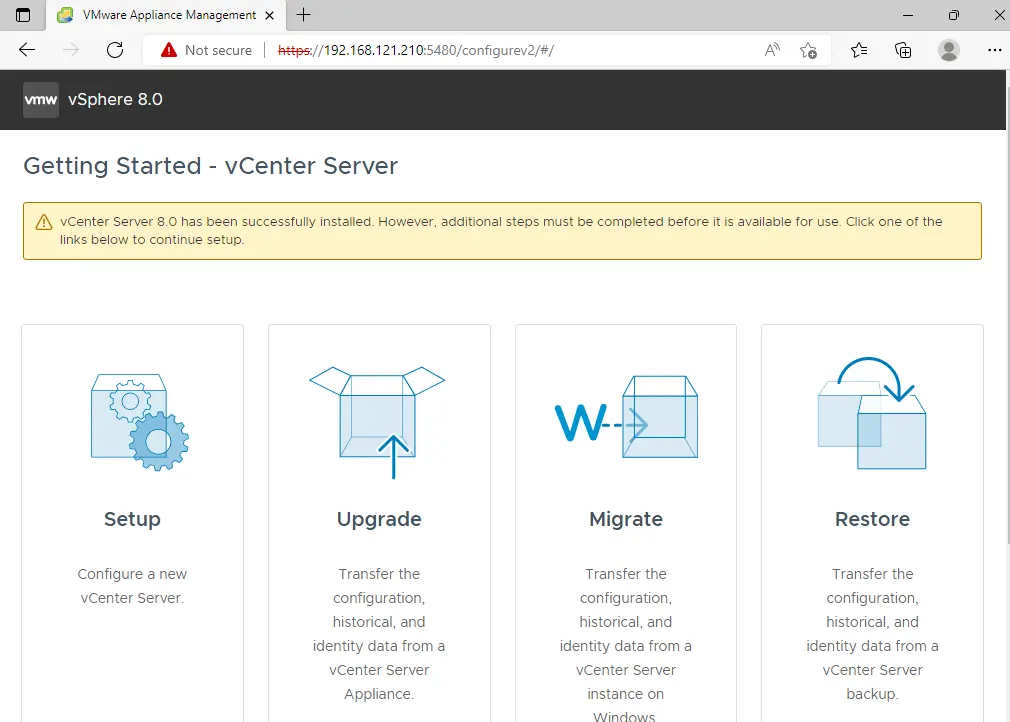
Once the VCSA installation is completed successfully, select the Setup option to configure this vCenter appliance as a new vCenter server.
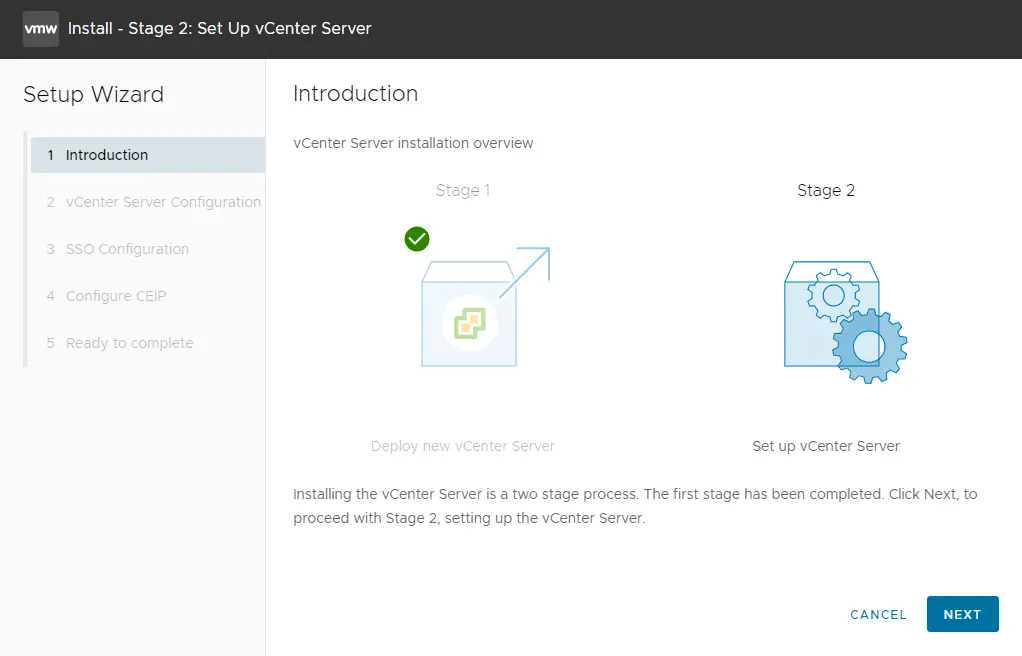
Install – Stage 2: Set Up vCenter Server Introduction; choose next.
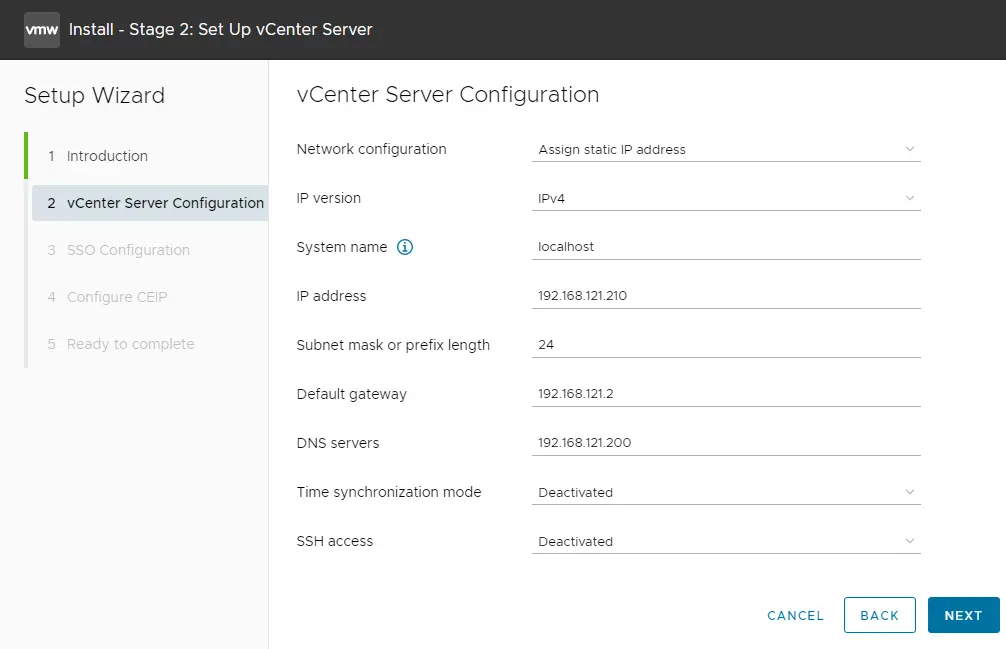
vCenter Server Configuration
Installing the vCenter server is a two-stage process. On the Appliance configuration page “All the information is already filled up” (we provided the same earlier), we can set up time synchronization mode and SSH access. Choose next.
Choose the box “Create a new SSO domain”, enter a single sign-on domain name and an administrator account password, and then click next.
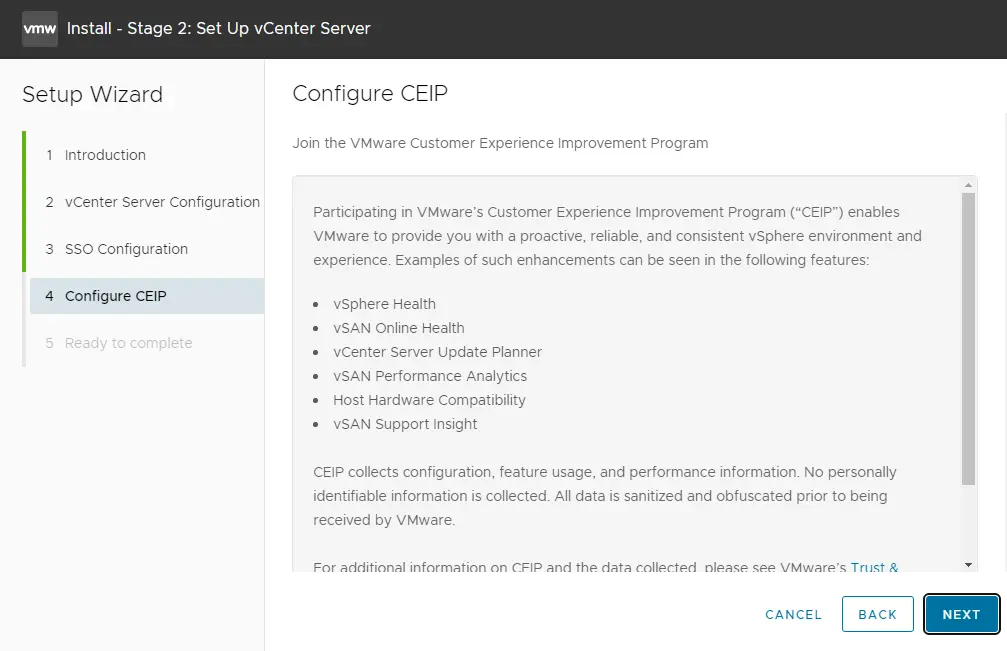
Configure vCenter Server, configure CEIP, and choose next.
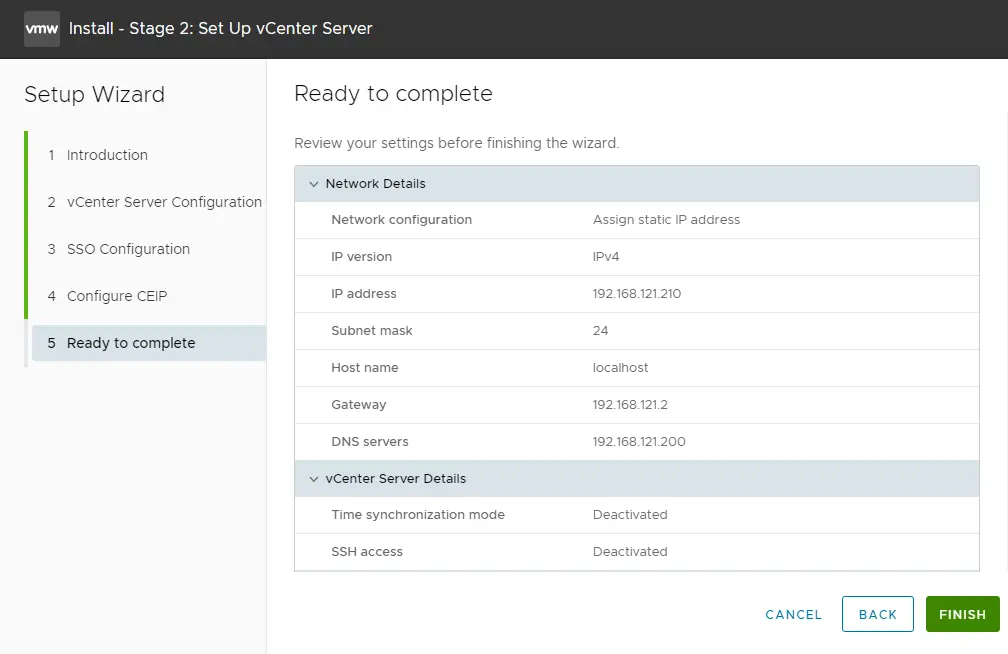
Review the vCenter Server 8.0 configuration summary and then choose Finish to start the configuration.
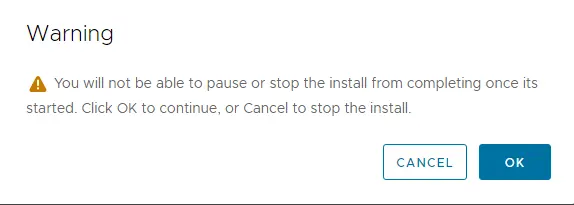
Click ok
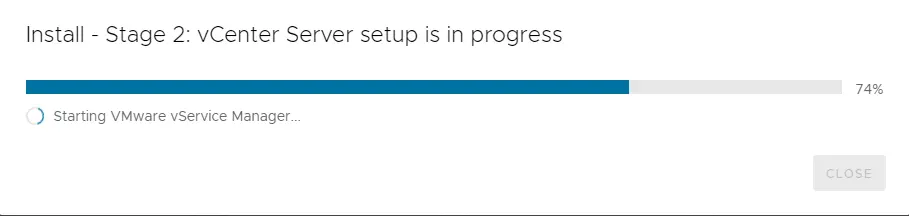
vCenter server 8.0 installation starts (it will take some time).
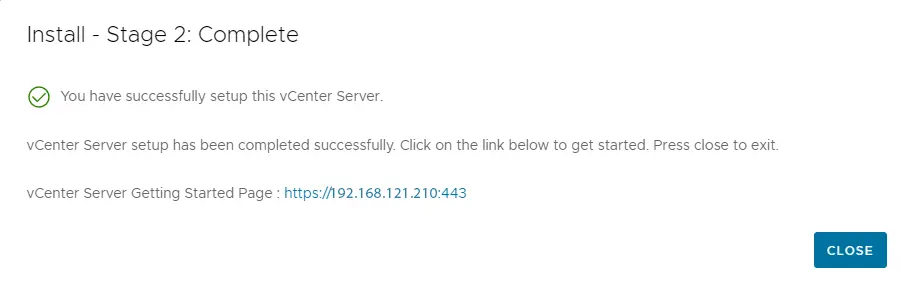
Install – Stage 2: Complete. The vCenter Server appliance configuration has been completed successfully. Now click on the vCenter Server Getting Started link.
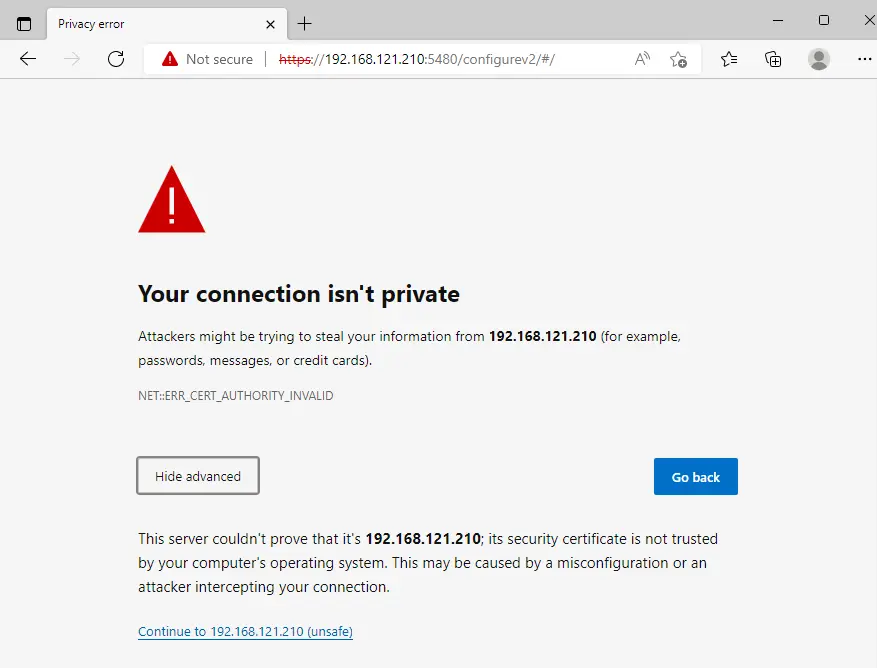
Click on advanced, and then continue the link.
Enter the root password, and then click login.
Enter the VMware vCenter Server username and password, then click login.
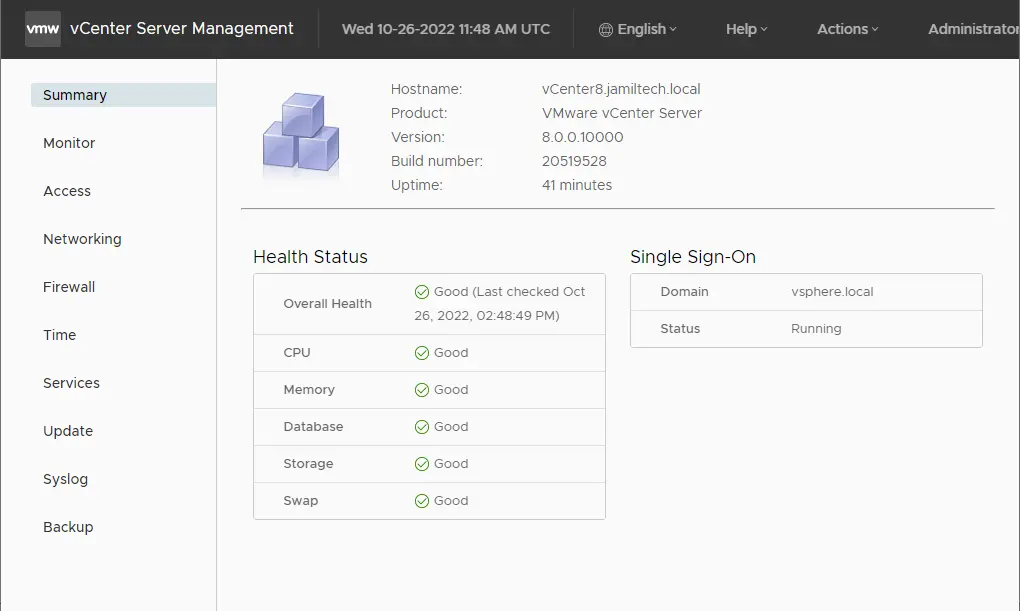
vCenter server management summary.
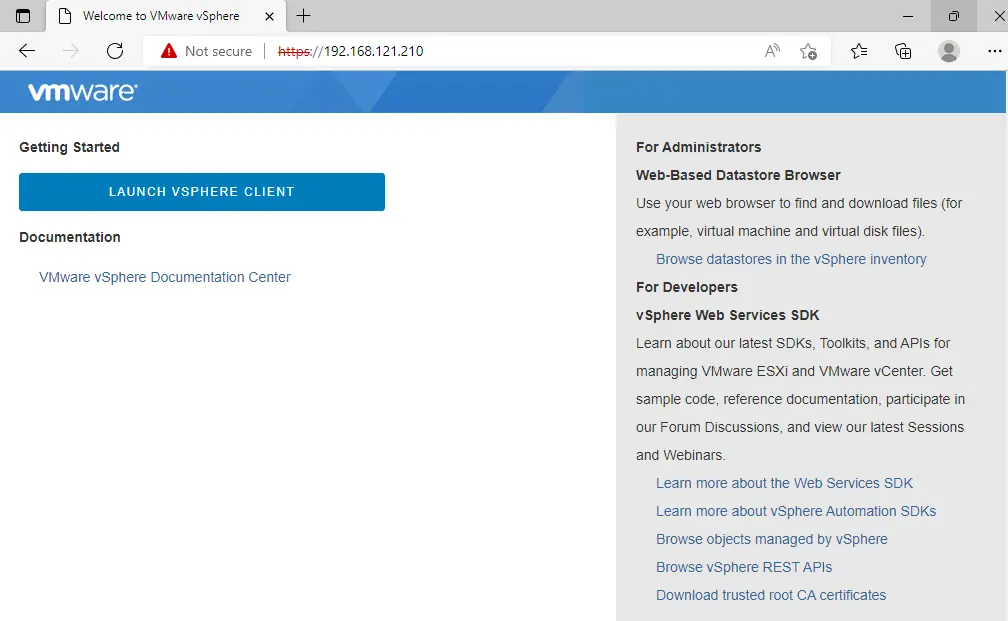
Now click on Launch vSphere Client.
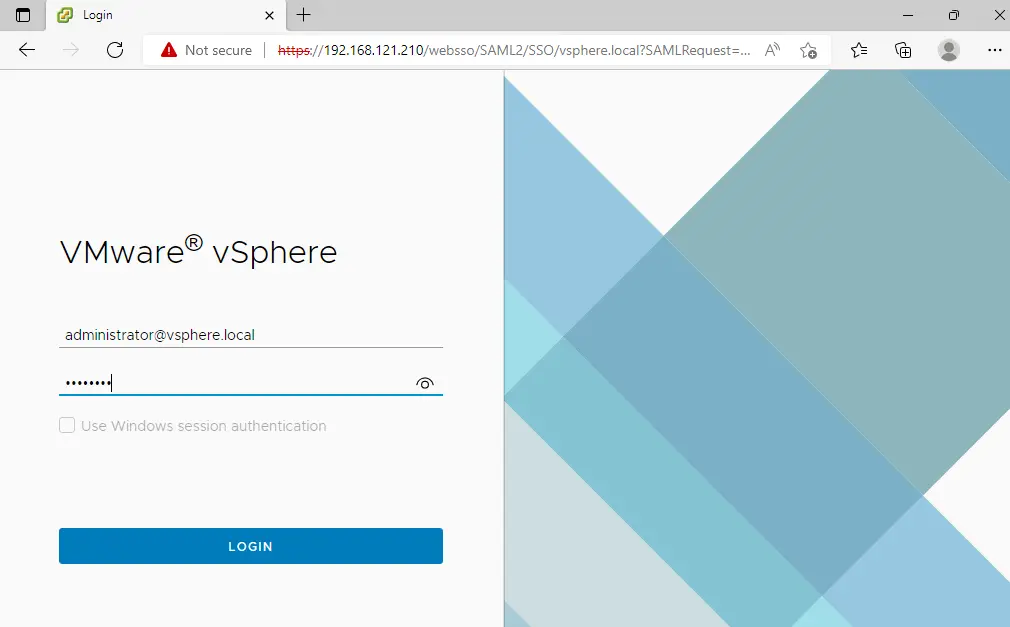
Enter the [email protected] username and password, and then click LOGIN.
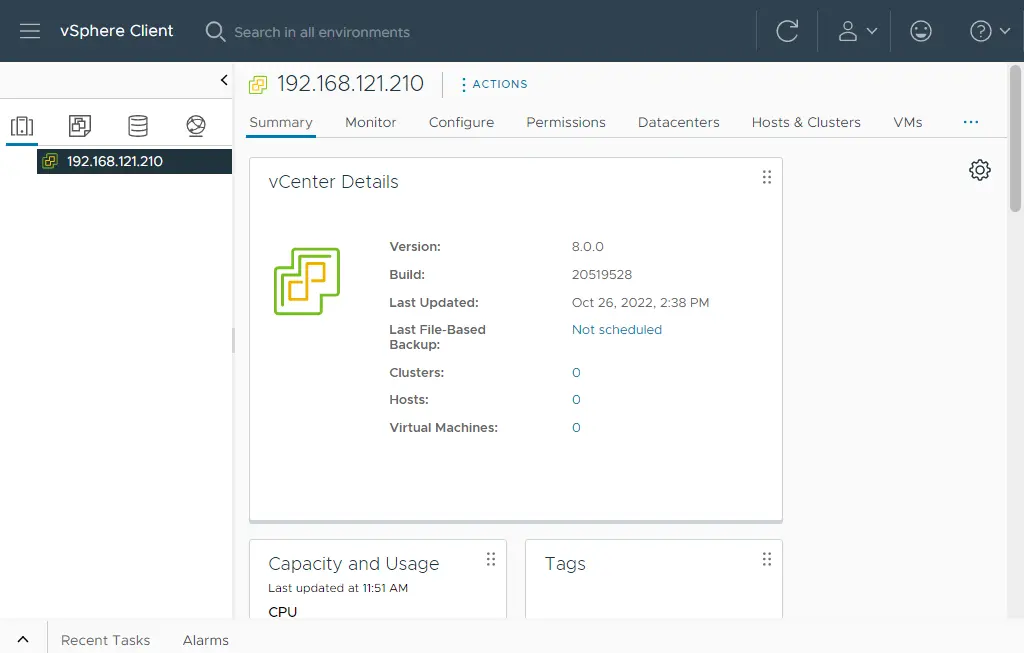
We have now successfully installed the vCenter server on the VMware Workstation.
Refer to this article to learn more.


Thanks for the efforts.