
In this article, we will show you how to install WampServer on a computer. Expert developers always like to test their projects locally before they produce them live. And if you need to test your site locally before you really make it live for the users, then install WAMPServer on your Windows computer and start the testing process.
WAMP is a famous choice for developers who are using the Windows operating system. While there are dissimilar choices, such as the XAMPP server, these steps will cover the exact steps of installing the WAMP server.
Table of Contents
How to Install WampServer
Go to the official website of WampServer and download the WampServer setup. There are two versions of Wamp Server available (64-bit and 32-bit); choose according to your system configuration. Please insure you select the right installer file for the version of Windows.
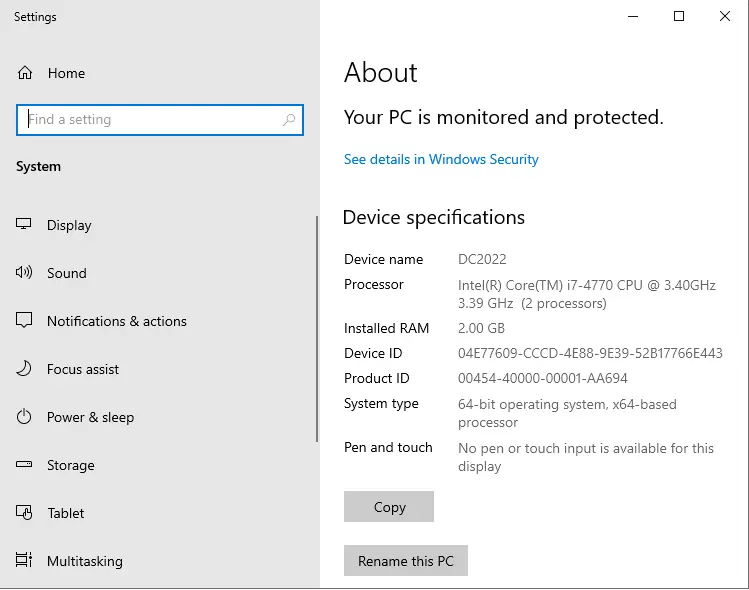
If you don’t have any idea if your system is 32-bit or 64-bit, right-click on My Computer and then choose Properties.
Installing WampServer
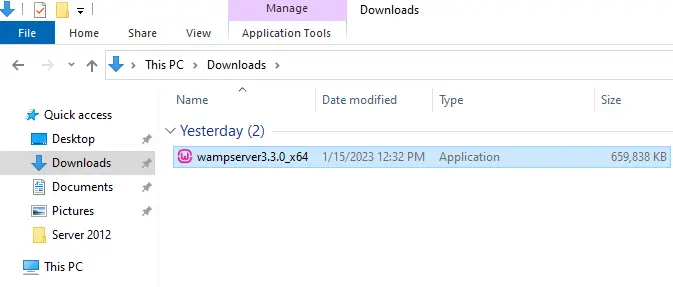
To start the installation process, you need to go to the download folder and then double-click the installer file.
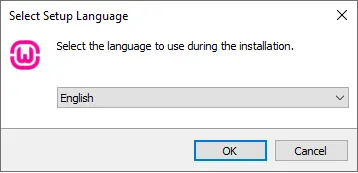
Choose a language, and then select OK.
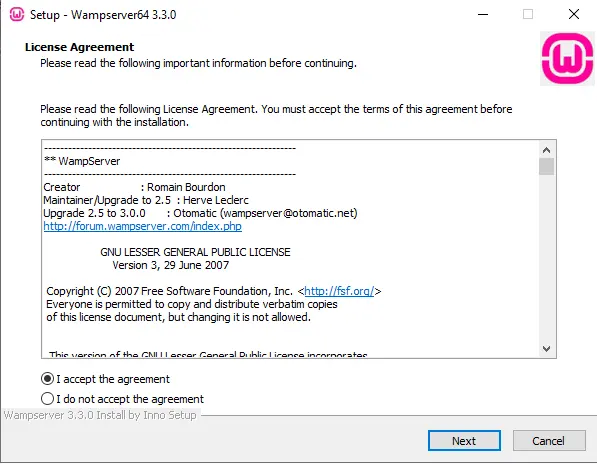
Accept the license agreement, and then click next.
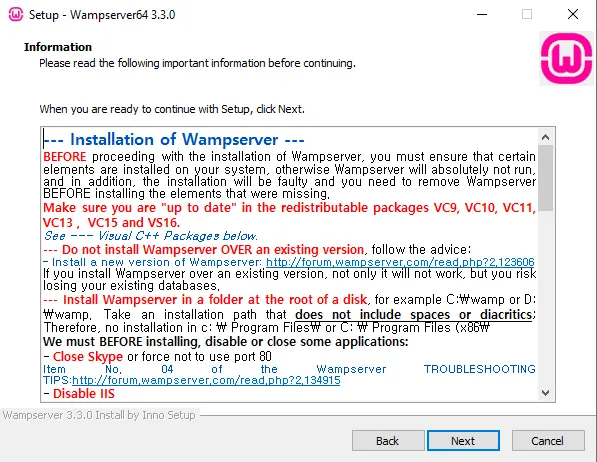
Read the information, and then move on.
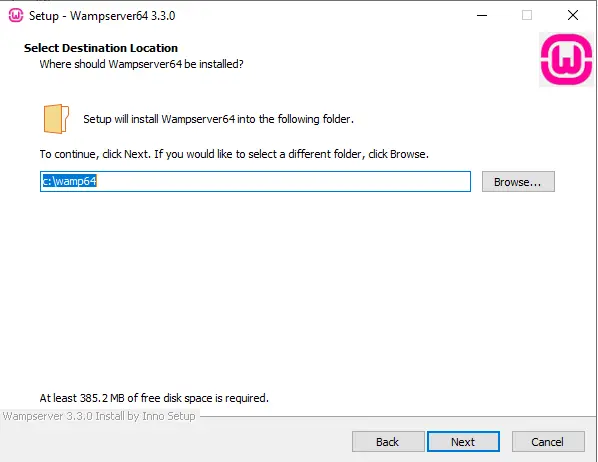
Select a folder where you wish to install the WAMP server. In most cases, it is just good to leave it as it is. Click next
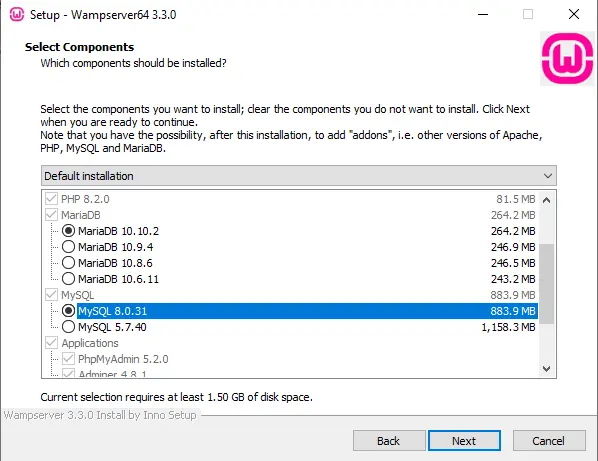
Select the latest components, and then choose next.
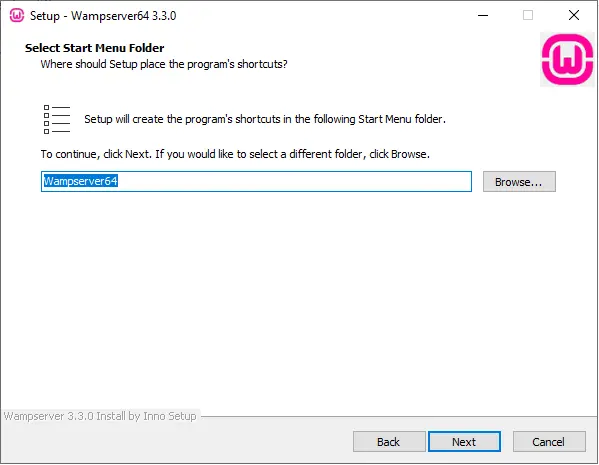
Choose the start menu folder, and then click next.
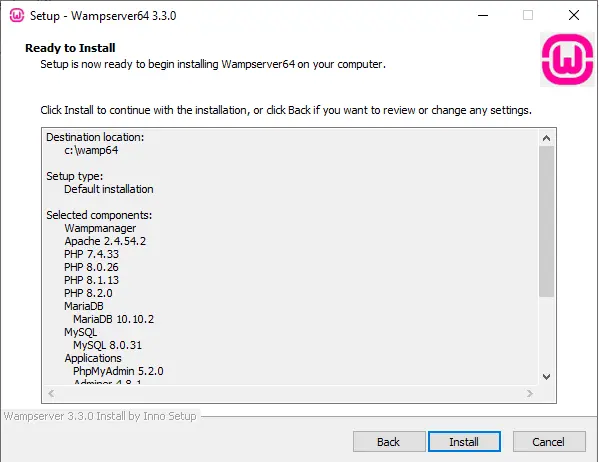
Click on the Install button to install WAMPSERVER64.
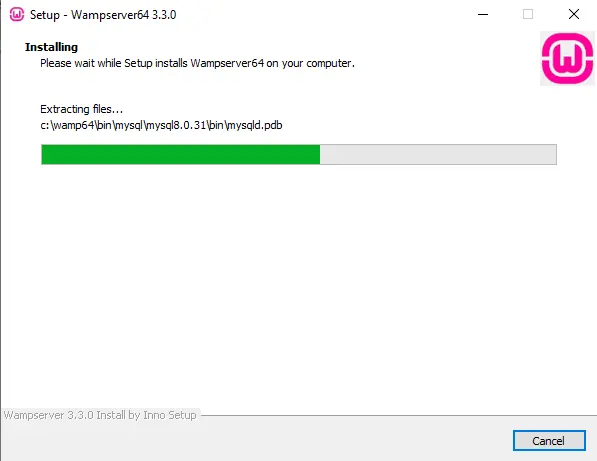
Installing Wamp Server.
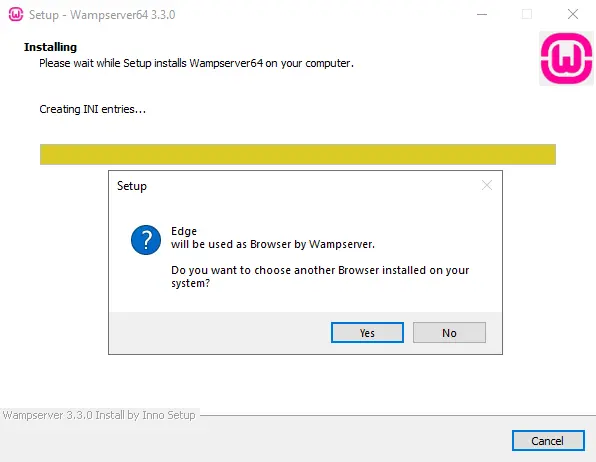
After completing the process, you will be required to choose the default browser. The default file browser will be Microsoft Edge, but you can change it to Firefox, Chrome, etc.
Notepad is your text editor.

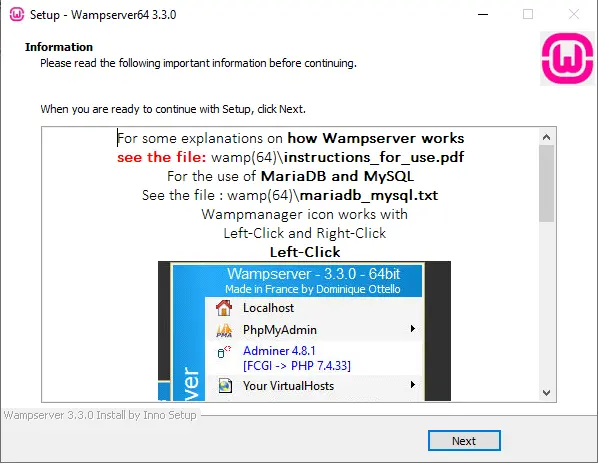
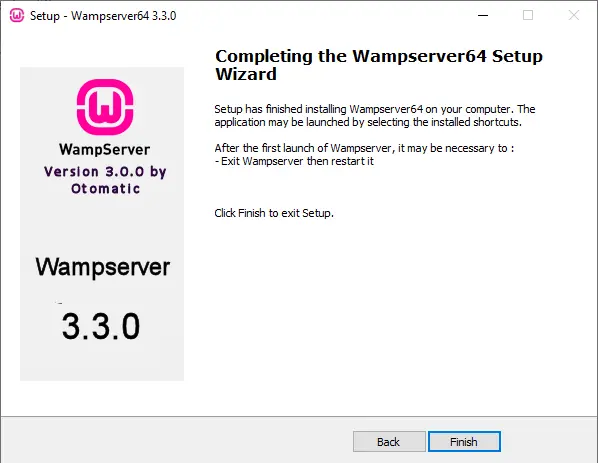
Read the Wampserver information, and then click next.
Click Finish
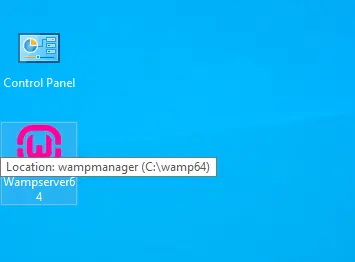
Open the Wampserver shortcut from the computer’s desktop to launch Wamp Server.
Wampserver starts services.

At this stage, you must see a WAMP server icon on the computer tray of the Windows computer taskbar. You should be green; it means the WAMP server is working correctly.
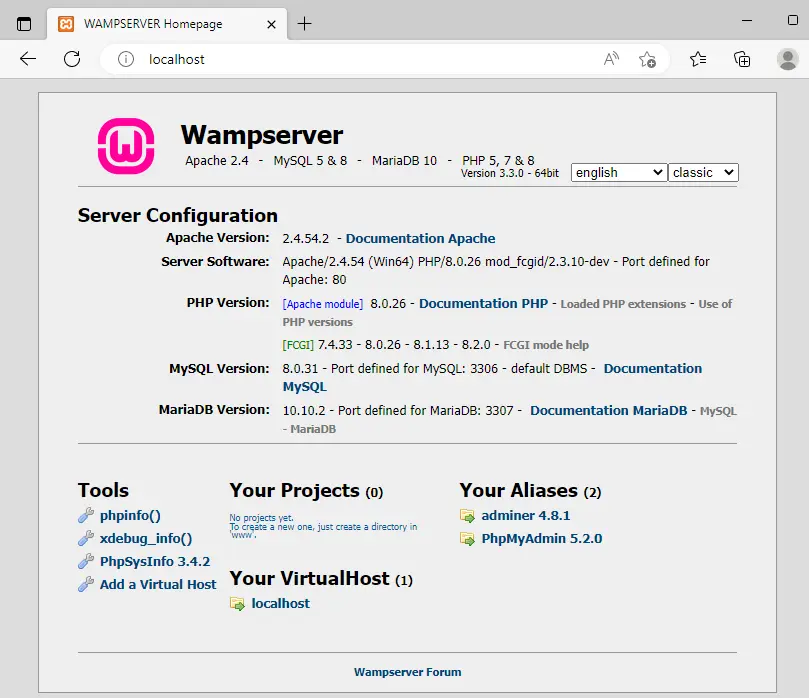
WAMPPServer home page.
Install WordPress on WAMPServer
Now we need to download WordPress.
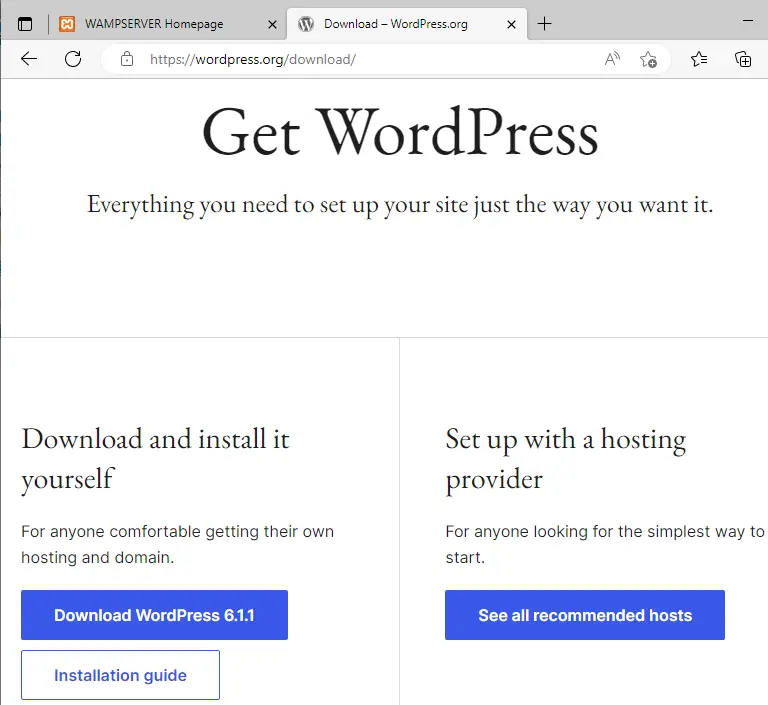
Right-click on the wordpress.zip file, and then extract it.
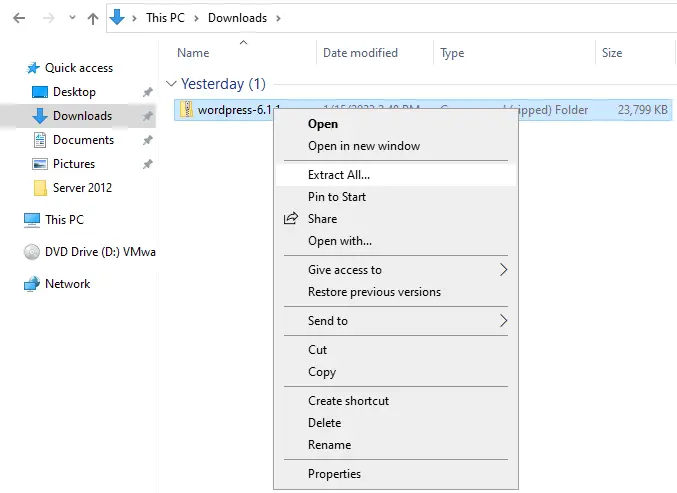
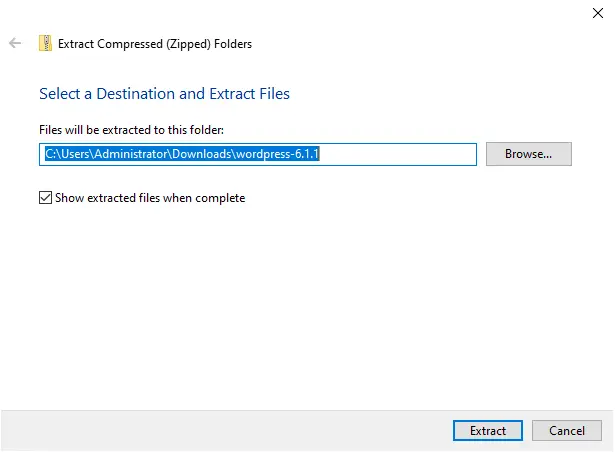
Click Extract
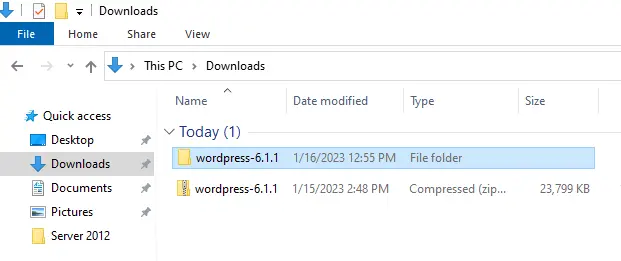
Copy the extracted WordPress folder.
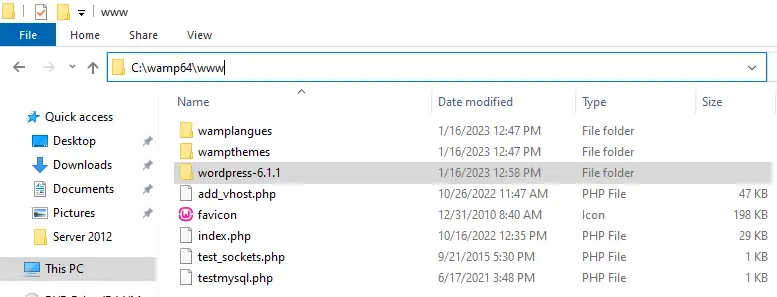
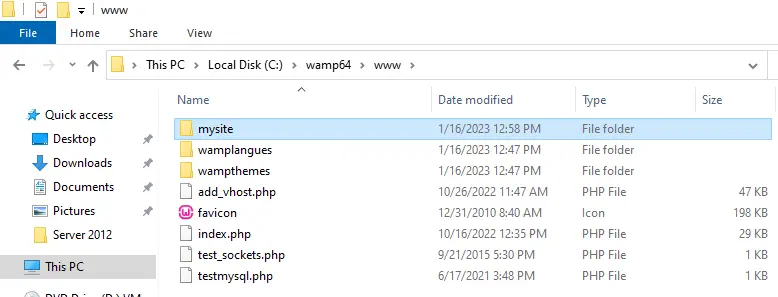
On my system, the WAMPServer file was installed in C:\wamp64, so we need to paste this WordPress folder into the C:\wamp64\www directory.
Rename the WordPress folder to your site name. Keep in mind that this name will be your local WordPress site URL.
Wamp server directory
Renamed the WordPress folder (mysite).
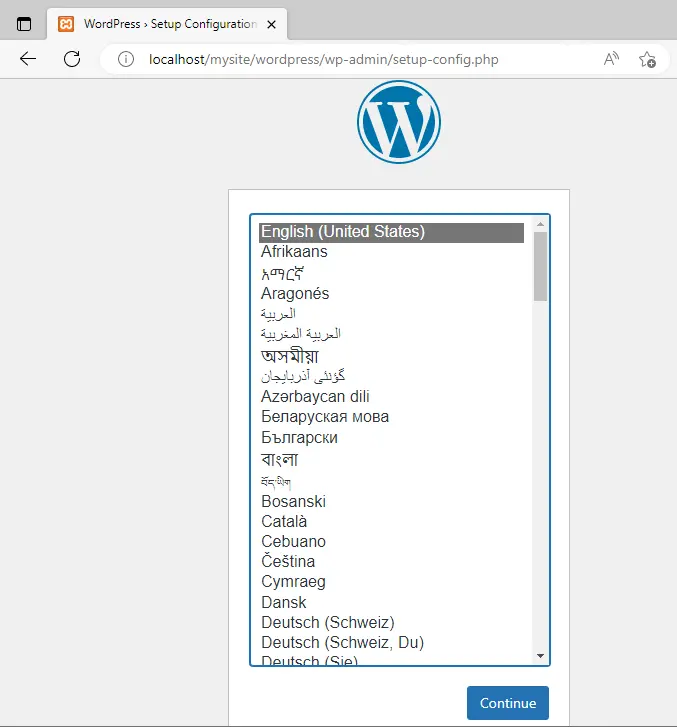
Enter the following address into the browser: http://localhost/mysite/
Choose a language, and then click Continue.
Click on Let’s Go!
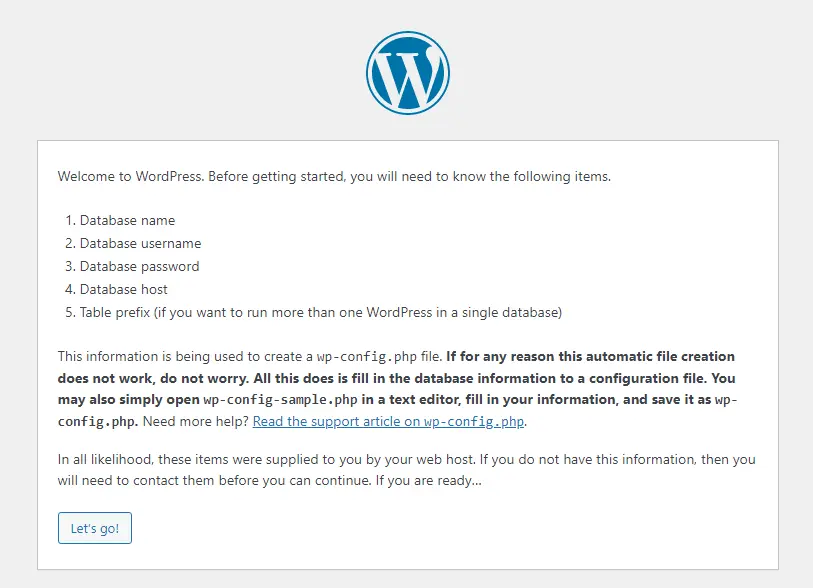
Leave this window for a while.
How to Create a Database for WordPress
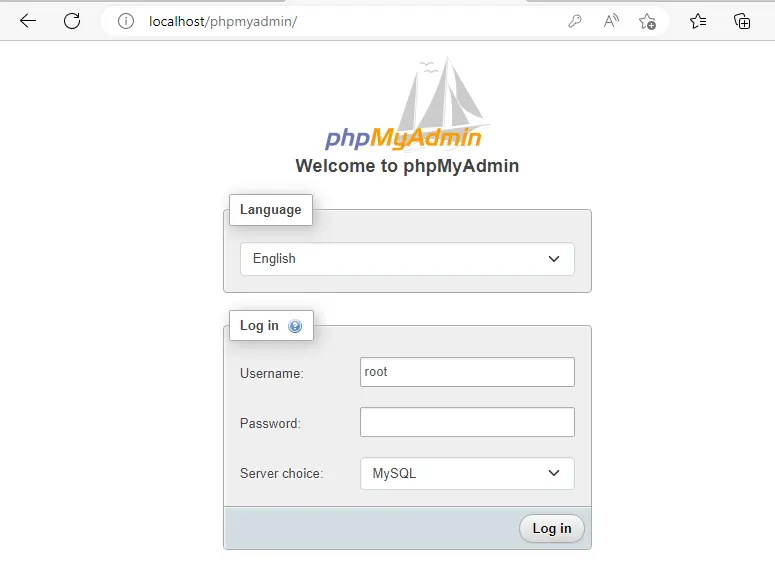
We have now completed the WAMP server installation; the next step is to create a new MySQL database. In the browser, enter http://localhost/phpMyAdmin and then hit enter. The browser will display the phpMyAdmin log-in screen.
Username: root
Leave the password field blank, and then click on the Go button. This will automatically log you in.
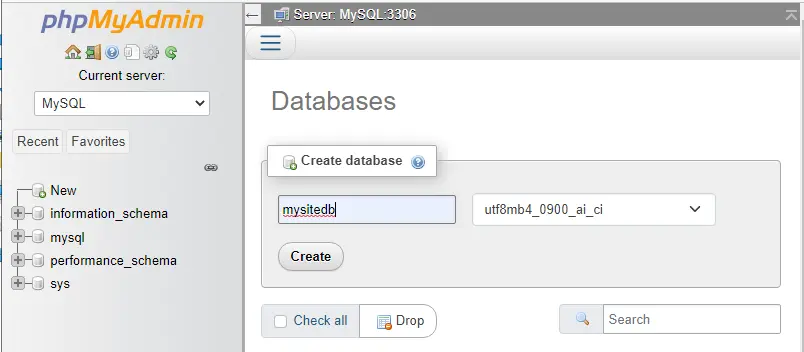
Click on the main menu button, and then choose databases to create a new database for your WordPress.

Enter a database name (mysitedb) and then click on Create.
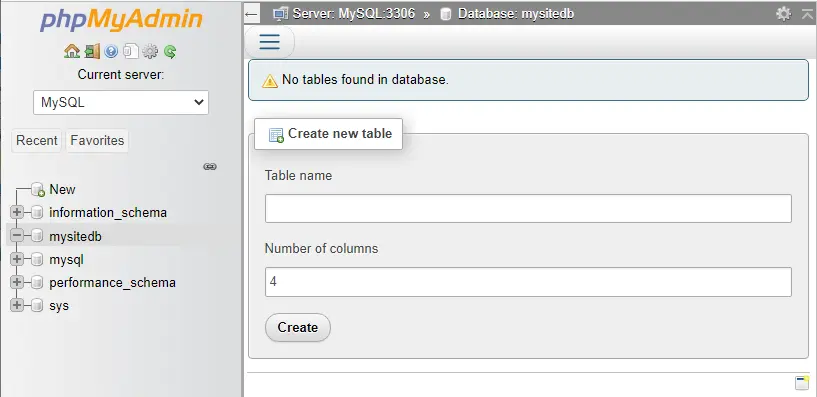
The Wamp server database is ready now; you can install WordPress.
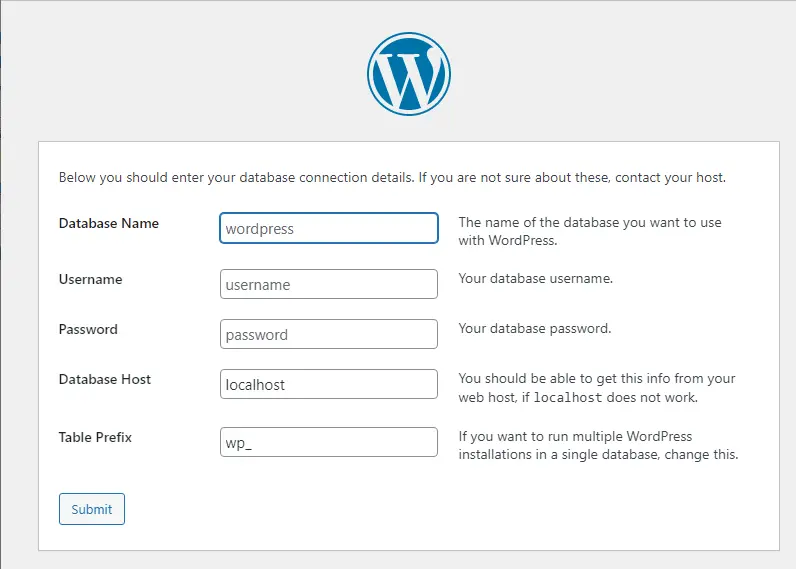
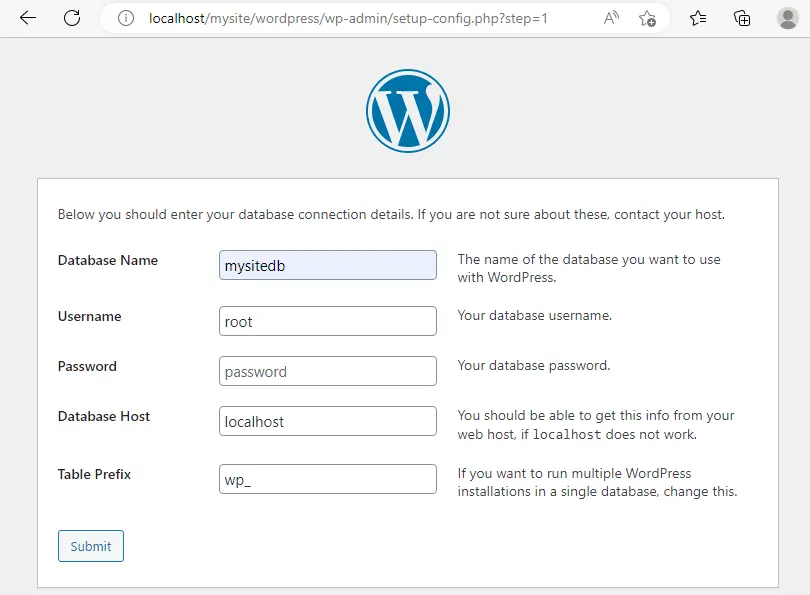
Go back to your http://localhost/mysite/ page, and you will be required to fill in the requirements.
Database Name – mysitedb
Username – root
Password – leave this field blank
Host – localhost
Table prefix – wp_
Click Submit.
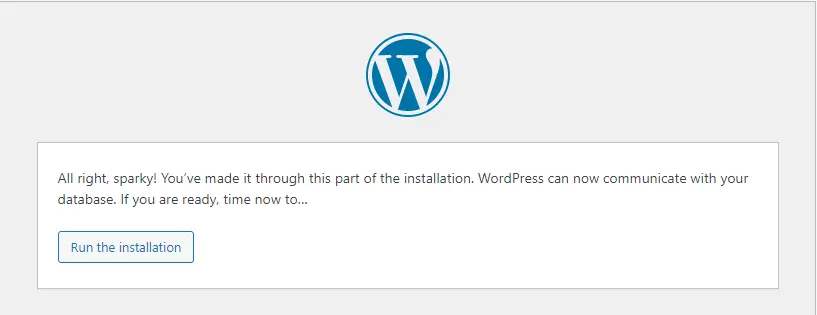
Click on Run the installation.
This page will ask for information regarding the new WordPress website. These include the
Site title
Username
Password
Email address
Enter the credentials, and then hit Install WordPress.

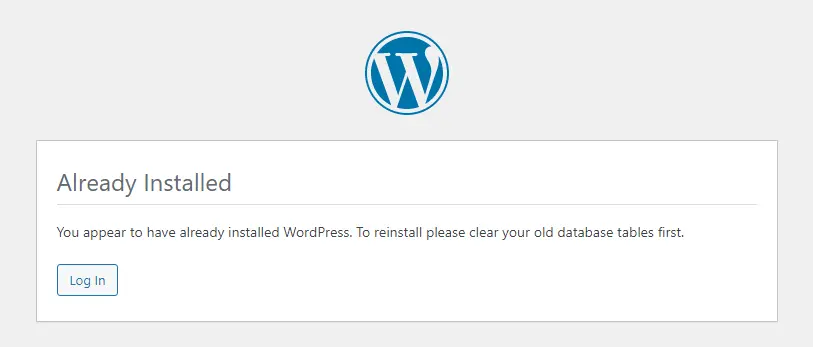
Select log in
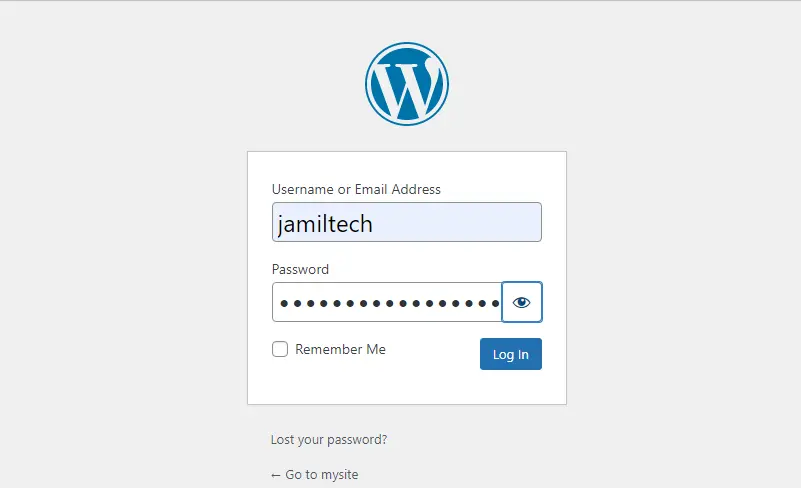
Type your username and password to log into your WordPress dashboard.
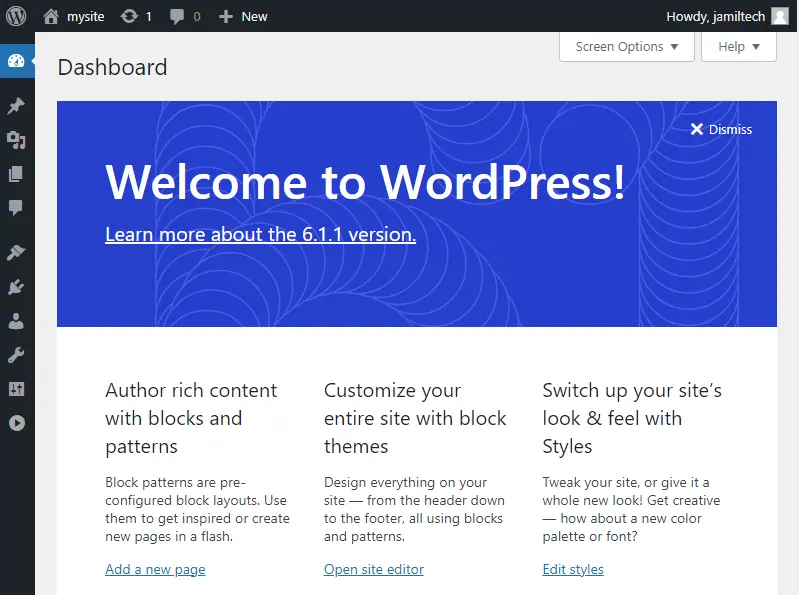
WordPress Dashboard.


Its very simple, thanks for sharing and simple explanation