
In this article, we will show you how to install Active Directory in Server 2025. Build 25951 of Windows Server vNext has some cool new features for Active Directory Domain Services (AD DS) and AD LDS. This includes a new functional level for forests and domains, more database pages (up to 32KB), an update to the schema, and a number of security changes.
Since Windows Server 2016, the AD DS hasn’t had any major changes, and the functional level stayed the same in Server 2019/2022. This will be different for the next version of the operating system in the LTSC. If Microsoft sticks to the same update schedule, the new version will likely be called Windows Server 2025.
Table of Contents
Note: Before you start, please verify that the following:
Change Server Name
On the Windows Server vNext 2025 insider preview version, let’s do the Active Directory installation process after the general installation. We need to set up our servers before we install them. First, let’s give the server a name and then restart it.
(Server name: vNext2025, Active Directory Server)
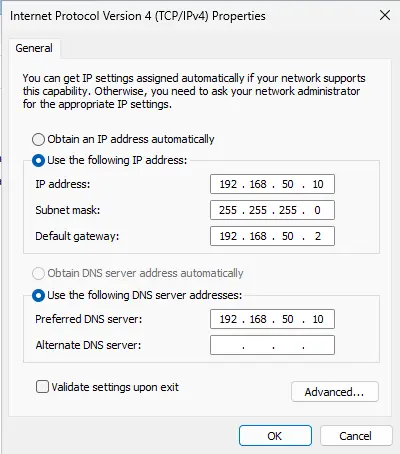
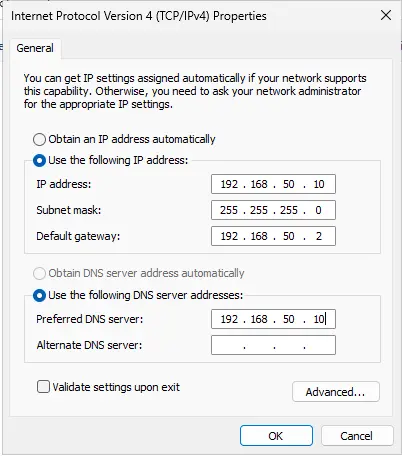
Initially, let us assign a static IP address to the server. Upon establishing the AD server role, we provide an IP address as the DNS.
Install Active Directory in Server 2025
We will be implementing and setting up an active directory domain controller on a Windows Server 2025 operating system. The system will either be a virtual machine or a physical machine.
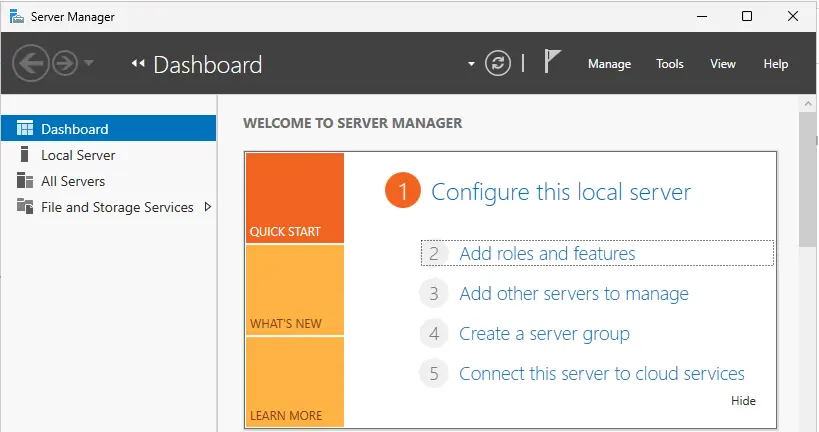
To install the AD role, click on the “Add roles and features” option in any of the fields displayed on the Server Manager console.
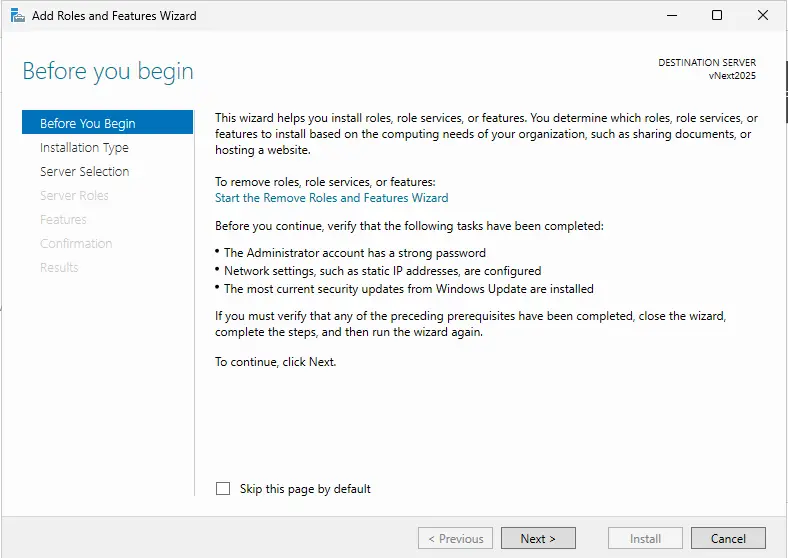
The initial screen provides details regarding the functionalities and capabilities of the wizard. Proceed to the next screen by selecting Next.
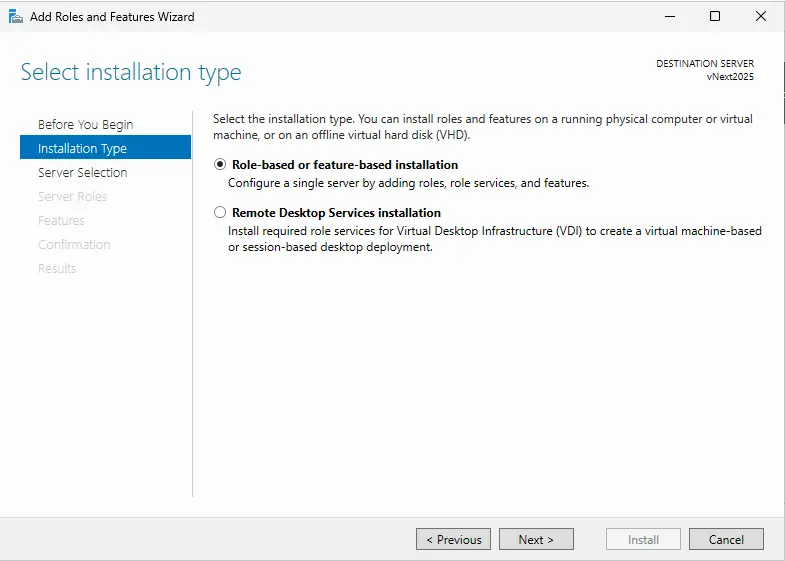
For this reason, since we will not be doing RDS installation and configuration, we proceed with Next by choosing Role-based or feature-based installation.
We could make a server cluster with Windows Server 2008 and 2012 and add and remove Roles and Features on this cluster as a whole as well as on a different server. We had to add some features to Windows Server 2008 so that this process could be done directly. It could be done directly on Windows Server 2012 and later versions. Since we only have one server in our setting and will be installing the Active Directory role on it, we choose the server whose name, IP address, and version are shown and click Next.

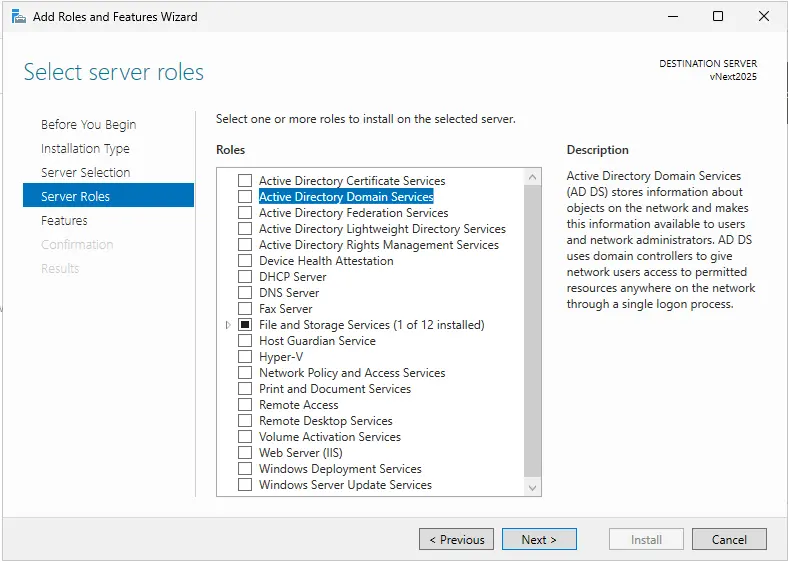
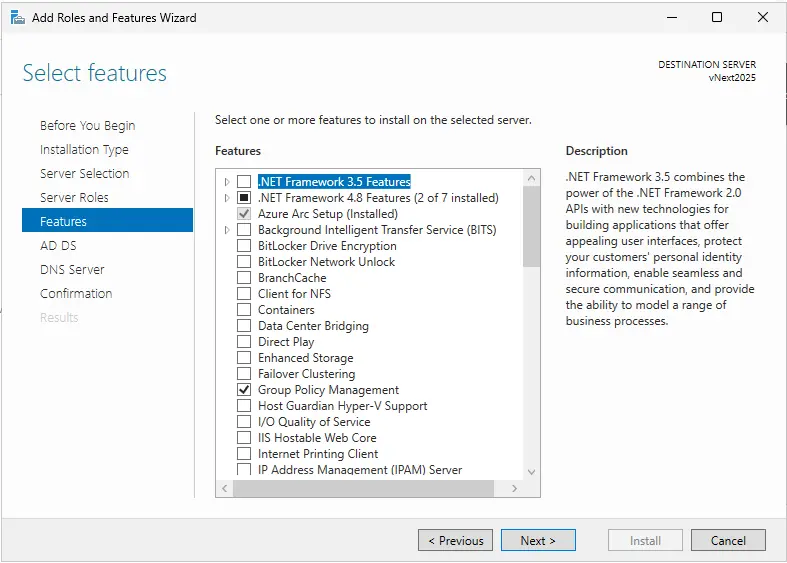
From the screen that appears, we select the Active Directory Services role we will install.
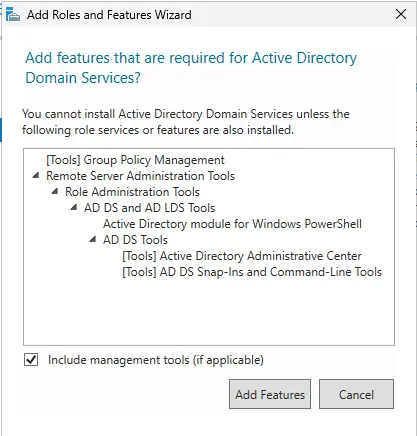
When we want to install the Active Directory role, we see a screen showing that different features and components are required to install this role. Let’s click on the Add Features button to install the components required for role installation.
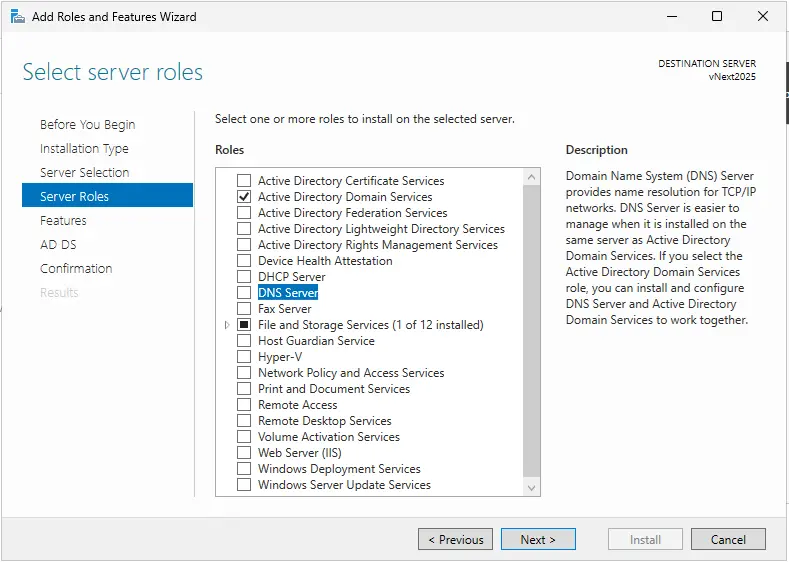
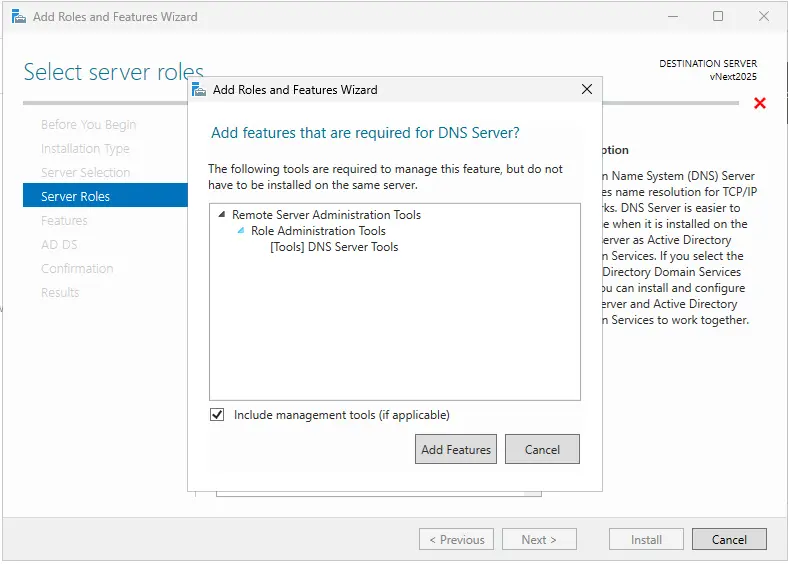
Enable DNS server role
Click on Add features
Click next

Server Features page, click next.
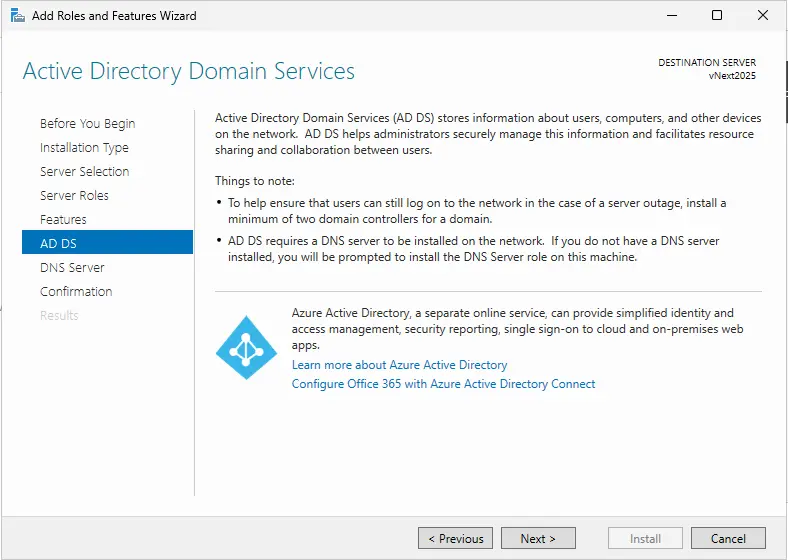
AD DS, click next.
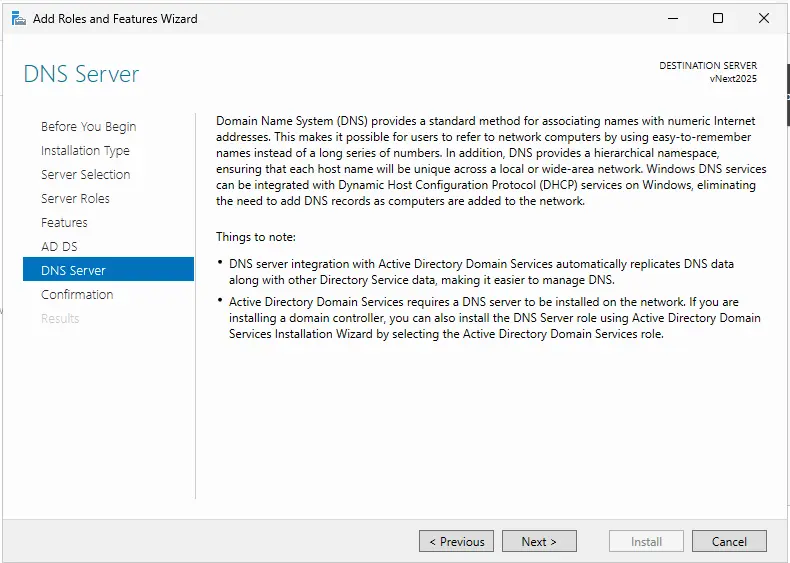
DNS Server option, click next.
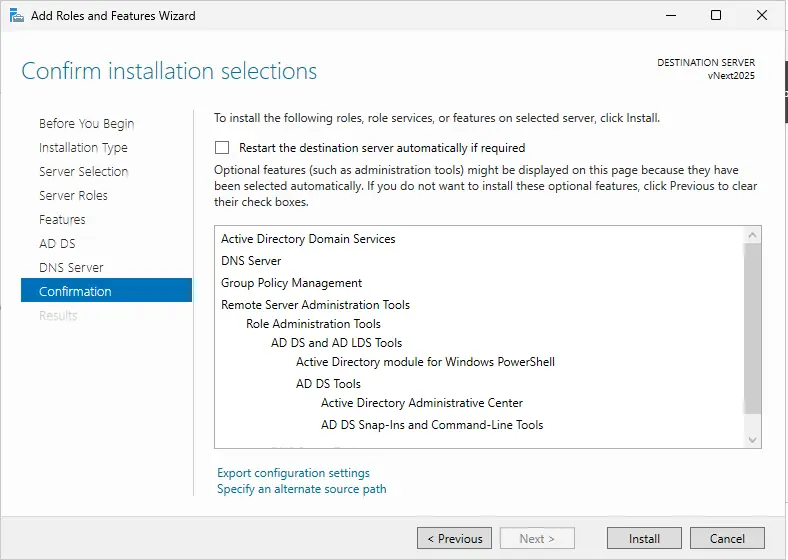
Verify the chosen Active Directory installation choices and proceed by clicking the install button to configure the Active Directory and DNS servers.
Once the Active Directory setup and DNS server installation are done,.
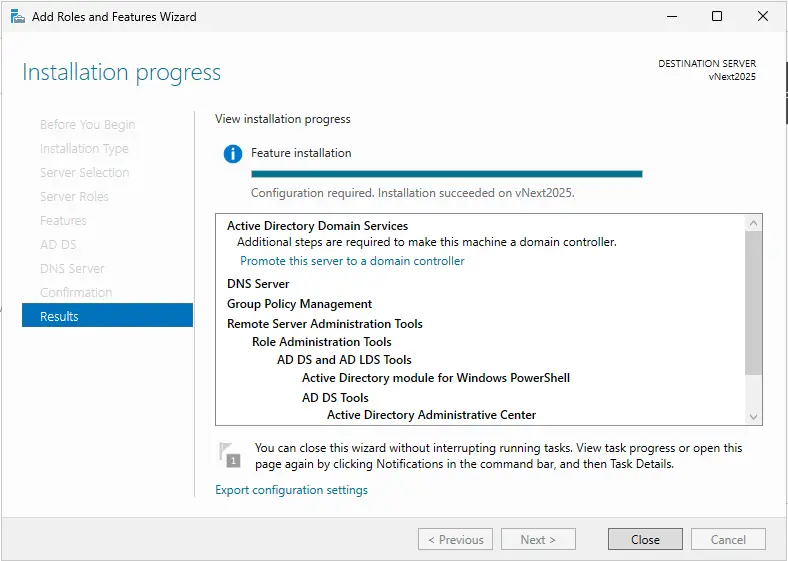
Promote this Server to a Domain Controller
The process of installation has begun. The process of pre-installation is now over. By clicking on Promote this server to a domain controller, we can begin setting up the server.
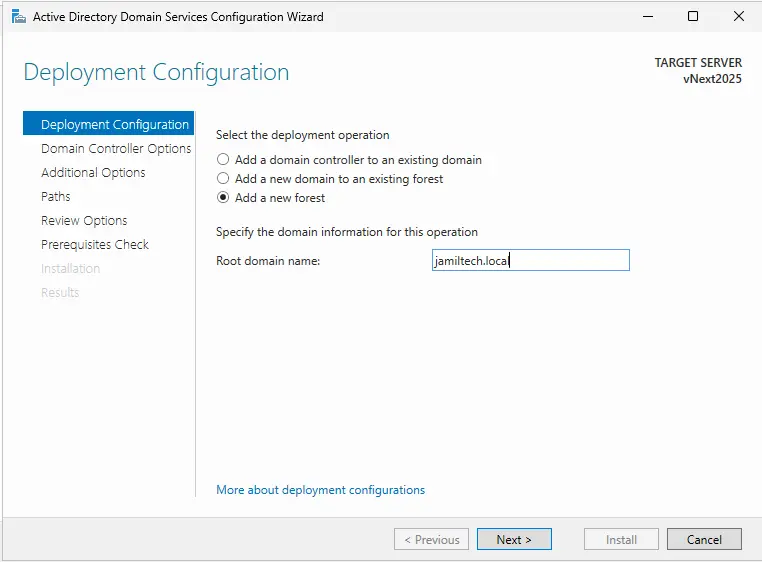
We have come to the first step of shaping our architecture. Since there is no forest in our environment, we will not be included in an existing domain or forest; that is, we will establish the first forest in our environment and configure the first domain on this forest. let’s make our selection with the Add new forest radio button and determine the name of our relevant domain structure, and proceed with Next.
Choose the forest functional level and the domain functional level based on your needs when you install the domain controller.
Specify domain controller capabilities
Domain name system (DNS) server selected
Global Catalog (GC) selected
Provide the password for Directory Services Restore Mode (DSRM), confirm the password, and then click on the “next” button.

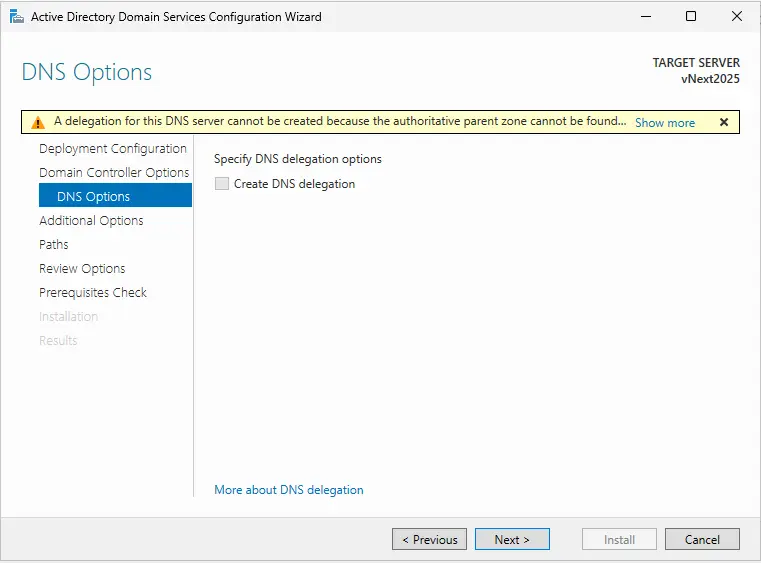
We get a message on this screen saying that our DNS server is not set up. We move on to the next step by clicking Next. The DNS role will be installed, and all the necessary settings will be made immediately during the installation of the Domain Controller.
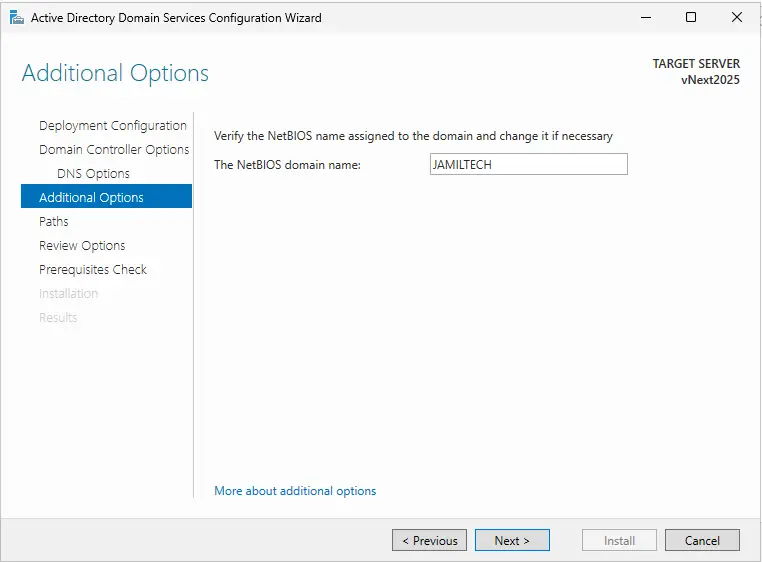
Check the domain name for NetBIOS (jamiltech.local). It mostly picked out your domain name for you, and then you clicked “Next.”
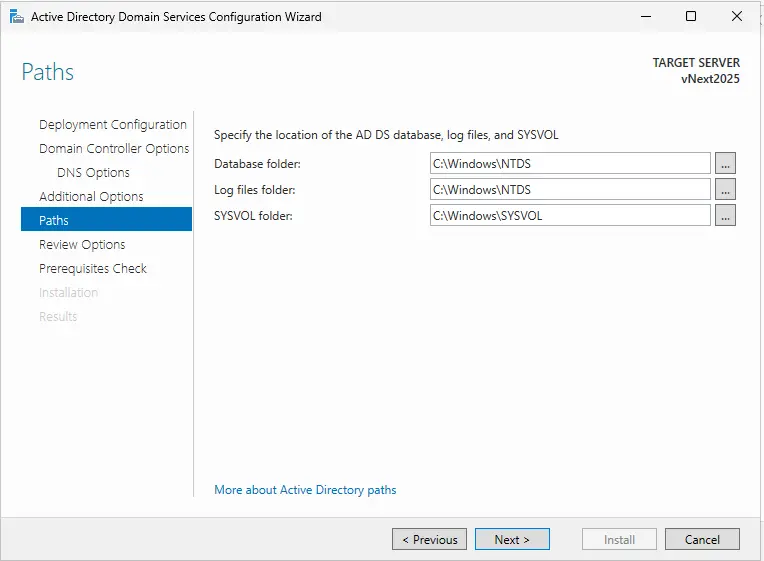
Specify the location of the AD DS database
Database folder
Log files folder
SYSVOL folder
Leave it as it is, and then click next.
Make sure that all of the Active Directory setup settings meet your needs, then click “Next” to move on.

The setup Active Directory in Windows Server vNext 2025 wizard will check the configuration.
Click on the install button to start the Active Directory Domain Services configuration.

Our institution is over. Our system must be restarted. Let’s begin the restart process by hitting the Close button on the screen’s warning.
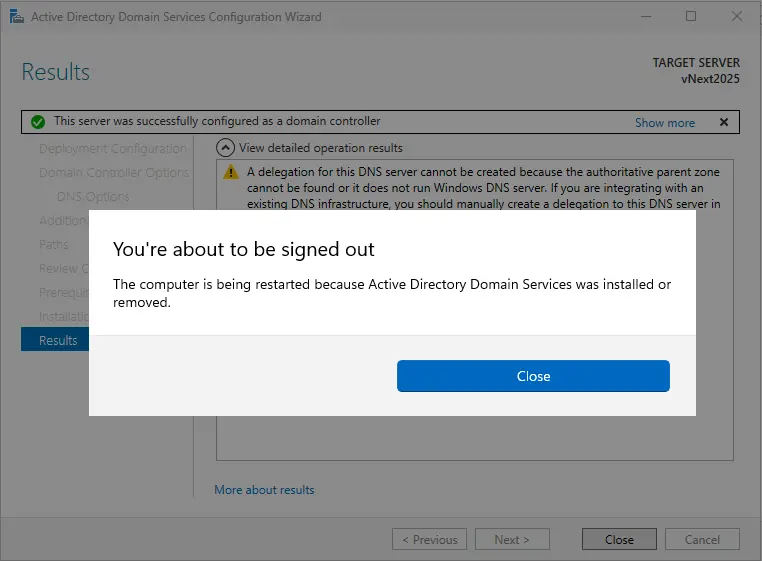
Your server will reboot automatically once you configure Active Directory.
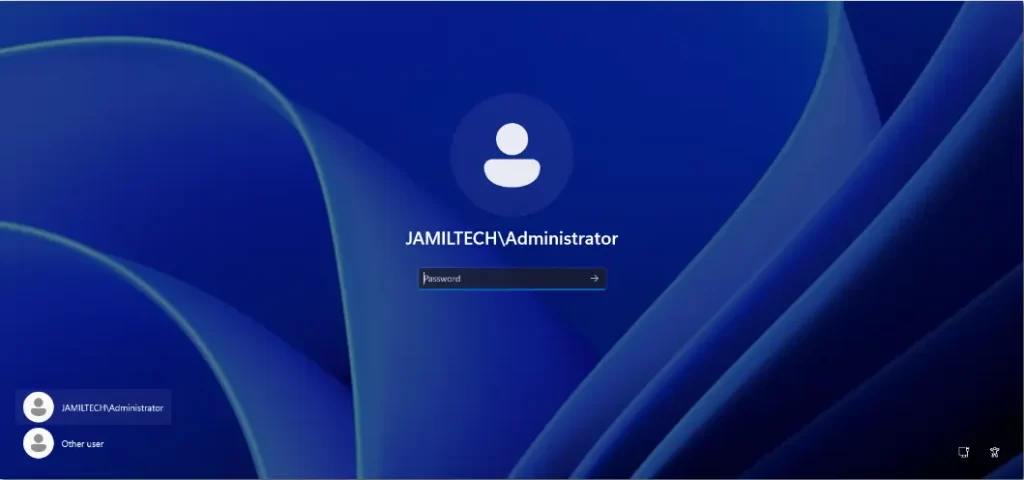
In the Domain Administrator Login window, enter your domain controller password.
Open the network connection TCP/IP properties after successfully logging in with your Active Directory domain controller. The desired DNS server IP address will be displayed. (IP address for loopback).
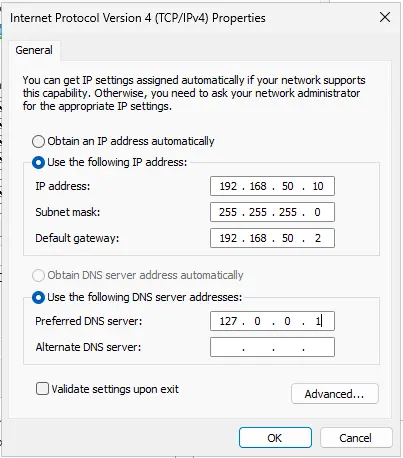
Replace it with your DNS server IP address.


I really liked your site.