
Let’s have a look at how to install Exchange Server 2019 on Windows Server 2022. There are a few steps to complete the process. The following step describes a guide for the installation of Exchange Server 2019. The installation of Exchange 2019 considers a single server deployment.
Table of Contents
Requirements
Exchange Server 2019 Requirements
Prerequisites for Exchange
Exchange Server 2019 Prerequisites
Emergency Mitigation Service
Microsoft also described fewer prerequisites for getting access to the Exchange Emergency Mitigation service.
IIS URL Rewrite Module
The IIS URL Rewrite module v2 is to be installed on MS Exchange Server 2019.
THE IIS URL rewrite module is required due to the new emergency mitigation feature
Email Exchange Server 2019 prerequisites for preparing Active Directory
Diagnostic data collection options were added
The first step in the installation of any version of the server exchange is to prepare the Active Directory environment where the Microsoft Exchange Server will be installed.
.NET Framework 4.7 or above
Download .NET Framework 4.7.2 and install .NET Framework
Note: .Net Framework 4.7.2 is already included and is not required to download or install with Windows Server 2019.
Other Prerequisites
Unified Communications Managed API
Microsoft Visual C++ 2013 Redistributable
The latest Windows Server updates
Download Unified Communications Managed API
Install Unified Communications Managed API
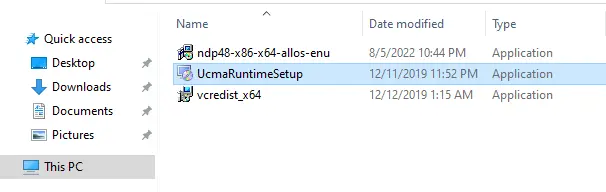
Double-click on the UcmaRuntimeSetup.exe file to install UCMA 4.0.
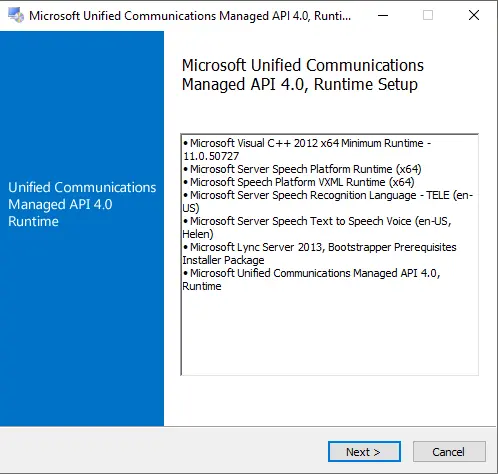
For Microsoft Unified Communications managed API setup, click next.
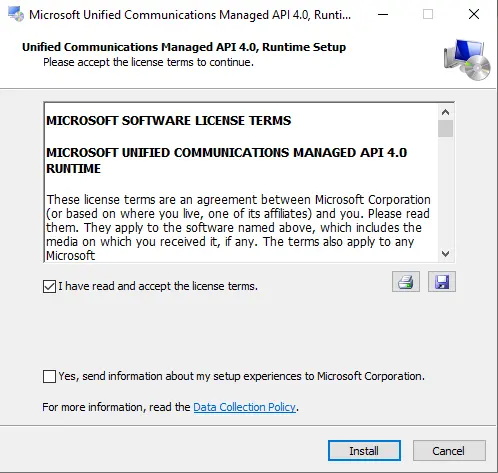
Choose I have read and accept the license terms, then click Install.
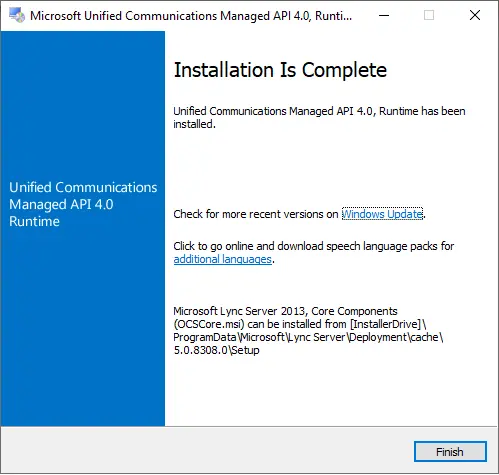
Installation is done, and clicks finish.
Download Visual C++ Redistributable Packages for Visual Studio 2013.
Install Visual C++ Redistributable Packages
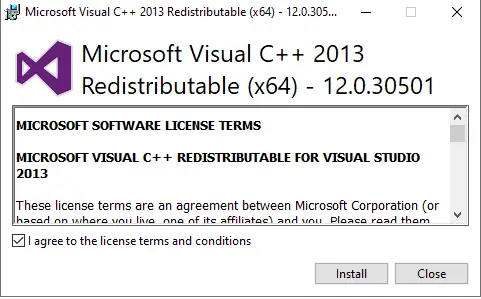
Run the setup to install Microsoft Visual C++ 2013 Redistributable.
Accept the license terms and conditions, and then choose Install.
Click close.
Active Directory Preparation
The first job in the installation of Exchange is to prepare the Active Directory environment where Exchange Server 2019 will be installed.
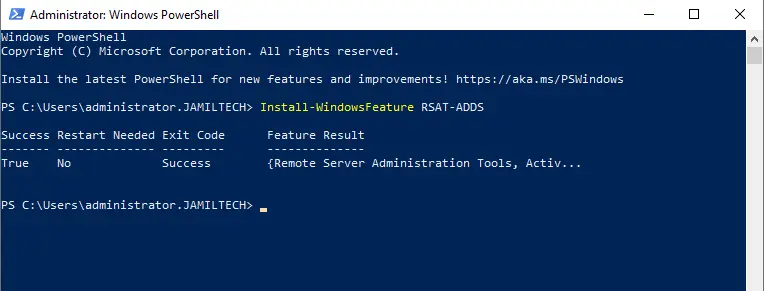
Launch a PowerShell with admin rights.
Type the below command, and then click enter.
Install-WindowsFeature RSAT-ADDS
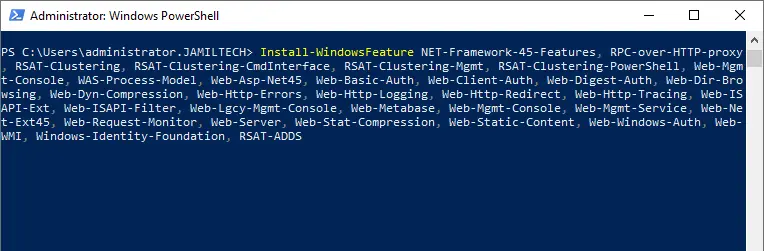
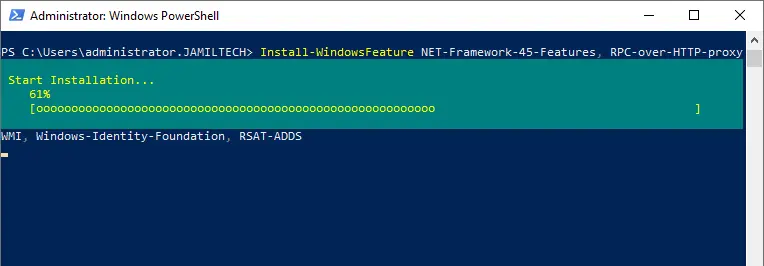
Now run the following command to install the Exchange server prerequisites:.
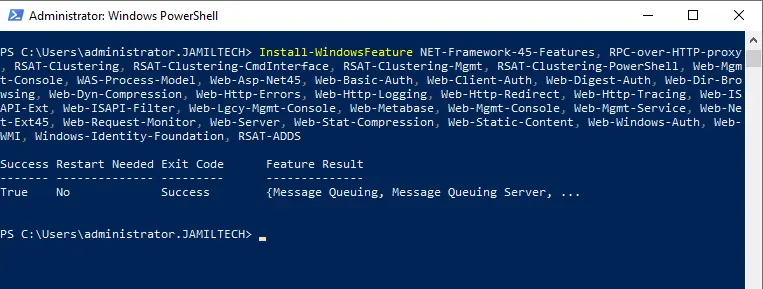
Install-WindowsFeature NET-Framework-45-Features, RPC-over-HTTP-proxy, RSAT-Clustering, RSAT-Clustering-CmdInterface, RSAT-Clustering-Mgmt, RSAT-Clustering-PowerShell, Web-Mgmt-Console, WAS-Process-Model, Web-Asp-Net45, Web-Basic-Auth, Web-Client-Auth, Web-Digest-Auth, Web-Dir-Browsing, Web-Dyn-Compression, Web-Http-Errors, Web-Http-Logging, Web-Http-Redirect, Web-Http-Tracing, Web-ISAPI-Ext, Web-ISAPI-Filter, Web-Lgcy-Mgmt-Console, Web-Metabase, Web-Mgmt-Console, Web-Mgmt-Service, Web-Net-Ext45, Web-Request-Monitor, Web-Server, Web-Stat-Compression, Web-Static-Content, Web-Windows-Auth, Web-WMI, Windows-Identity-Foundation, RSAT-ADDS
Default running process.
Installation Completed.
Prepare Active Directory and domains
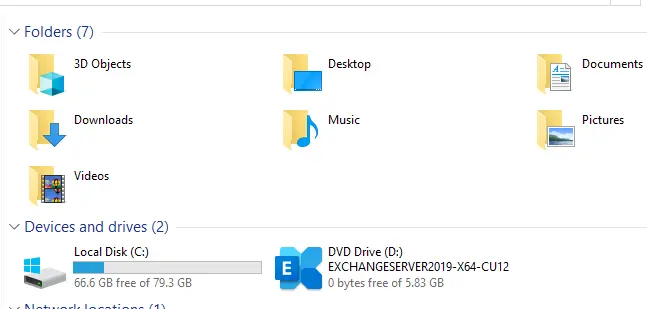
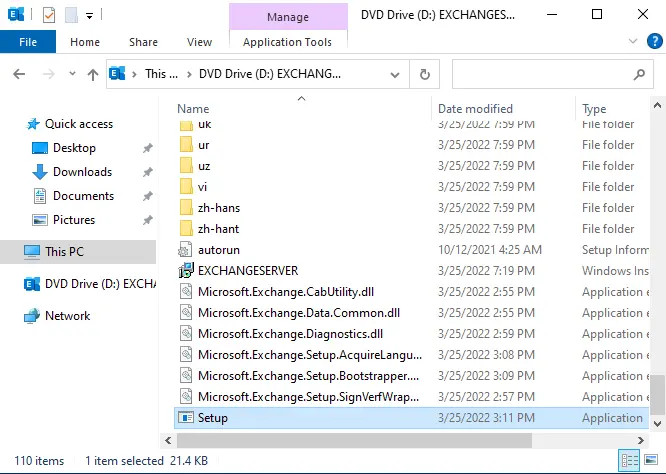
In File Explorer, right-click on the Exchange Server 2019 ISO image file and then choose Mount. For instance, the D:\ drive. The D:\ drive contains the Exchange 2019 installation files.
Prepare Active Directory Schema
To prepare the Active Directory and the domains for Microsoft Exchange 2019, follow the below steps. To perform the commands, the commands must be run using the Enterprise Admins group and Schema Admins group memberships.
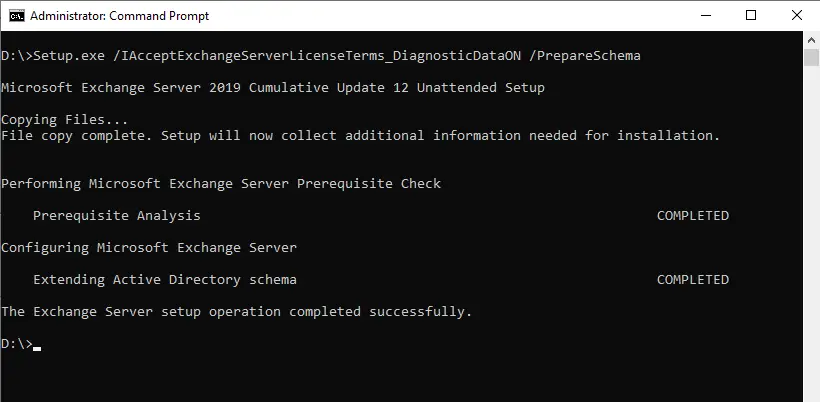
Run a command prompt with admin rights.
Go to the Exchange Installation media path
Type the following command, and then click enter.
Setup.exe /IAcceptExchangeServerLicenseTerms_DiagnosticDataON /PrepareSchema
Prepare Active Directory
Prepare Active Directory, type the below command, and then press enter.
Setup.exe /IAcceptExchangeServerLicenseTerms_DiagnosticDataON /PrepareAD /OrganizationName:"JamilTech"
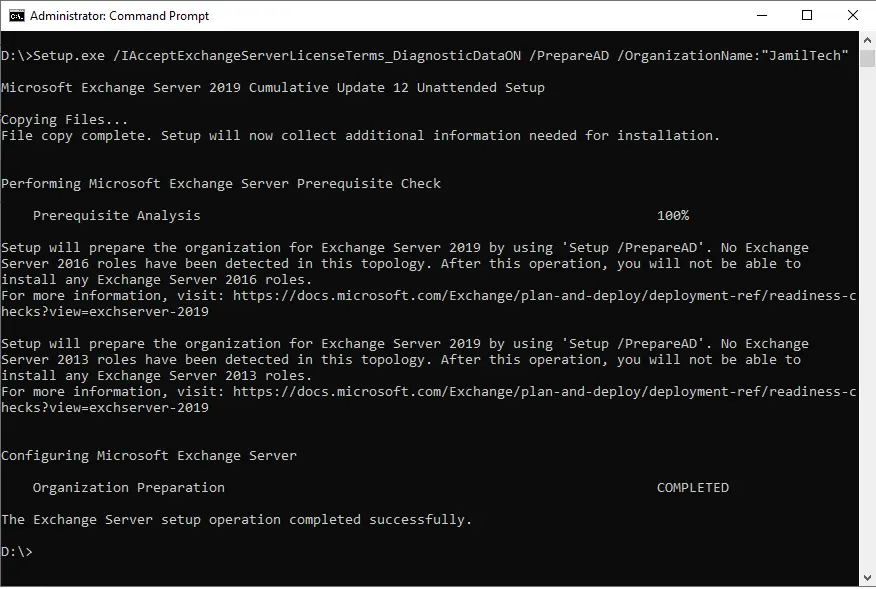
If you are going to install an Exchange server into an existing Exchange association, you don’t need to specify the organization name.
Run the below command to prepare Active Directory for Exchange Server 2019.
Setup.exe /IAcceptExchangeServerLicenseTerms_DiagnosticDataON /PrepareAD
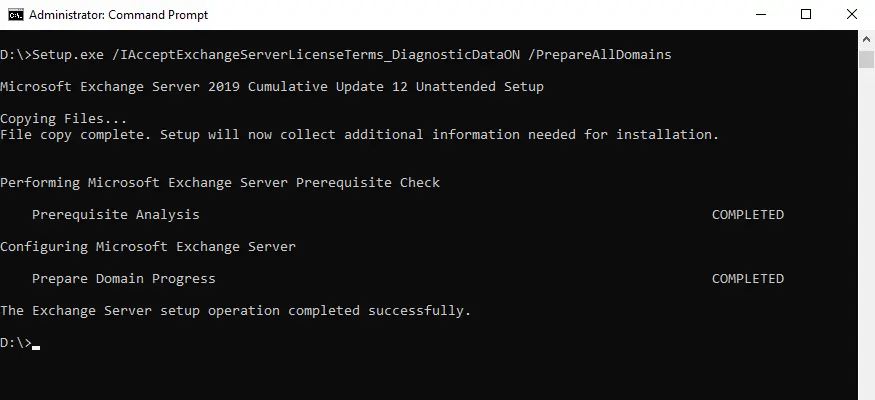
Prepare Active Directory Domains
Enter the below command, and then choose to enter.
Setup.exe /IAcceptExchangeServerLicenseTerms_DiagnosticDataON /PrepareAllDomains
Install Exchange Server 2019
Start Exchange Server 2019 installation by double-clicking on setup.exe
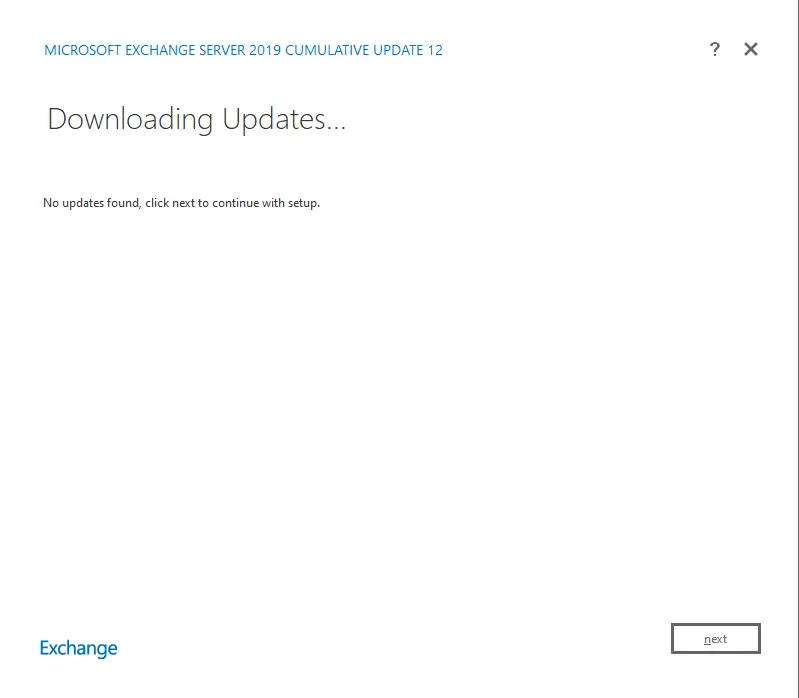
Installing Exchange Server 2019, On the Check for Updates window, tick “connect to the Internet and check for update option” Download security updates for Microsoft Exchange 2019 and click next.
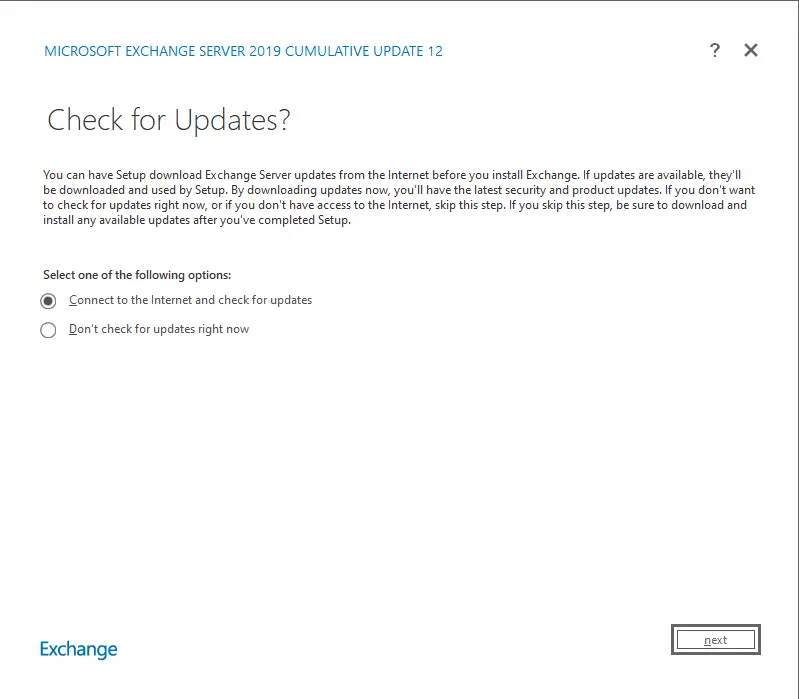
Start downloading Microsoft Exchange server updates.
Copying files.

Initializing Setup.

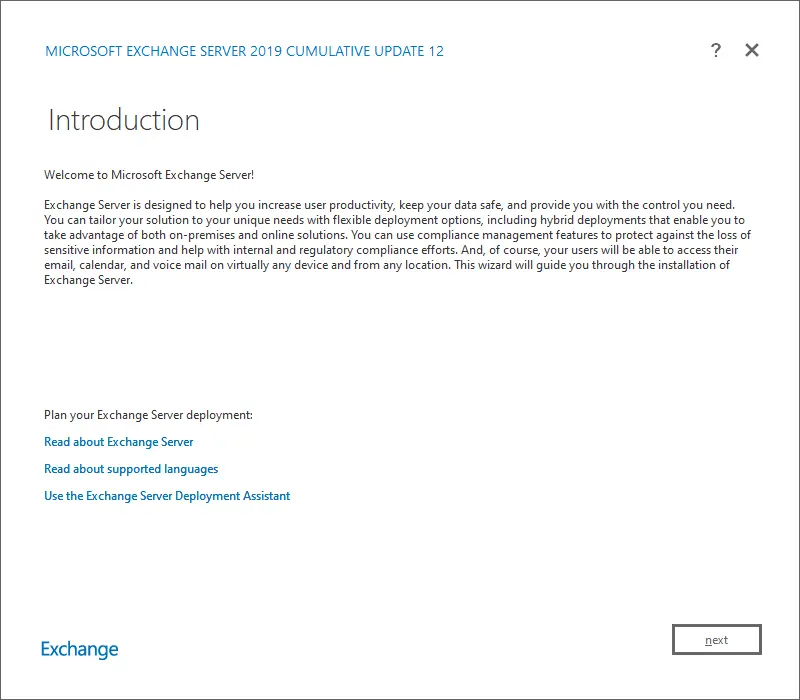
Welcome to the Microsoft Exchange server introduction page, and click next.
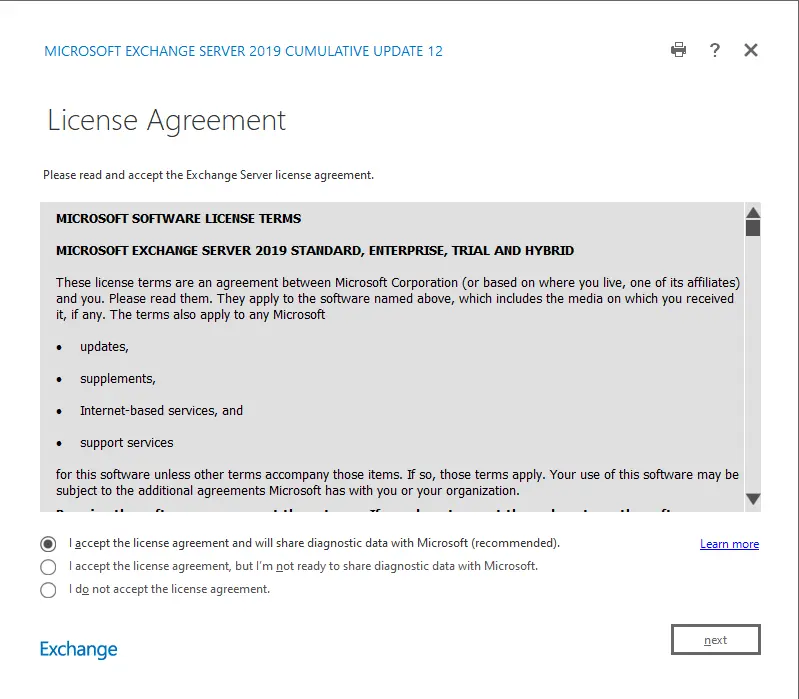
On the License Agreement, choose I accept the terms of the license agreement, and then choose Next.
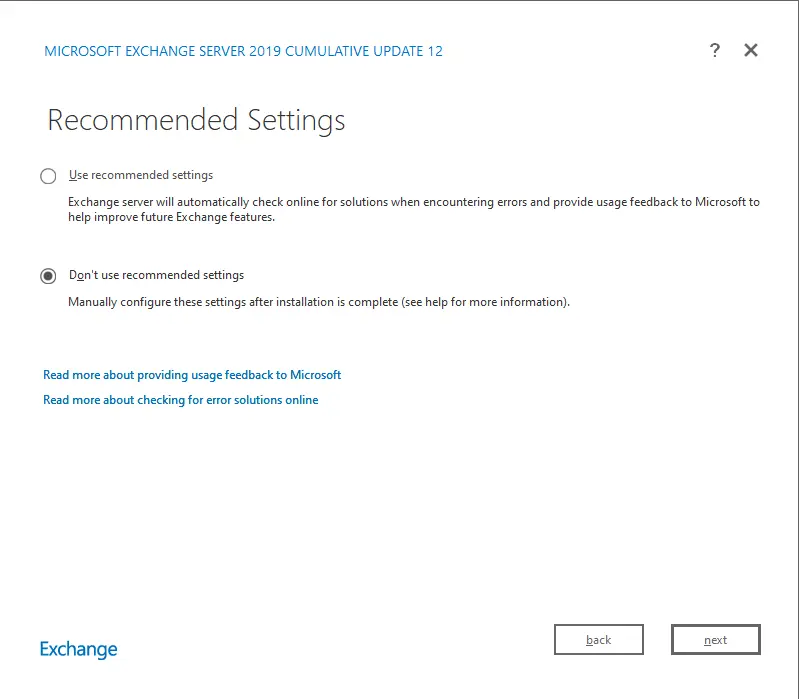
Microsoft Exchange Server 2019 Cumulate update, recommended settings, and then click next.
Microsoft Exchange 2019 role selection (only two roles: mailbox installation and edge transport). Choose “automatically install Windows server roles and features” that are required to install the exchange server, and then choose next.

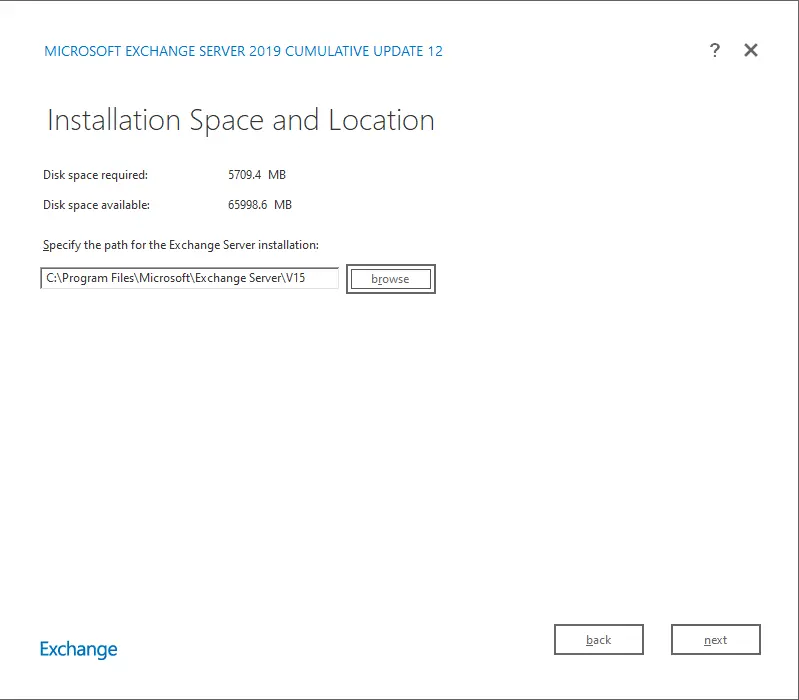
On the Installation Space and Location window, click next.
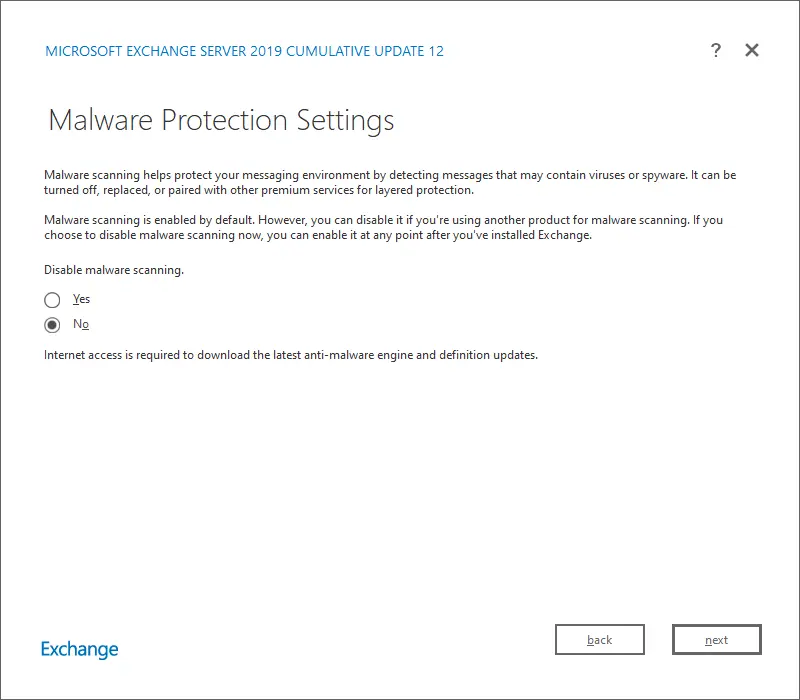
In the Malware Protection Settings window, you can enable or disable malware scanning. Click next.
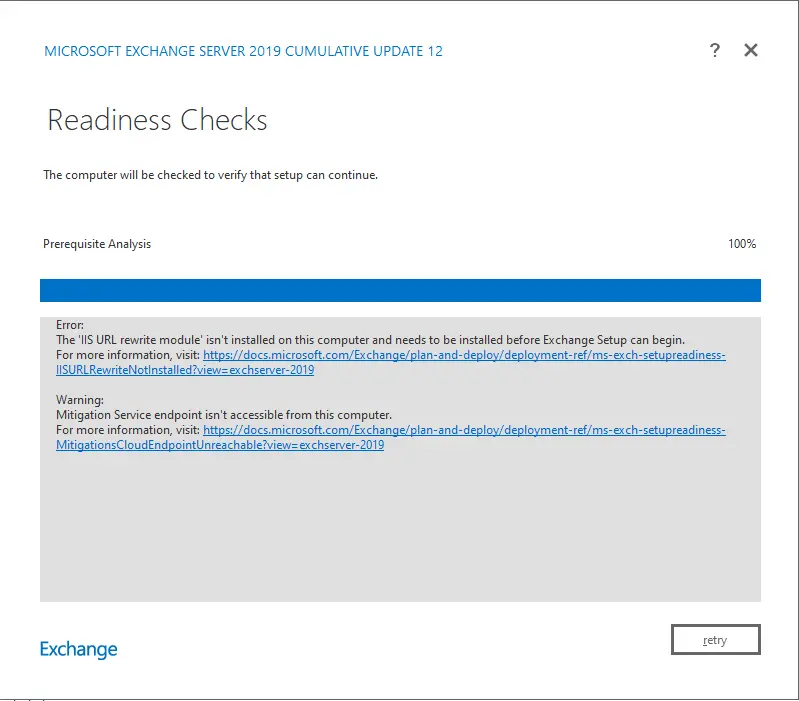
According to my experimentation, the IIS URL Rewrite module v2 has to be installed on Exchange Server 2019.
IIS URL Rewrite Check
If you attempt to install the current CUs without installing the IIS URL rewrite, the installation is blocked, and you can’t install the CU.
Note: You shouldn’t uninstall the IIS URL rewrite after installing the Exchange server just to try and remove it. It will be needed for the next CU.
Microsoft Exchange On-Premises Mitigation Tool
Warning Mitigation service endpoint isn’t accessible from this computer.
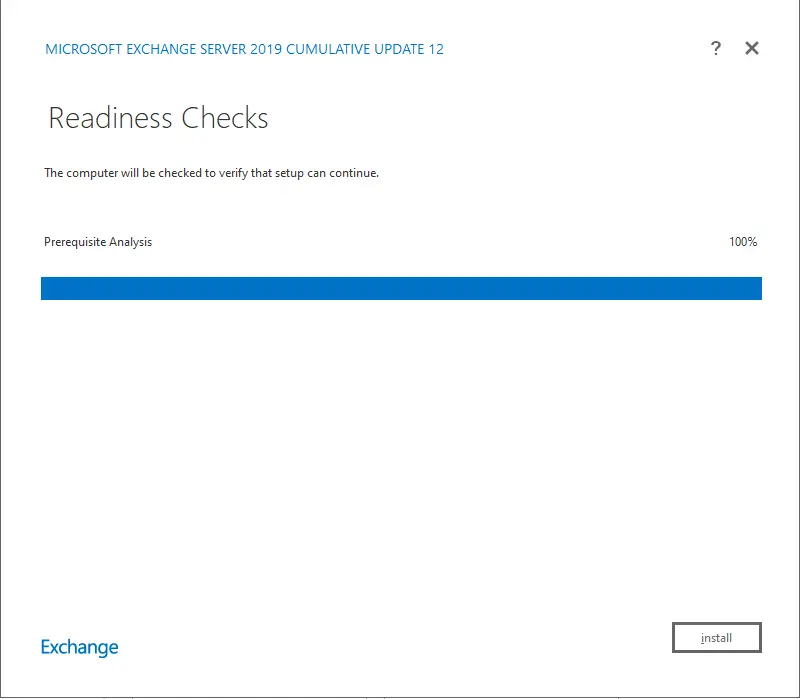
Once you have solved the error in the Readiness Checks window, click again on the retry button.
The readiness check was successfully completed, then click install.
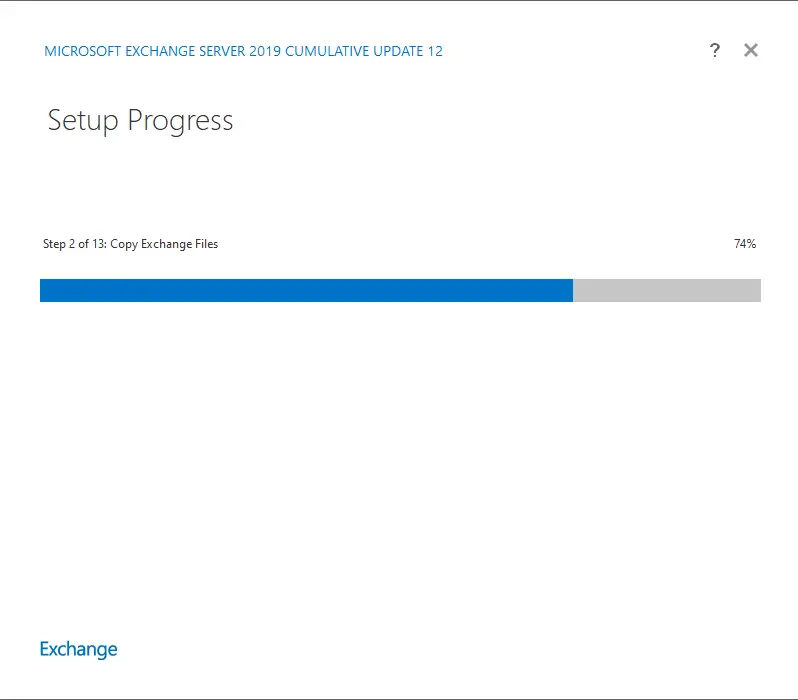
Installing Exchange Server 2019
Now the Exchange Server 2019 installation has started, and it will take some time to complete the process.
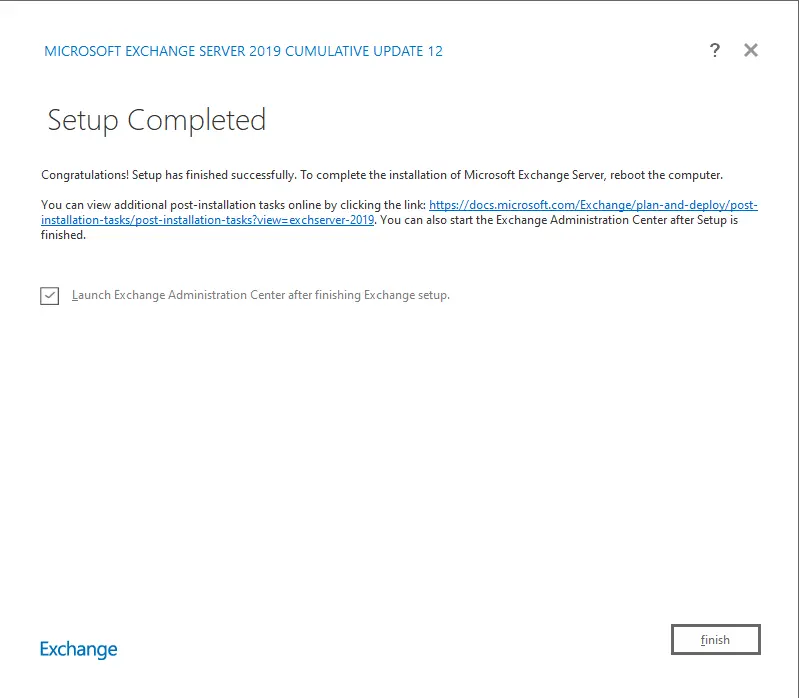
Exchange Server 2019 Setup completed successfully; click on Finish, and then reboot the server.
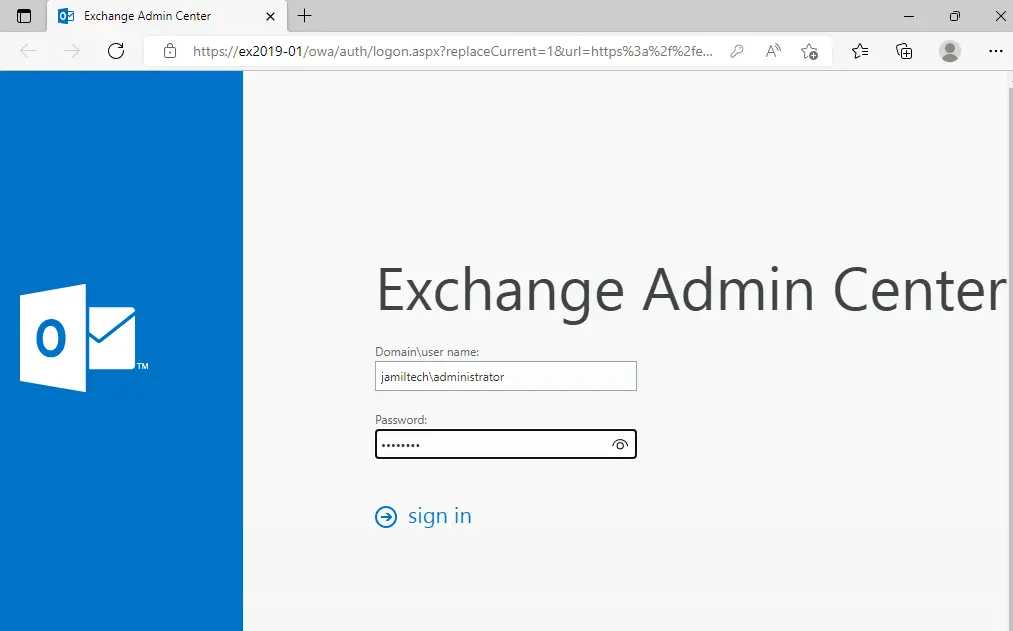
Open any web browser and type the URL https://localhost/ecp
Enter username and password and then choose sign in.
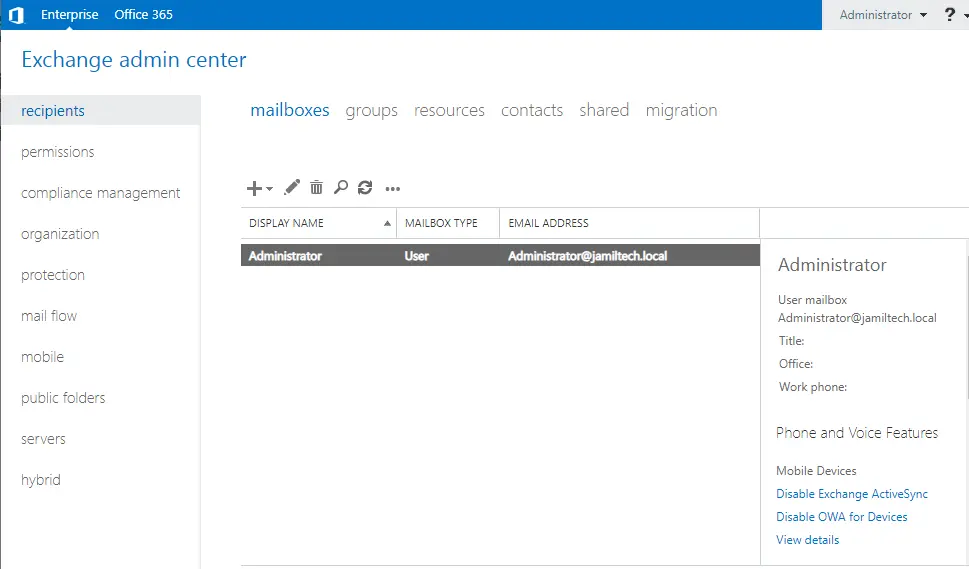
Exchange Admin Center 2019.
To check the installed exchange server version, type
Get-ExchangeServer
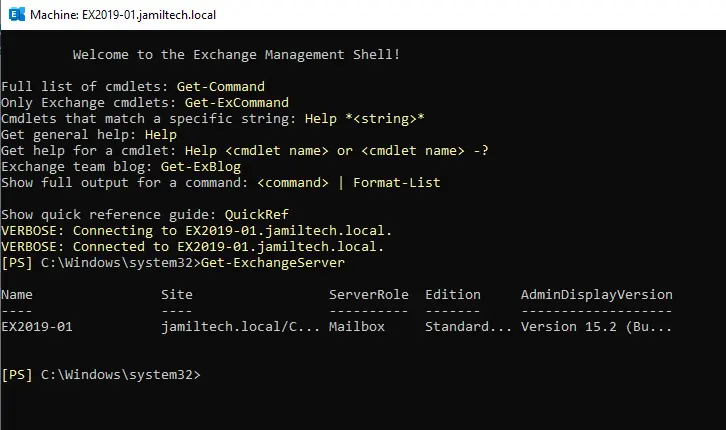
Install exchange server 2019 PowerShell Command
\Setup.exe /IAcceptExchangeServerLicenseTerms_DiagnosticDataOFF /mode:Install /r:MB
Related: How to Backup and Restore Exchange
Related: How to Configure Outlook Anywhere

