This article describes how to configure File Share Witness on Windows Server 2022 Failover Clustering. Installing the Cluster is very simple these days. A file share witness is a fundamental file share that the cluster computer has read/write access to. The file share should be on a different Server 2012 in the same domain where the cluster resides. We have to configure a “File Share Witness” on a server that is not part of the cluster. Have a look at Microsoft document to learn more.
Configure File Share Witness
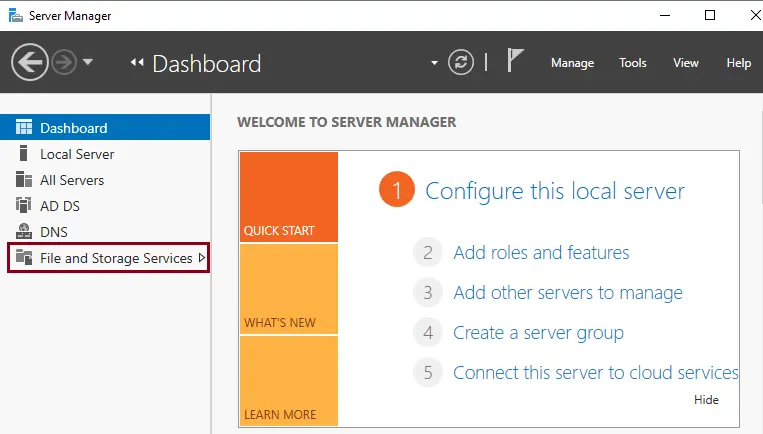
Launch server manager on that server where you need to enable a file share witness. From your left side, click on the file and storage services.
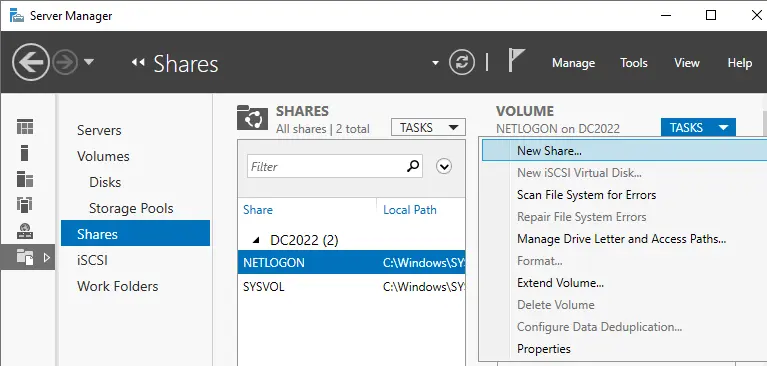
Select the shares, go to the volume section, click on tasks, and then choose New Share.
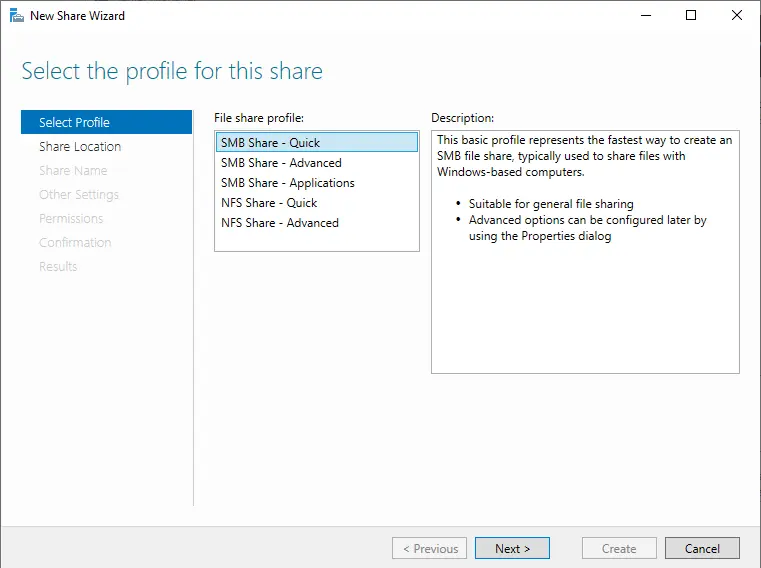
Select the file share profile for this share page, click on SMB Share – Quick, and then click next.
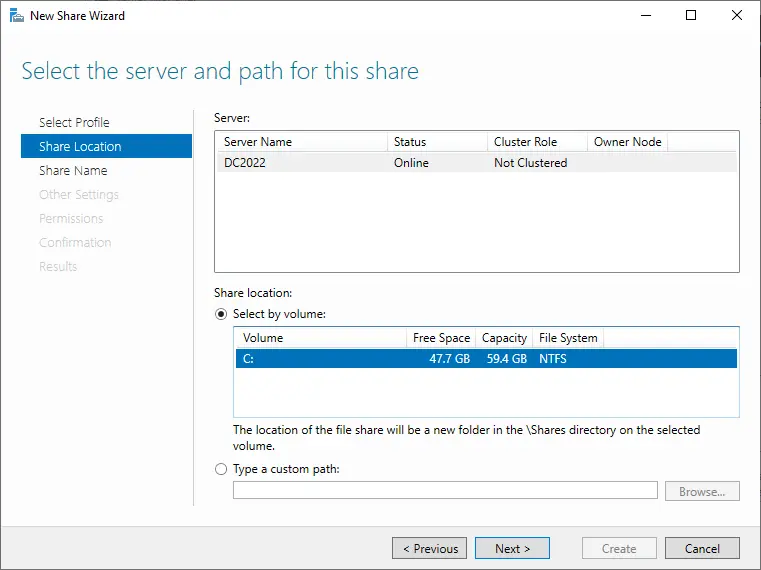
Share location options (server or path) and choose next.
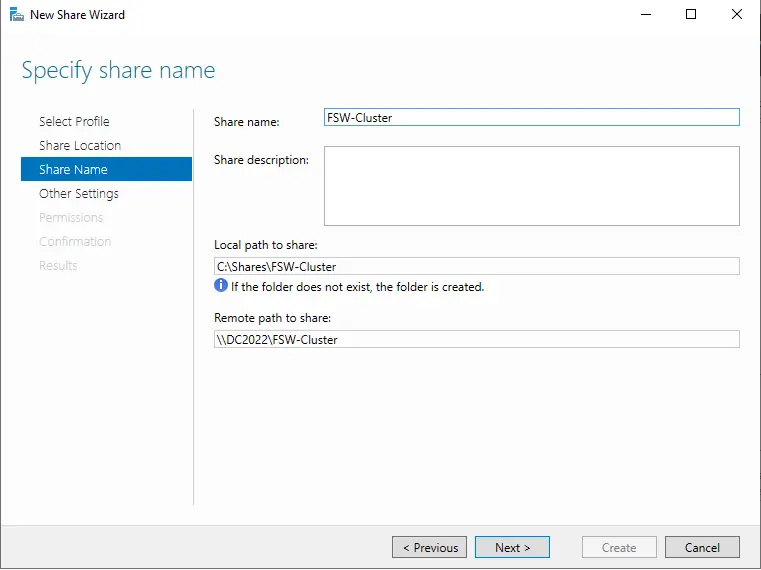
Type a unique file share name and share descriptions, and then choose next.
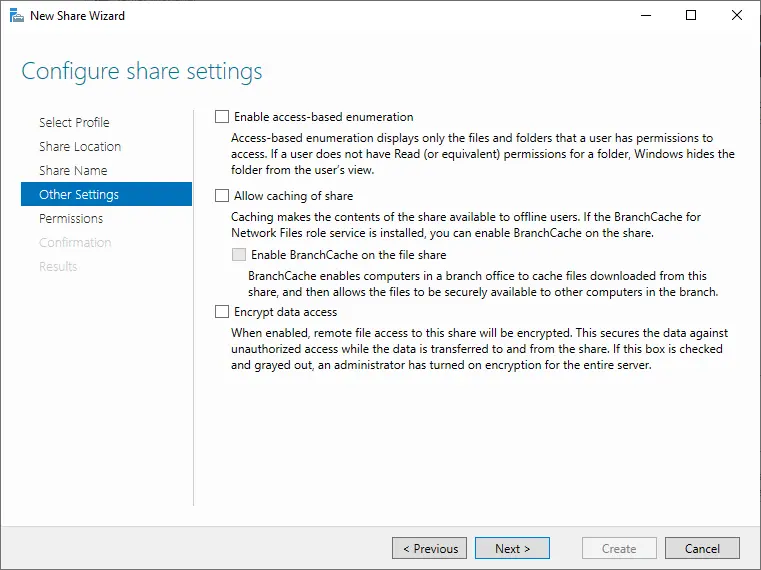
Configure the share settings page, untick Allow caching of share, and then click next.
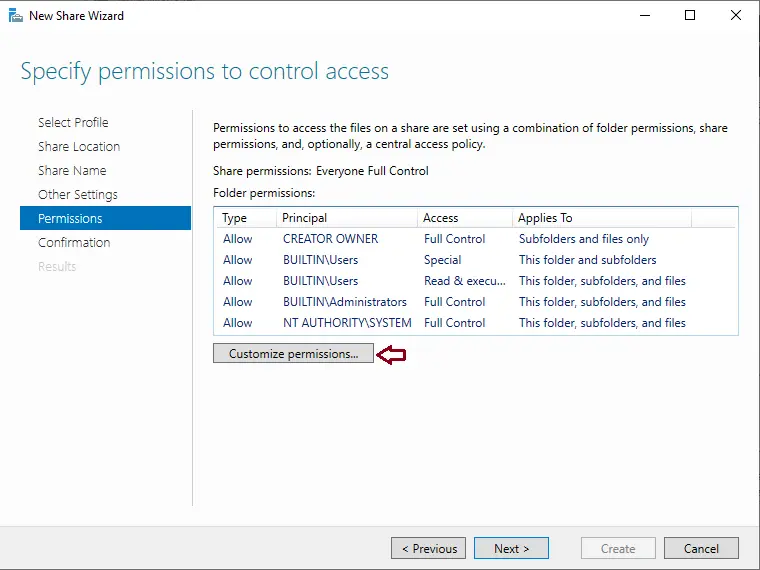
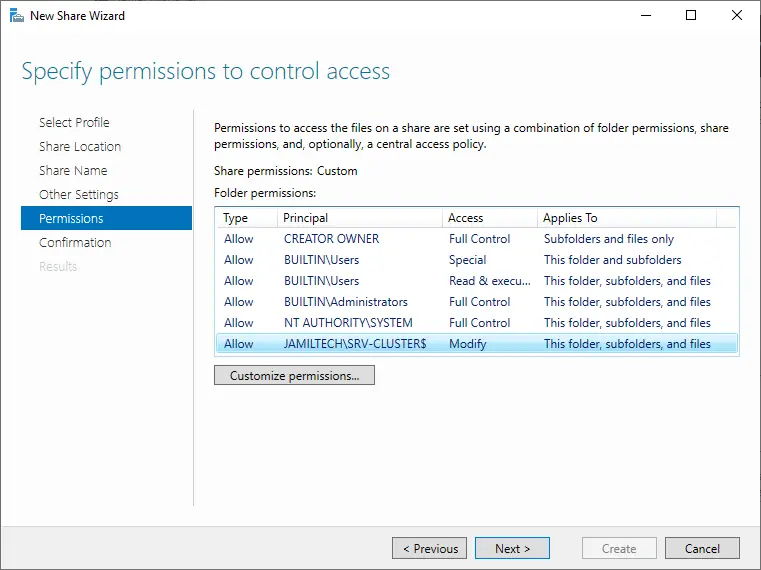
Specify permissions to control the access interface, and click on Customize permissions.
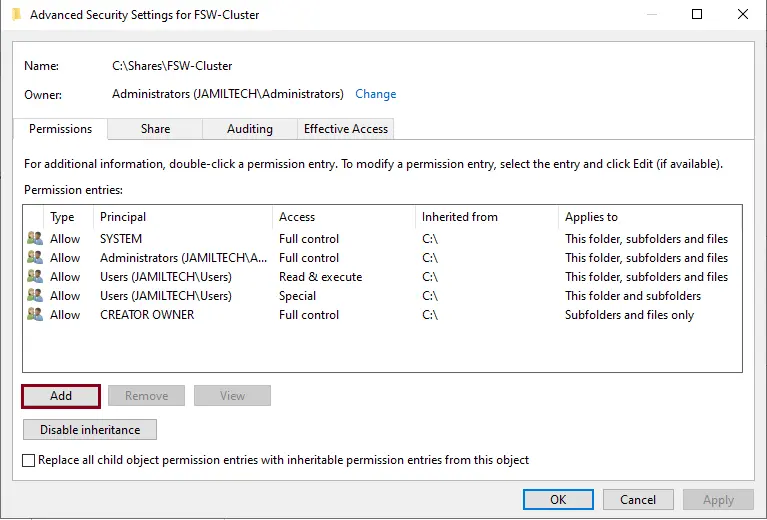
“Advanced Security Settings” for the file share witness interface; click on Add.
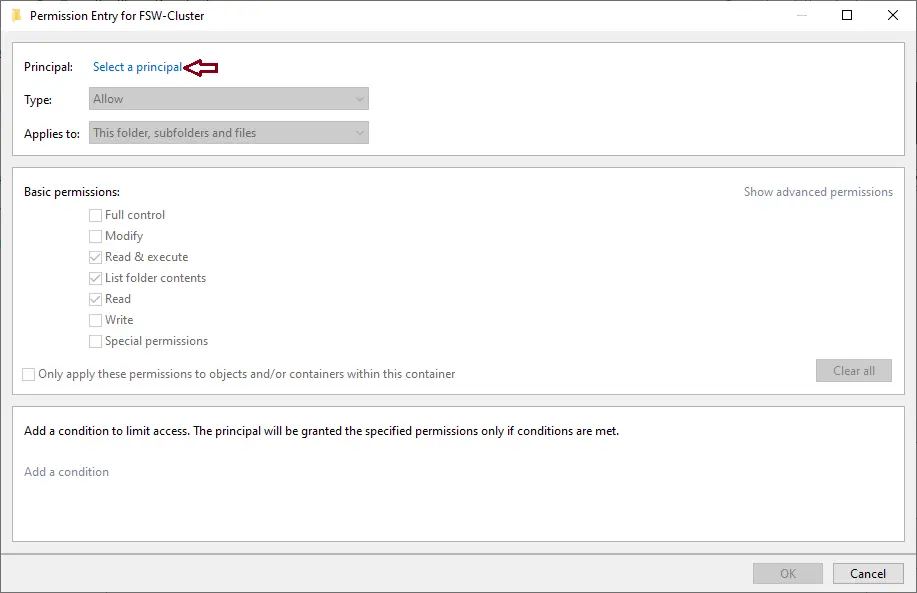
Click on Select a principal.
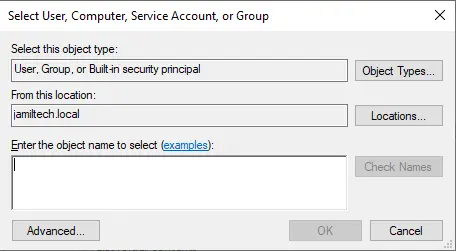
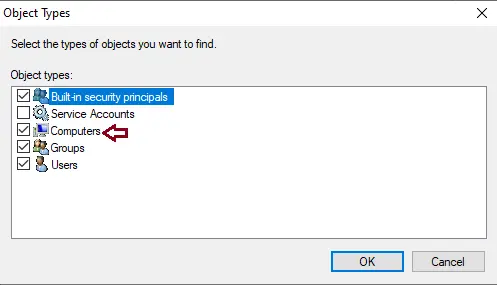
Select Object Types.
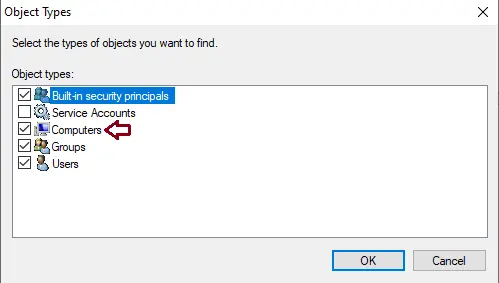
Tick the Computers box, and then click OK.
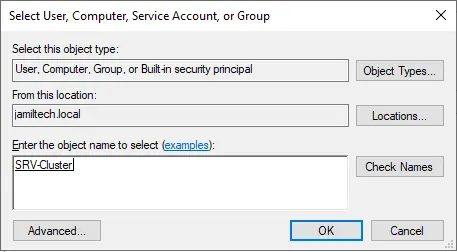
Type your cluster name in my case (SRV-Cluster), choose check names, and then click OK.

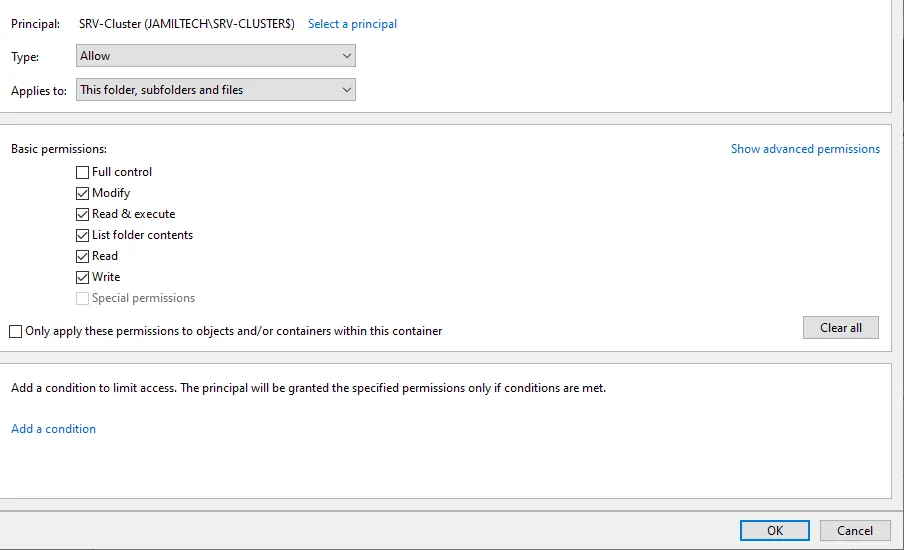
Under Basic Permissions, select the Modify box and choose OK.
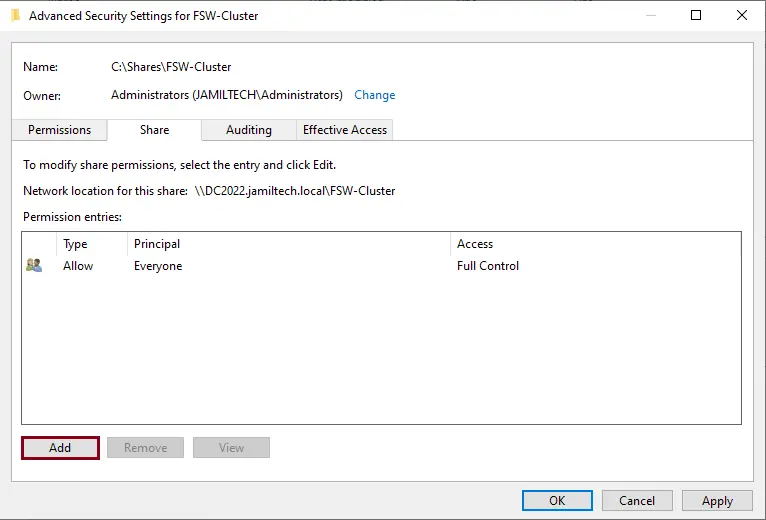
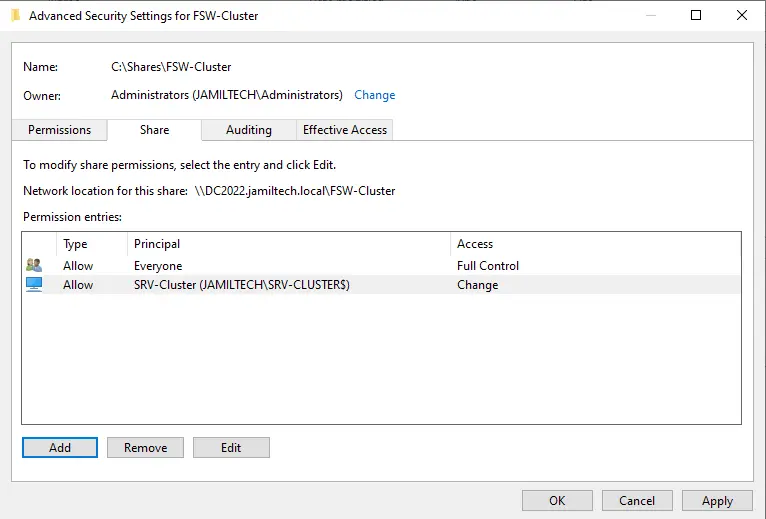
Select the Share tab, and then click on the Add button.
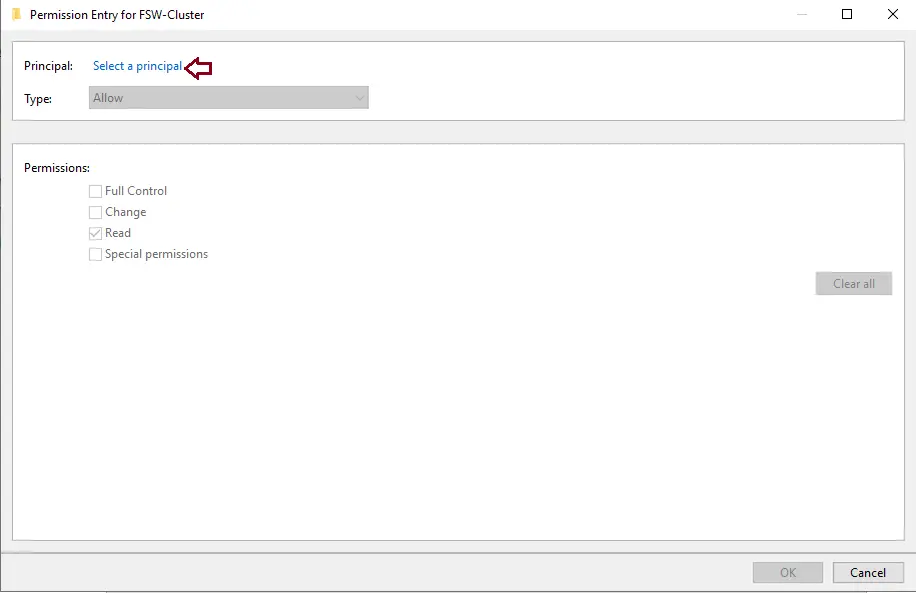
Click on Select a principal.
Click on Object Types.
Tick the Computers box, and then click OK.
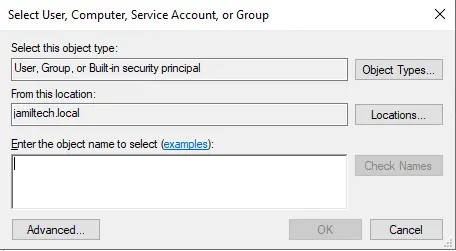
Type your cluster name, choose Check Names, and then click OK.
Under Permissions, select the change box, and then click OK.
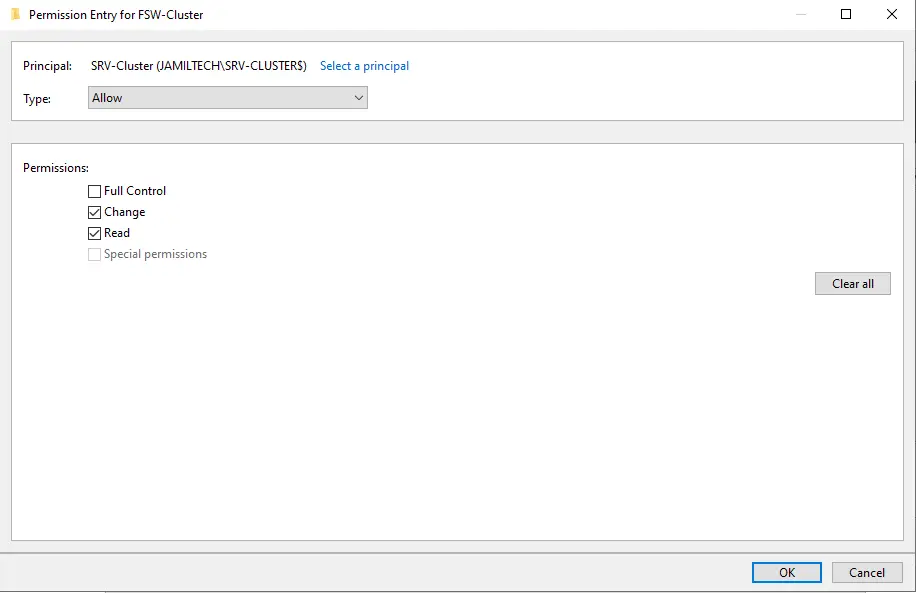
Click ok
Choose Next
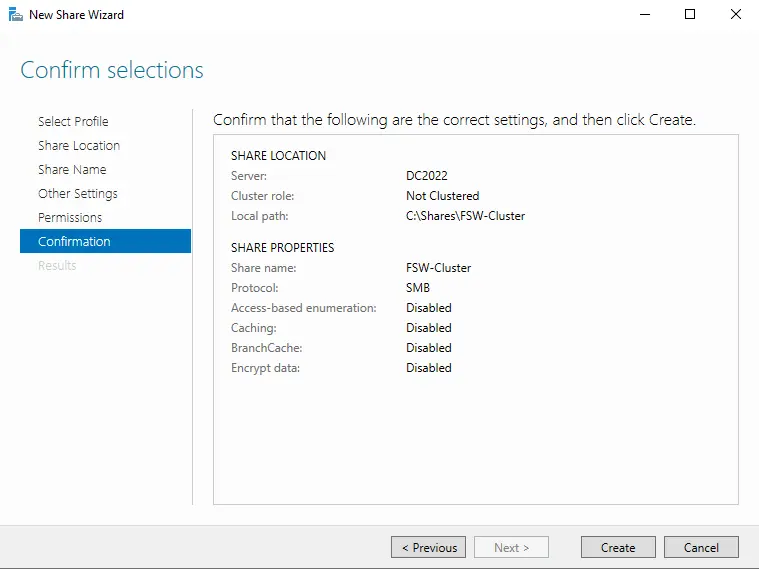
Read the confirmation selections, and then click Create.
The shared folder is created successfully; choose close.
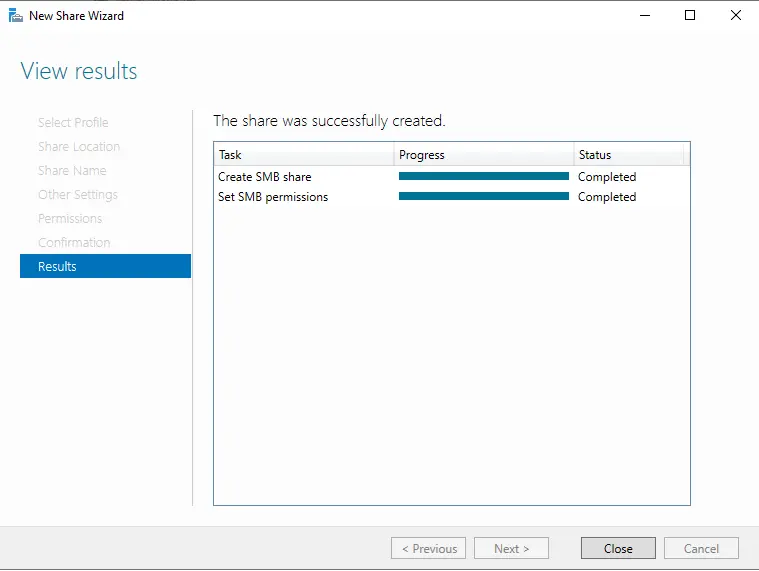
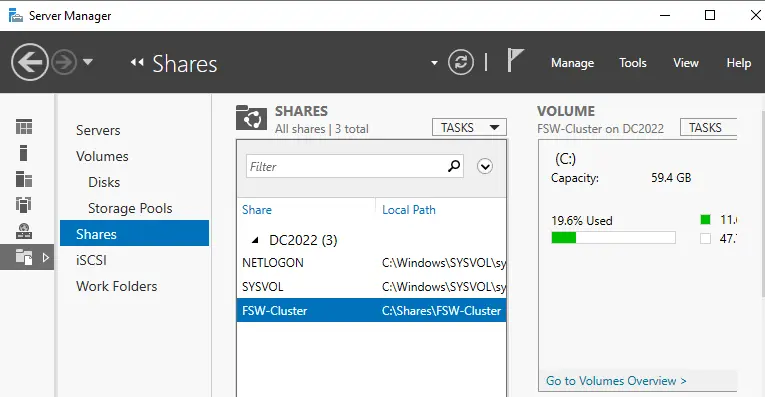
The file share witness folder has been created on Windows Server.