This article explains how to install Veeam Backup & Replication V11A Community Edition Server. Installing Veeam Backup & Replication Community Edition is free and allows you to backup up to 10 virtual machines or up to 10 workstations. This can be the best option for your small organization. You will need a physical server or workstation running the Windows operating system for the Veeam installation. It can also be a desktop Windows computer with enough local disk space to install Veeam Backup and Replication. You will be able to back up your desktops, laptops, and virtual machines to a central location within a single console.
Table of Contents
System Requirements Veeam Backup & Replication
Before you start using Veeam Backup & Replication, make sure the system requirements are met.
Download Veeam Backup & Replication
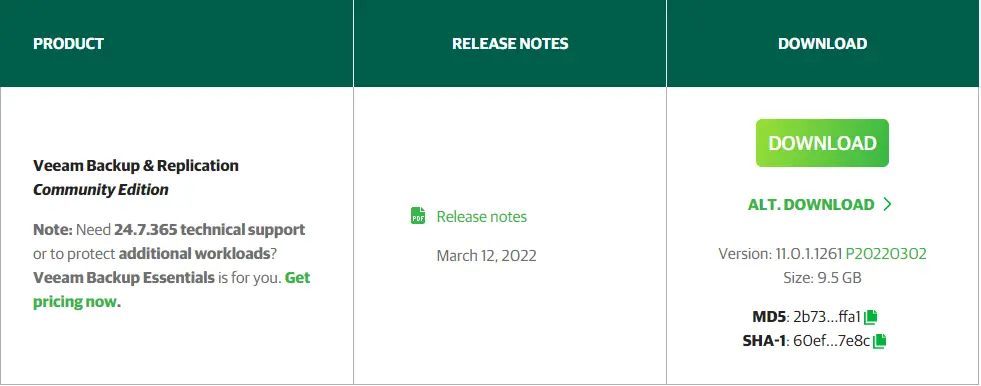
You can download Veeam Backup and Replication from the Veeam official website. You will need to set up an account (setup is free).
Install Veeam Backup & Replication V11A
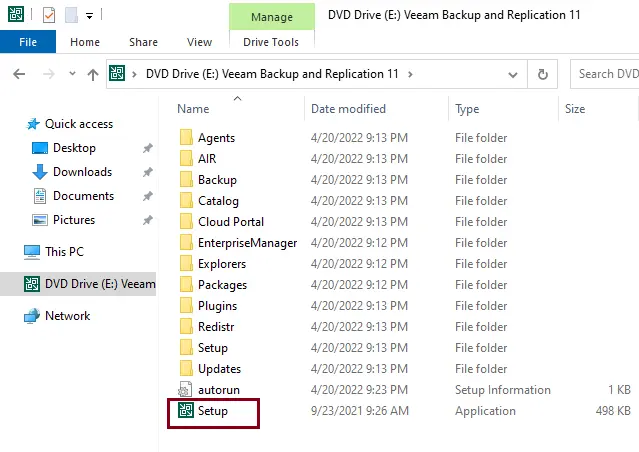
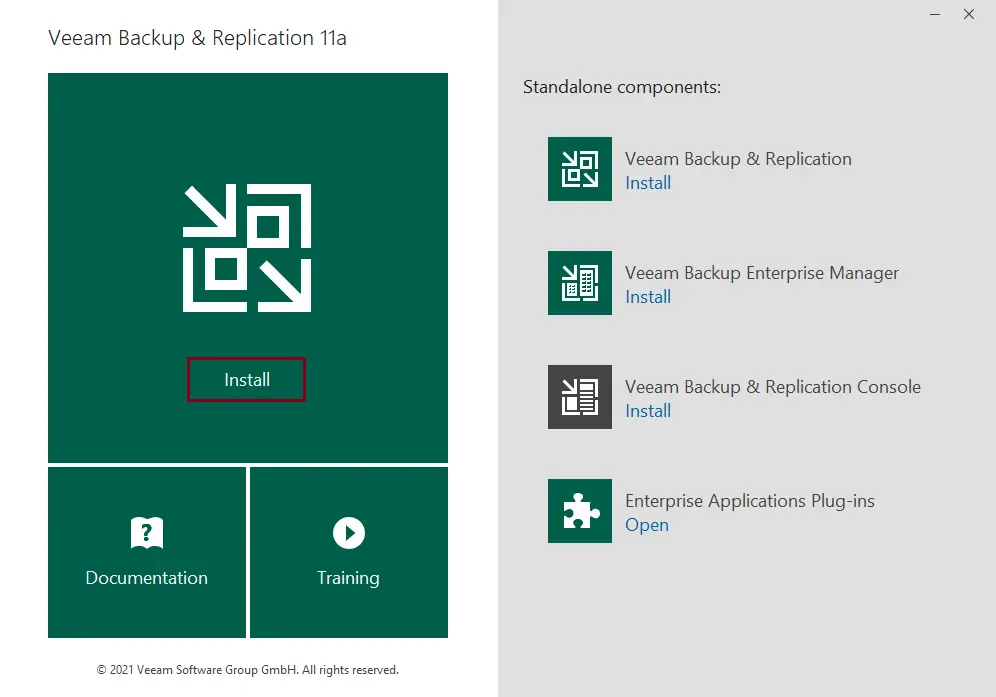
Once you have the Veeam Backup ISO file downloaded, you need to mount it on your server. Next, you can run the setup by clicking on Install, as shown below.
Select the main install button, and then wait to launch the Veeam setup.
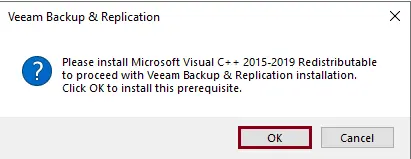
Click ok to install Microsoft Visual C++
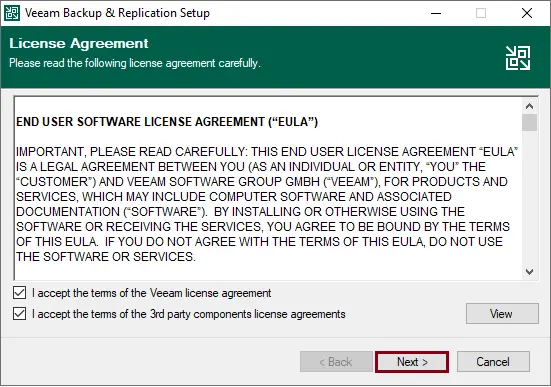
Accept the Veeam license agreement, and then click Next.
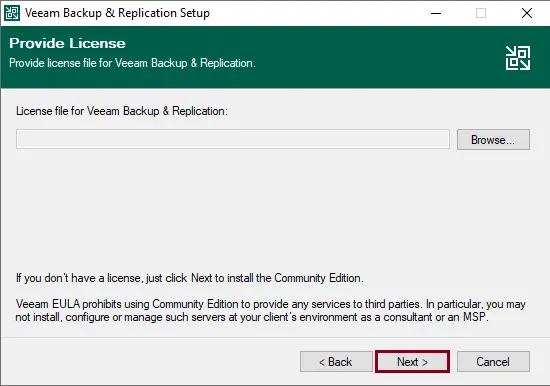
The provider license step is optional. You can simply click Next with the Veeam Backup & Replication installation, and it will install the Veeam Backup & Replication Free Edition mode. The Veeam install wizard will inform you if you already have a license on your computer.
Or you can click on the Browse button to provide a license file, locate the *.lic file within the file explorer, and then choose Next.
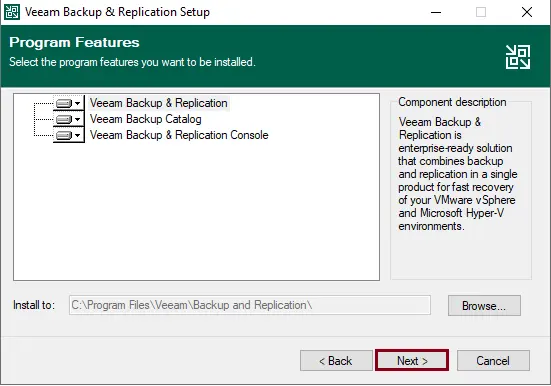
The Veeam Program Features screen will let you select the components you wish to install.
Veeam Backup & Replication
Veeam Backup Catalog
Backup & Replication Console.
Click next
Now you get to the Veeam System Configuration Check, where Veeam offers you to install the missing components. Click the Install button.
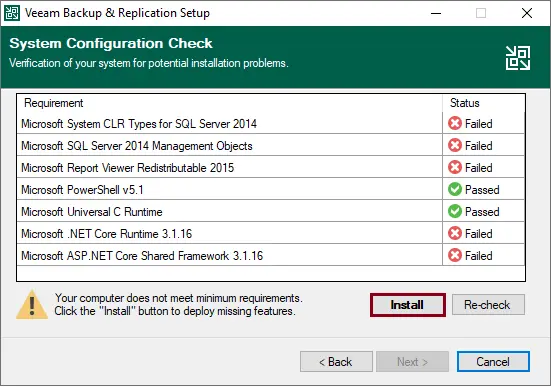
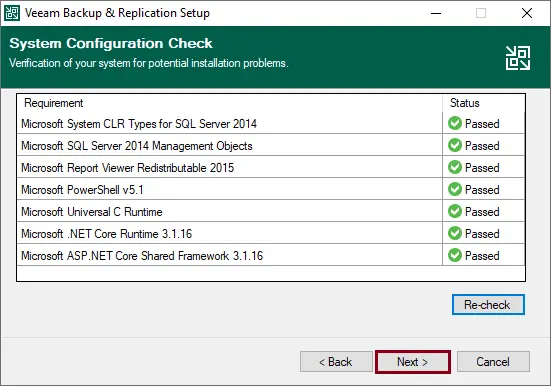
Once the required component is installed, click next.
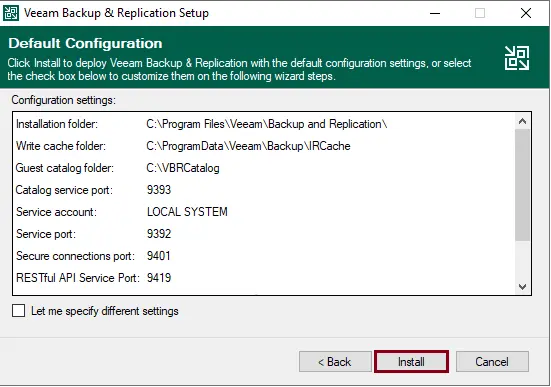
You can complete the Veeam installation using the default configuration, or you can customize it. To change the settings, select the checkbox “Let me specify different settings” and then click Next.
Installing Microsoft SQL Server Veeam.
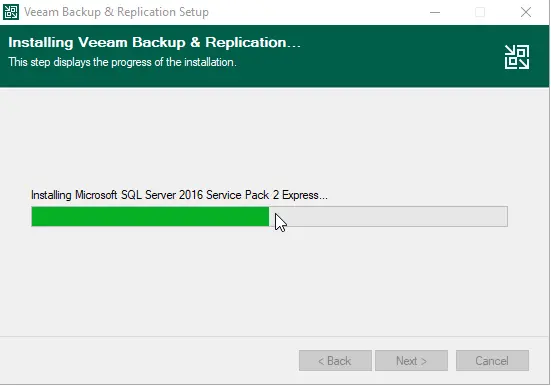
Installing Veeam Backup & Replication Server
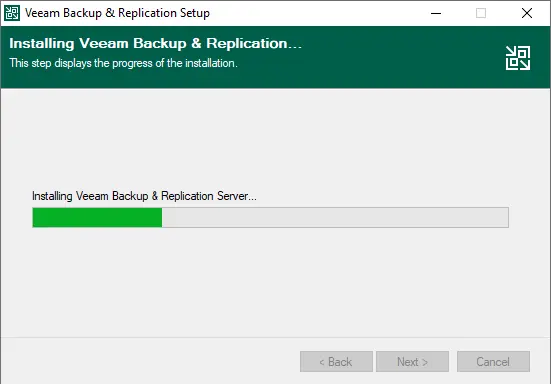
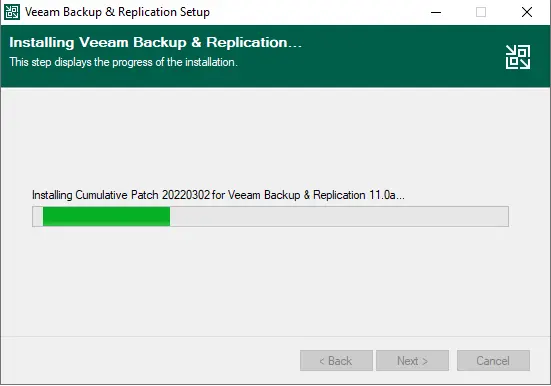
Cumulative patch: Installing Veeam
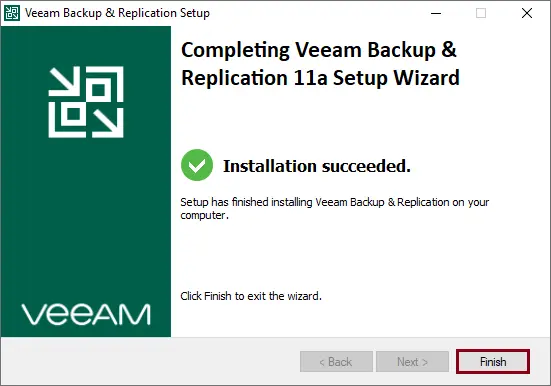
Veeam Backup & Replication 11 Setup is complete; click Finish.
Start Veeam Backup & Replication
To open Veeam Backup & Replication, follow the steps.
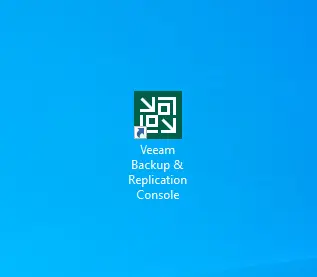
Now, you should have a shortcut on your desktop for the Veeam Backup & Replication Console. Open it
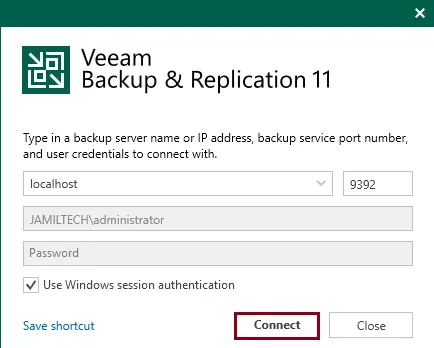
Now you are prompted to log in, so select Connect.
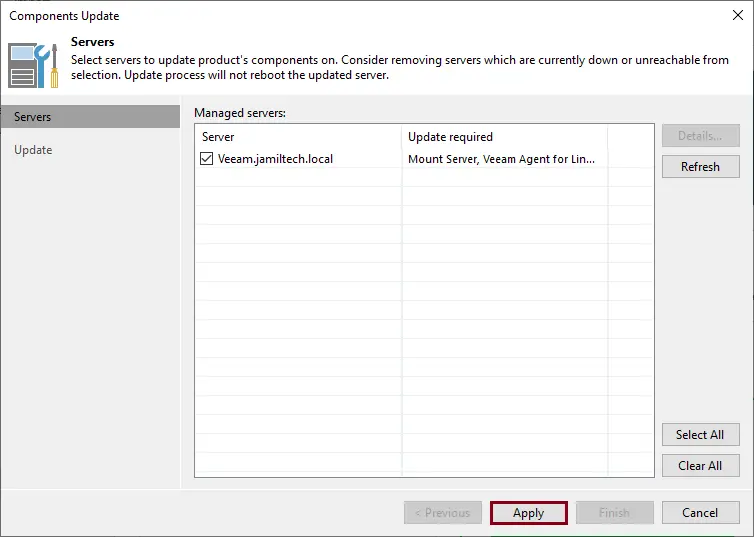
Veeam Backup & Replication components update, click on Apply.
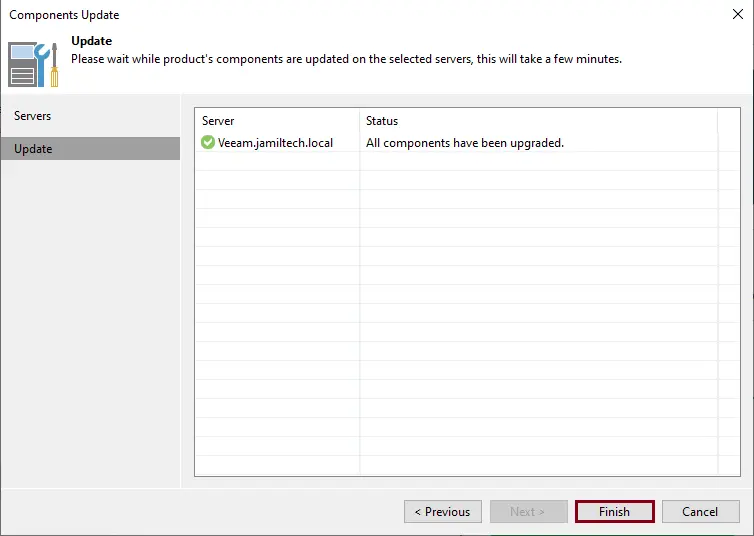
All components are successfully upgraded; click finish.
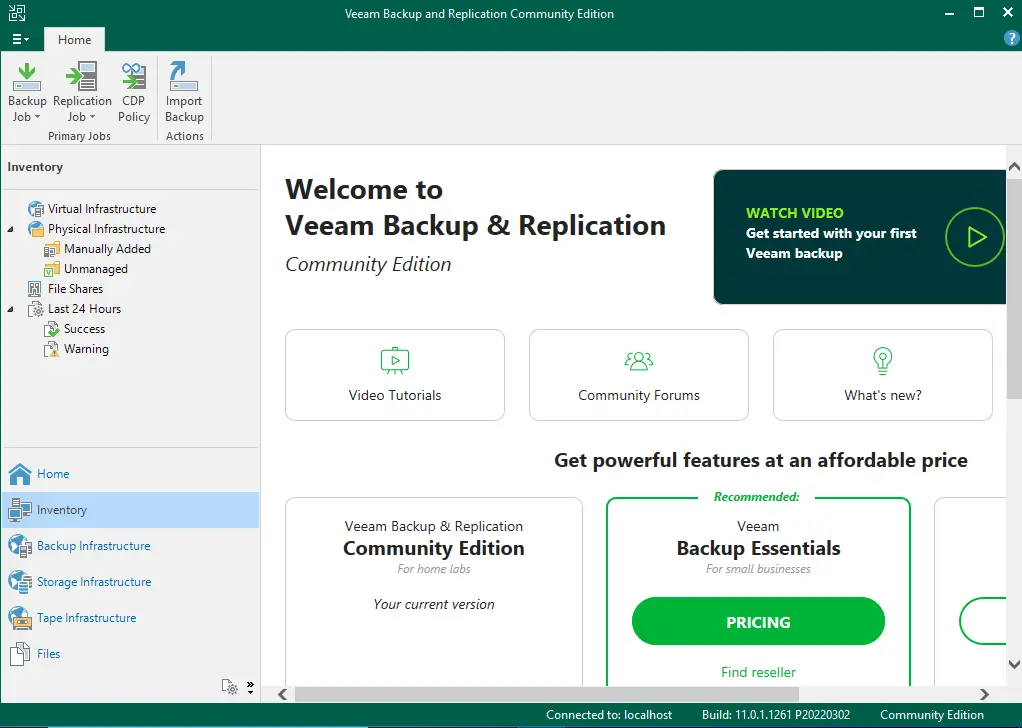
Veeam Backup and Replication Console.
Read this Veeam to learn more about installing Veeam Backup & Replication V11.
In the next article, you will learn how to Add Backup Repository in Veeam.

