This article walks you through how to install Local by Flywheel WordPress. First, we will take a minute to talk about the types of features Local by Flywheel offers and who may find them helpful. We will teach you how to use it. Local by Flywheel is one of the most straightforward pieces of software you can use to set up a local WordPress testing environment. The local by flywheel software packs plenty of features. There are also advanced developments on the horizon, such as the capability to import remote websites and enable off-site backups.
Table of Contents
The Local by Flywheel makes it easy to install WordPress on the computer, clone a site, and even push your local version live.
Download and Install local WordPress
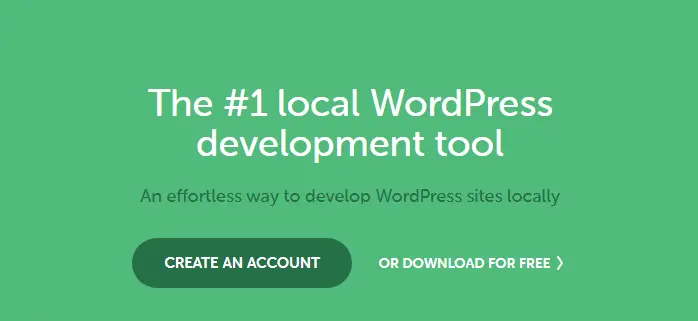
Getting Local by Flywheel on your computer’s hard drive. For that, visit the localwp website and then click on Create an account.
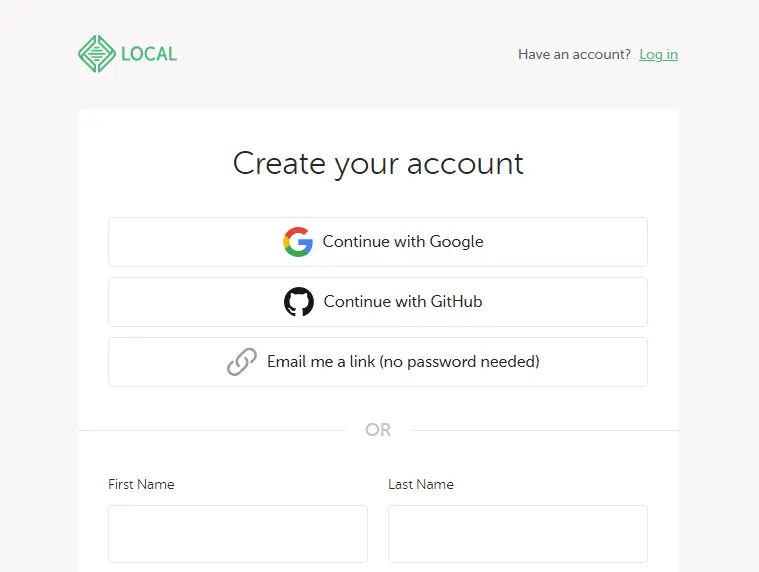
Create a local by flywheel account, continue with a Google account or sign up.
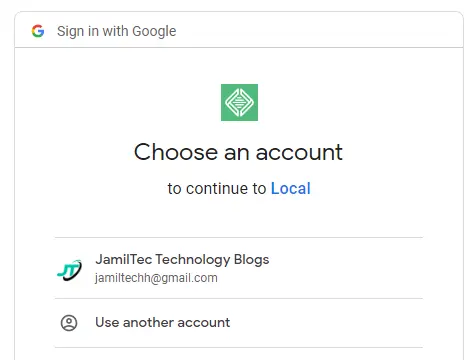
Choose your email account.
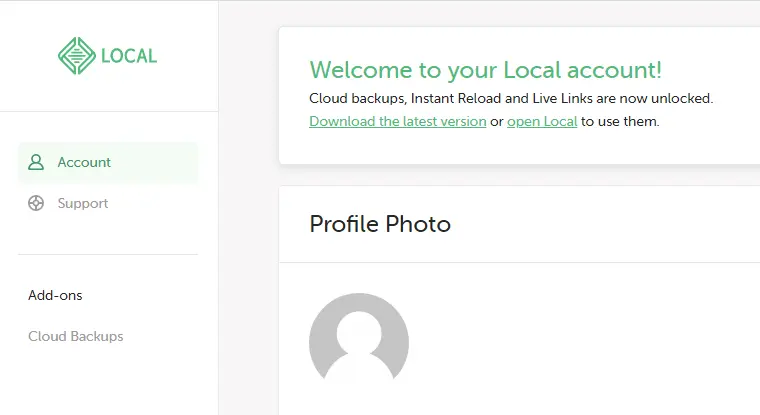
Welcome to your local account! Click on Download the Latest Version of Local by Flywheel.
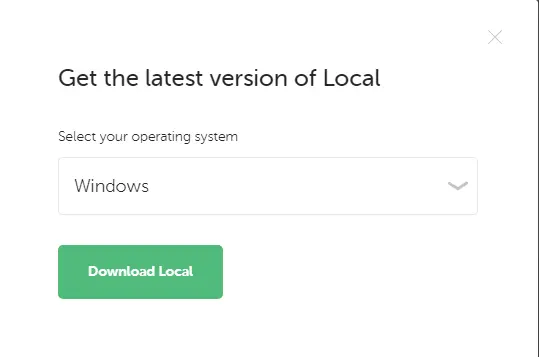
This will open a new page, in which you have to choose an operating system (Mac, Windows, or Linux) and then click on download local to download the WordPress installer.
Install Local by Flywheel
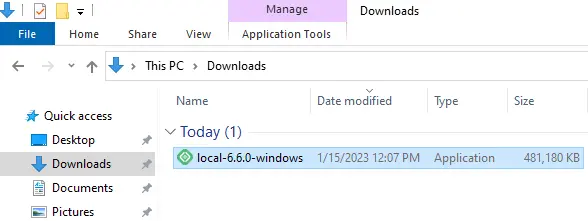
Now go to your download directory and double-click on the Local by Flywheel installer file to install Local by Flywheel. Make sure you have admin rights.
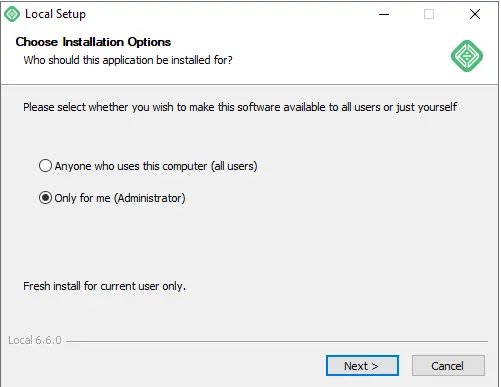
Choose installation options and click next to install the flywheel locally.
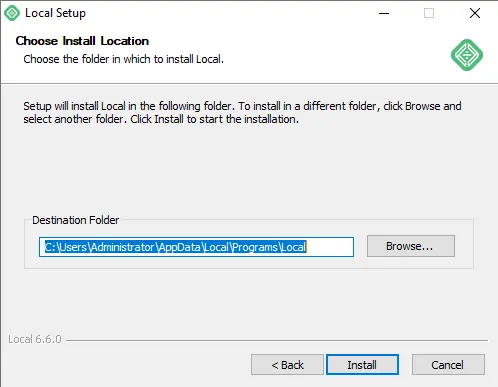
If you wish to install at the default location, simply choose Install, or you can change the destination folder by clicking the Browse button.
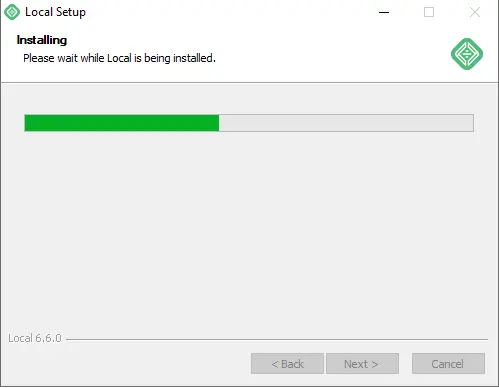
Local by flywheel WordPress local installation is in progress.
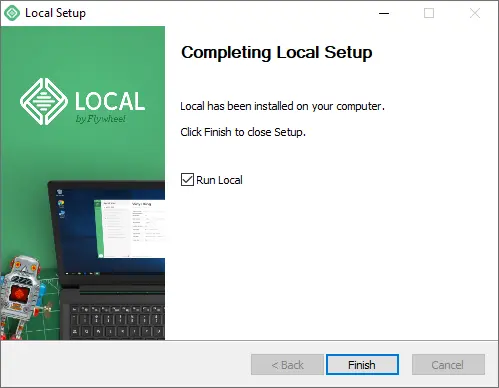
Select the run local box, and then choose the finish.
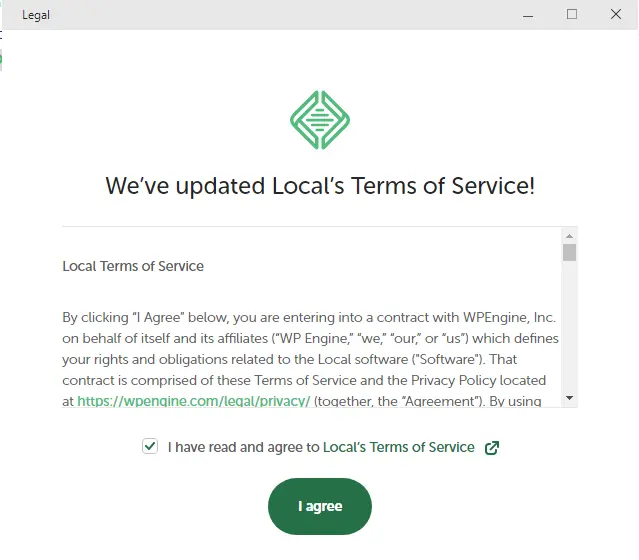
Select I agree.
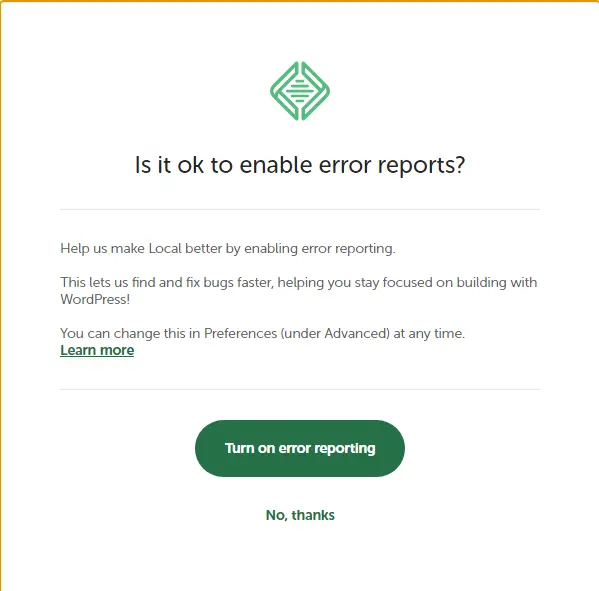
If you want to enable error reporting, then enable the option.
Create a New Local WordPress Site
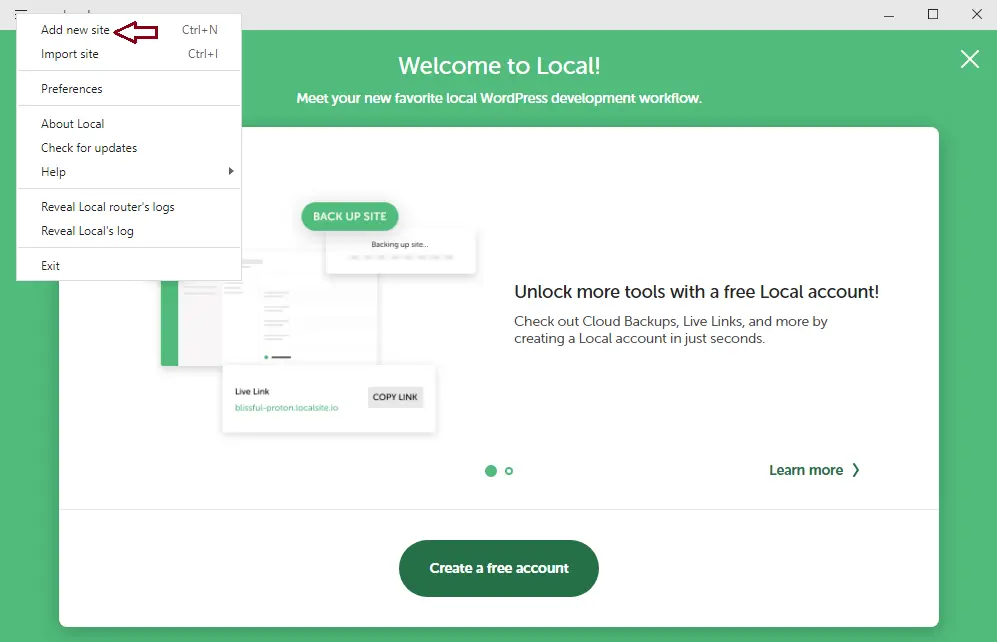
After a successful local by flywheel installation, the local by flywheel welcome screen will pop up. You need to create a new local site, click on the menu button, and then add a new site.
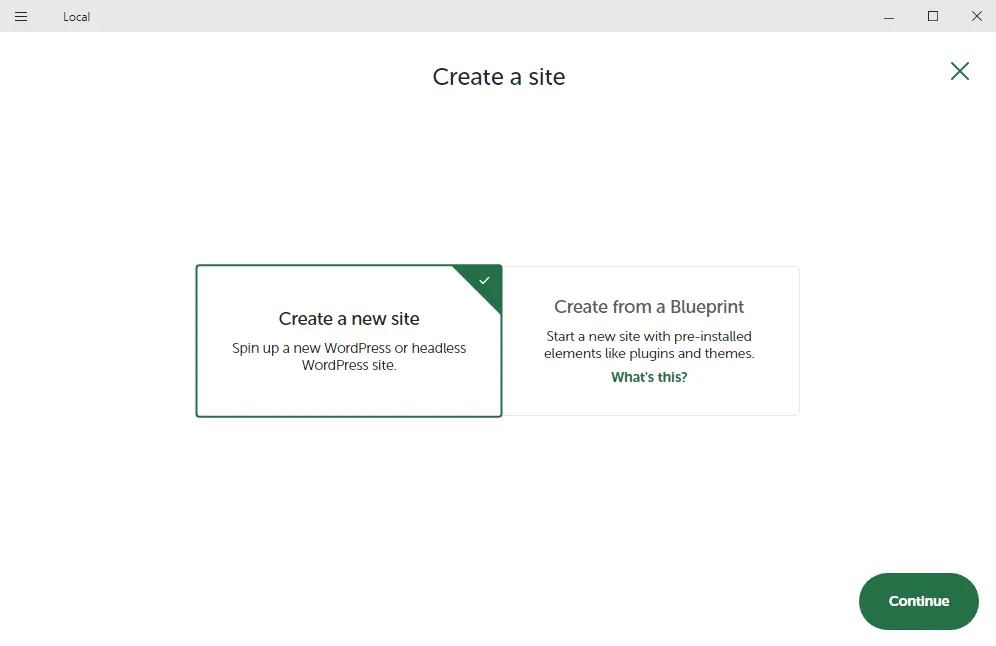
Choose to create a new site, and then click Continue.
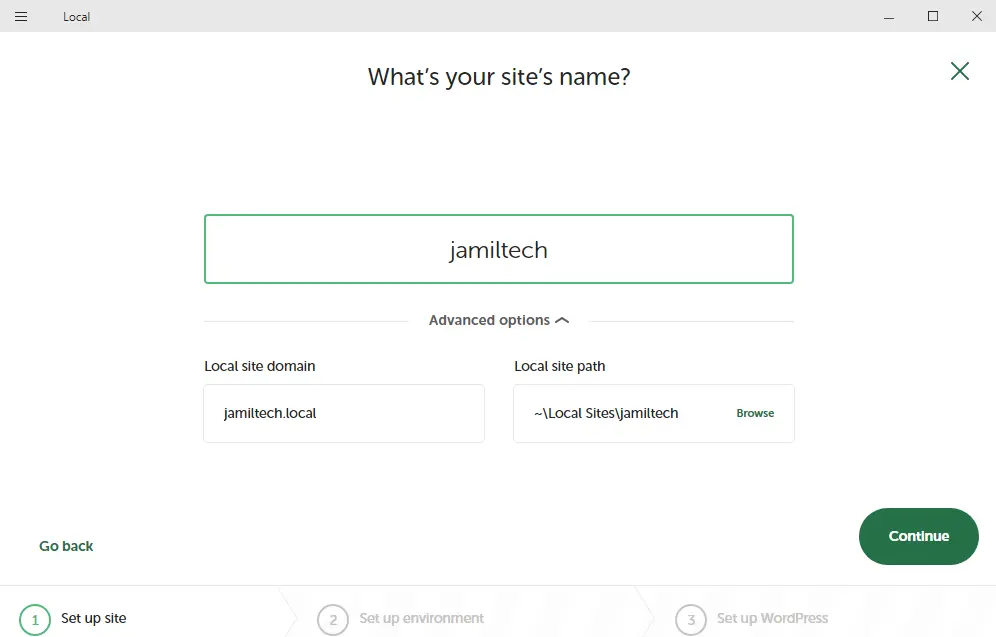
On the What’s Your Site Name page, enter a new site name (jamiltech), and then choose to continue. You can view the advanced options.
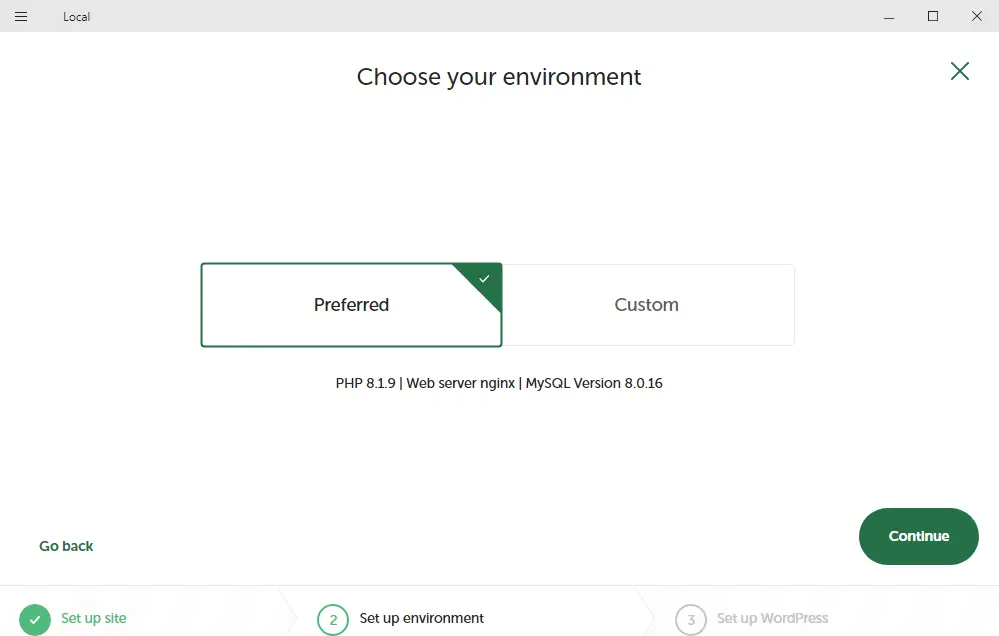
Pick your environment (I used Preferred) and then choose to continue.
How to Setup the Local WordPress User and Password
On this set-up WordPress page, we can create a WordPress username, password, and email. We can also choose whether this site will be a multisite in the Advanced Options. Click on the Add Site button when you are done.
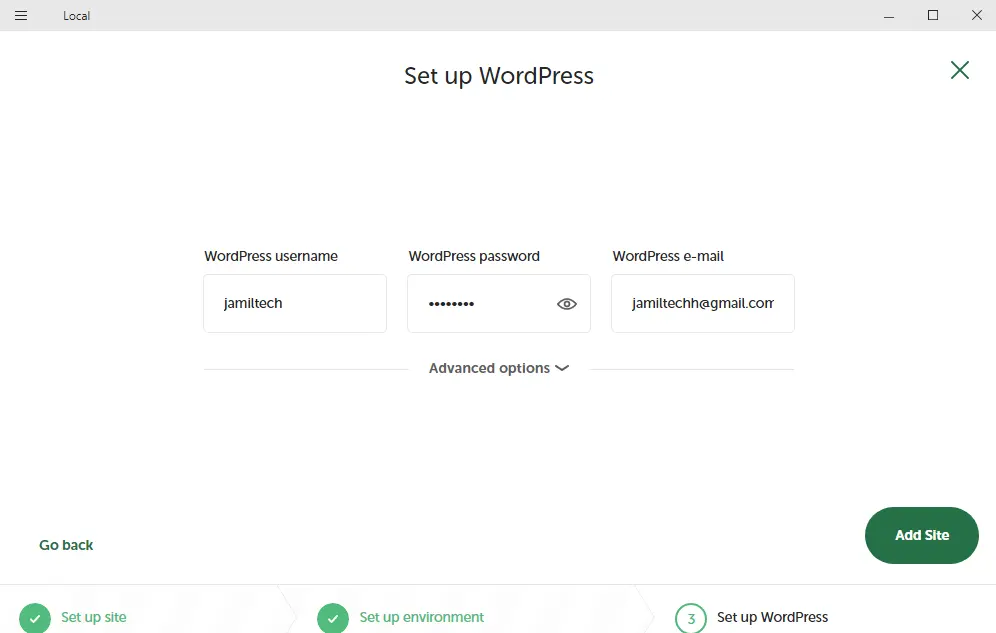
Adding a local WordPress website.
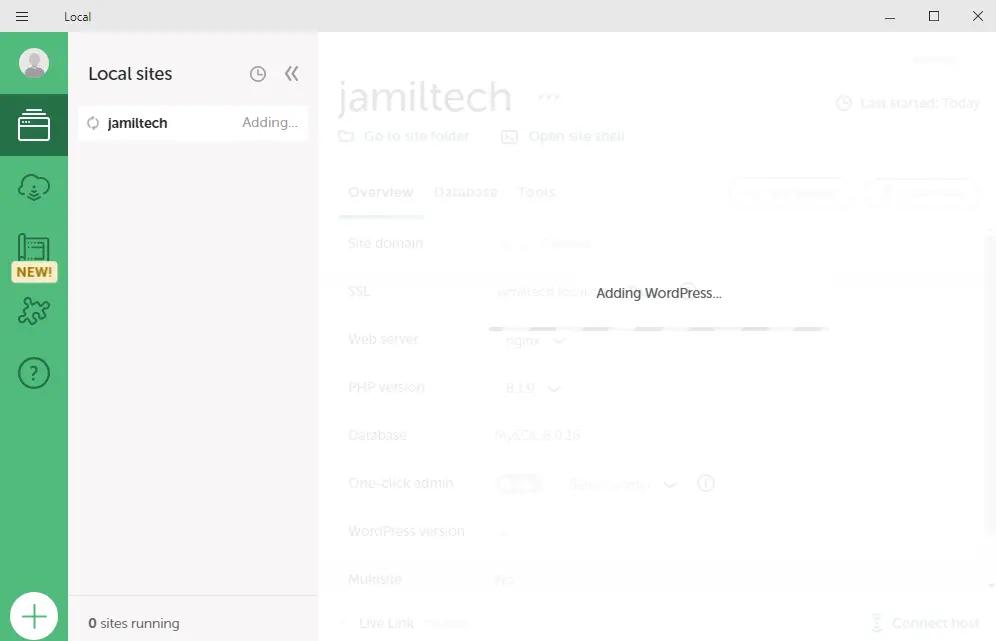
Local by flywheel will then get to work. Depending on your system, you may receive some prompts asking for permissions that you want to grant.
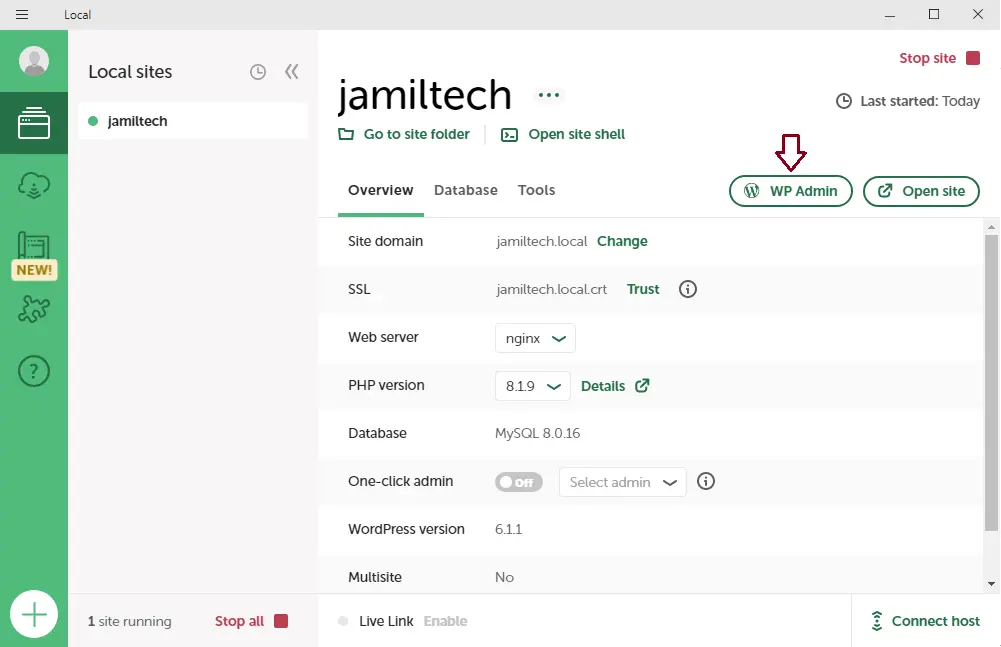
There are two very important buttons in the upper-right corner: WP Admin and View Site. Click on the Open Site button to open the WordPress dashboard or front end of the local WordPress site in your browser.
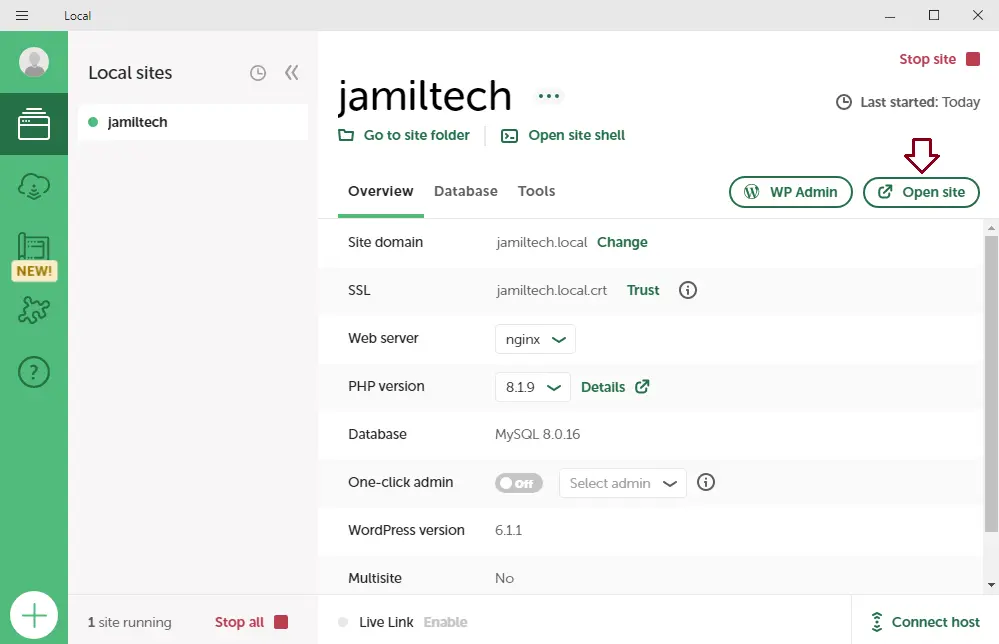
Here’s what that looks like:.
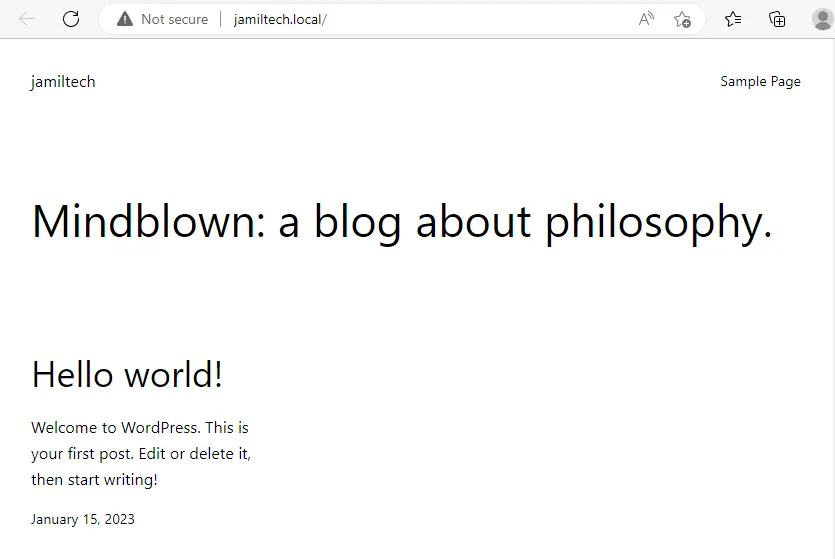
Now click on the WP Admin button to log in.
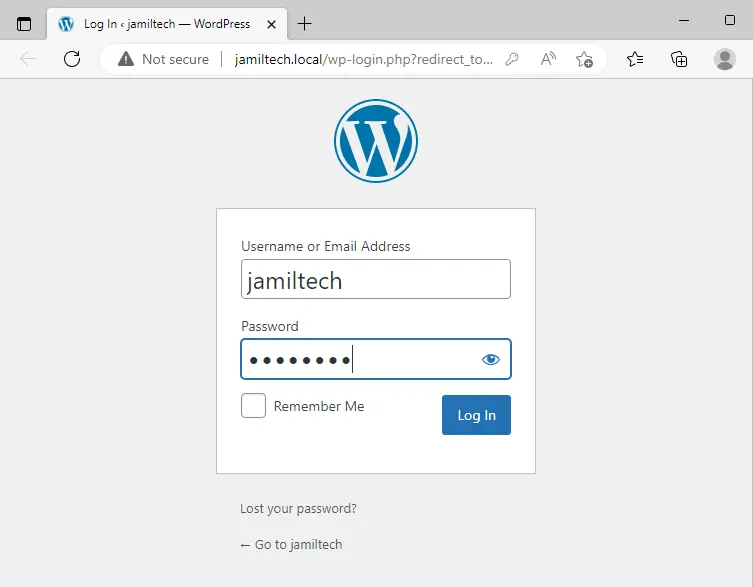
Enter your local WordPress username and password, and then click log in.
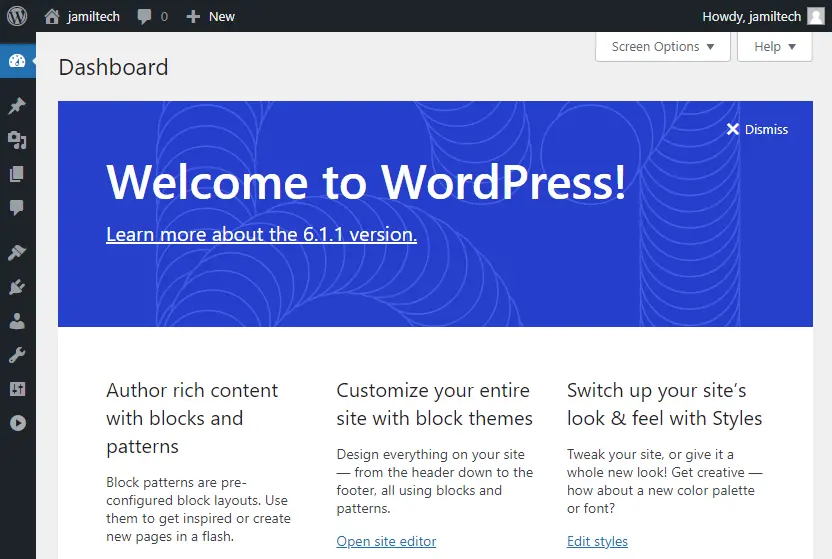
Here is the local by flywheel WordPress install locally dashboard.
Refer to the localwp website to learn in detail about how to install local.
Lean more: How to Uninstall Local by Flywheel from System.


