This article will show you how to uninstall SQL Server Management Studio with screenshots. Remember, this will only uninstall SQL Server Management Server but not the Microsoft SQL Server instance. Before we start uninstalling, let me show you how the Microsoft SQL Server Management Studio will look.
Table of Contents
Microsoft SQL Server Management Studio is already installed on your server or computer. How can we remove SQL Server Management Studio?
Uninstall SQL Server Management Studio via Apps & Features
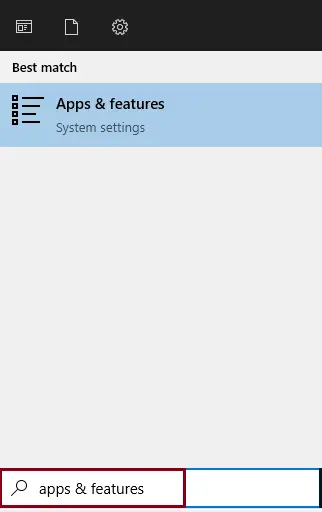
Begin the SSMS removal process, search Apps & Features in the search bar, and open it.
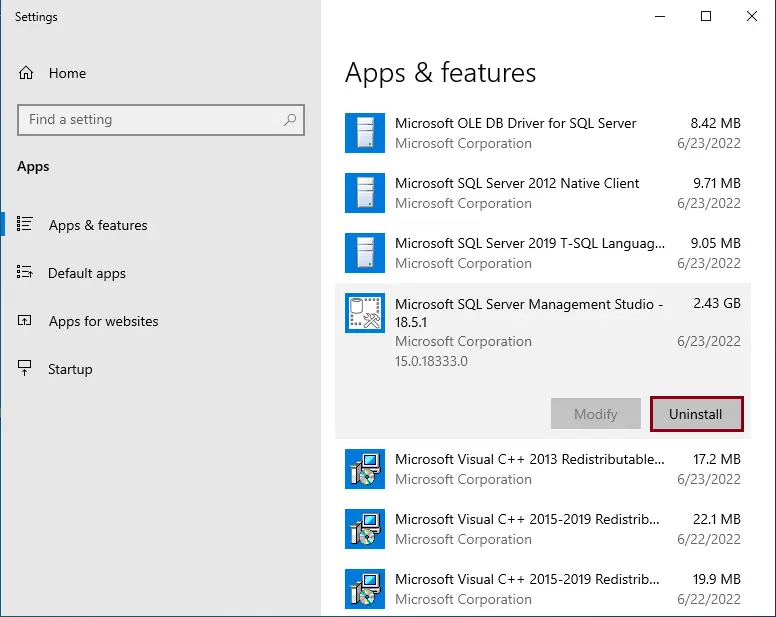
After opening the Apps & Features window, click on Microsoft SQL Management Studio, as shown below, and then select Uninstall.
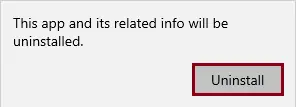
Click on Uninstall.
In a few seconds, you will see the Microsoft SQL Server Management uninstall window. Here, you have to select the SQL Server instance. Don’t worry, we are not going to uninstall the SQL Server Database Engine. We will only remove MS SQL Server Management Studio. Next, you will see the below windows, since we are interested in uninstalling SQL Server Management Studio. Click on Uninstall.
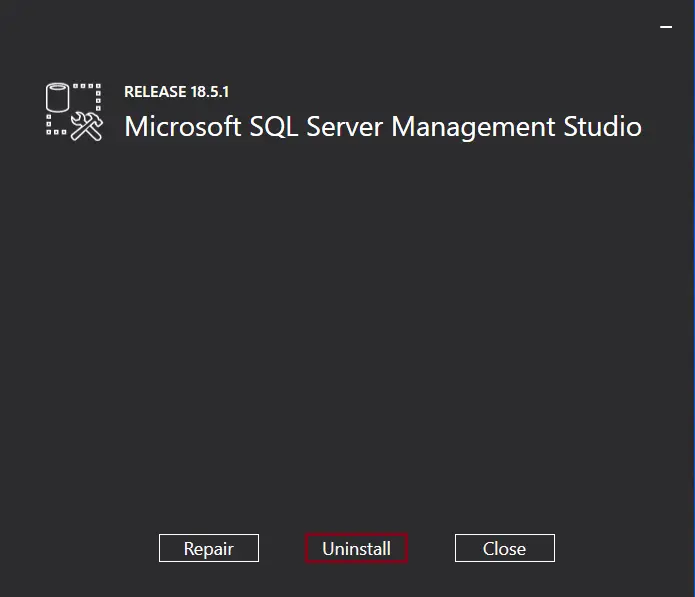
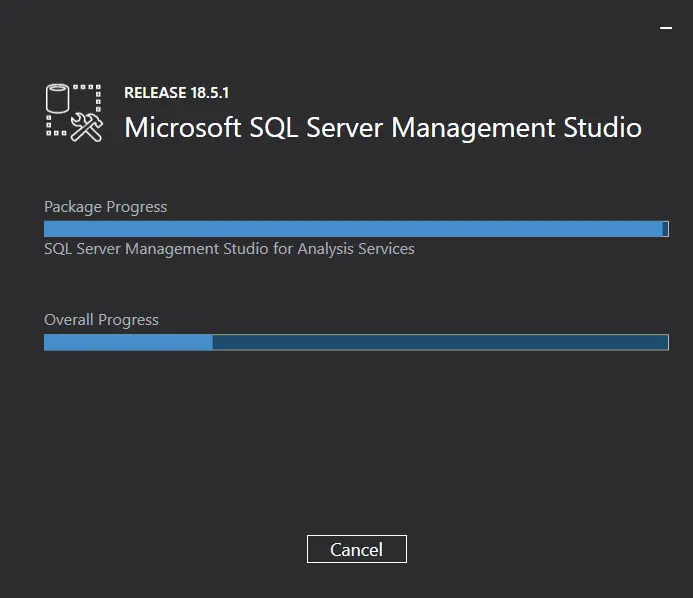
Wait for uninstalling the MS SQL Management Studio or cancel the installation.
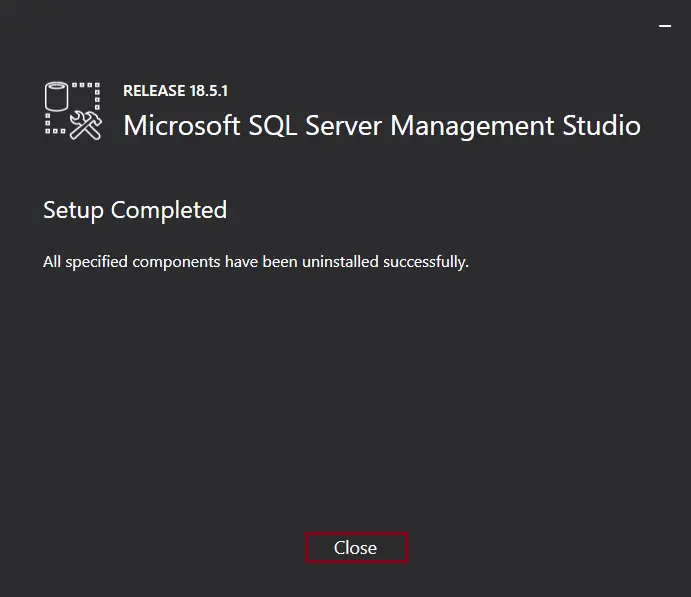
Now SQL Server Management Studio is successfully uninstalled.
Select the close button as shown below.
Uninstall SQL Server Management Studio from Programs and features
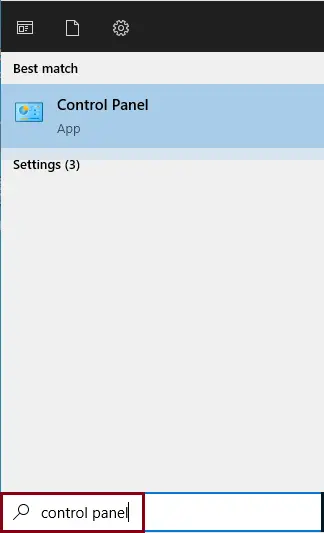
To start the uninstall process, search for Control Panel in the search bar and then open it.
Click on Uninstall a Program under Program Settings.
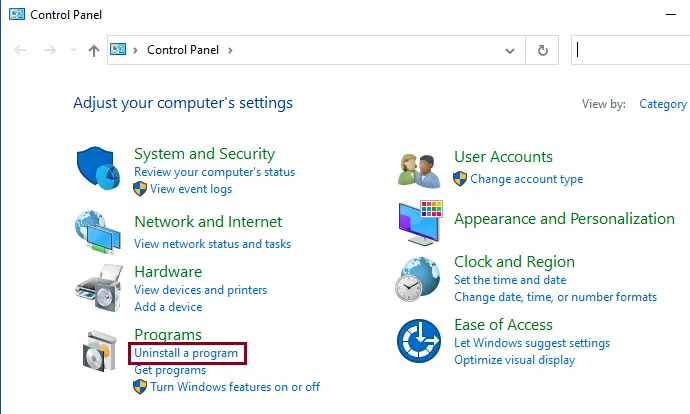
Find the Microsoft SQL Server Management Studio application.
Select Uninstall (you can either right-click on the application you wish to uninstall or click on the program and then click on Uninstall, as shown below).
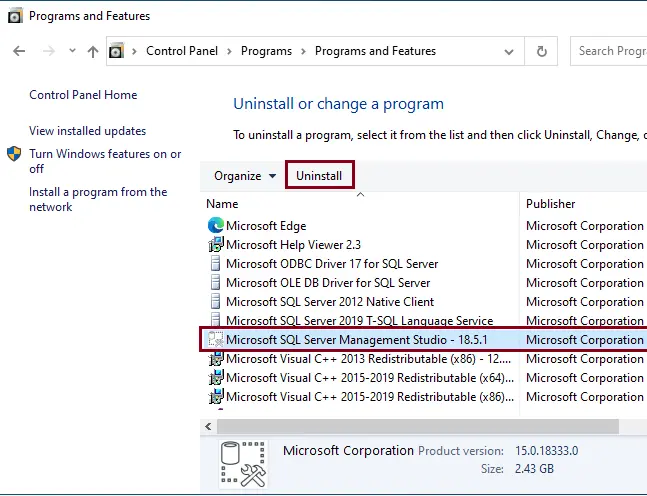
Therefore, follow the steps above to complete the uninstallation. Regardless of the way you use it, you will be able to remove Microsoft SQL Server Management Studio from your computer correctly.
Read this article to learn more about uninstalling SQL Server Management Studio.

