
In this article, I will explore how to restore virtual machine in Veeam backup and replication. For more details on how to restore a virtual machine to different locations, click on this link to restore the entire VM. If a virtual machine fails or crashes, you can restore it from a Veeam backup. You can restore a single virtual machine or multiple VMs to the original or alternative location.
Table of Contents
Restore Virtual Machine in Veeam
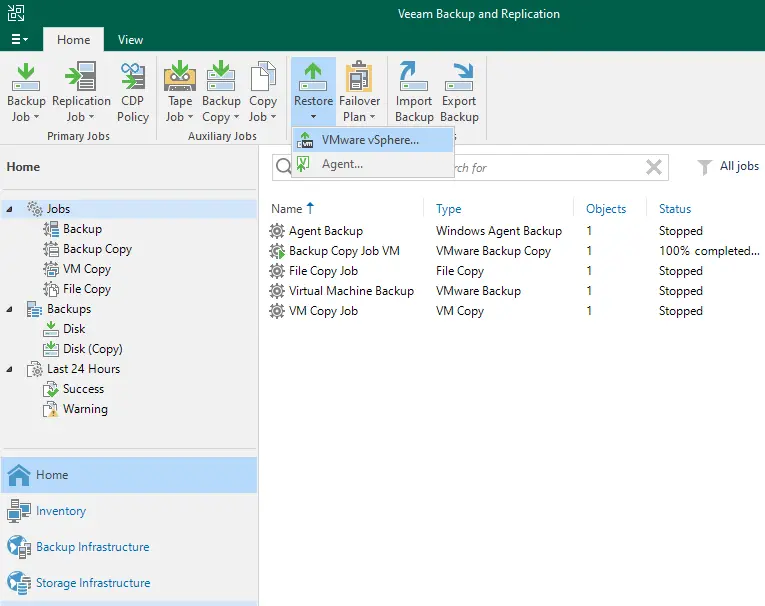
To start virtual machine restoration, from the home tab, select the restore tab, and then click on the VMware vSphere.
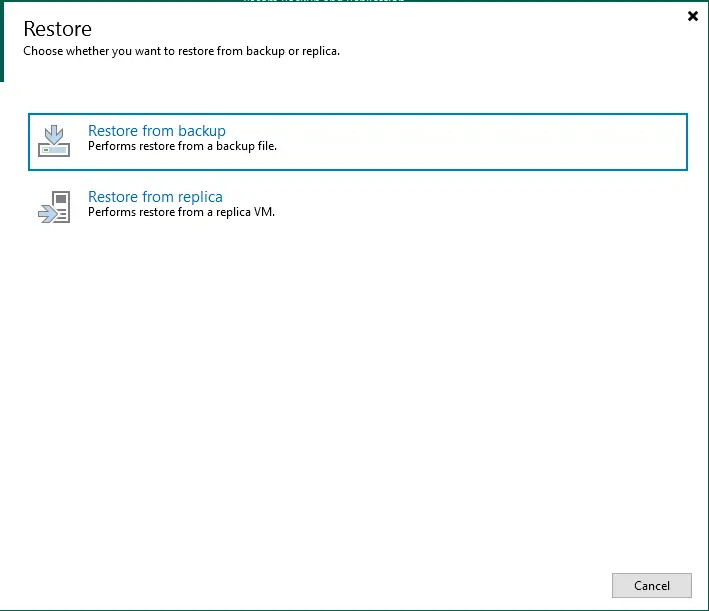
Click on restore from backup.
Restore from the backup page, and click on Entire VM restore.
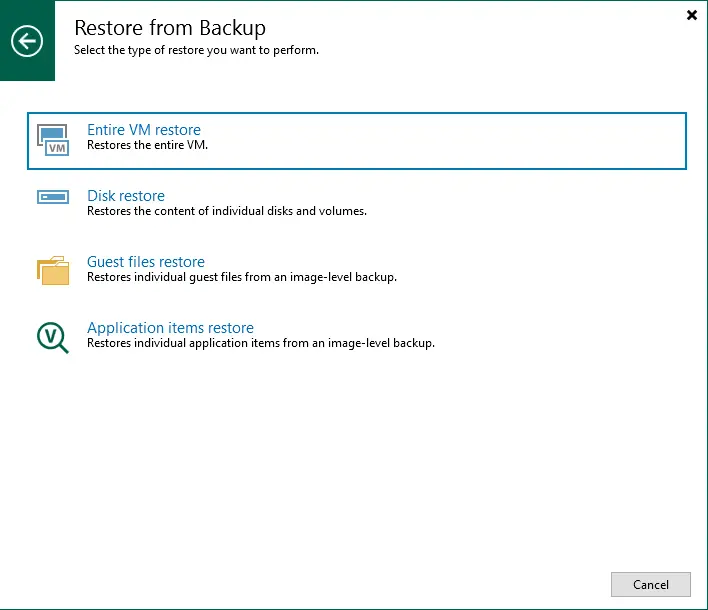
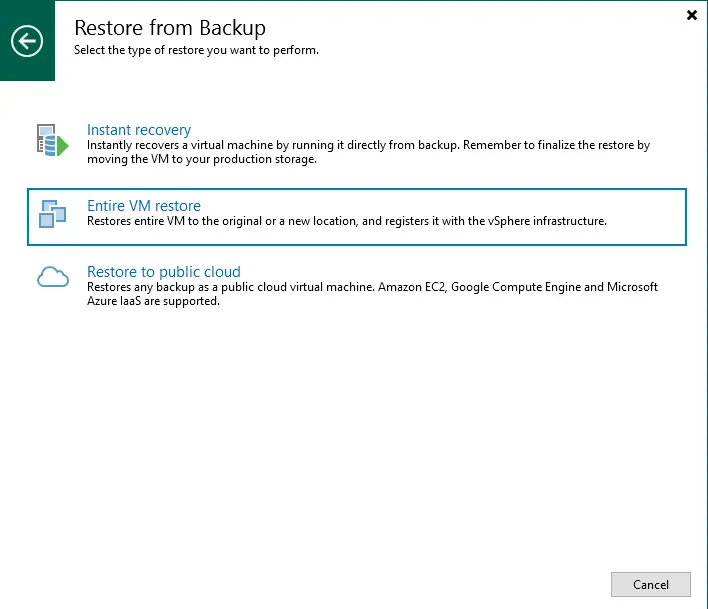
Choose the entire VM restore.
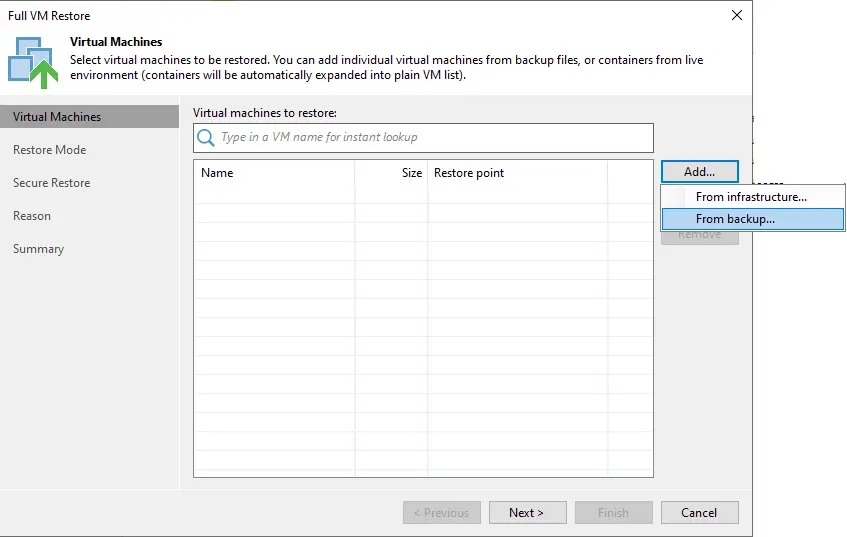
Click on the add button (from backup) to select the virtual machines to be restored.
Choose a backup, and then click OK.
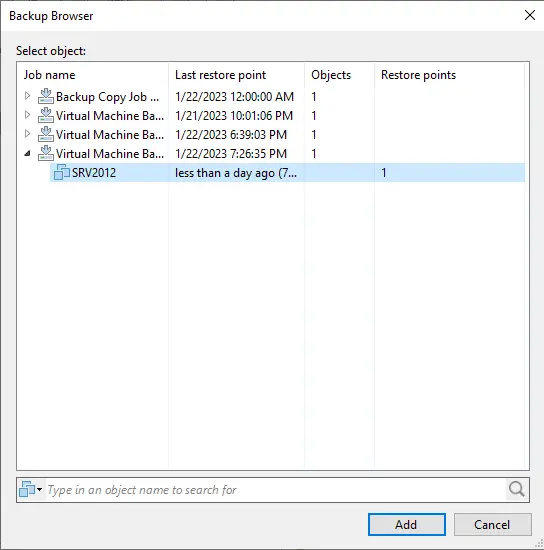
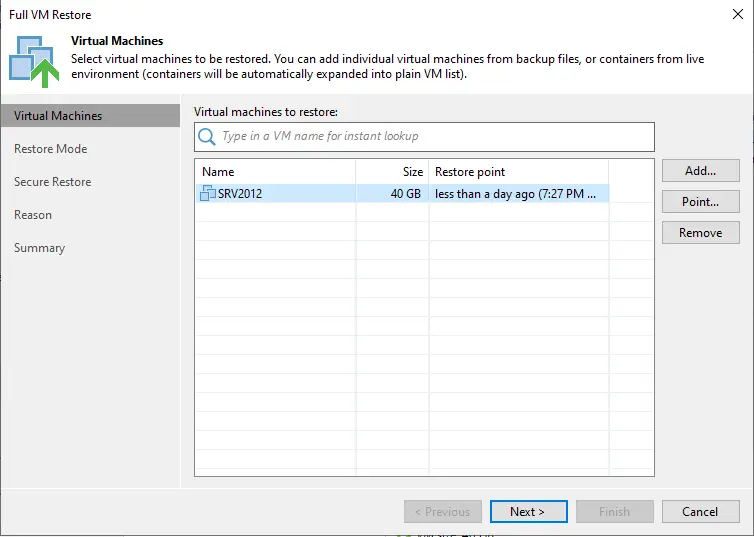
Click next
Restore the Virtual Machine to a Different Location
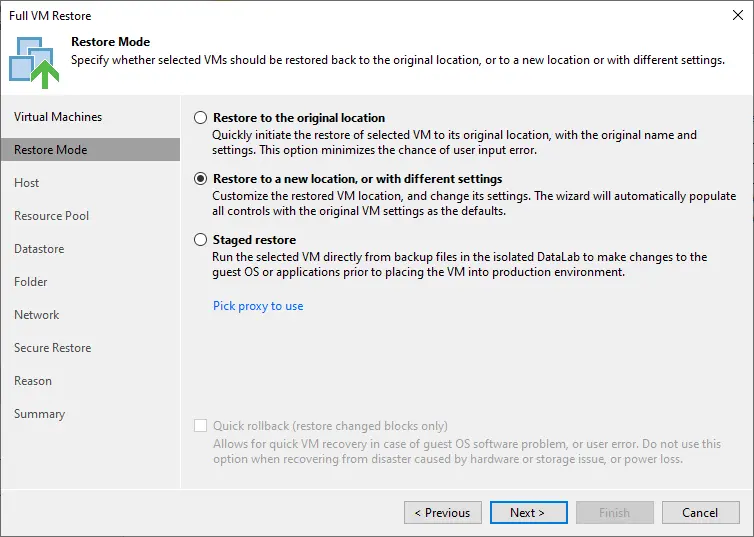
Here, you can verify the restore location. You can choose any one of these two options. I am restoring the virtual machine to a different location and then clicking on the next button.
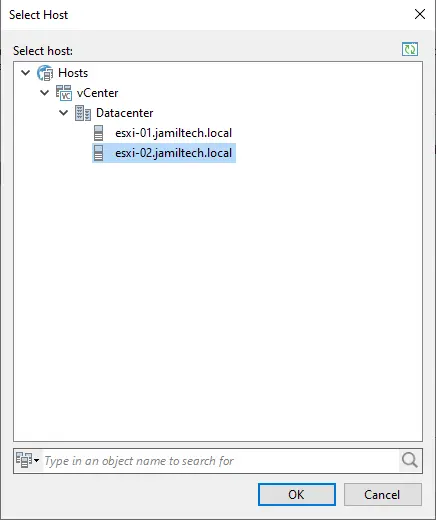
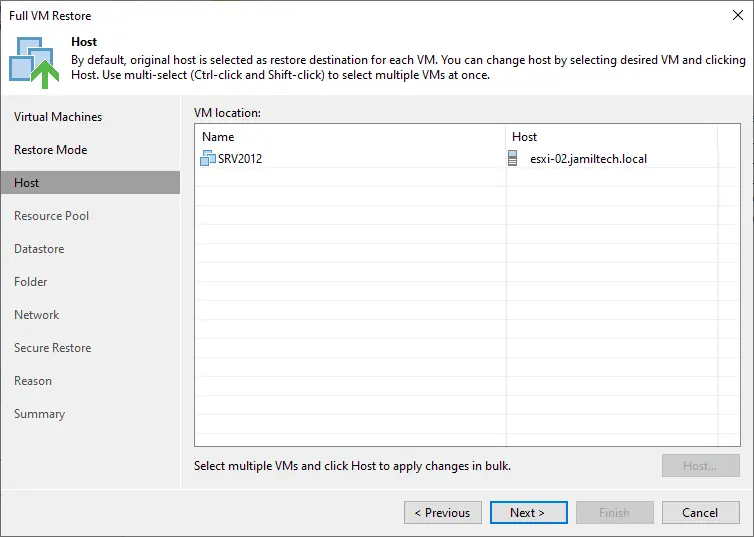
It’s showing the virtual machine and its location, and we need to change the host location. Just click on the host button and then select the host where you wish to restore the virtual machine.

Under host, you can click on the available ESXI Host where you wish to restore and then click on the OK button.
Click next
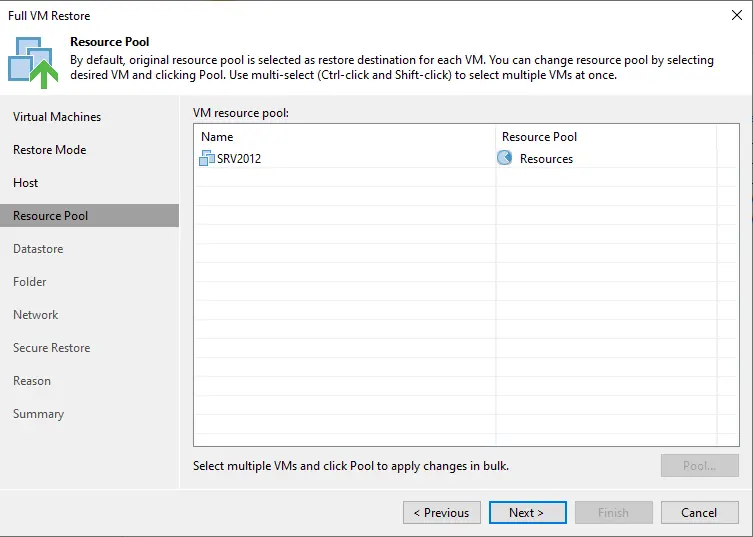
Select a VM resource pool like a datastore, or you can leave it default, and then click on the next button.
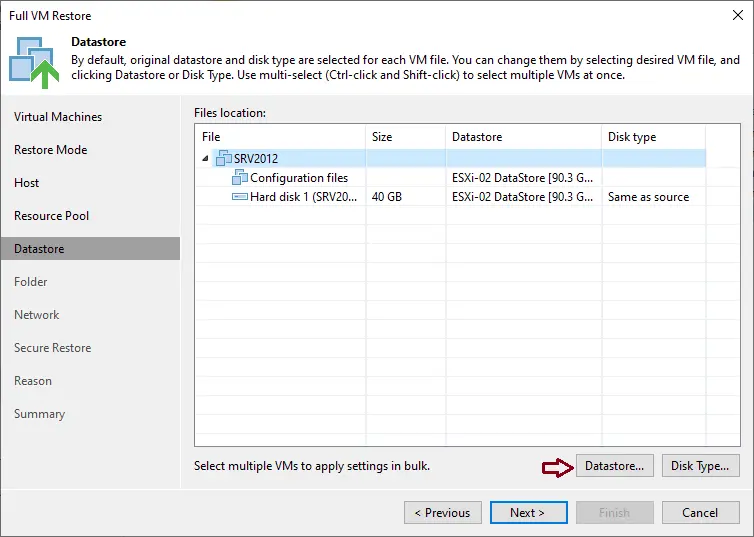
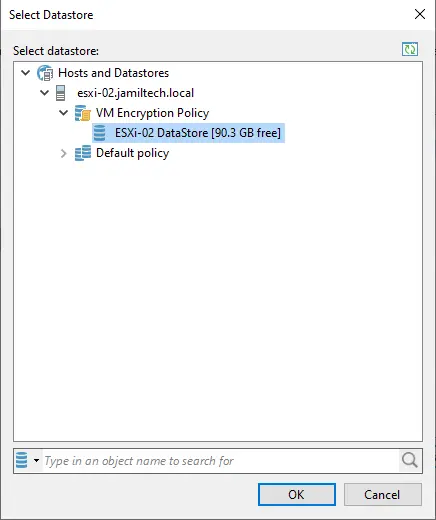
Click on the datastore button to change the file location.
Under hosts and datastores, choose a datastore, and then click OK.
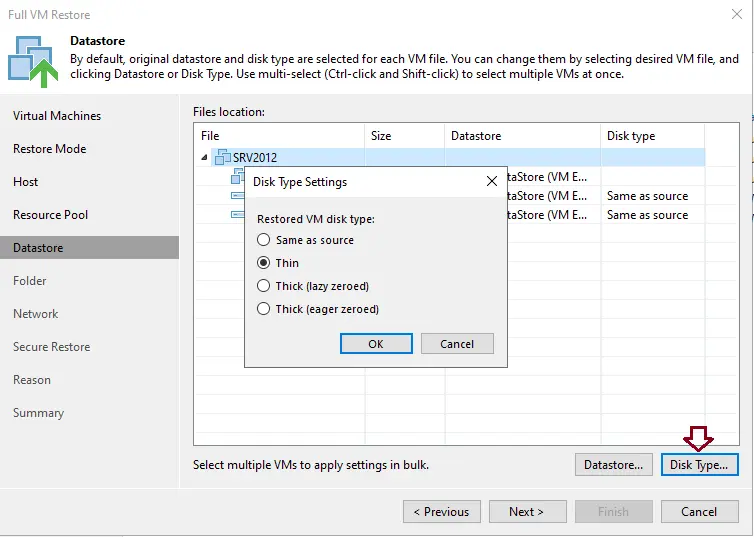
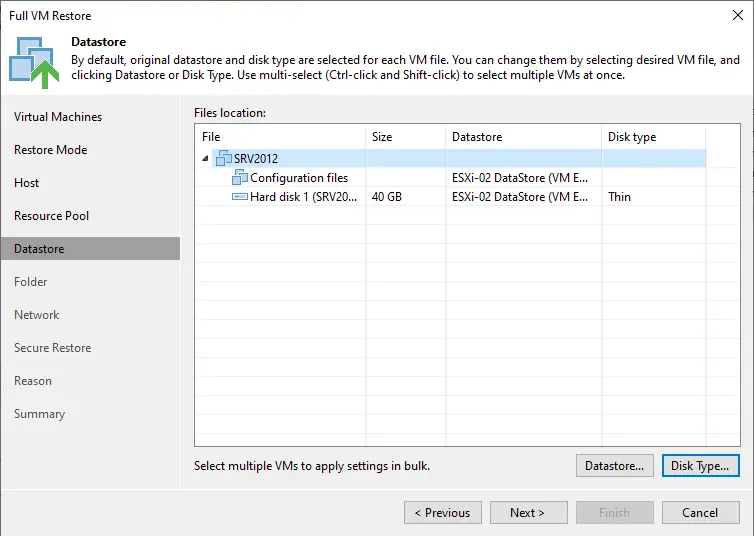
Click on disk type
Select the restored disk type, and then click OK.
Click next
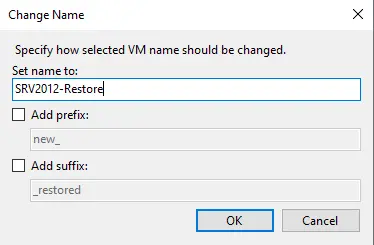
Select the name button.
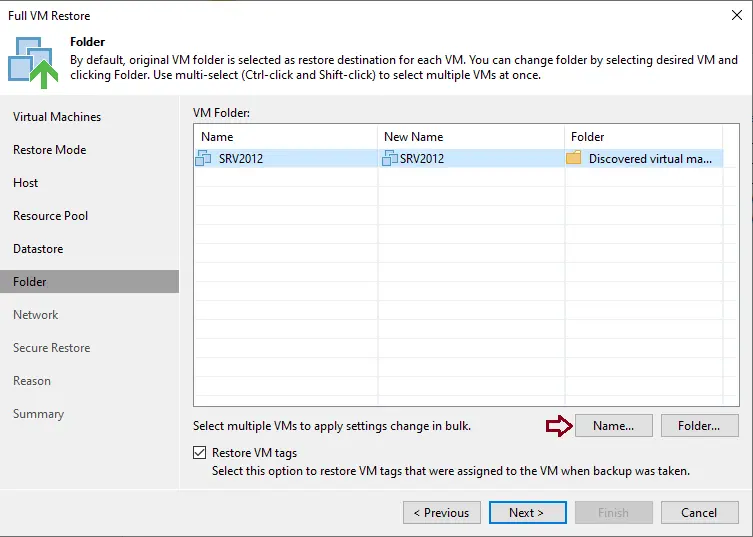
Enter a virtual machine name, and then click OK.
Click next

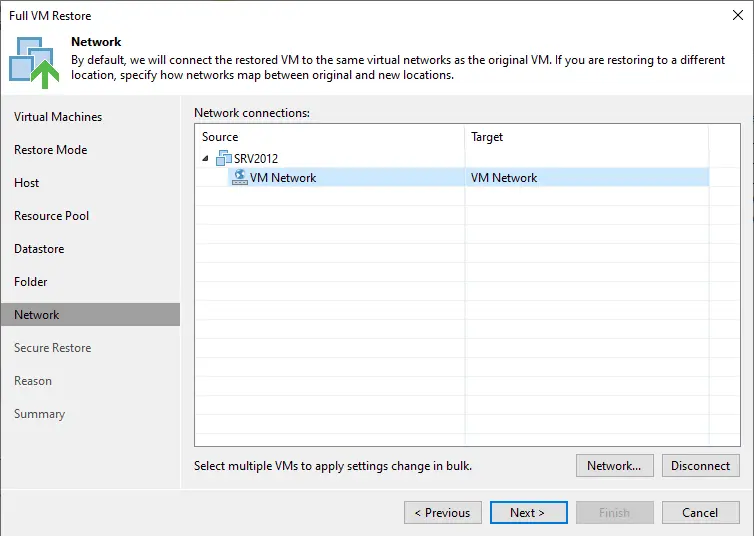
Verify the virtual machine network, and then click on the next button.
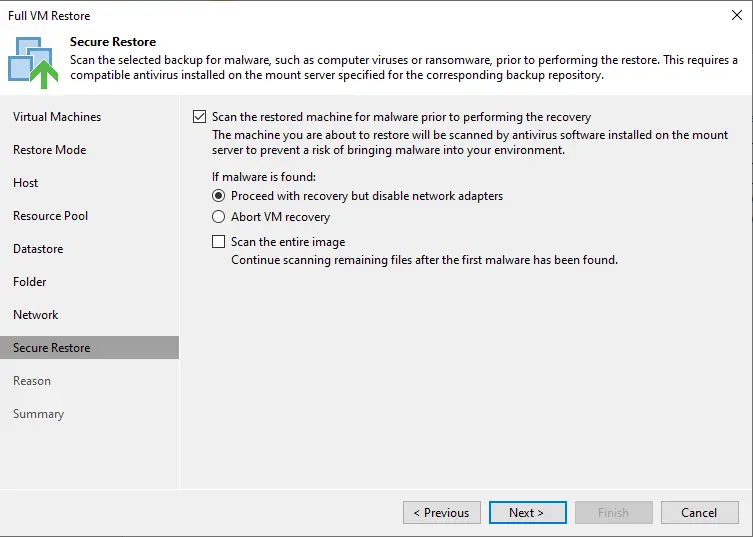
If you want to scan the backup for malware, then select it and then go next.
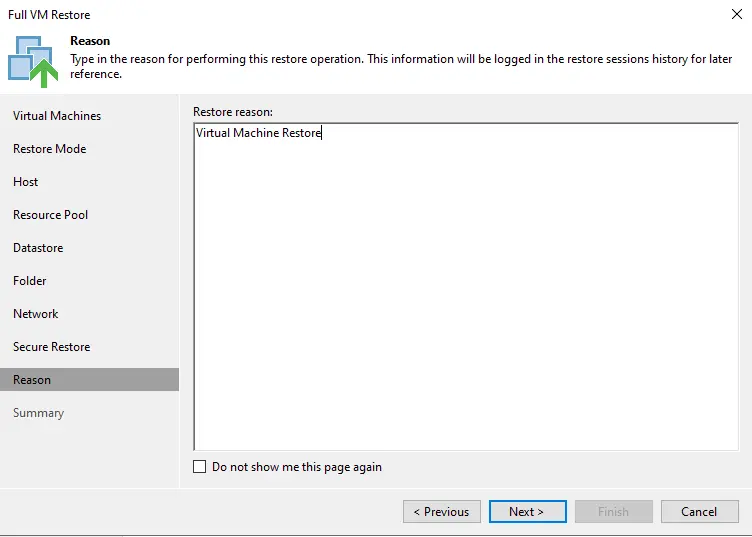
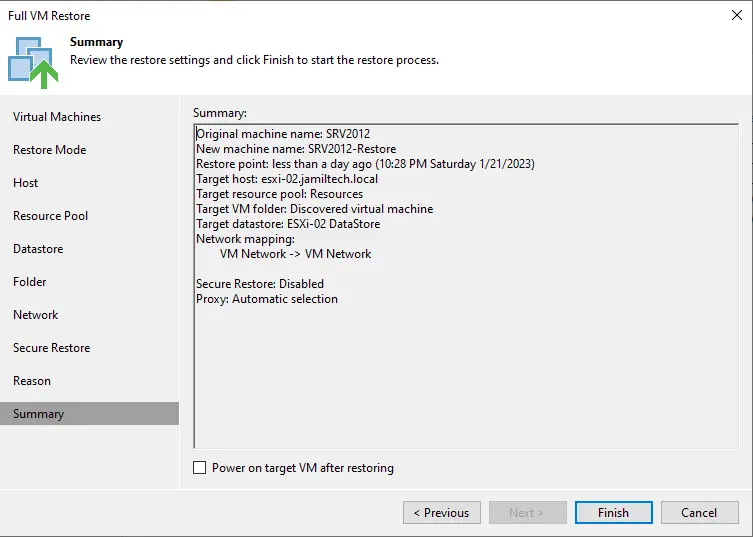
Enter a restore reason, and then click on the next button.
Click Finish
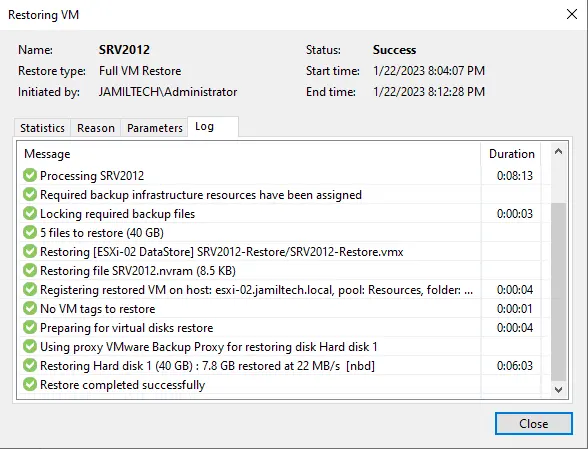
The full VM was successfully restored; click on the close button.
Also, read this article: How to Use Extract Utility for Microsoft Windows Veeam.
