
In this article, we will explain how to compact virtual hard disk in Hyper-V. Diverse shrinking, the compact operation does not reduce the capacity of the virtual hard disk. This operation reduces the file size of the virtual hard disk by removing empty blocks from the file. Please keep in mind that you can’t compact fixed virtual hard disks.
Before starting the shrinking or compacting process of a virtual hard disk, it is recommended that you empty your recycle bin, defragment the disk, and then create a backup to protect critical data in case of hard disk failure. Remember that the virtual machine using the disk needs to be turned off for the compact operation to work. Visit Appuals for more information.
Table of Contents
Compact Virtual Hard Disk
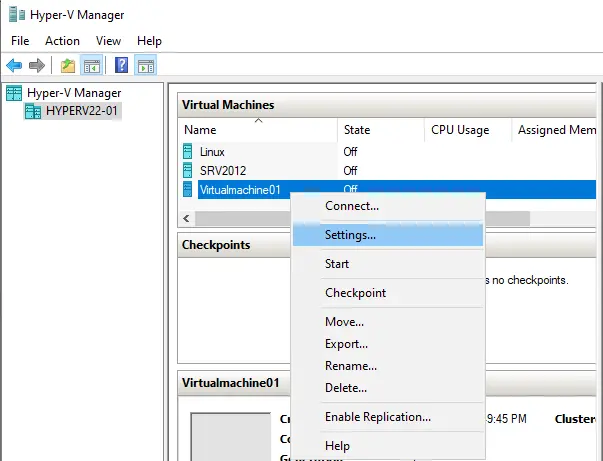
Launch Hyper-V Manager.
Right-click on a virtual machine and then choose settings.
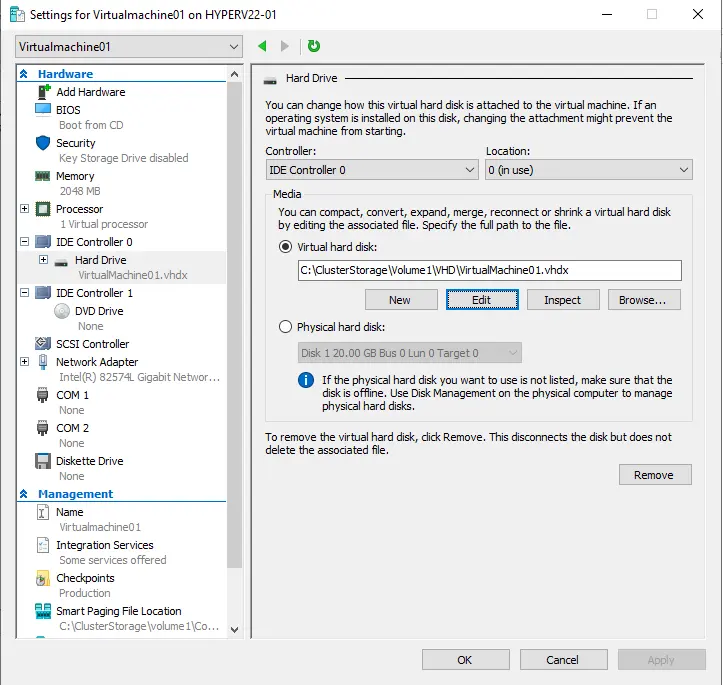
Click on the hard drive under IDE controller 0 to get access to the virtual hard disk attached to this virtual machine.
Choose the edit button to open the edit virtual hard disk wizard.
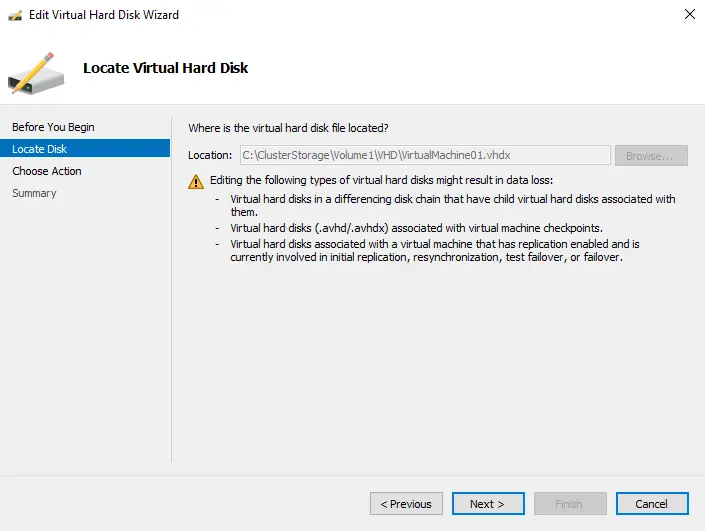
Edit the virtual hard disk wizard locate the disk page, and then choose next.
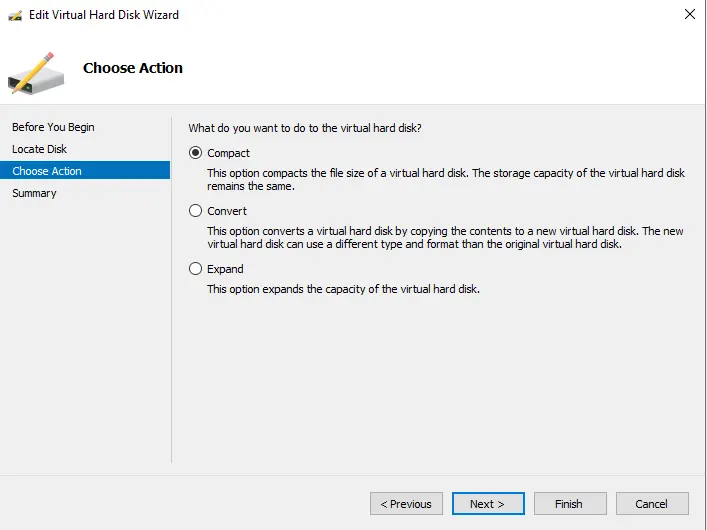
In the choose action menu, simply select the compact action and then click next.
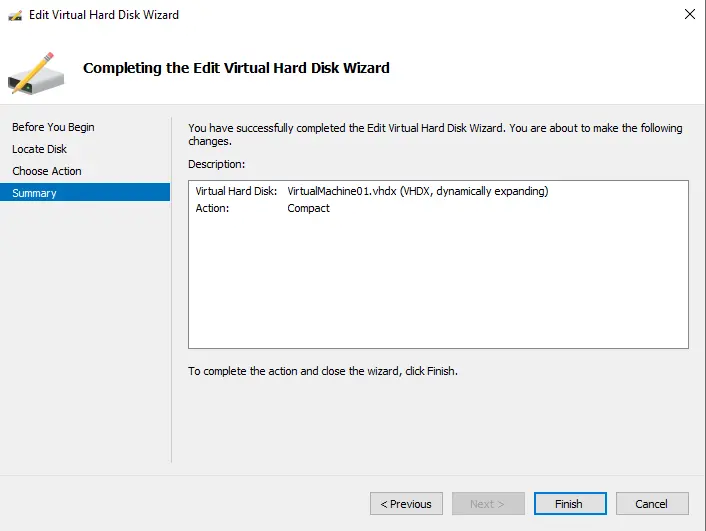
On the summary page, you need to verify the changes that are about to be made to the virtual hard disk. Click on the finish button to complete the action, and then close the wizard.
Now click on the inspect button to verify that the disk file size has actually been reduced.
So, why do you want to compact or shrink virtual hard disks? The answer is simple. The size of your virtual hard disk can be reduced only manually. If you decide to simply delete content, you will illuminate space on your virtual hard disk and not on the physical hard disk. To free up physical disk space, you want to either compact or shrink virtual hard disks, depending on your requirements.

