This article will explain how to live migration Hyper-V storage. In our routine work, we will experience conditions where we need to migrate the Hyper-V virtual machines to different storage, usually without downtime. Starting with the Server 2012 OS, Microsoft enhanced the technology, and we can perform storage migrations on our virtual machines while they are running. This process is called storage-live migration. Anything below this version will have a maintenance window to shut down the VMs to migrate their configuration files and disks to different storage.
Hyper-V storage live migration is endorsed between independent disks, shared folders, or central storage. But it isn’t supported between Hyper-V servers, at least not yet. Storage migration in Hyper-V is also not supported when any of the virtual machine’s storage is directly attached to a physical volume. If you are running SCVMM, all this is very simple, but if you do not have a license, The method is still simple via the Failover Cluster Manager, the Hyper-V Manager console, or even better, using PowerShell. There are a few situations when we need to migrate the Hyper-V VMs to different storage. Read this article for more information.
Table of Contents
Hyper-V Storage Live Migration with Hyper-V Manager
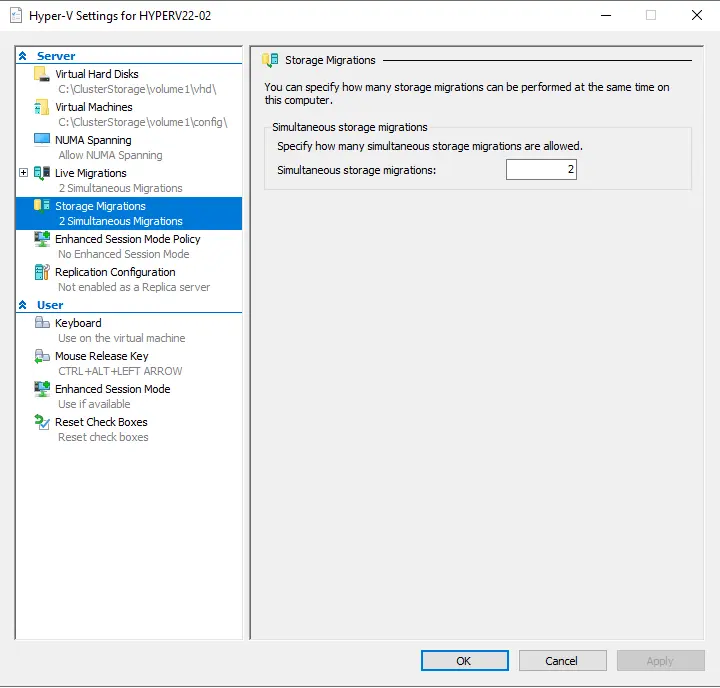
It depends on how many storage migrations we have to do at the same time. We can likewise increase or decrease the simultaneous storage migration count in the Hyper-V settings. By default, we can do two simultaneous migrations.
In the Hyper-V manager, right-click on Hyper-V host and then choose Hyper-V settings.
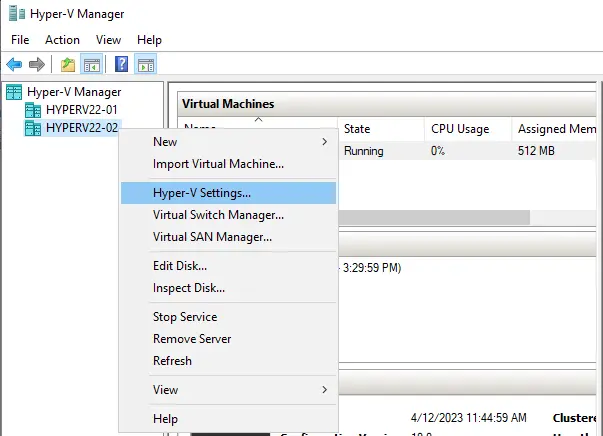
Hyper-V settings, storage migrations.
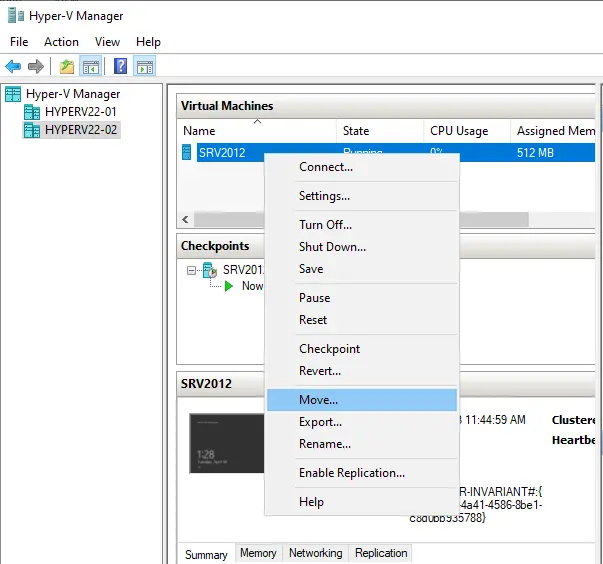
Right-click on the VM for which you want to migrate its storage, and then choose Move.
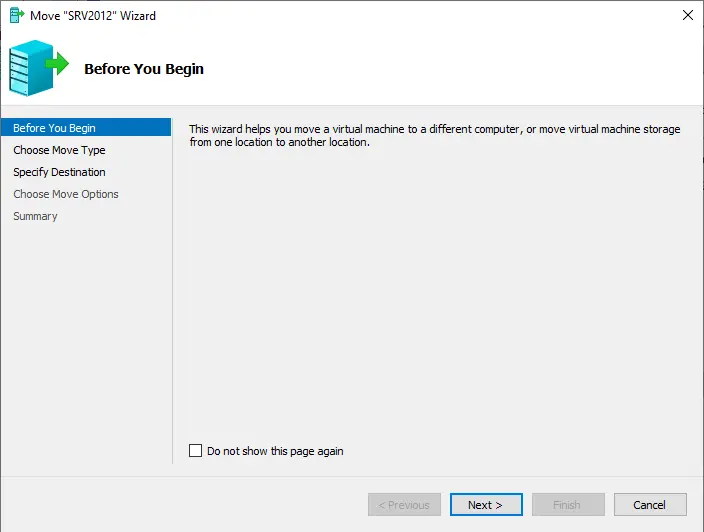
It will open the move wizard; just hit next to start live migration of Hyper-V storage.
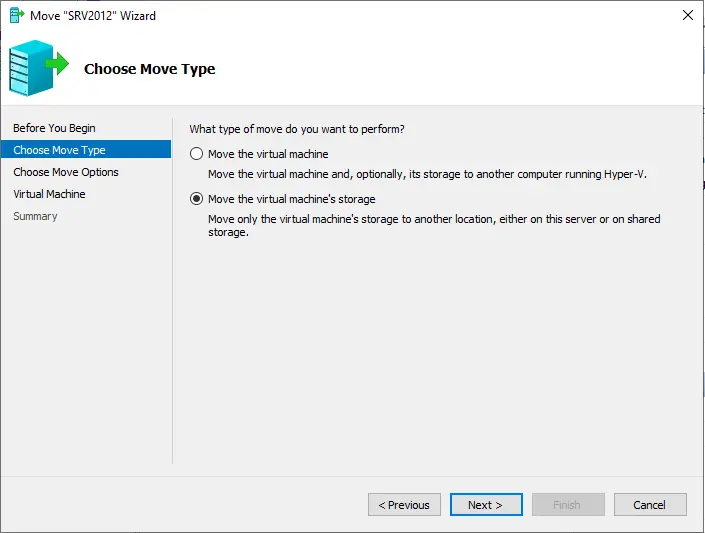
On the Choose Move Type page, we have two options.
Move the virtual machine: This will permit us to move not just the config files and virtual disks but also the VM itself.
Move the virtual machine’s storage: This option will allow you to migrate the virtual machine’s config files and virtual disks.
Choose to move the virtual machine’s storage, and then choose next.
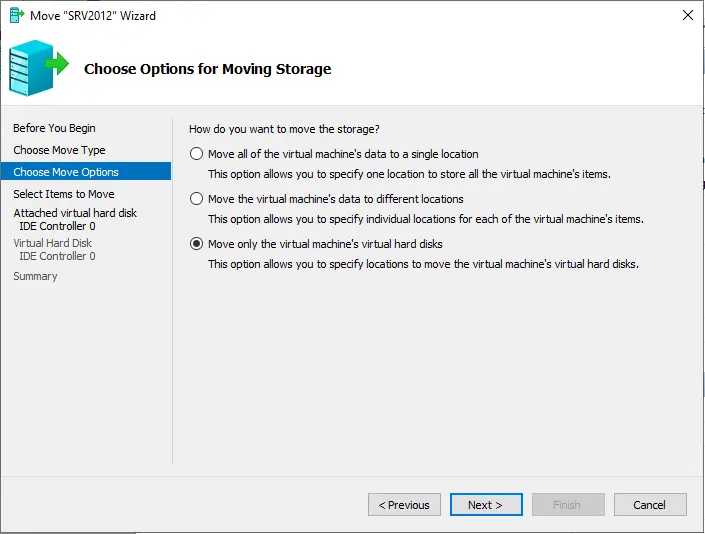
Choose Options for Moving Storage
In most cases, only the VHDX disks will need to be migrated, but there are situations where the rest of the files will also be necessary. In this scenario, we will select “Move only the virtual machine’s virtual hard disks”. Click next to live migrate Hyper-V storage.
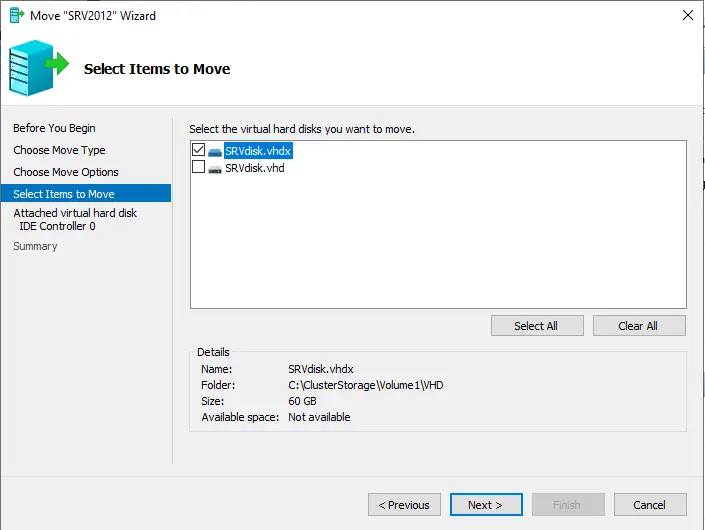
Select the virtual disk you want to move, and then click Next.
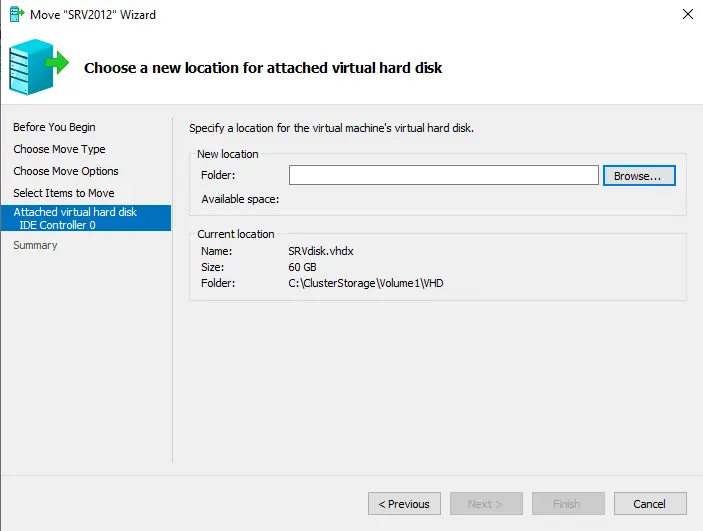
Click on the browse button to choose a new location for the virtual disk.
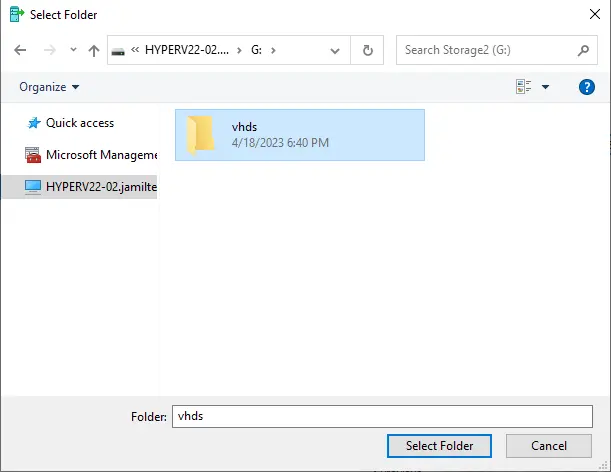
Select a folder, and then open it.
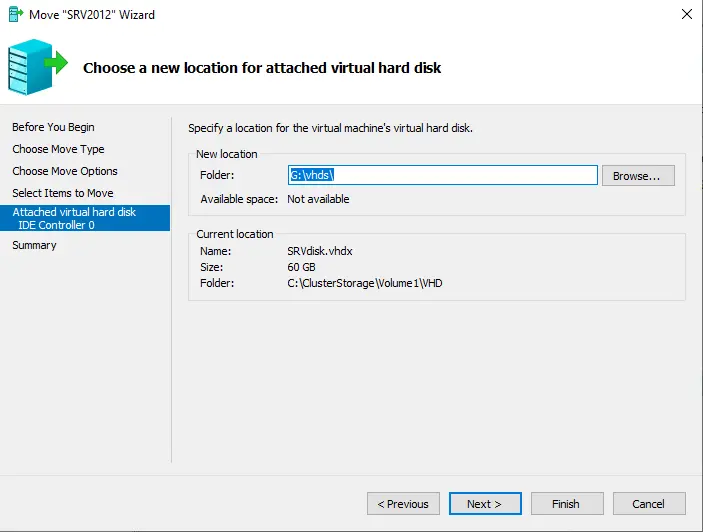
Hit Next
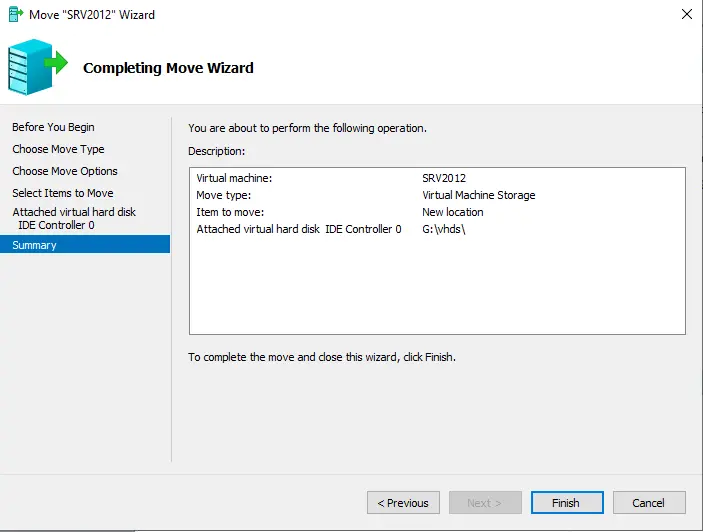
Verify the summary, and then click Finish to run the live migration of Hyper-V storage.
Performing the move.
Now you can see that the virtual disk was successfully migrated to the new storage.
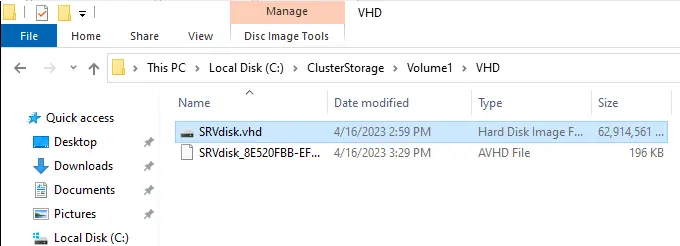
The OS virtual disk is still in the same folder since we selected not to migrate it during the migration wizard.

Live Migration Hyper-V Storage using Failover Cluster Manager
We have seen how simple it is to migrate a virtual machine’s files to a new folder. Let’s have a look at how it works and how it is done with the Failover Cluster Manager.
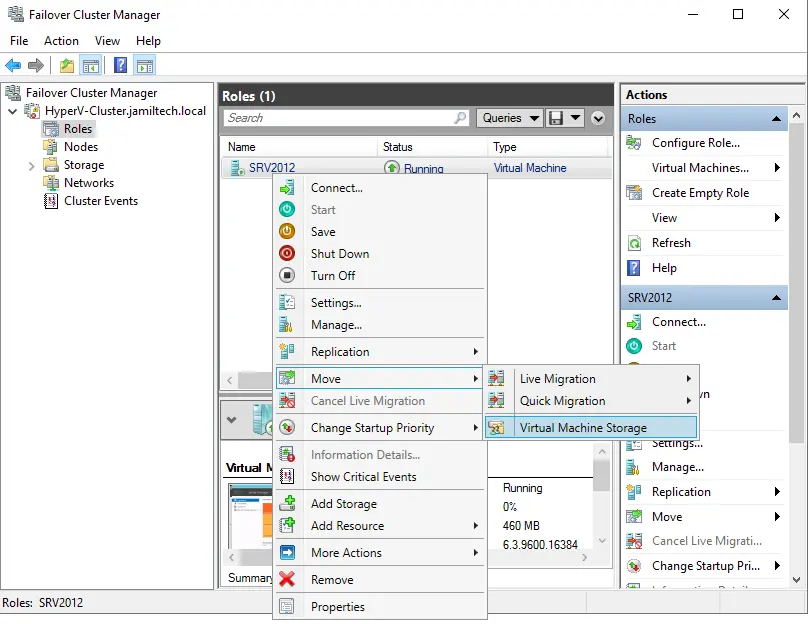
Launch Failover Cluster Manager, right-click on the virtual machine, and then choose Move and Virtual Machine Storage.
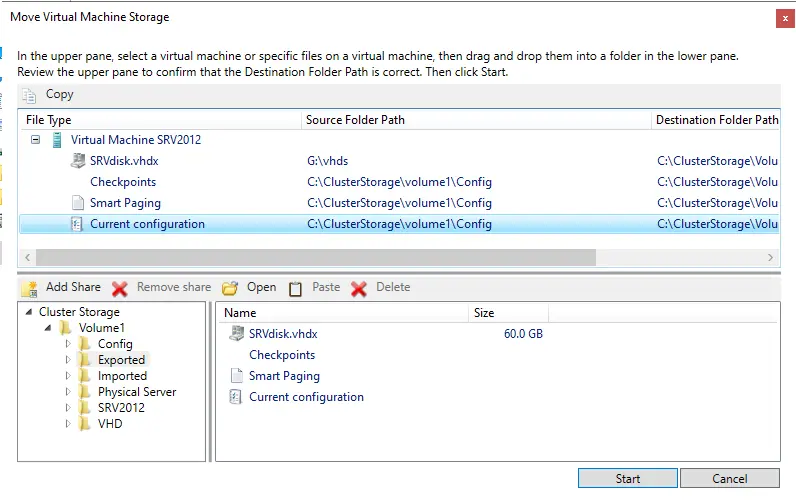
Move Virtual Machine Storage
On the Move Storage Virtual Machine page, we can migrate the virtual machine’s files. Now, for some curious reason, Microsoft thought that we did not want a new folder button on this page. You may know, so we can keep the files arranged. If we need a new directory, we will need to go to the hypervisor itself and then create one. As you can see, I have already created a directory inside the cluster shared volume into which I need to migrate all the virtual machine’s files.
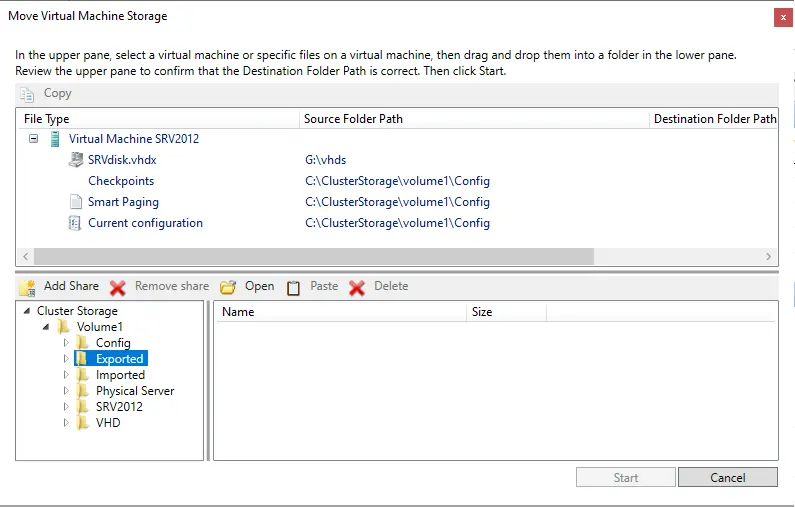
We just need to drag the files to migrate to the bottom side of the window. In this scenario, I am continuing from the earlier section where the virtual machine has one disk in the default directory and the second one on different storage. During the live migration procedure, both VDs will be moved inside the folder sitting in the cluster shared volume.
Click the start button to begin the live migration.
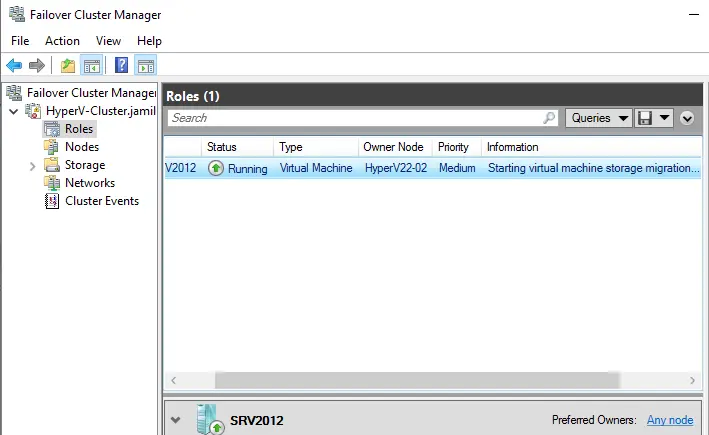
Now you can see it in the Information column in the Failover Cluster Manager.
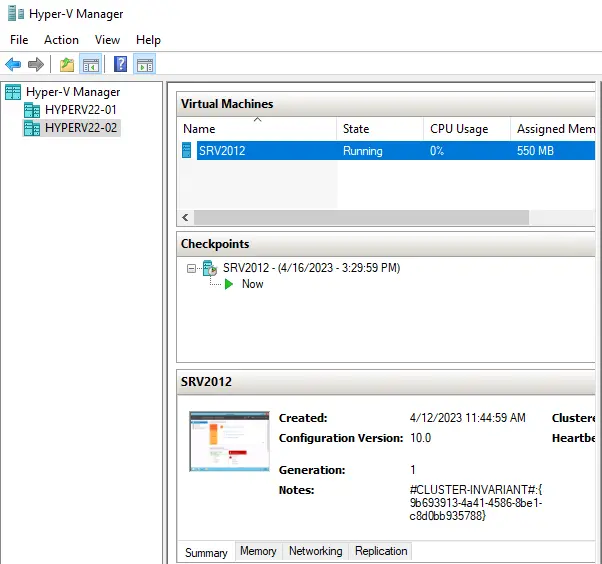
In the Hyper-V manager window, we can see the progress of the migration.
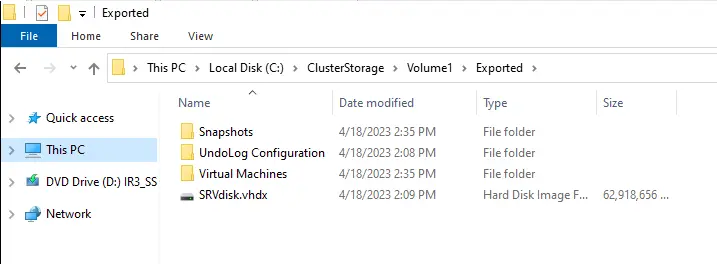
You can see all the files at the chosen destination.
Verify Live Migration to Hyper-V Storage
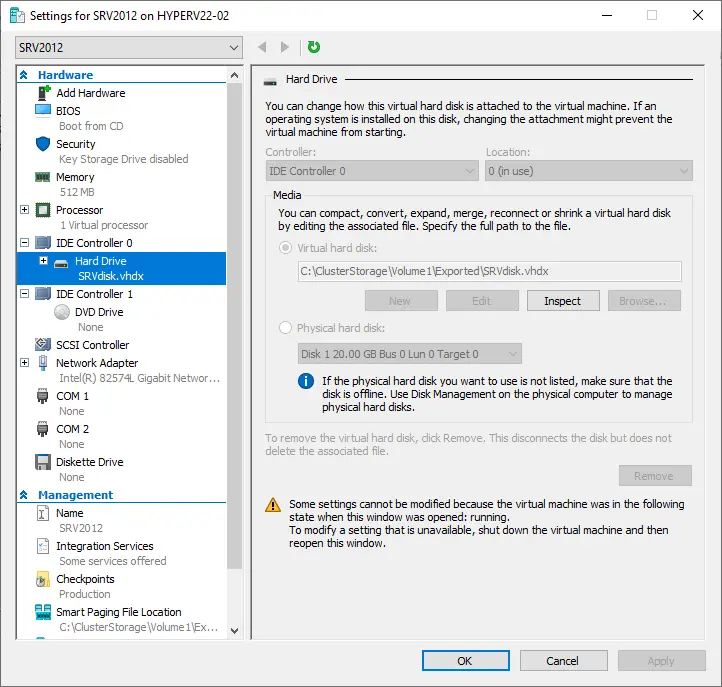
Open the virtual machine’s settings. As you can see, the virtual disks now reside on the cluster shared volume.
Hyper-V Storage Live Migration with SCVMM
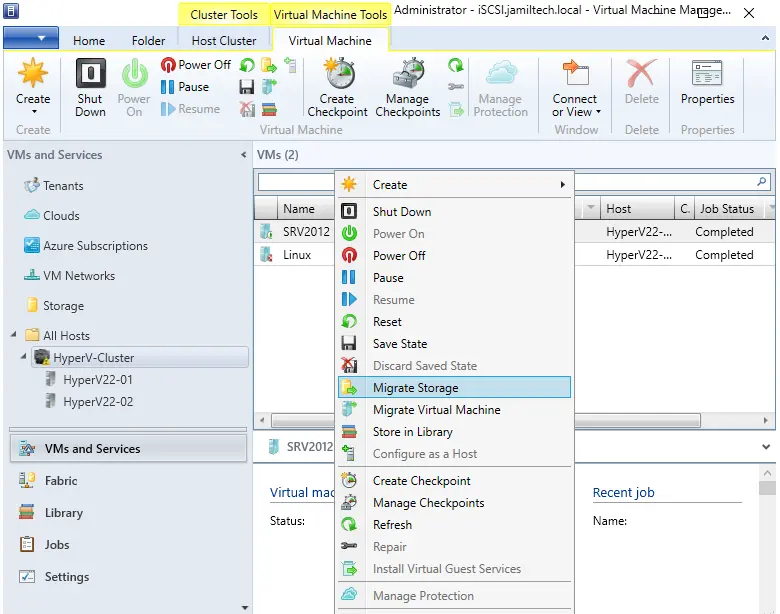
Migrating the VM’s storage via SCVMM is not much of a difference compared to the other method. Of course, you have already installed System Center Virtual Machine Manager (SCVMM) and configured it. Right-click the VM and choose Migrate Storage.
SCVMM migrate storage wizard, which will provide us the option to either migrate the VHDs or all the virtual machine files.
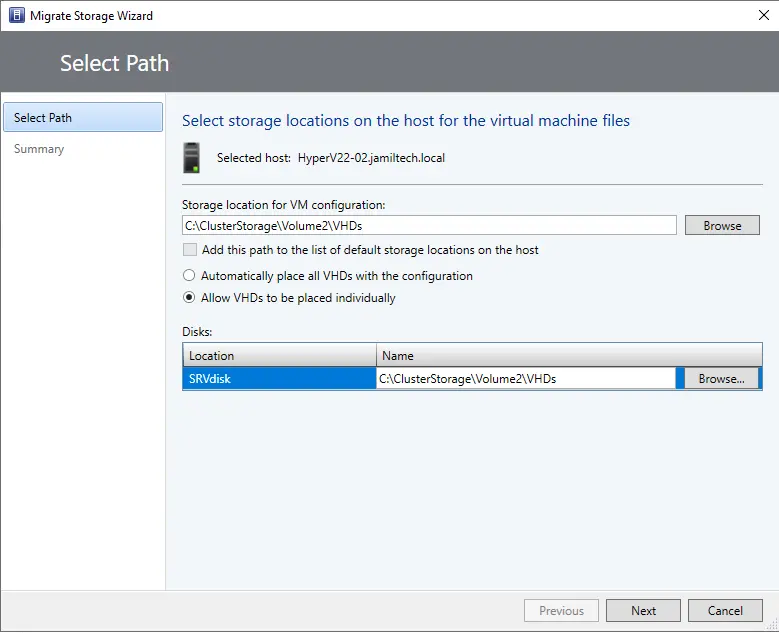
If you wish to migrate the configuration files of the virtual machines,. Click on the Browse button in the storage directory for the VM configuration box. If the virtual machine has various virtual disks, you will have the option to choose which one to migrate to a different storage. Select the option to allow VHDs to be placed individually.

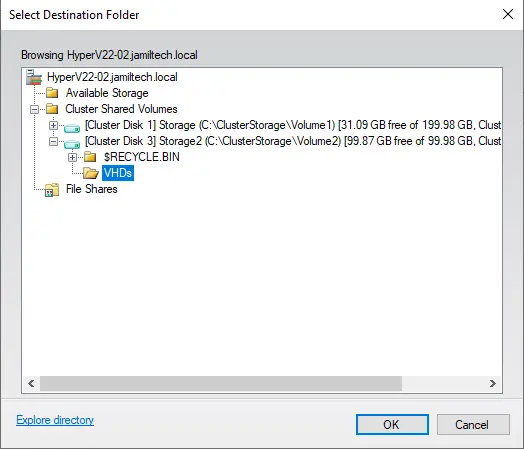
Select the destination folder and choose OK.
After selecting the destination storage, just hit next.
Verify the summary and click on the move button to start the storage live migration.
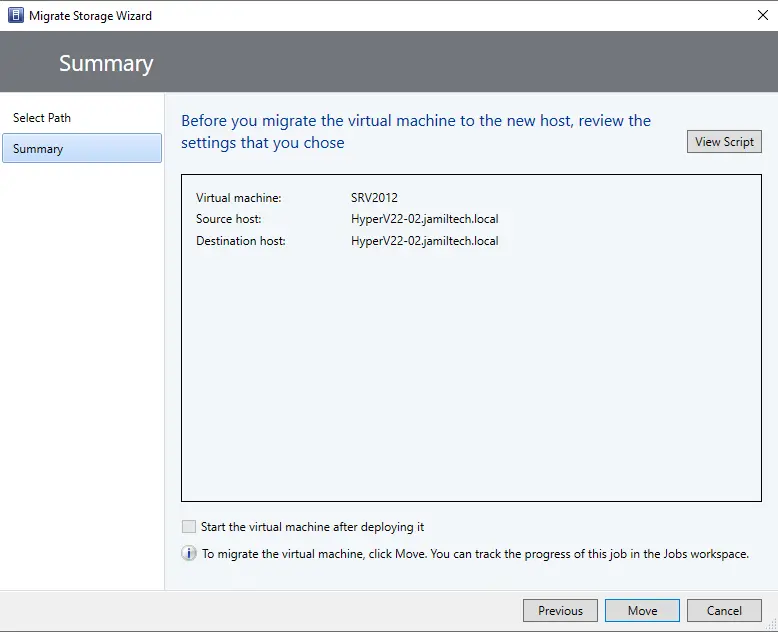
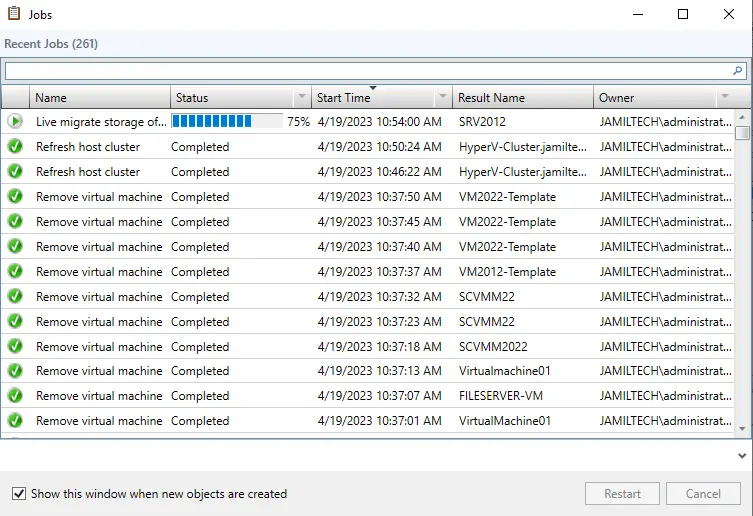
View recent jobs.