
In this article, we will walk you through the process of how to create a Facebook Group. You will also learn the finest practices to help you get the most out of the new Facebook group. If you aren’t already familiar with Facebook Groups, it is essentially a Facebook community platform that users can join and participate in. Groups are created around common goals or interests, like cooking or running, but there are a great many business-focused groups too.
There are a Few Reasons to Create a Facebook Group
First, if you can be accurate in terms of who you need to help, you will be able to describe your Facebook group more effectively. When you can certainly communicate how your business page on Facebook can benefit others, you will easily attract new members.
To Create a Facebook Group
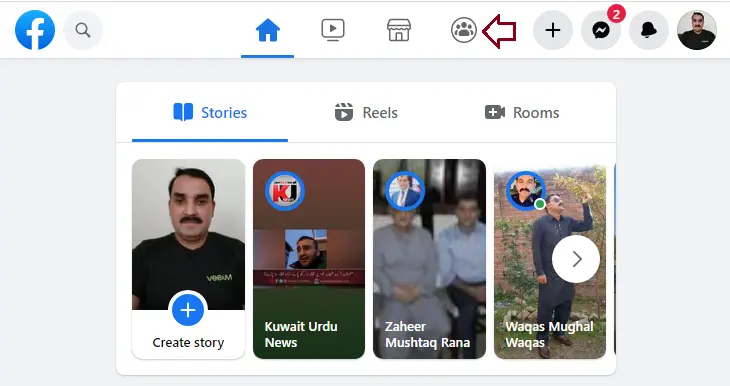
First, log in to your Facebook Account. Then, click on the group icon to start your Facebook group.
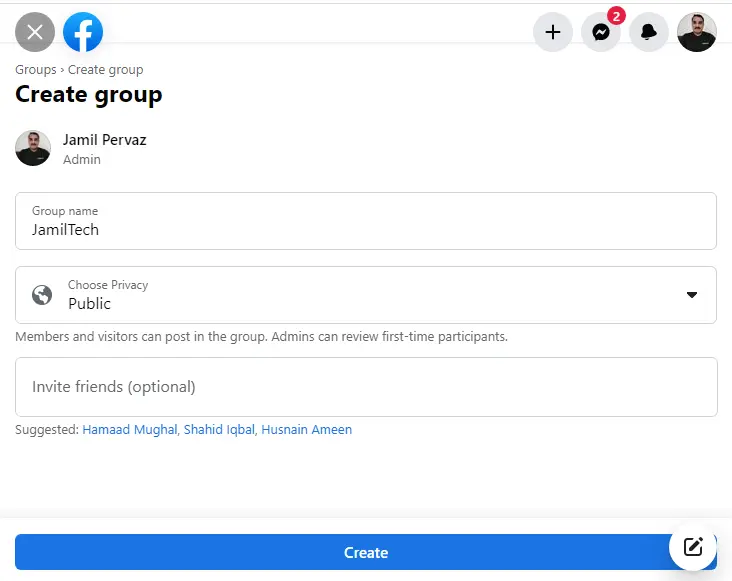
Click on the Create New Group button.

Finally, you will need to fill in a few details to create your Facebook account.
At a minimum, you must add a cover photo and a small description for your group.
Click on Edit to change the image.
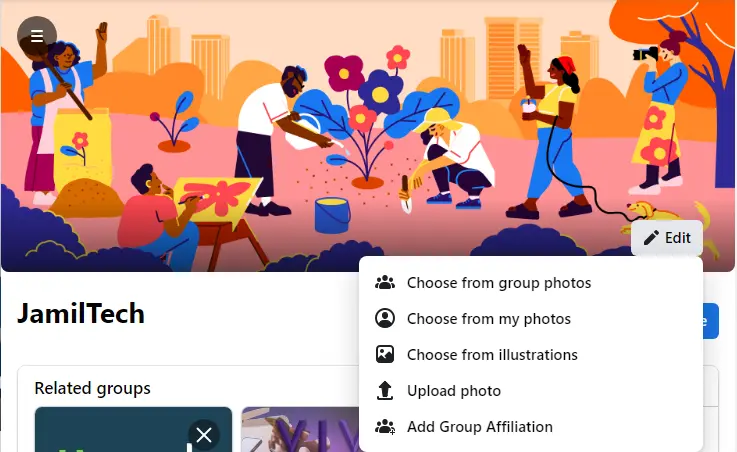
After selecting an image, click Save Changes.

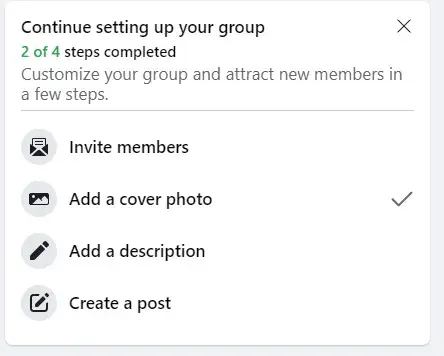
Once your Facebook Group creation is complete, you will be able to customize it. Facebook makes this very easy with a few prompts toward the interface.
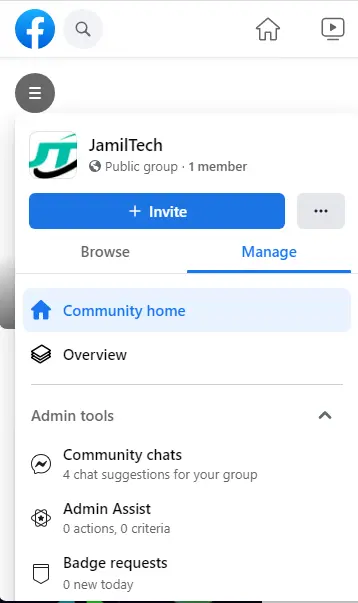
How about your admin settings? They can be found on your left. From here, you can configure group rules, view member requests, set membership questions, and more.
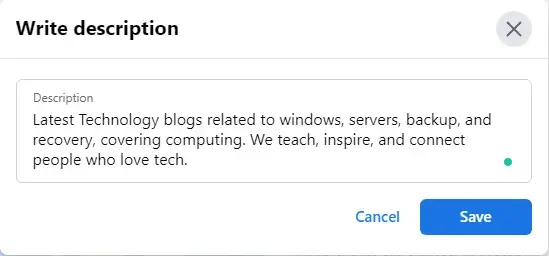
Create a Facebook Page Description
Click on Add a description.
Type a small description, and then click Save.
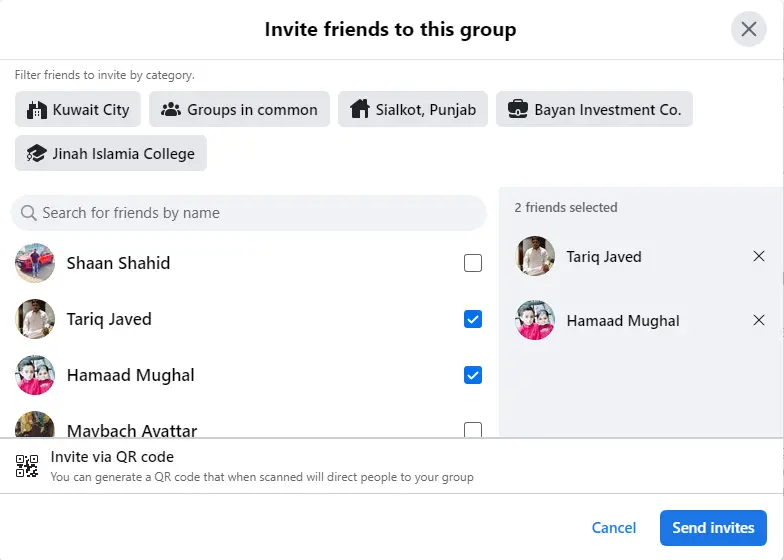
Invite Friends to Facebook Group
Click on Invite Members, select the members you want to add to your group, and then click Send Invites.
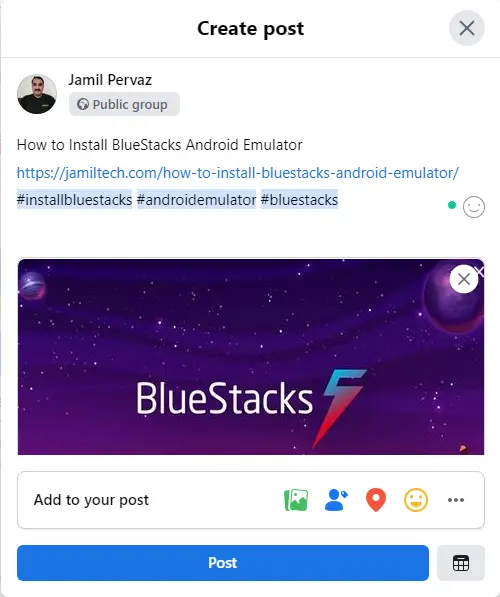
How to Create a Post
Click on Create a post, add your post, and then choose Post.
Refer to the Facebook Help Center to get more information about creating a Facebook Group.
Related: How to Create a Facebook Page

