
In this article, we will have a look at how to create offline address book configuration in exchange server 2019 in coexistence. An offline address book is a downloadable address list that Outlook users can access while disconnected from Exchange Online. The OAB permits Outlook users to access the information inside the specified address lists while disconnected from Exchange Online. Administrators can judge which address lists are made available to users who work offline.
An offline address book is an offline copy of all the e-mail addresses within the Exchange Server. Users of Microsoft Exchange can download the offline address book (OAB) and save it on their devices, so they can access the address book even if Exchange Server is offline. The OAB can be created by a server administrator, and he or she decides which information or addresses are accessible to Exchange users. To create a new offline address book, follow the steps below.
Create Offline Address Book in Exchange
The OAB (offline address book) is used by Outlook clients utilizing cached mode for address lookups when the clients are offline.
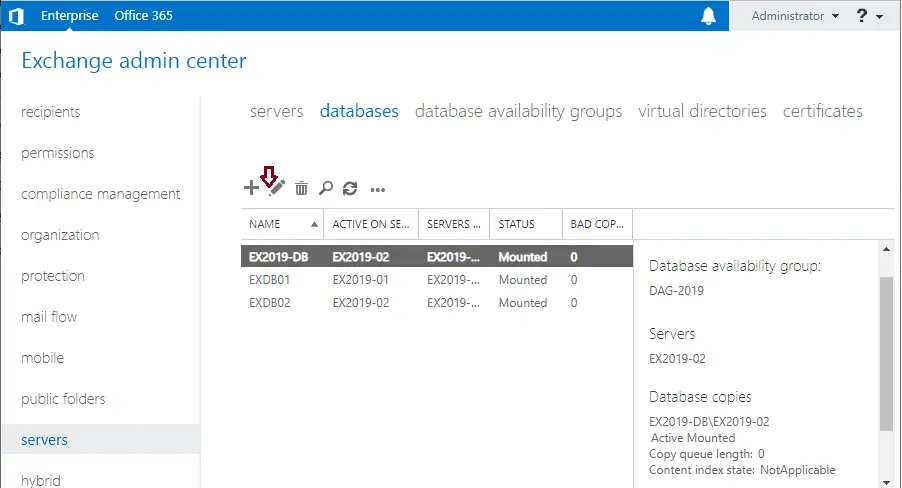
Sing in the Exchange admin center, click on servers, and then click on the databases tab. Highlight your mailbox database and click the Select Edit icon.

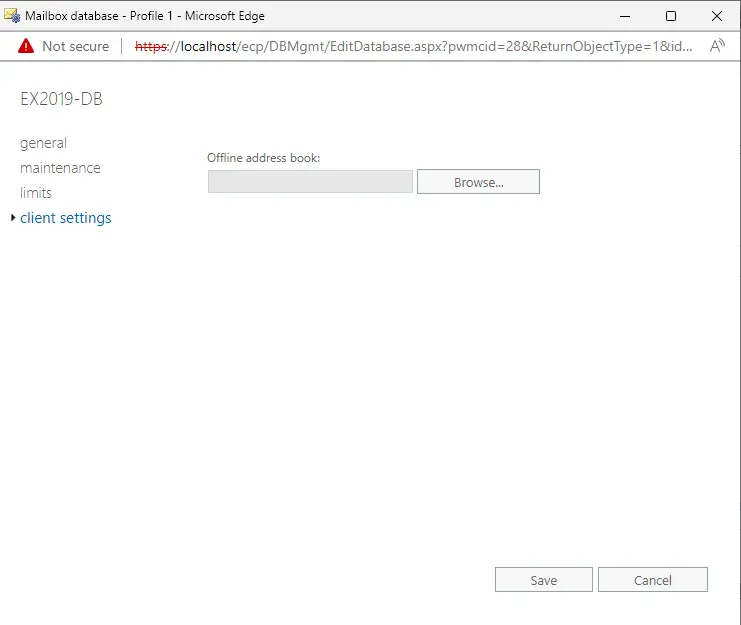
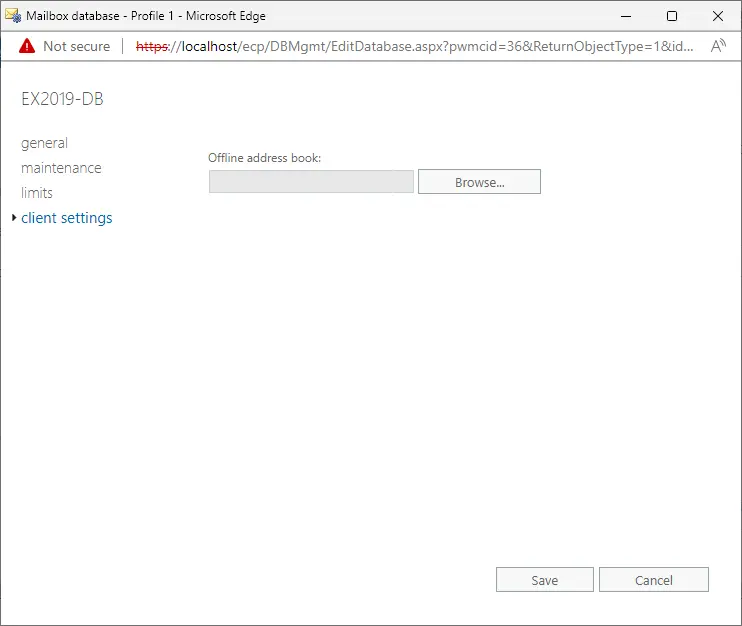
Choose client settings, and then click on the browse button.
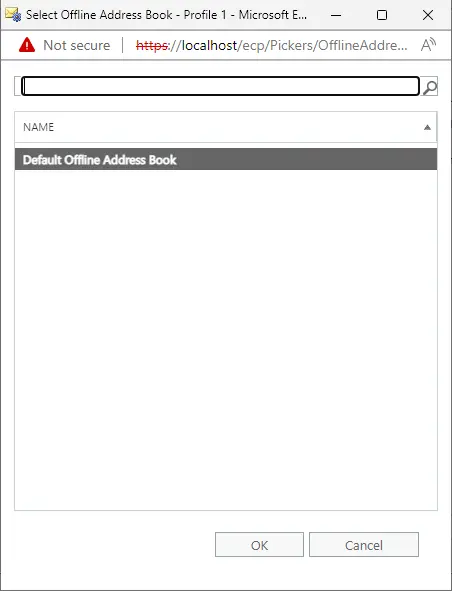
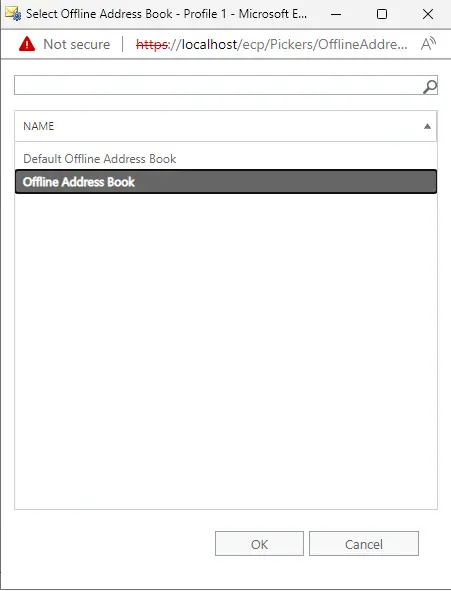
Choose Default Offline Address Book, and then select OK.
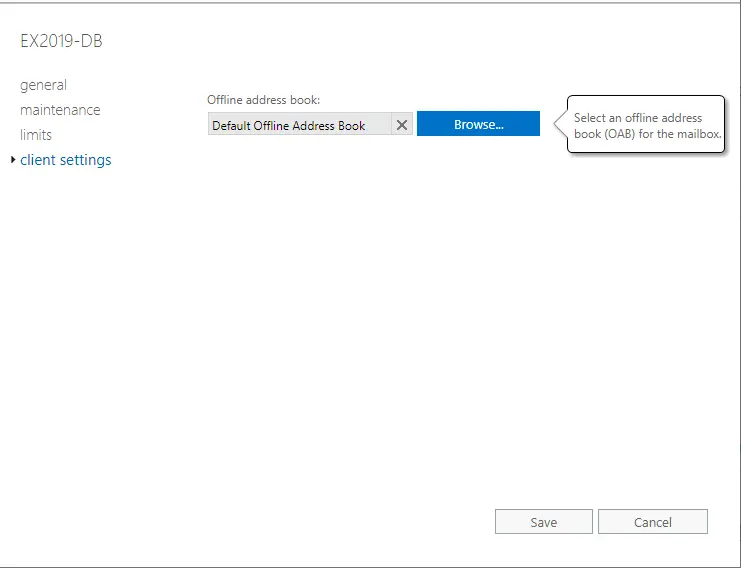
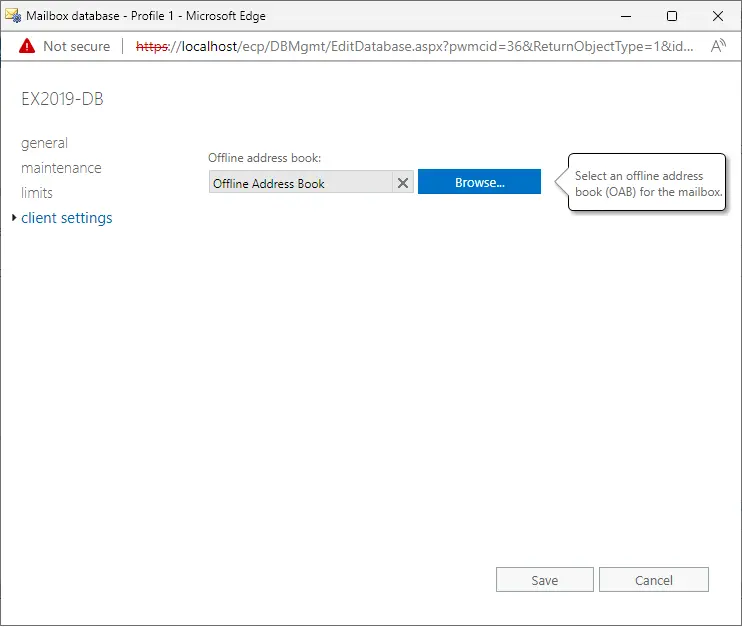
You can now see the default OAB selected as the offline address book for the mailbox database. Choose to save.
How to Create New Offline Address Book and Assign it to Exchange Database
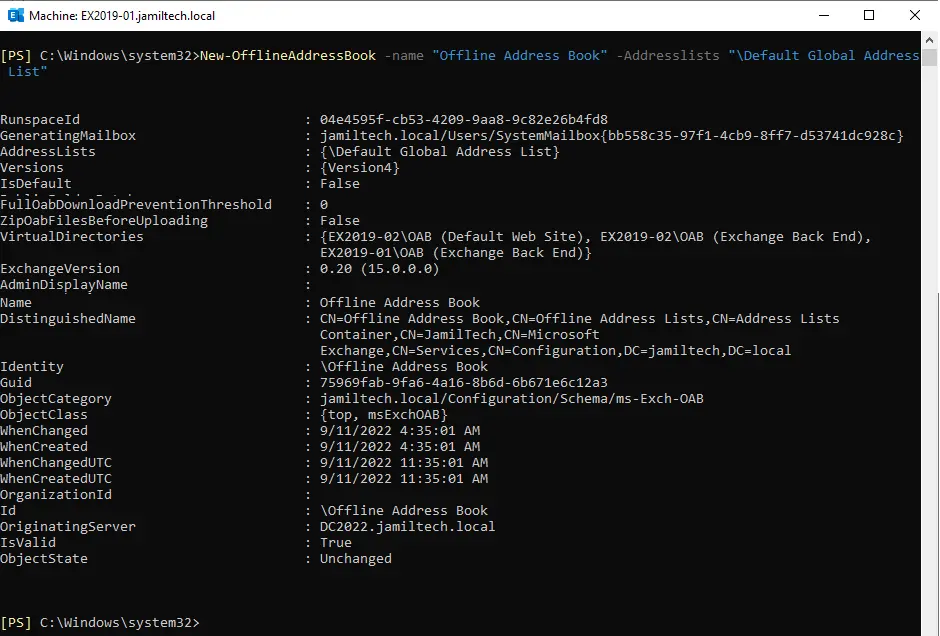
This instance creates an OAB named offline address book that contains the default global address list.
Run the Exchange PowerShell console and then enter the following command:.
New-OfflineAddressBook –name “Offline Address Book” –Addresslists “\Default Global Address List”
In the Exchange Admin Center, select the Servers console, and then select the Databases tab. Highlight the database you wish to assign the OAB to, and then click the Edit icon.
On the left side, click on client settings, and then click the Browse button.
Click on the OAB to assign it to the mailbox database, and then click OK.
Click Save
For more details, please visit Microsoft

