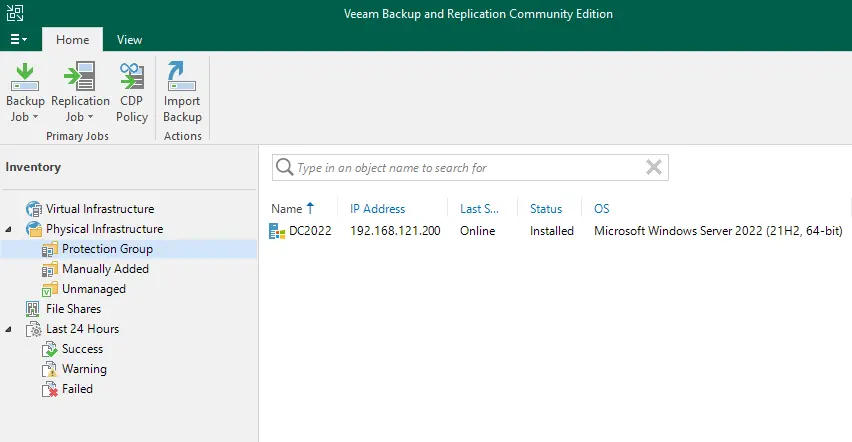
In today’s article, we will explain how to create protection group in Veeam backup and replication. We need to add devices that we plan to defend with Veeam Agents to the inventory in the Veeam Backup console. The Veeam Backup and Replication assured computers/servers are organized into protection groups. So, we can create one or many protection groups that include computers or servers that offer various discovery or deployment options.
Note: If you don’t need to create protection groups, for instance, if your strategy is to control only a small quantity of computers in your infrastructure, then you can add the necessary devices directly to a Veeam Agent backup job. Veeam backup and replication will automatically add such computers/servers to the manually added protection group.
Visit Veeam to learn about creating protection groups
Create Protection Group in Veeam Backup
The protection group is a set of physical computer and cloud instances that are protected by an agent. In this instance, we create a protection group and then populate it by browsing the Active Directory.
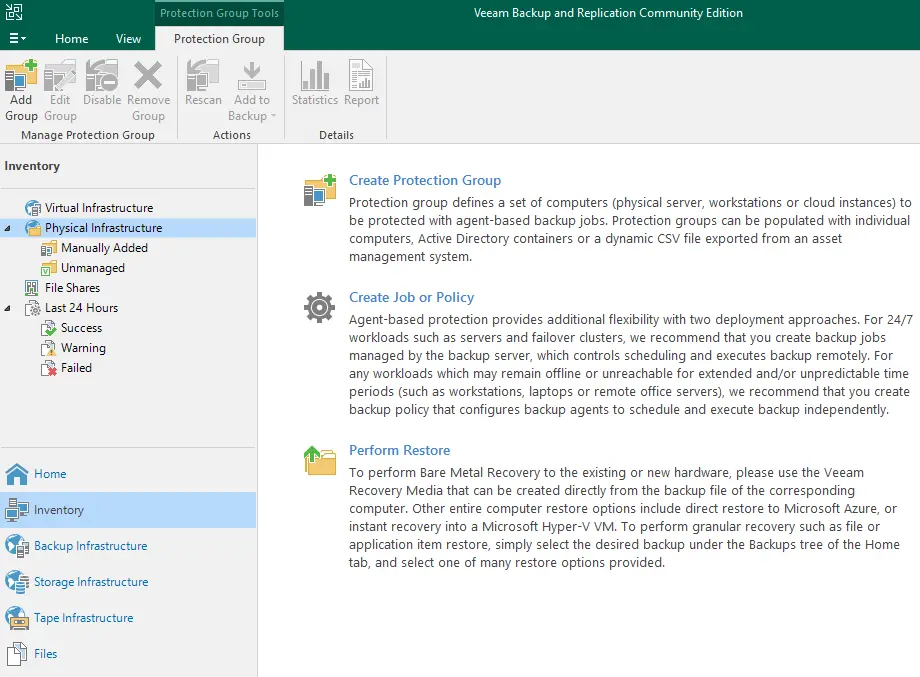
To create the protection group, click on Inventory and then select Physical Infrastructure. Click on the Create Protection Group button.
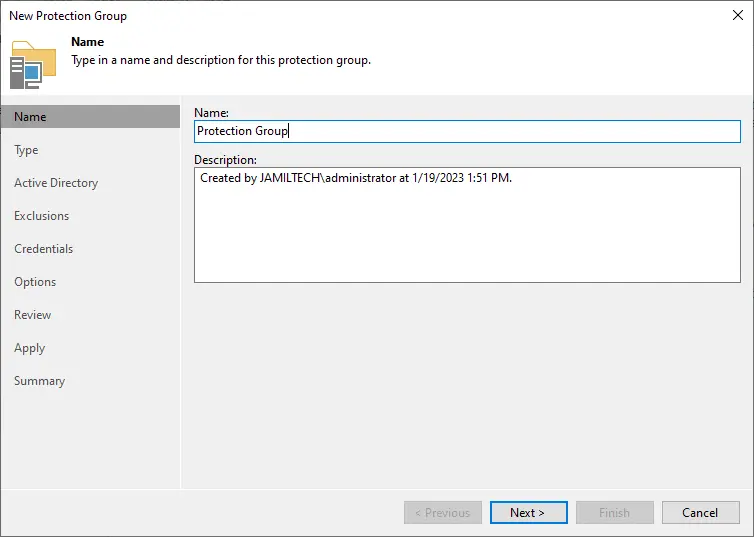
Specify a protection group name and provide a description, and then click next.
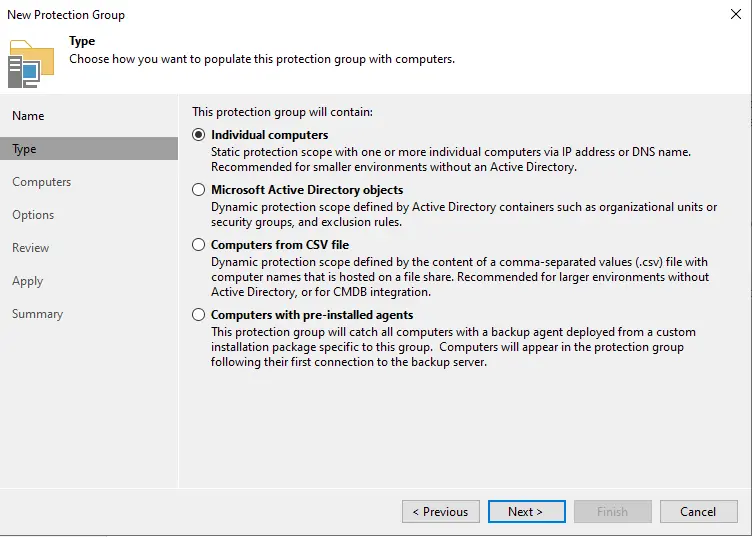
Choose an option to populate the protection group with computers, and then click next. I am selecting an individual computer.
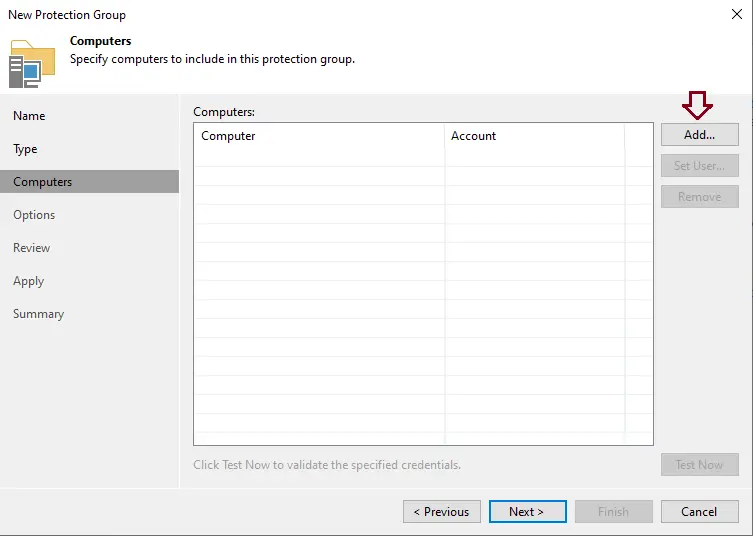
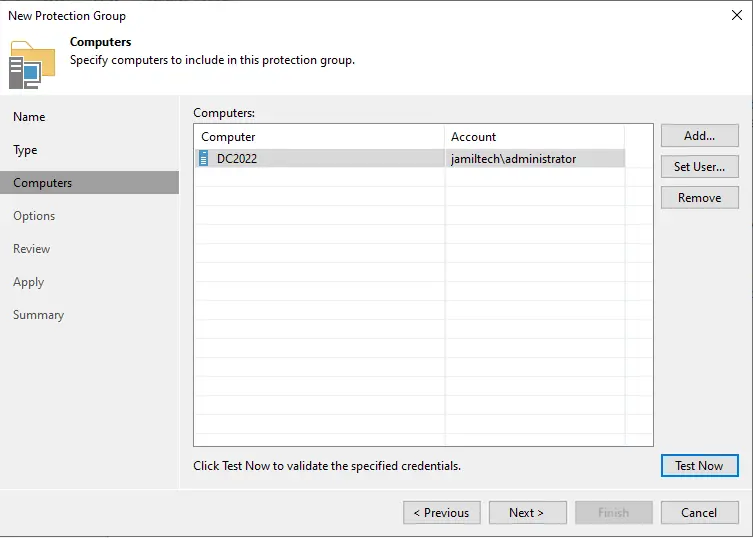
Specify the computers that you wish to add to the protection group.
Click on Add to add a computer to the protection group.
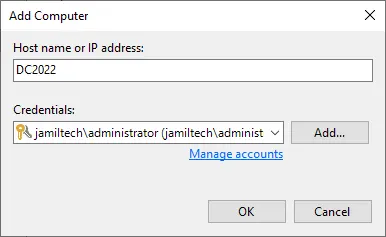
In the Add Computer page, in the hostname or IP address, type the DNS name or IP address of the computer that you wish to add to the protection group, and then click OK.
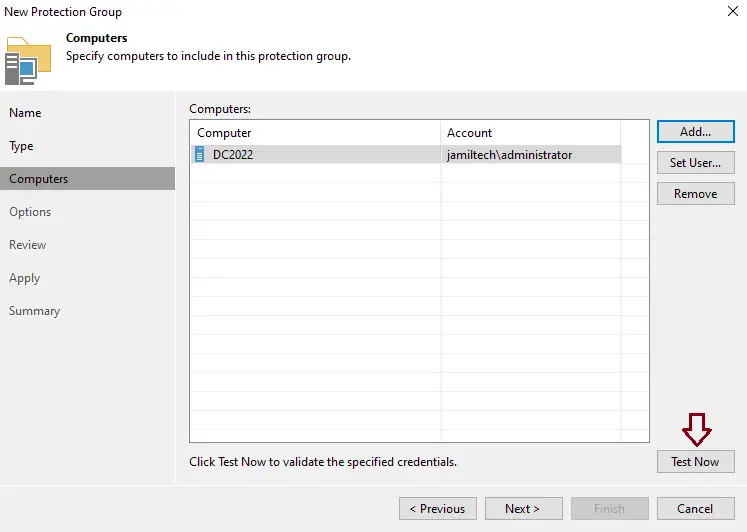
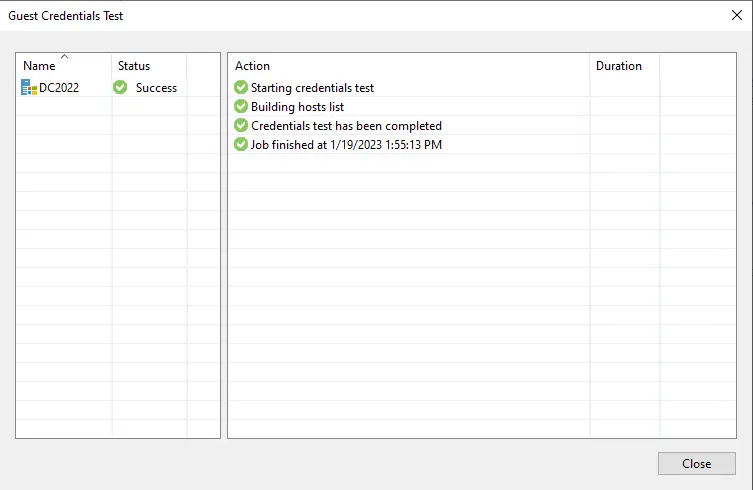
If you want to validate the specified credentials with Veeam Backup and Replication, which can communicate with computers added to the protection group, then click on the Test Now button. Veeam Backup and Replication will utilize the credentials to connect to all computers in the list.
Click Close
Choose Next
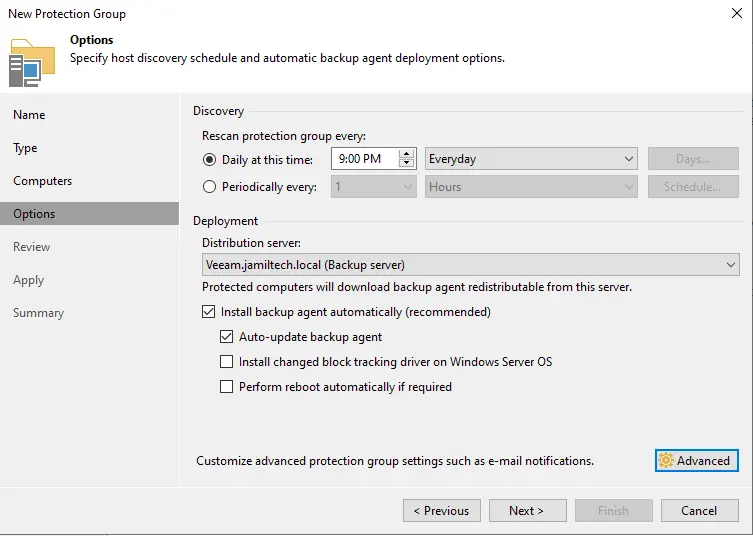
Verify the rescan protection grooptions,ons and then click on Advanced.
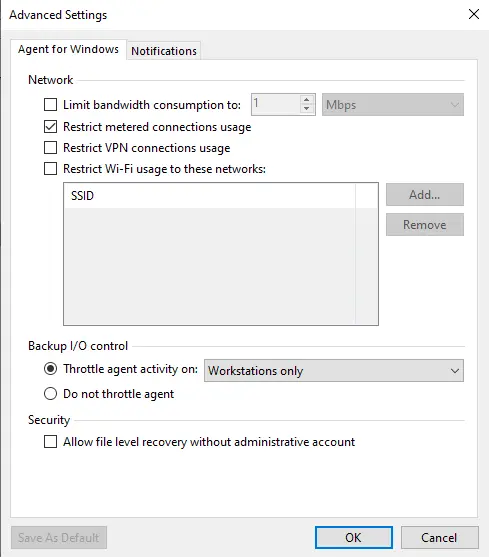
Verify the advanced settings and then click ok.
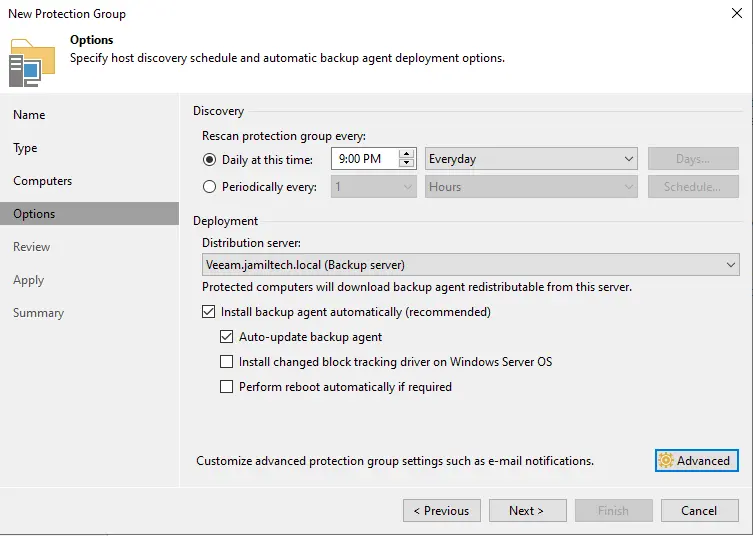
Click next
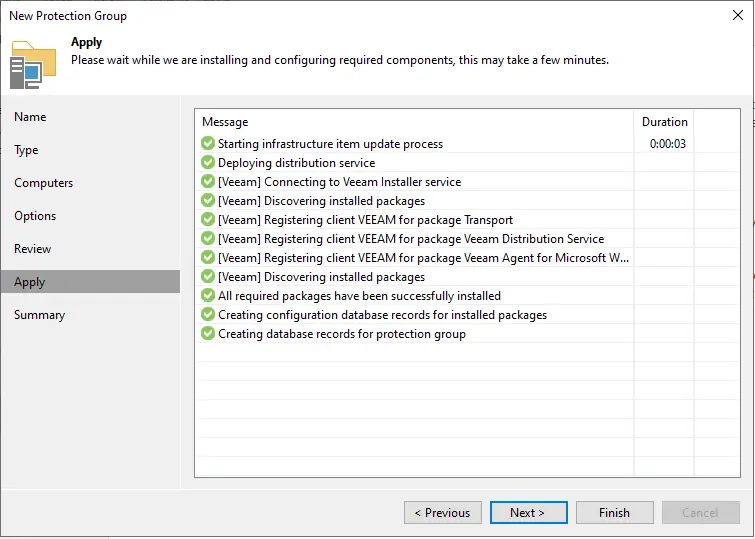
Review the protection group settings and then click apply.
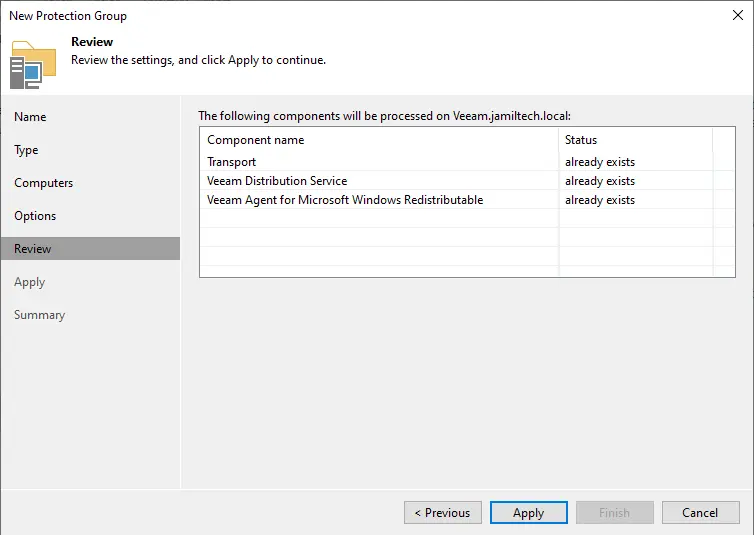
Click next
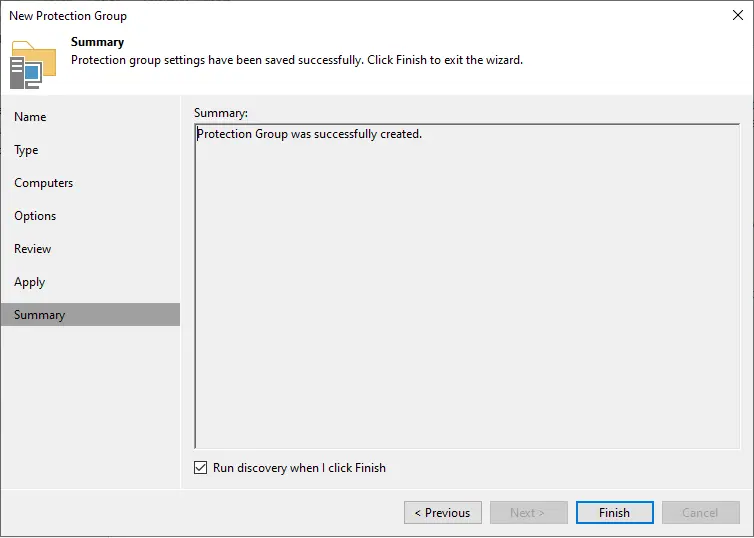
Select the box run discovery when I click finish and then click on the finish button.
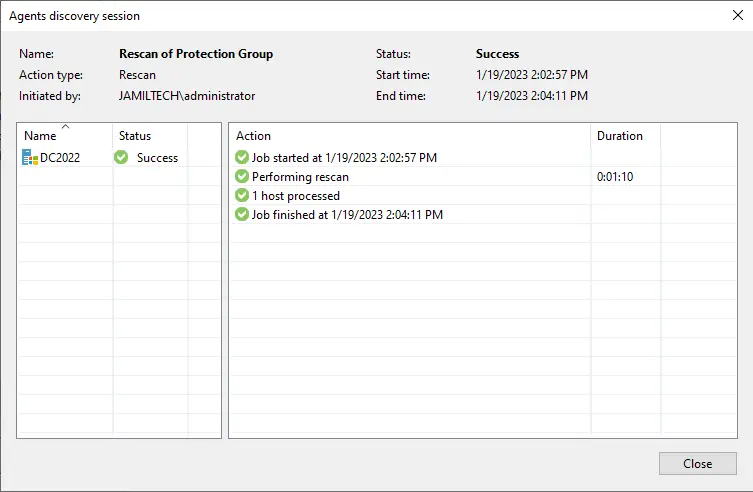
Rescan of protection group completed successfully, click on close.
Now you can see the protection group.
