
In this article, we will describe how to create security groups in Exchange Server 2019. The user that you have created for the Microsoft Exchange Server agent should be a domain administrator with full admin rights on Microsoft Exchange Server. Administrator rights are required to access the Microsoft Exchange Server agent components. When we create groups in the Exchange admin center (EAC), the groups are automatically configured to only approve messages from authenticated (internal) senders.
When you create groups in the EMS (Exchange Management Shell), we can use the RequireSenderAuthenticationEnabled parameter with the value $false so the group can accept messages from authenticated and unauthenticated (external and internal) senders. Once you successfully create the group, you can change the settings by using the Exchange admin center or the Exchange Management Shell.
Create Security Groups
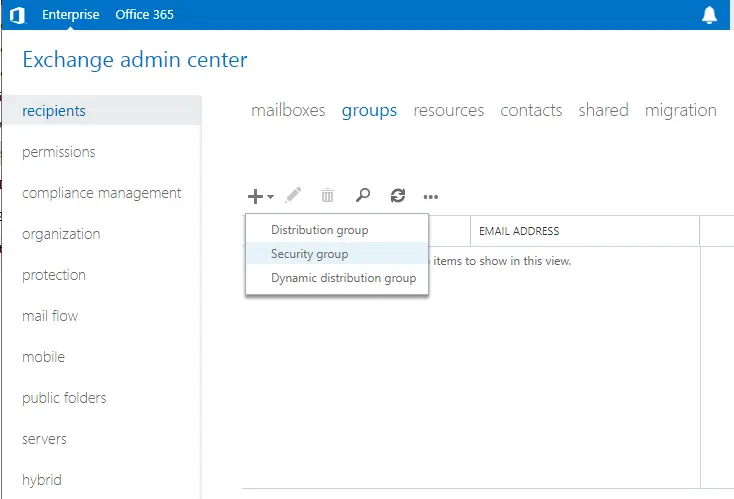
Log in to the Exchange Admin Center, go to Recipients, and then click on the Groups tab.
Click on the + New Add icon, and then choose Security Group from the drop-down list that appears.
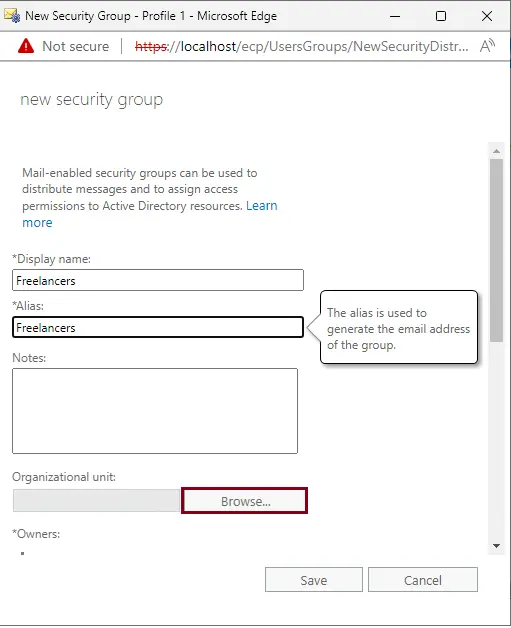
Enter a unique display name and then an alias for the group name. Under Organization Unit, click on the browse button to select the organizational unit.
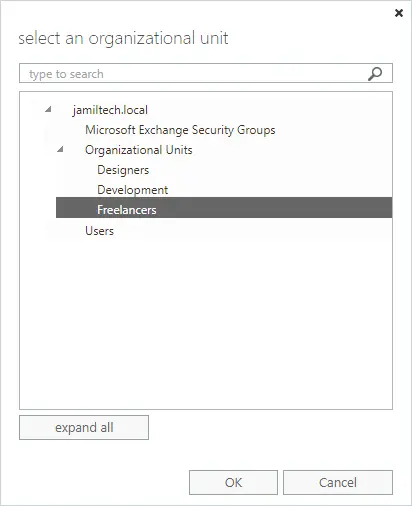
Choose the particular organizational unit (OU). Here, I am selecting Freelancers OU. The new security group will be created in the freelancer organizational unit.
Click on the OK button.
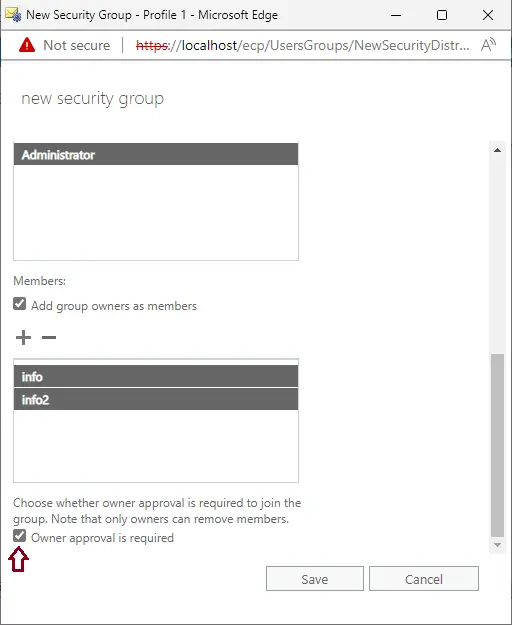
Under Members, tick the Add group owners as members box, and then click on the “+” icon.
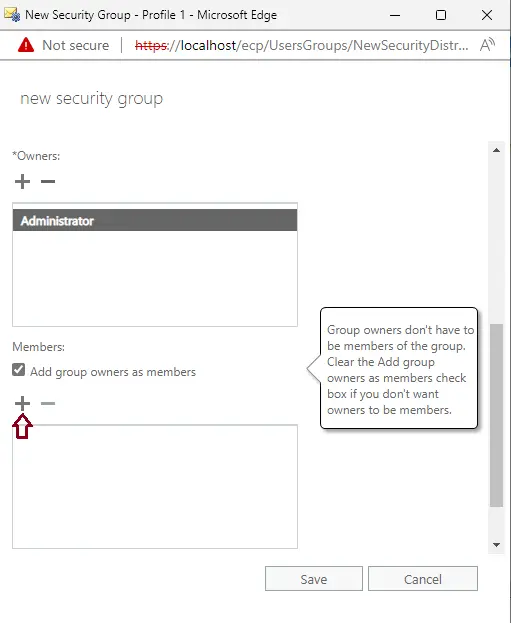
Choose the users that you want to add to the security group.
Click on the add button and click OK.

Tick the owner’s approval is required box, and then click save.
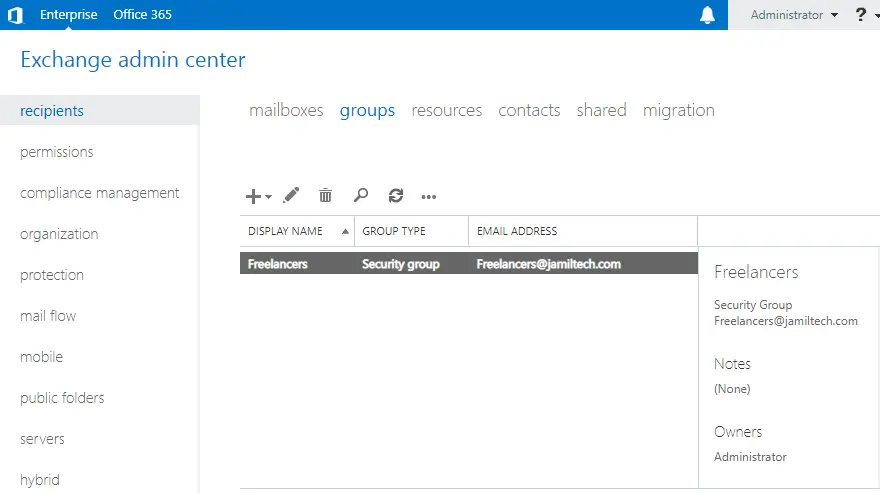
Now you can see the security group has been successfully created under the group’s tab with the [email protected] email address.
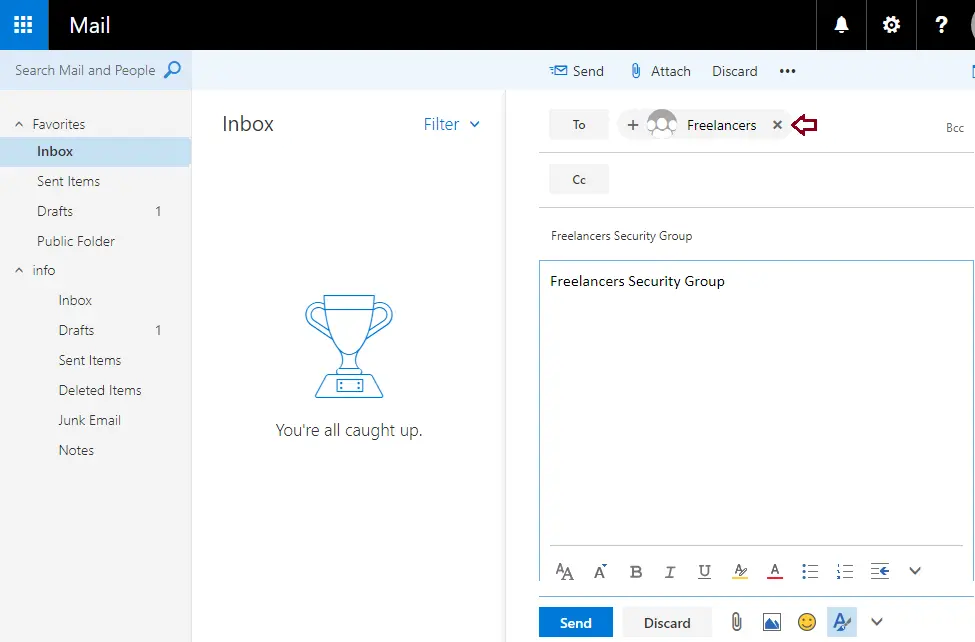
How to Verify Security Group
Log in with the Outlook Web App, and then send an email to a security group.
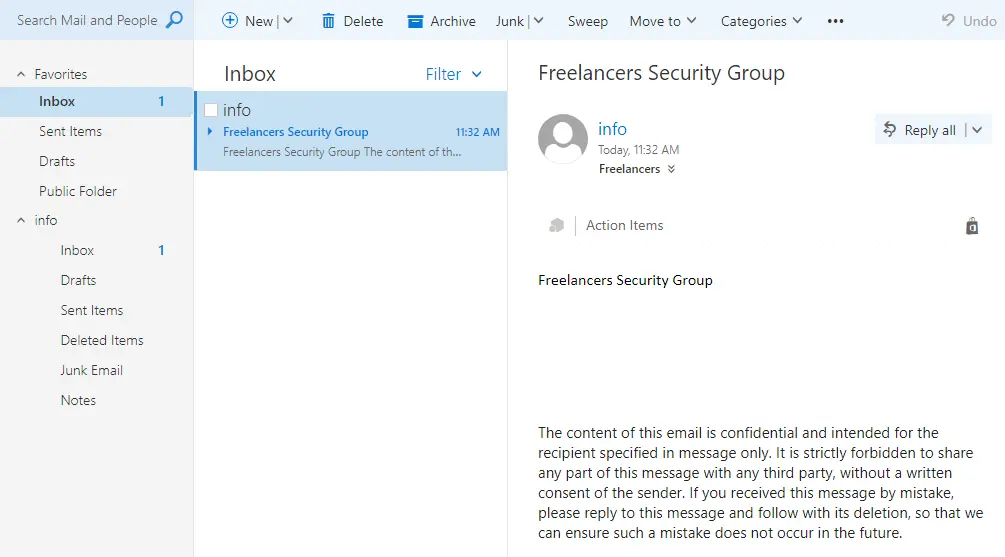
Check the recipient’s email.
Related: How to Backup and Restore Exchange Database.
Refer to this article for more details on creating security groups on an Exchange server.

