Let’s have a look at how to install Kaspersky Security Center 13.2 on a Windows Server. When your business grows, you want to protect your data and the applications you need to manage. You want the right software to stop threats instantly, detect vulnerabilities, and simplify system administration tasks. For this reason, we will install Kaspersky Security Center on Windows Server, which is a security explanation. First of all, you need to uninstall the anti-virus software on the server and restart it. Once you have completed the controls, you can download the Kaspersky Security Center installation package from the link below.
Table of Contents
Kaspersky Security Center Requirements
Hardware and software requirements
Install Kaspersky Security Center 13.2
Download the Kaspersky installer for Kaspersky Security Center.
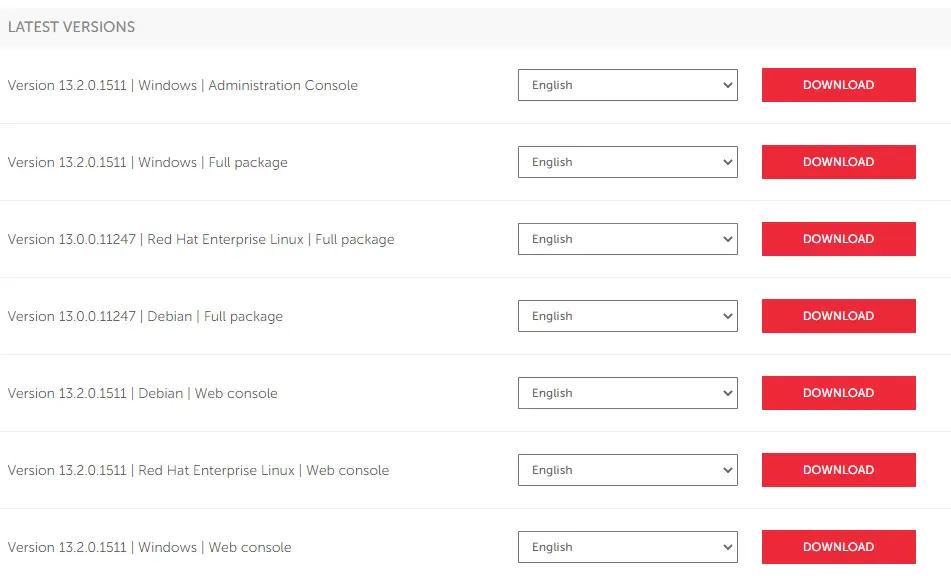
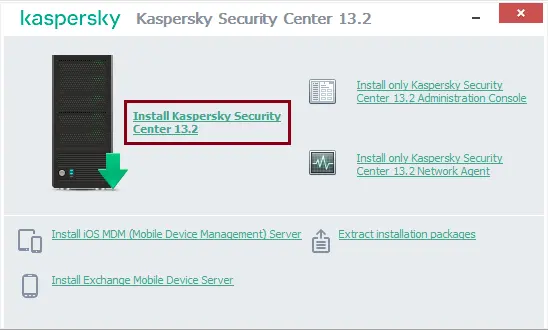
You can find Kaspersky Security Center download installation packages in your download folder. If the Windows user you want to install Kaspersky Security Center is authorized, there will be no issue. If it happens in the Domain Administrator group, we will complete the installation without any problems. Run the Kaspersky Security Center setup.

After running the setup, we will see a screen like this. Let’s start the Kaspersky installation with the option to install Kaspersky Security Center 13.
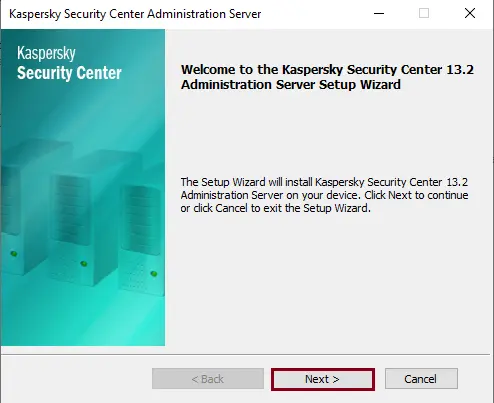
Welcome to the Kaspersky Security Center. Click next.
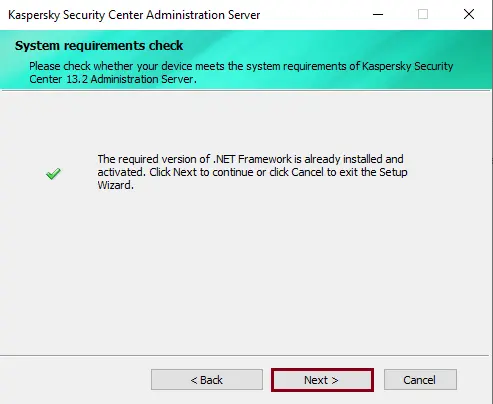
The.NET framework was installed before. Click next.
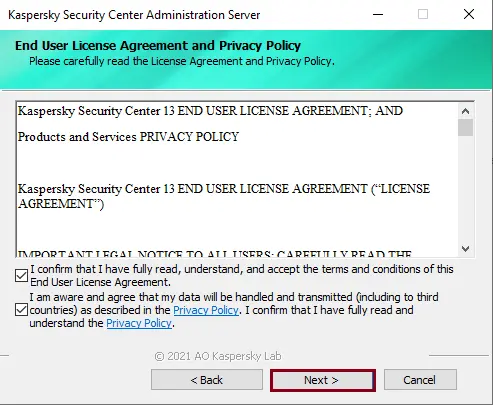
Accept the license agreement, and then click Next.
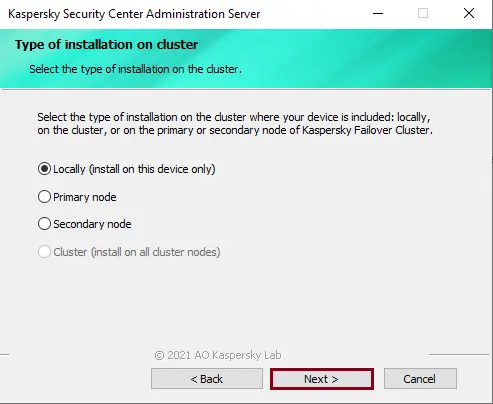
Choose the type of Kaspersky installation, and then choose next.
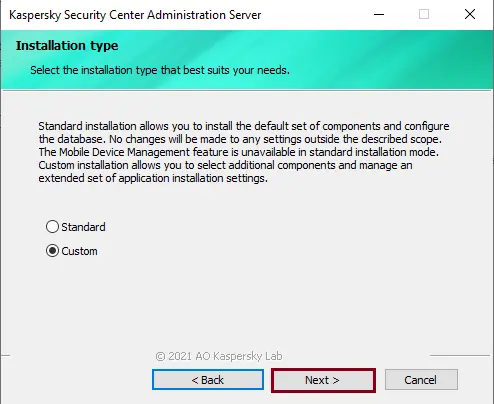
I proceed with the custom option for the Kaspersky installation.
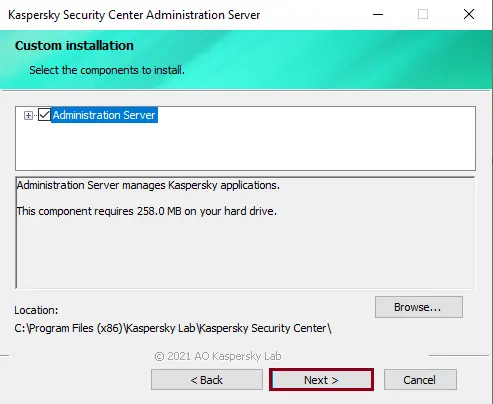
The management server is checked; click next.
Kaspersky Security Center 13.2 Administration Console
Choose the administration console to install, and then select Next.
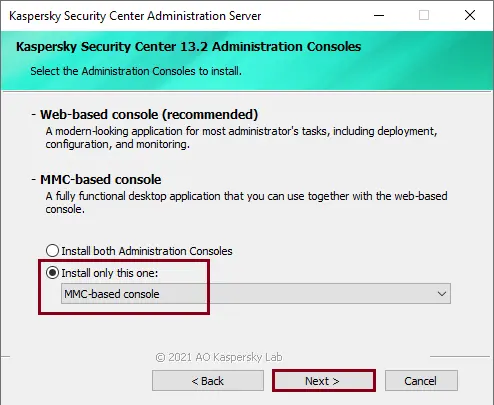
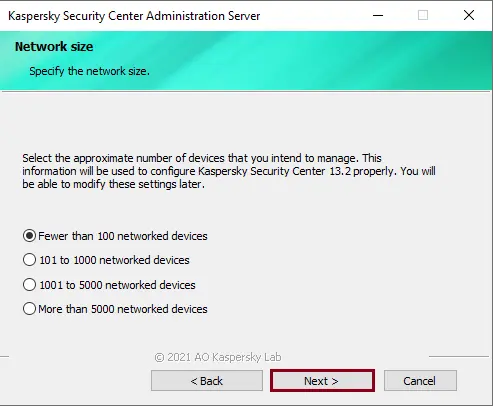
Choose how many computers on the network Kaspersky will protect in the Kaspersky installation Network Size window. Later, you can change this network size setting. Click next.
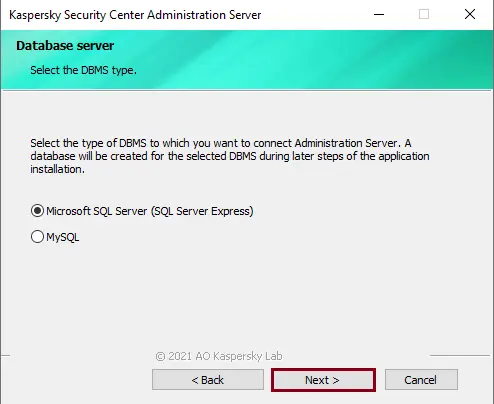
Choose the database type in the database server window, and then click Next.
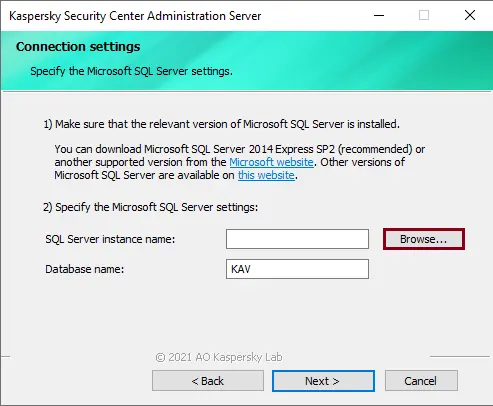
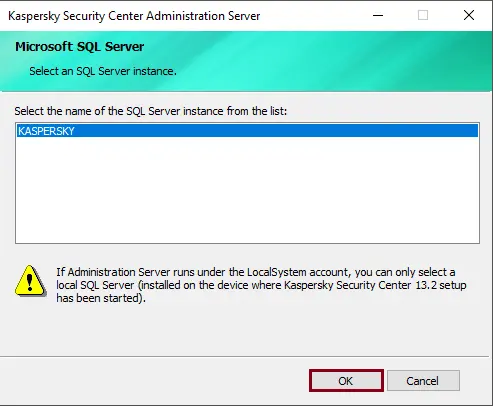
Click on the browse button to specify the Microsoft SQL Server. If you haven’t installed the Yes SQL server, then you need to install the SQL server.
Click on the Microsoft SQL Server name, and then click OK.
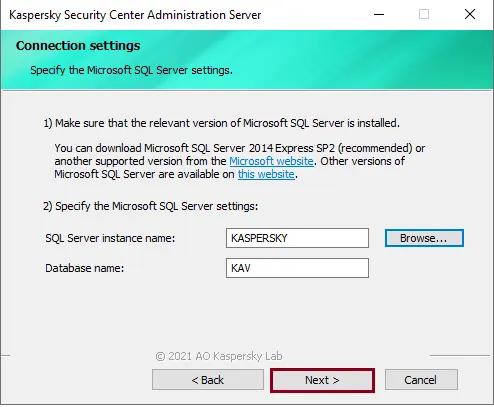
After specifying the Microsoft SQL server settings (instance name and database name) for Kaspersky, click next.
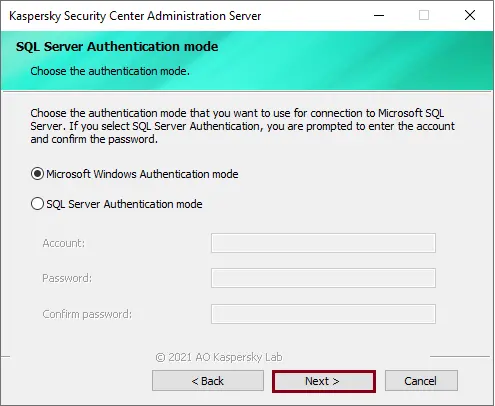
We will go with the Microsoft Windows Authentication Mode settings in the SQL Authentication Mode window. Click next.
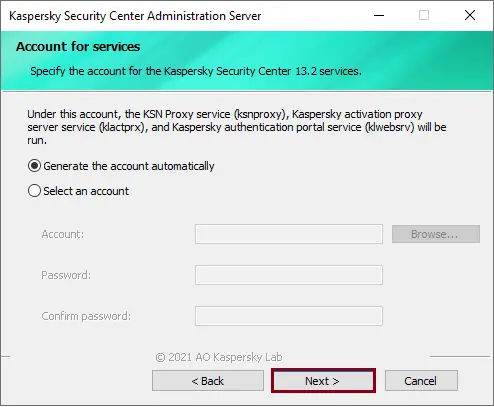
Choose the checkbox Create an account automatically option under the Account window, and then click Next.
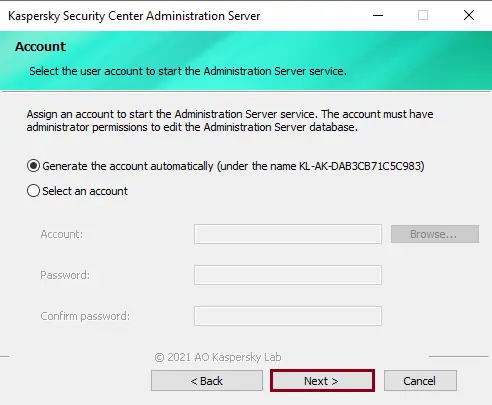
Select the Create account automatically option under the Account window, and then click Next.
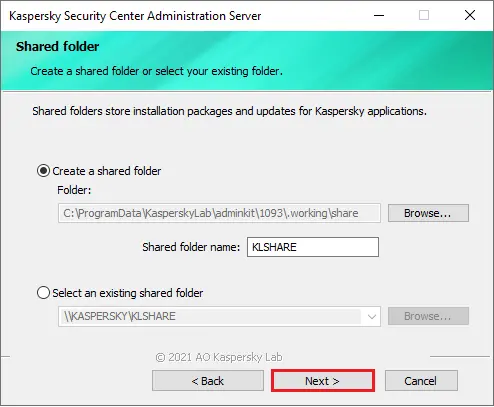
In the Create Shared folder settings, files will be transferred over the network share for uploads via Kaspersky. Click next
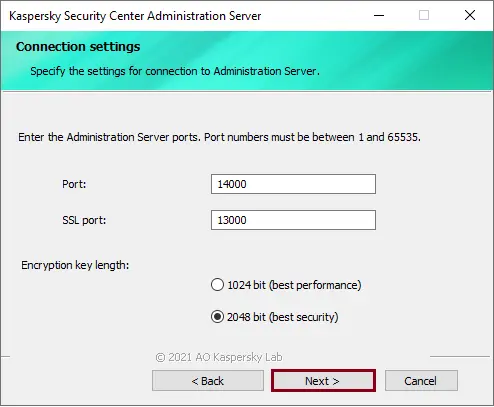
Specify the administration server pots and then click next.
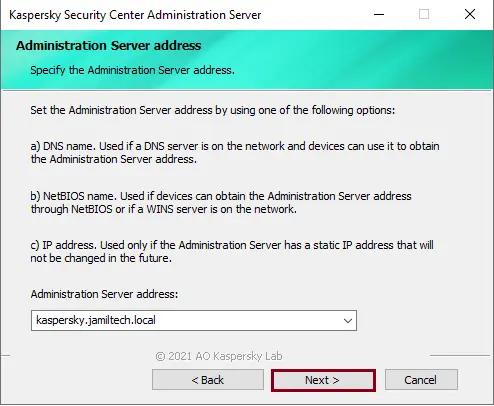
Specify the Administration Server address, and then click Next.
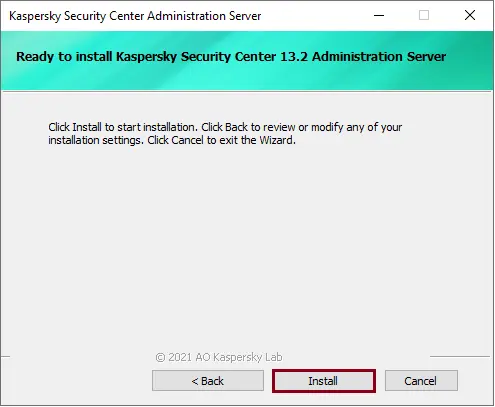
Ready to install Kaspersky Security Center 13 Administration Server? You can start the Kaspersky Security Center installation by clicking the Install button.
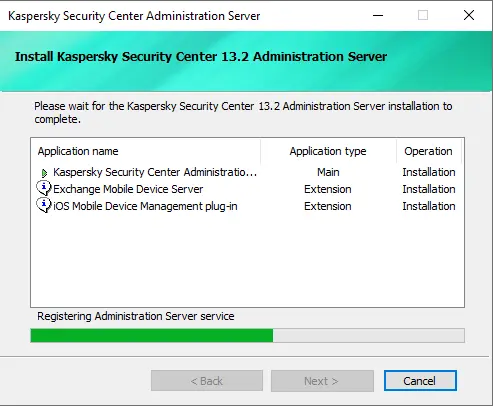
Installing the Kaspersky Security Center Administrator Server is in progress.
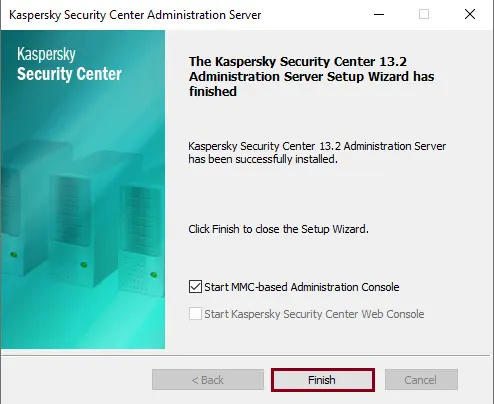
The Kaspersky Security Center administration server installation is completed successfully. Click Finish after selecting the checkbox and start the MMC-based administration console.
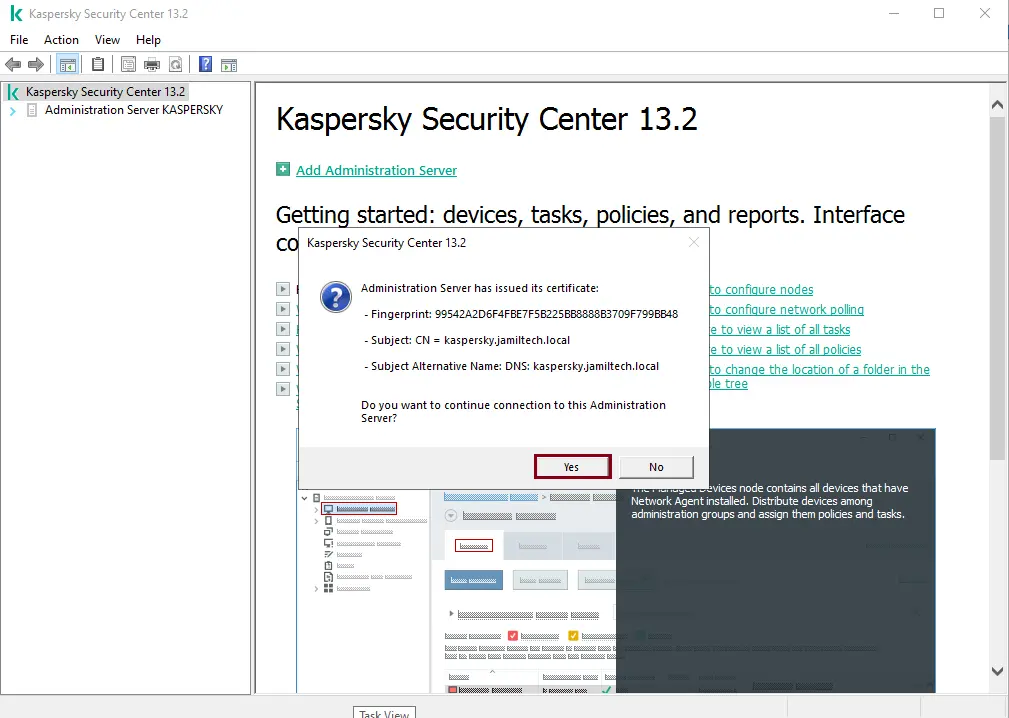
In the Kaspersky Security Center 13.2 interface, we can start using the configuration steps and the license information.
Here you can find the Kaspersky security center installation guide.


