
In this article, I will take you through how to setup Active Directory in Server 2022. Before we start the hands-on session of this article,. Let’s have a look at some of the wonderful New Features in Windows Server 2022. A quick look into when Windows Server 2022 was released as a preview version started in March 2021. In this article, I will show you how to install Active Directory on Windows Server 2022.
Before you begin, verify that the following things have been completed:.
Change Server Name
Change Server Name or computer server name, from a simple to an understandable format.
(In this article: Server name is AD2022, Windows Active Directory Server.)
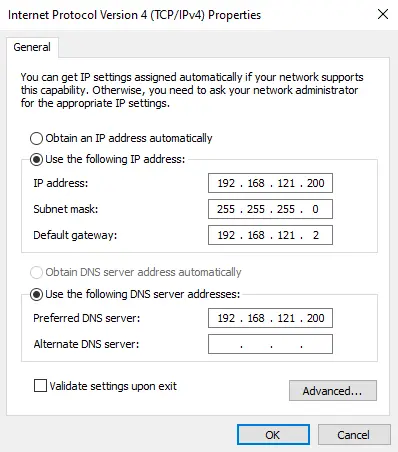
In the Active Directory Server Network settings, assigning a static IP address is configured as a best practice.
Setup Active Directory Domain Services
We are going to install and configure the Active Directory domain controller in Windows Server 2022. It will be a virtual machine or a physical machine.
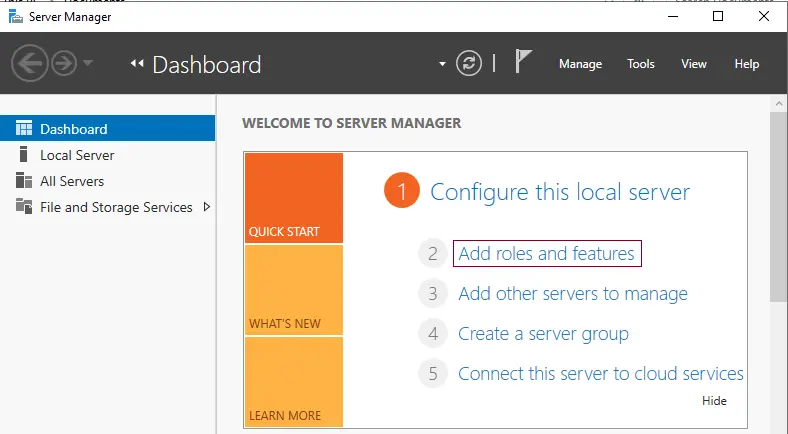
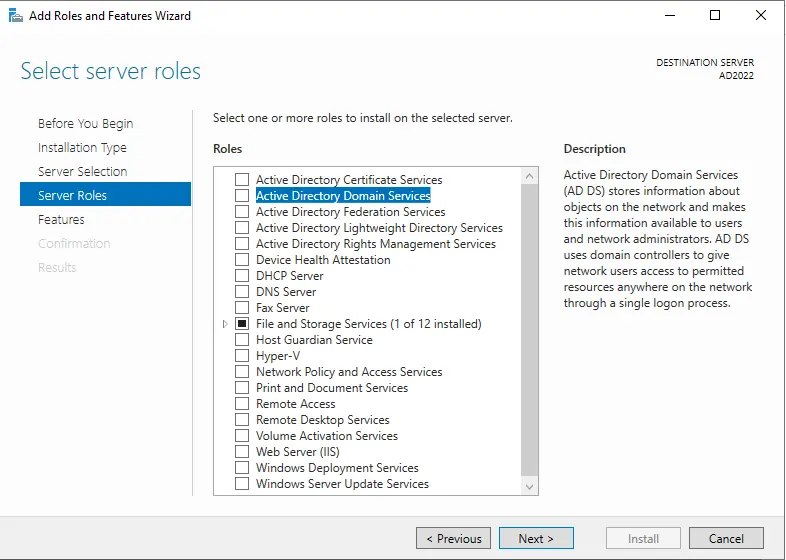
In the Server Manager Dashboard window, choose Add Roles and Features to install Active Directory users and computers.
Add Roles and Features Wizard before you begin; select Next.
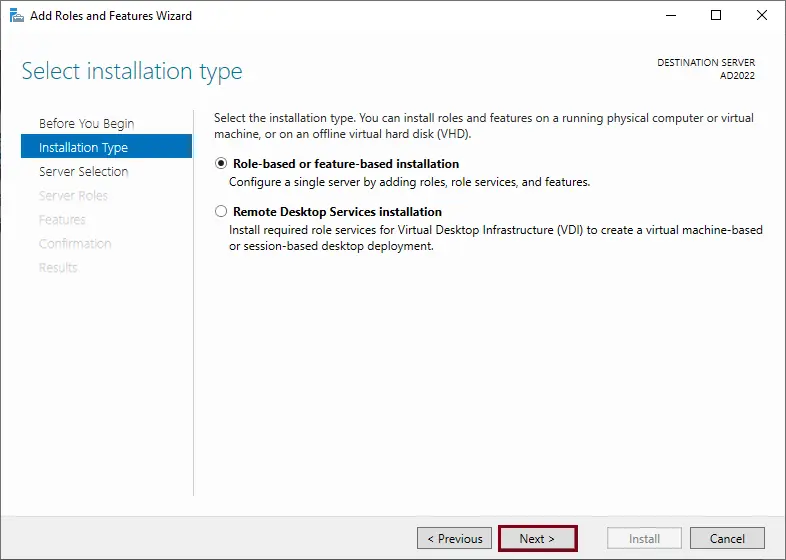
On the installation type page, choose role-based or feature-based installation, and then choose next.
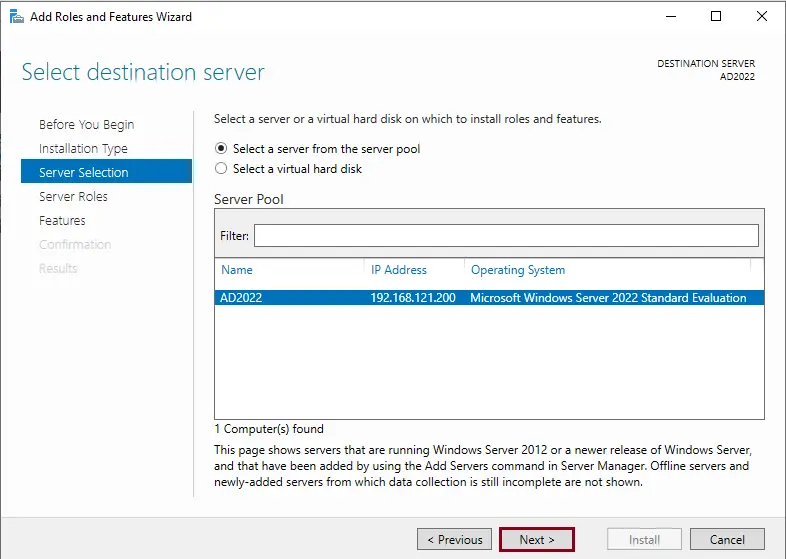
Select a server from the server pool on the server selection page, and then click on the next button.
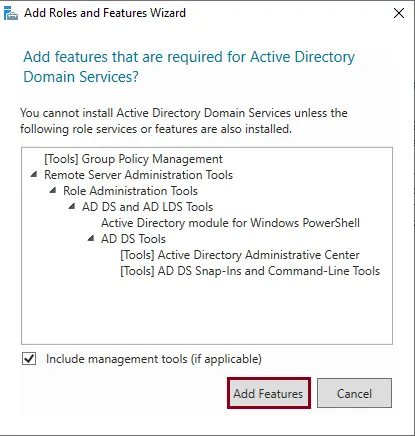
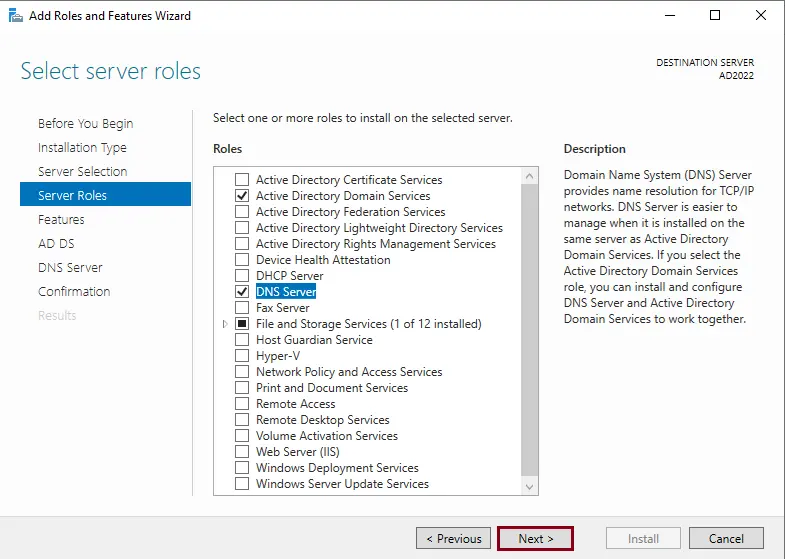
Select Active Directory Domain Services.
Click on Add Features.
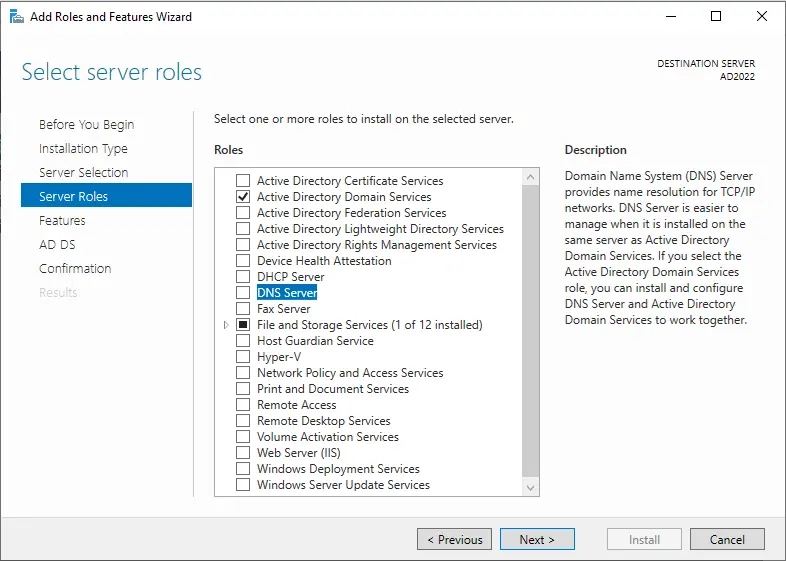
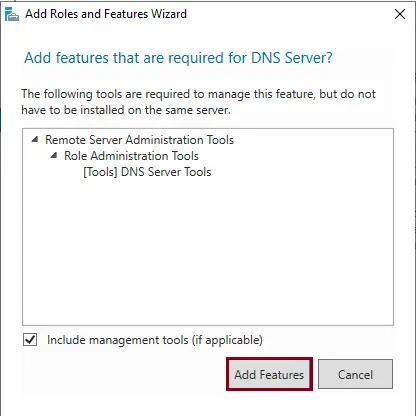
Enable the DNS server role.
Click on Add Features.
Click next
Server features page, click next.
Active directory domain services (AD DS), click next.
DNS Server option, click next.
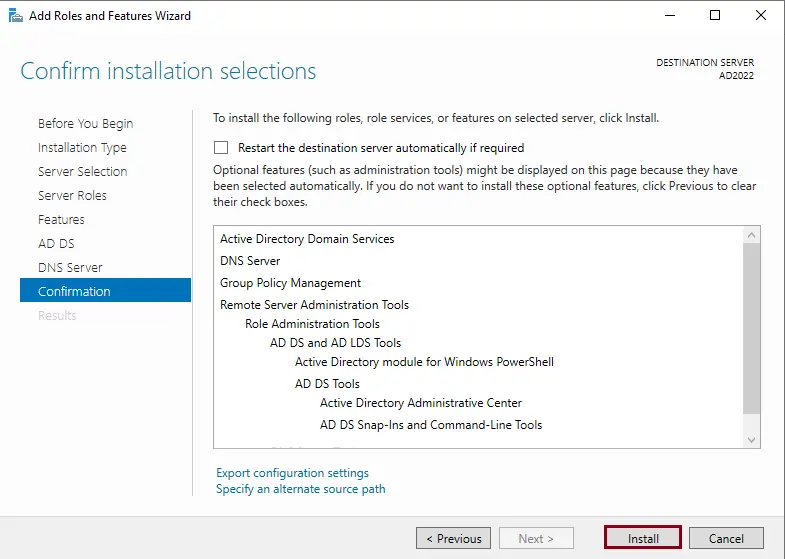
Confirm the installation of active directory selections, and then click on the install button to set up the Active Directory and DNS servers.
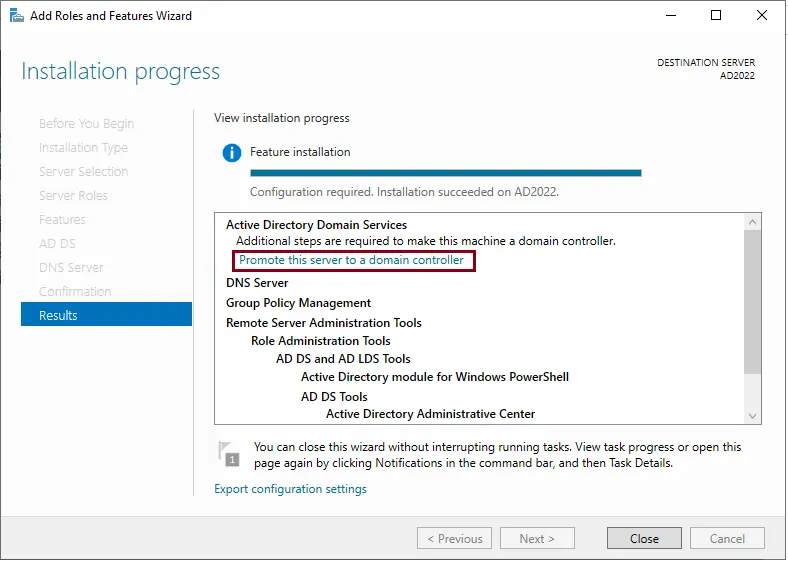
After completing the Active Directory and DNS server installation,.
Configure Active Directory Domain Service
In this section, we will see how to configure the Active Directory environment with the promotion of the first domain controller.
Click on “Promote this server to a domain controller”.
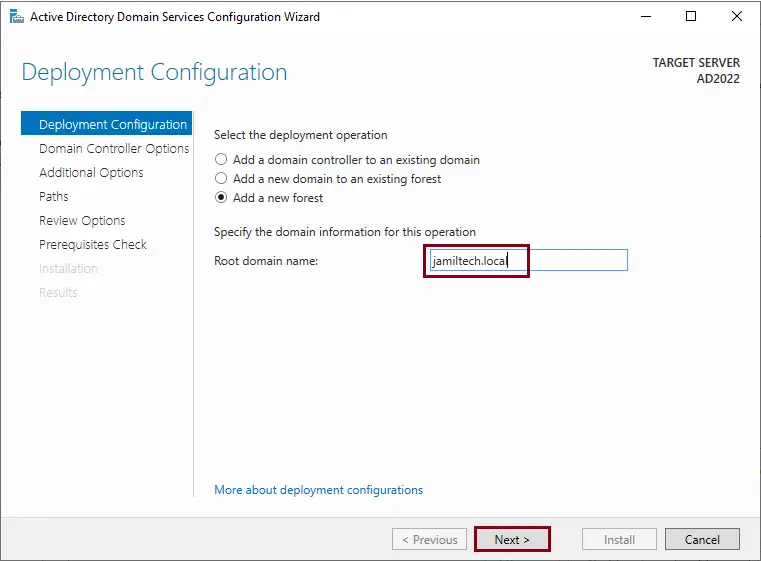
Select the deployment operation, (Add a new forest) and then type the domain root name. (for Instance: jamiltech.local). Click next.
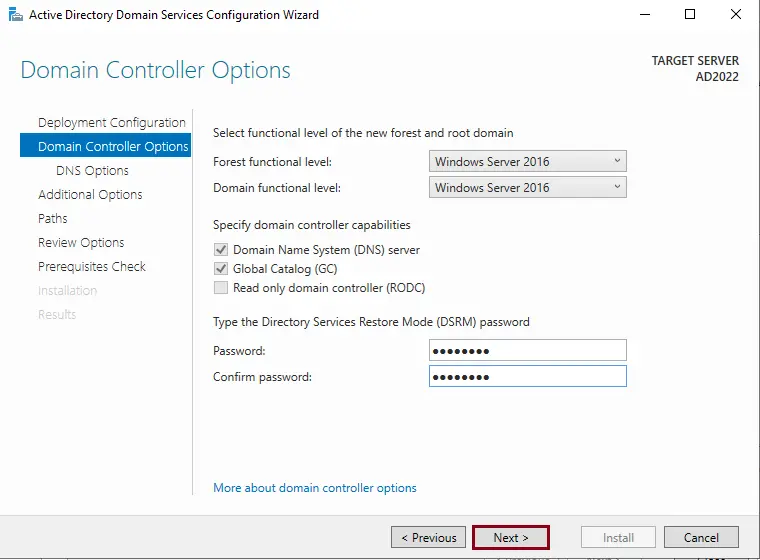
Install the domain controller options and choose the forest functional level and domain functional level as per the requirements.
Specify the domain controller’s capabilities.
Domain name system (DNS) server selected.
The Global Catalog (GC) was selected.
Enter the Directory Services Restore Mode (DSRM) password, confirm the password, and then click on Next.
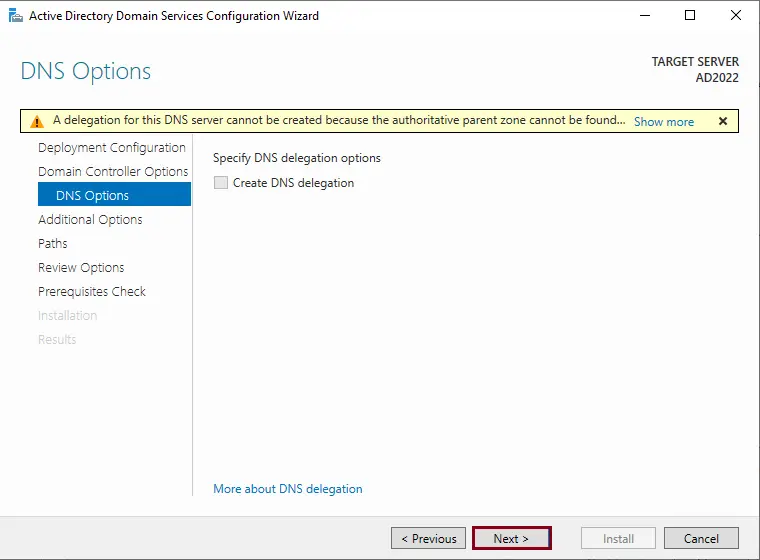
DNS Options page, select Next.
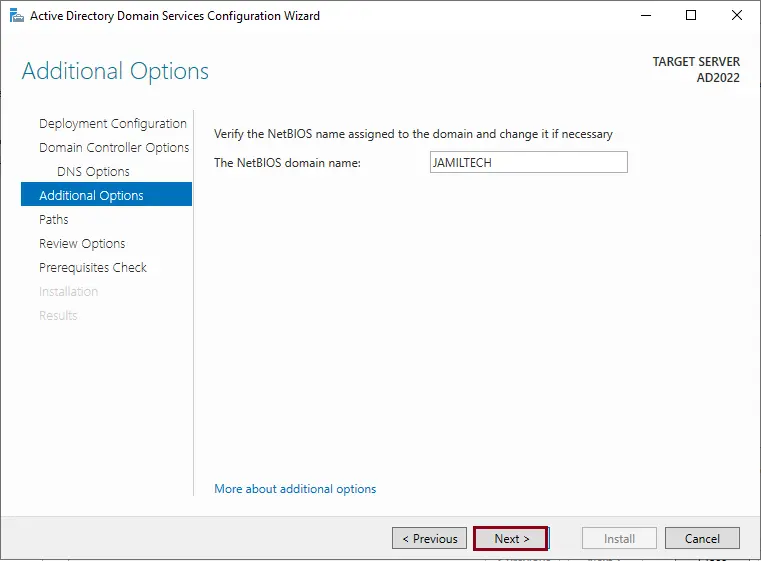
Verify the NetBIOS domain name (jamiltech.local). Mostly, it automatically picks your domain name and then clicks Next.
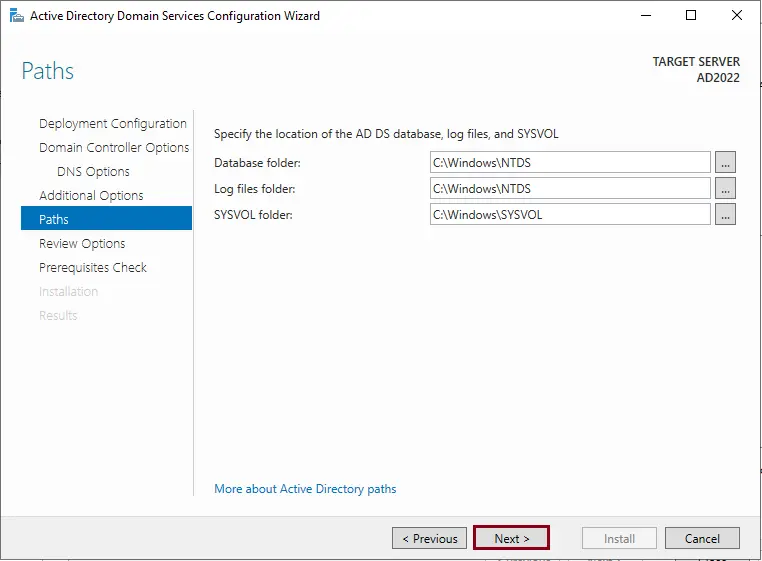
Specify the location of the AD DS database
Database folder
Log files folder
SYSVOL folder
Leave it as it is, and then click next.
Verify all the active directory users and computers configuration settings with your requirements, and then select Next to continue.
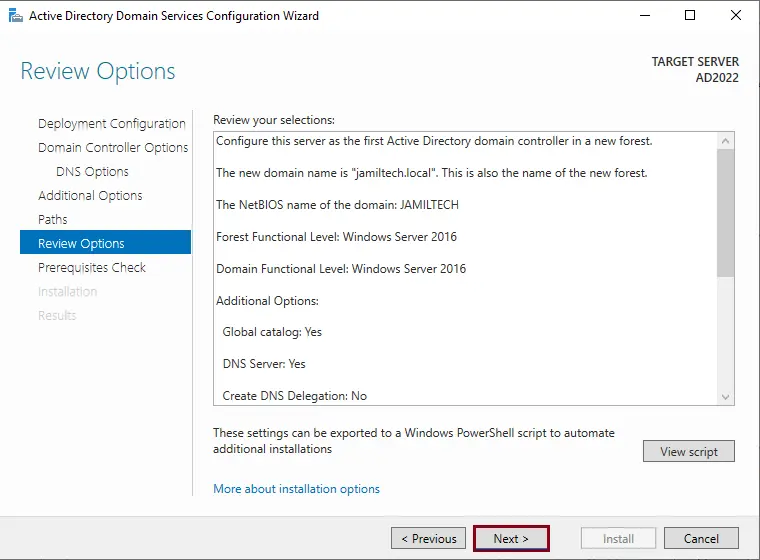
The setup Active Directory wizard will check the configuration.
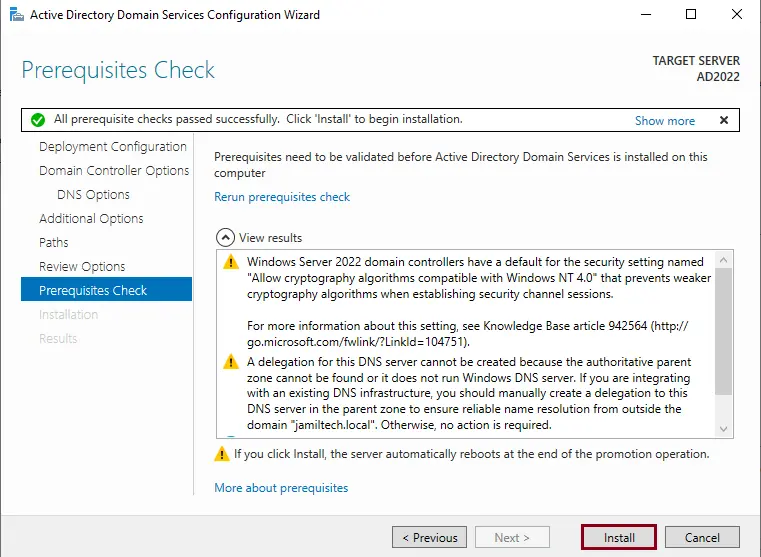
Click on the Install button to start the Active Directory Domain Services configurations.
The active directory domain controller server is successfully configured, choose Close.
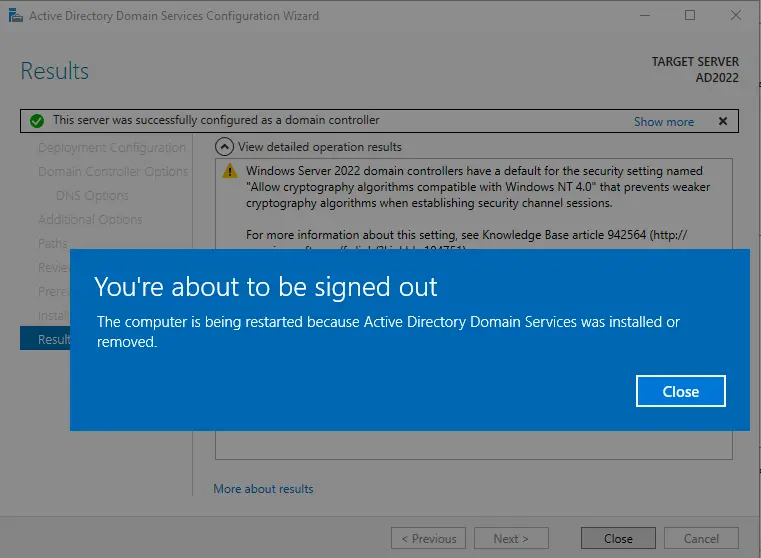
After setting up the active directory, your server will reboot automatically.
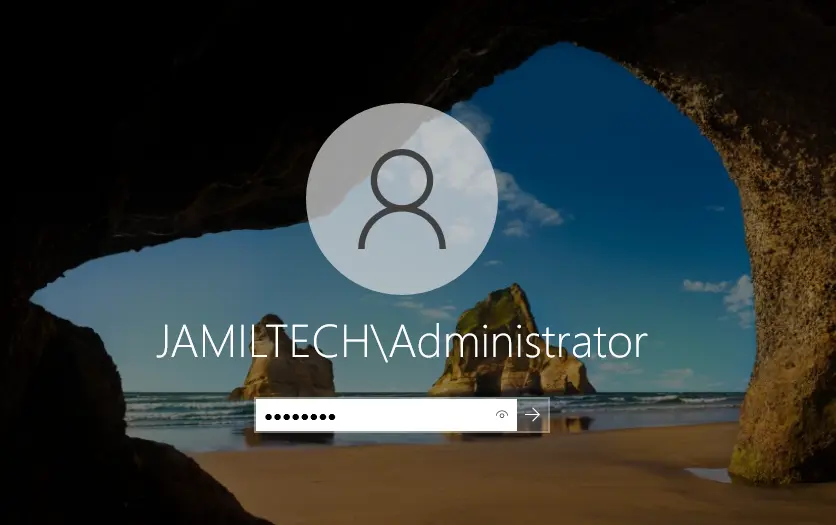
In the Domain Administrator Login window, enter your domain controller password.
After successfully logging in with your Active Directory domain controller, open the network connection TCP/IP properties. You will see the preferred DNS server’s IP Address. (loopback IP address).

Replace it with your DNS server’s IP Address.

