
This article will discover how to install and configure iSCSI Target on Windows Server 2022. The Internet Small Computer System Interface (iSCSI) and iSCSI Target Server permit you to boot multiple systems from a single operating system image. It enables block-level access to storage appliances by carrying SCSI commands over a TCP/IP network. The iSCSI target is the storage on a remote location, which seems to be the host computer (iSCSI initiator) as a local drive.
Table of Contents
To disclose the deployment process, I have created two virtual machines on my VMware workstation. I have installed Windows Server 2022 on the virtual machines. The table below shows the configuration of the virtual machines.
| Name | Role | IP Address | Operating System |
| DC2022 | iSCSI initiator | 192.168.121.200 | Windows Server 2022 |
| SAN.jamiltech.local | iSCSI Target Server | 192.168.121.210 |
To create an iSCSI server, we need to install the iSCSI server role.
Install and configure iSCSI Target
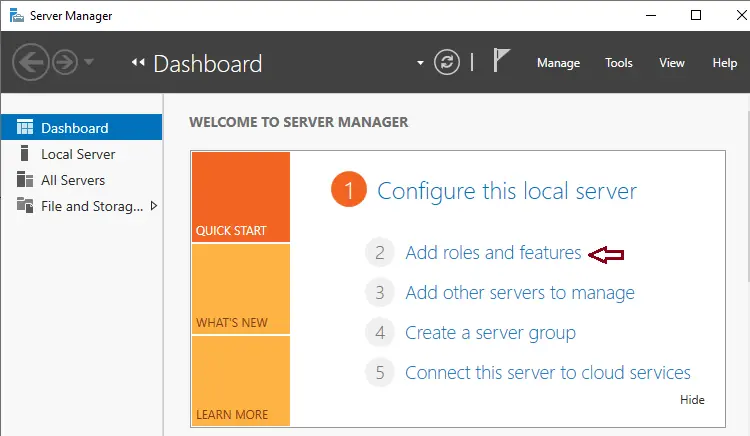
To configure the iSCSI target server, we need to install the File and iSCSI Services roles in our Windows Server. Launch Server Manager 2022, and then select Add Roles and Features.
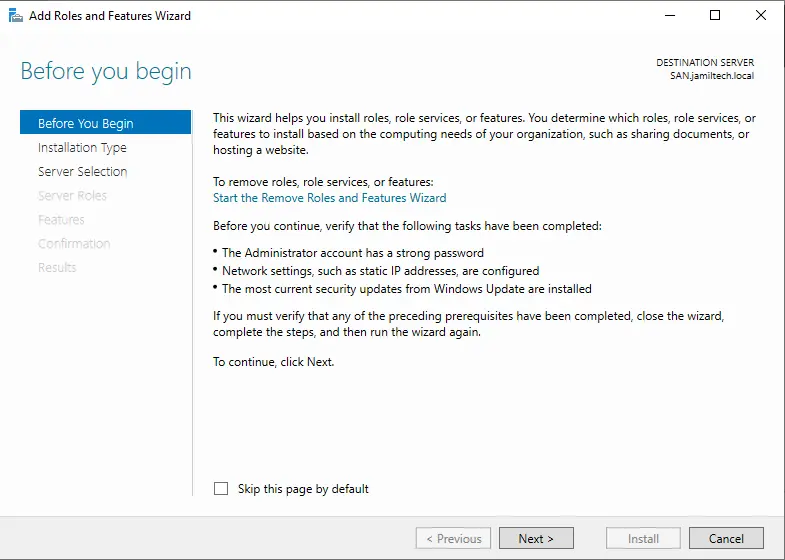
Click next
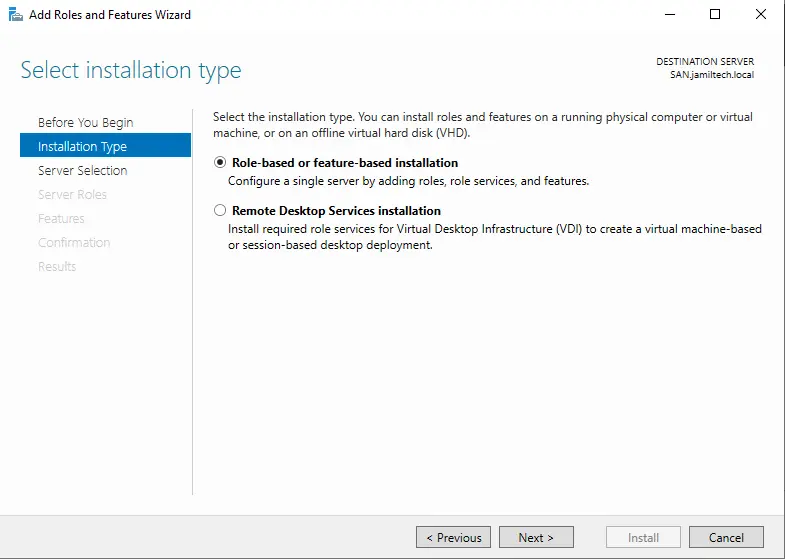
We need to install the iSCSI service on our virtual machine. Therefore, select Role-based or feature-based installation, and then click on Next.
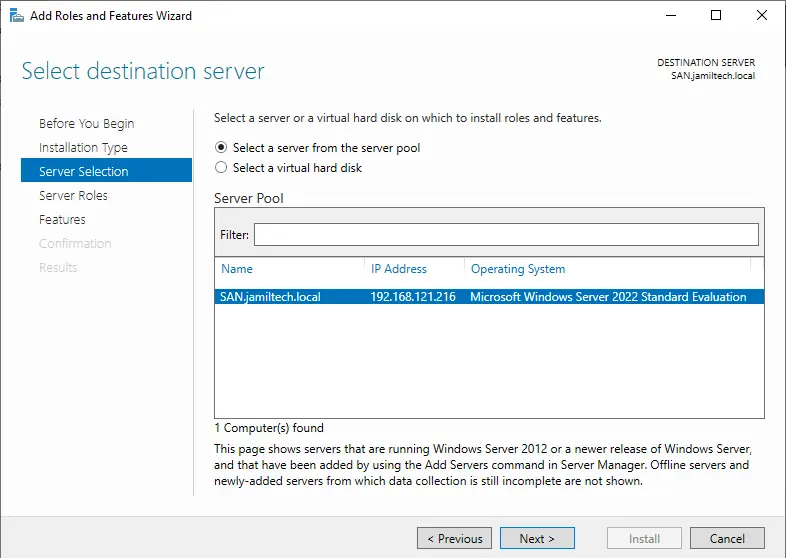
We need to install the iSCSI services on SAN.jamiltech.Local, Click next.
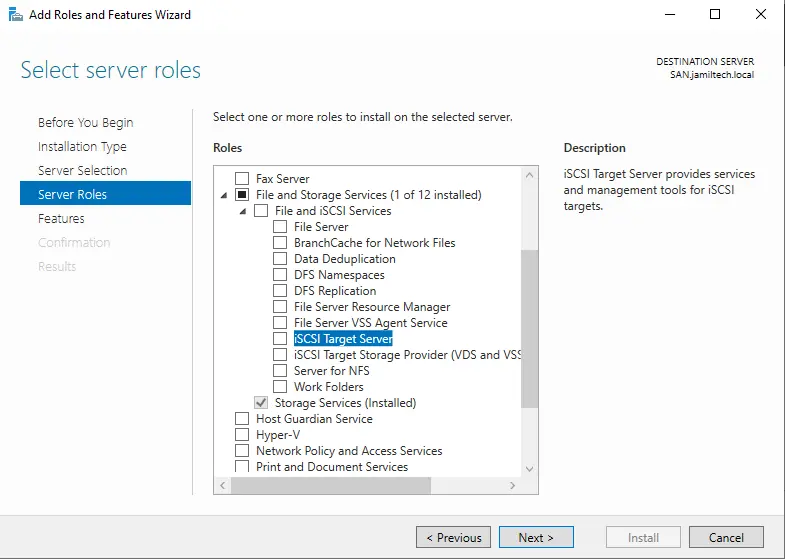
Here, we need to install File and iSCSI Services. Expand the File and Storage Services option, and then expand File and iSCSI Services.
Tick iSCSI Target Server
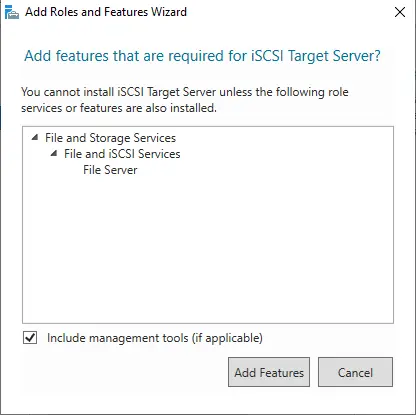
Click on Add features
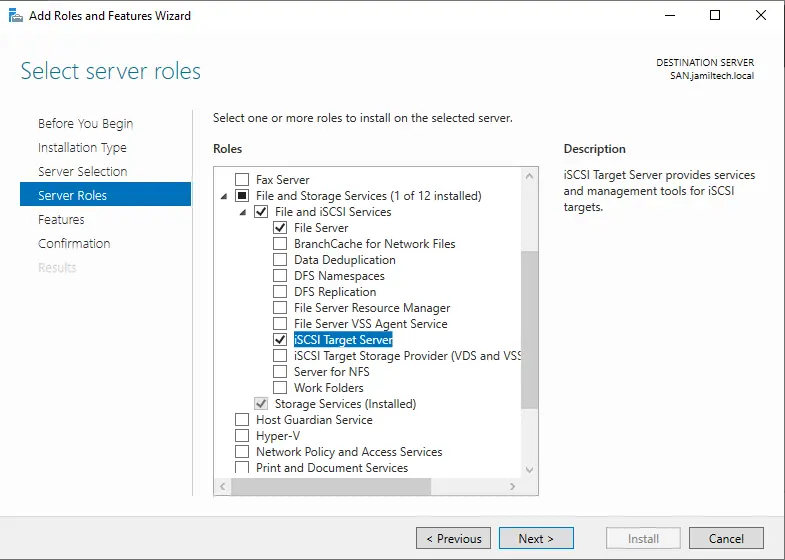
After selecting the iSCSI target role, click next.
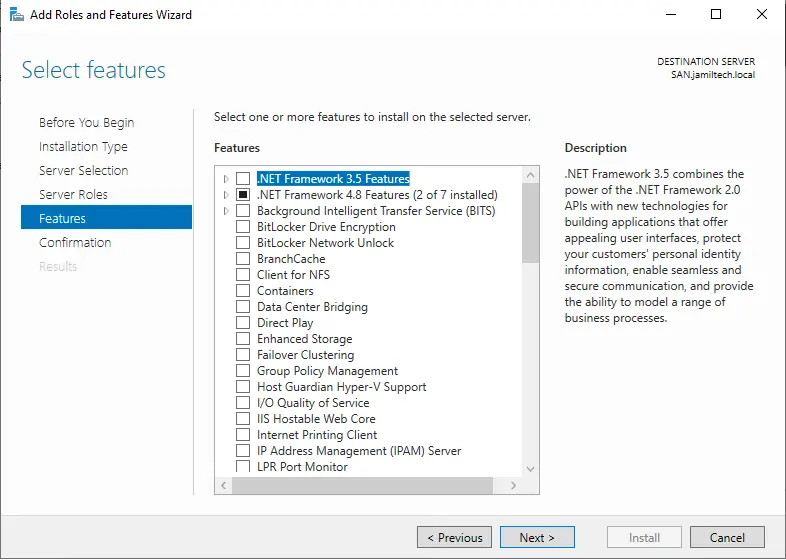
Click next
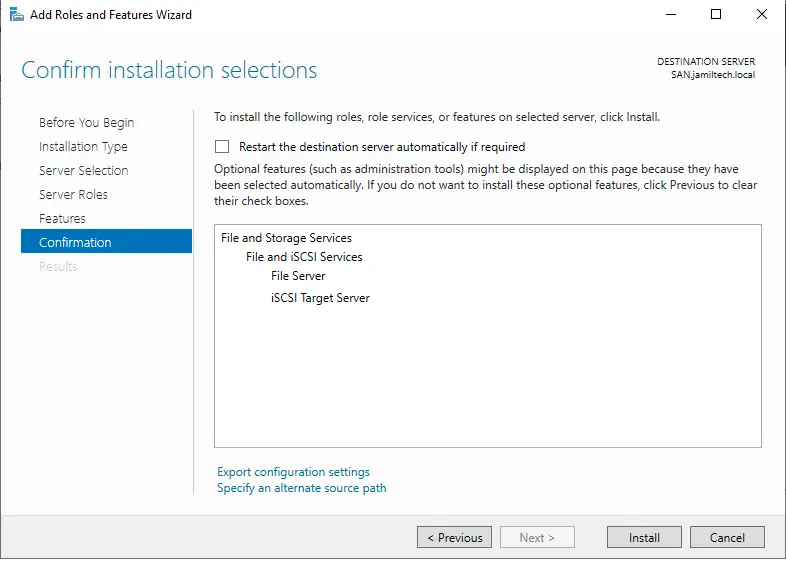
Click install
iSCSI installation is complete; click on Close.
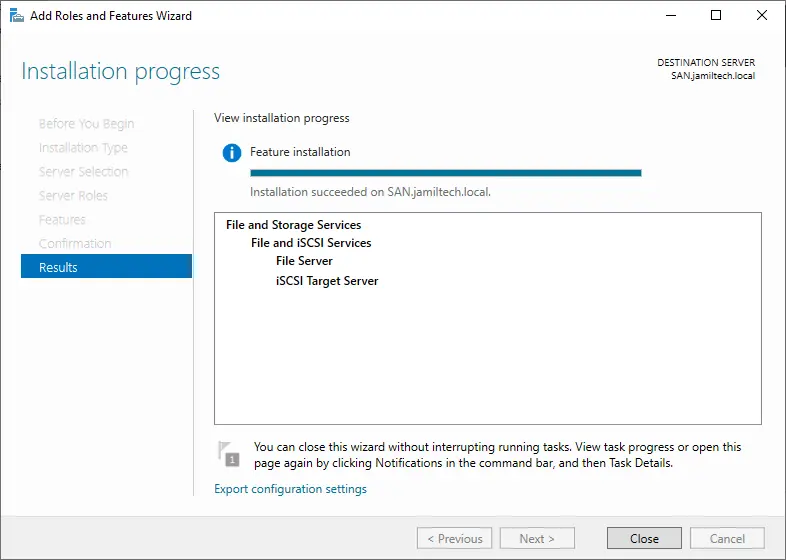
The iSCSI target server role has been installed successfully.
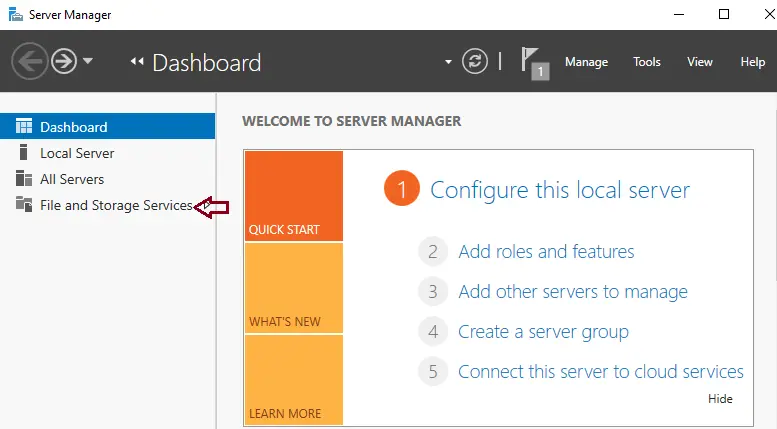
Click on File and Storage Services.
Creating iSCSI Virtual disks
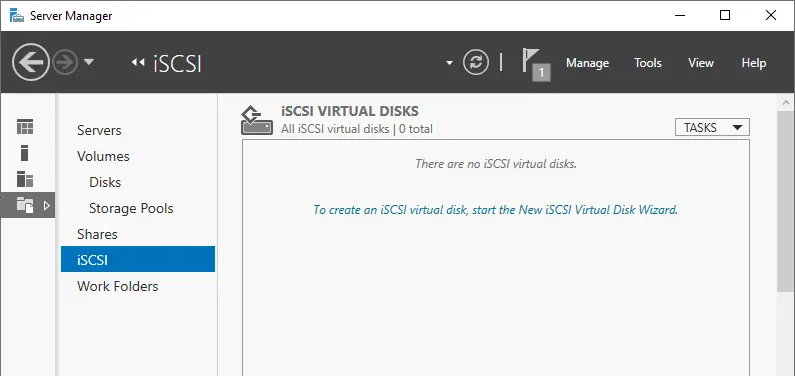
The iSCSI target server has been created; let us create an iSCSI virtual disk.
Click on iSCSI and then on the right side, select Start the new iSCSI virtual disk wizard
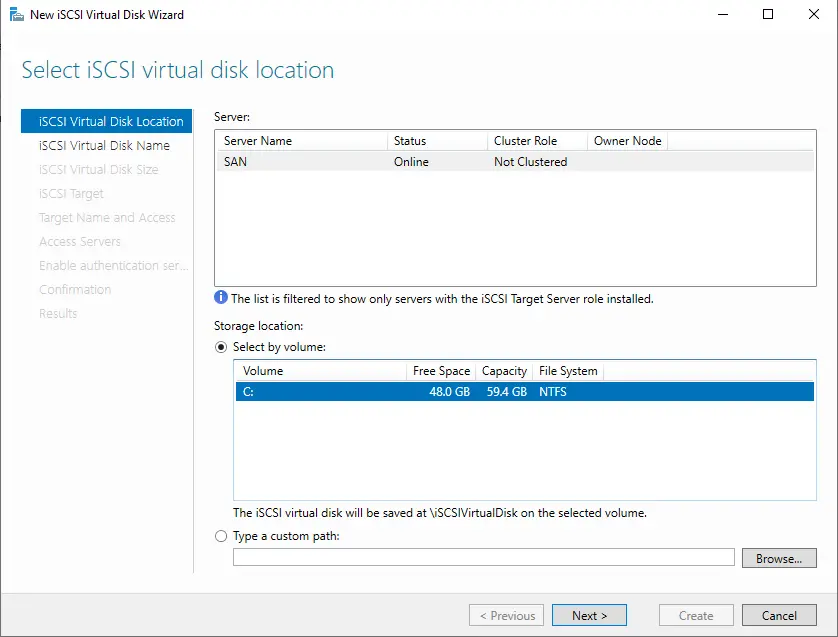
In the new iSCSI disk wizard, click on the Select iSCSI virtual disk location, and select the location of the virtual disk. If you already installed the iSCSI Target Server role on different servers, then you can select the server from the list. The record of servers with the iSCSI target role installed will remain automatically under the Servers box. Select the Volume checkbox; you can also type the custom path under the Type a custom path option. I will create a virtual disk on the C drive of SAN.jamiltech.local. Click next
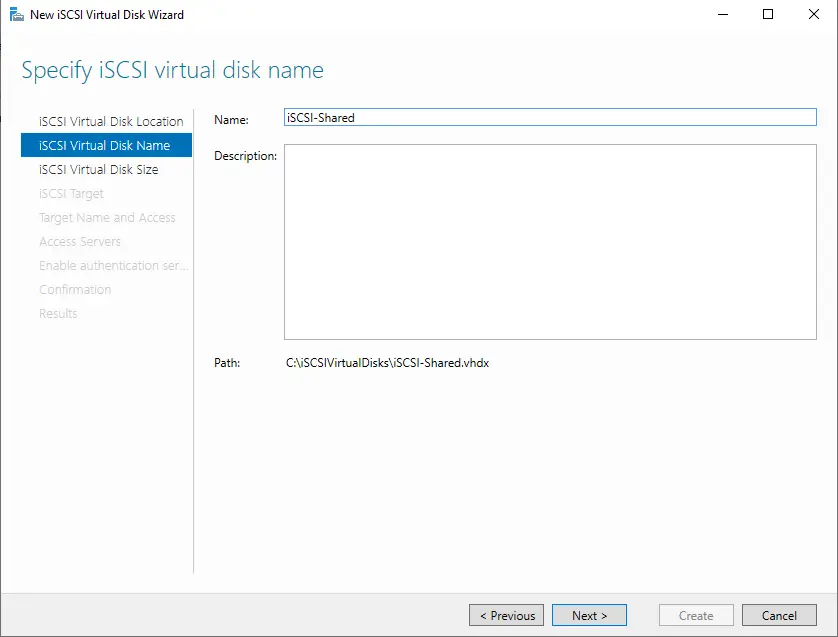
iSCSI virtual disk name screen, enter a unique name, and then click on Next.
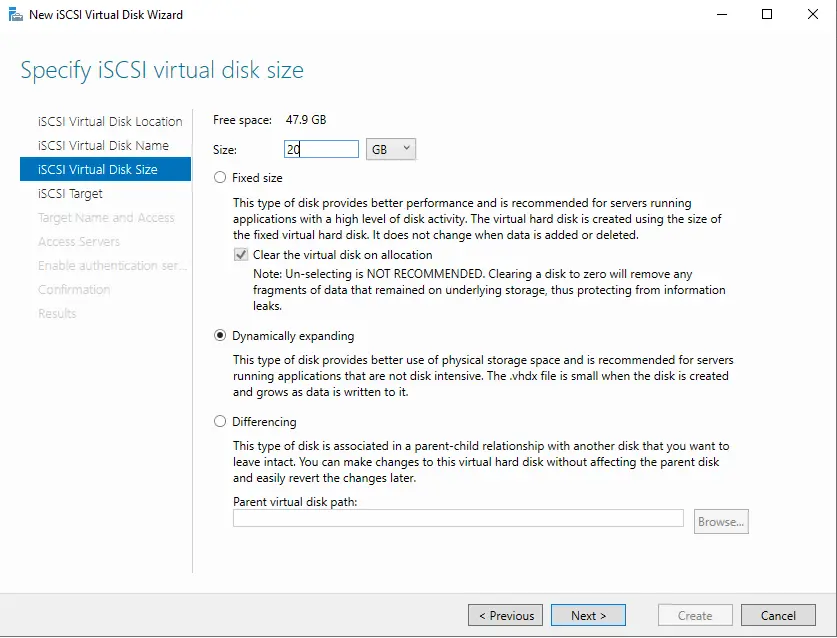
Specify iSCSI Virtual Disk Size
Specify the iSCSI virtual disk size screen; we can specify the size of the virtual disk.
Enter the disk size, select Dynamically expanding, and then click next.
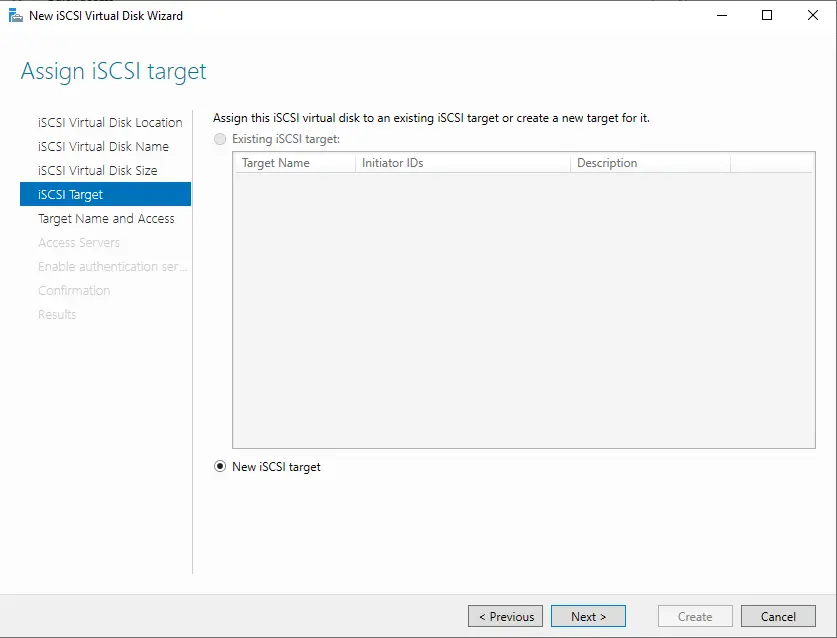
Select the New iSCSI target checkbox, and then click on Next.
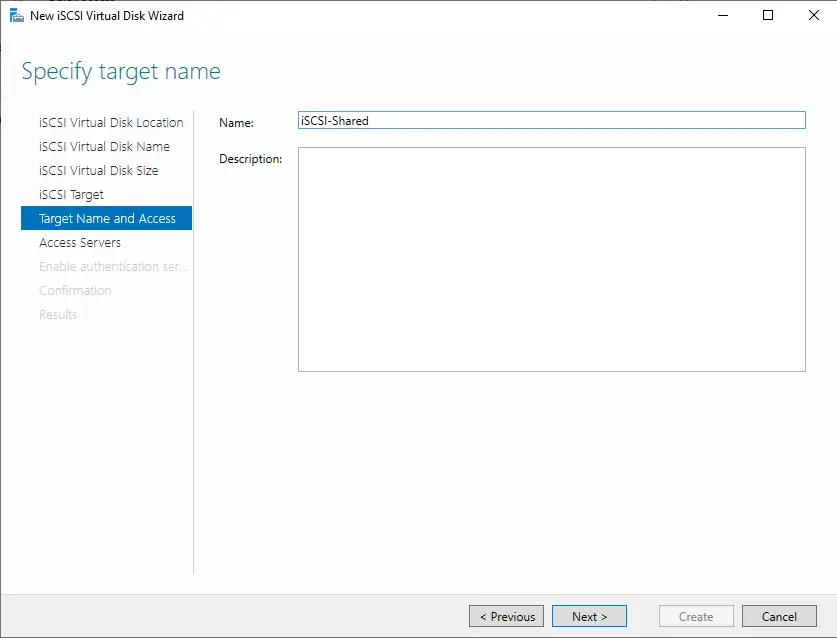
Target name and access screen, type a name, and click on next.
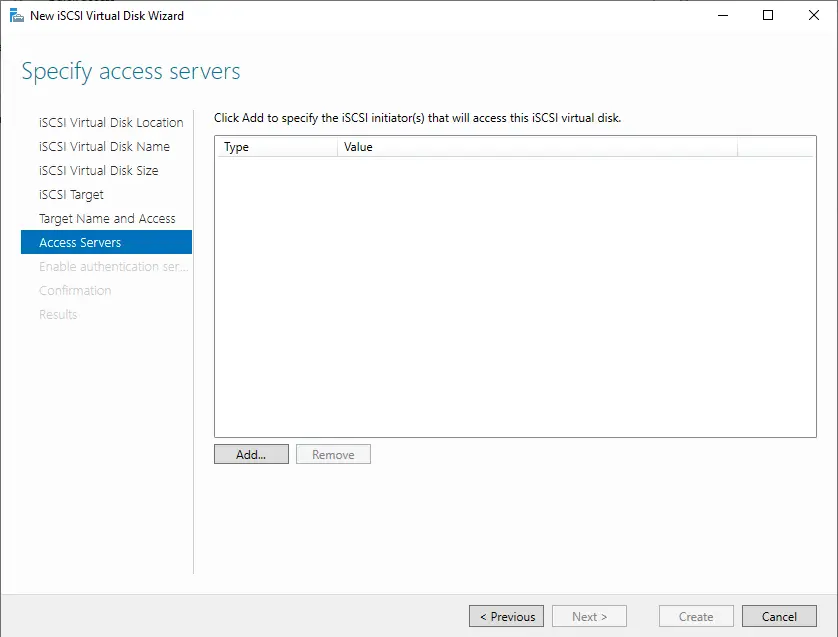
Specify the Server Access screen; to add the iSCSI initiators, select the Add button.
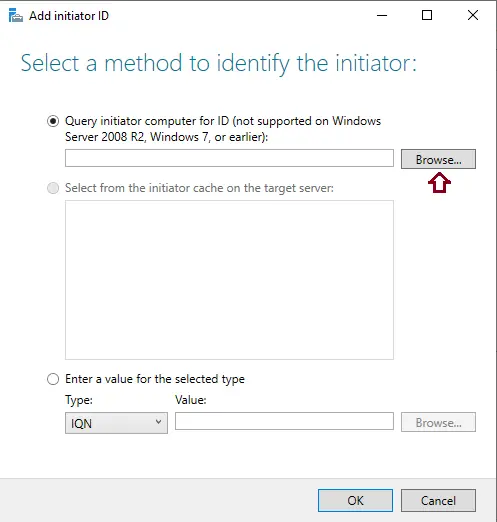
By default, the iSCSI initiator can’t connect to the target server. We need to install/enable iSCSI initiators. To connect to the iSCSI target server, click on the browse button.
Type the system name where you want to connect the iSCSI target, and then click OK.
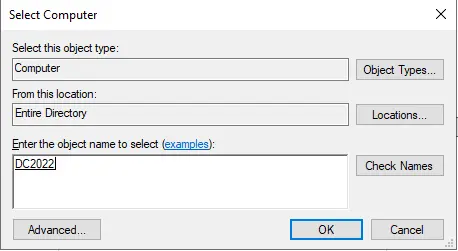
Click ok
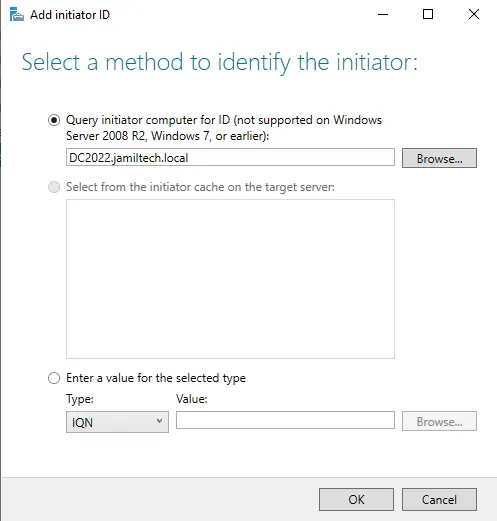
Now that we can see that the initiator was successfully added to the list, click on Next.

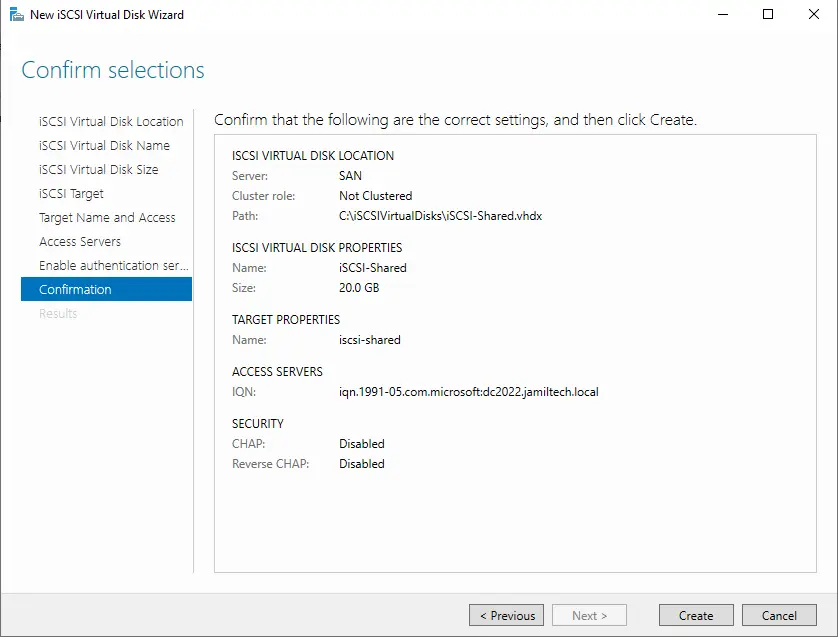
You can enable CHAP or reverse CHAP if required; click on Next.

Select Create to create an iSCSI virtual disk.
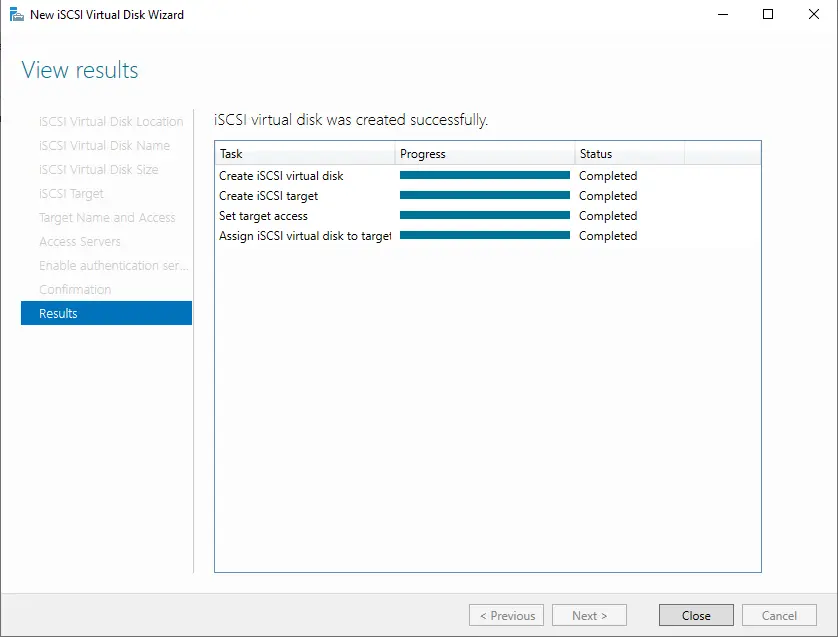
The disk has been created successfully. Click close
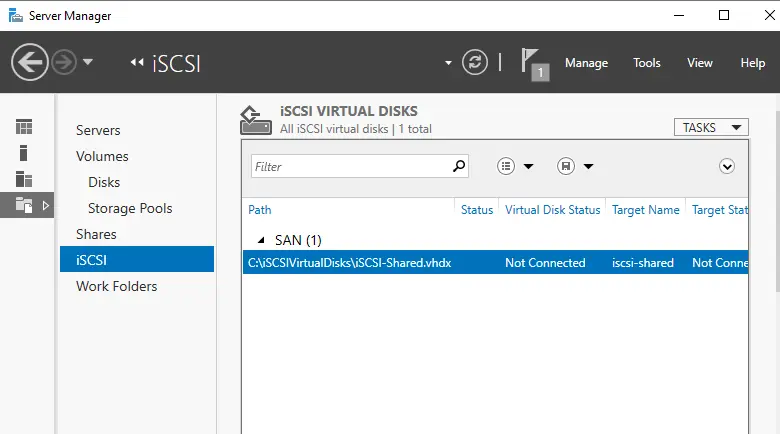
Now we can see the list of iSCSI virtual disks in the server manager.
Summary:
In this blog, I have explained how to install and configure the iSCSI Target Server on Windows Server 2022. In my next blog, I will describe how to connect the iSCSI initiator and use it to connect to the iSCSI virtual disk.
Click here to learn more about the iSCSI target server.

