
In this article, I will show you how to install file server in Windows Server 2022. Here I am talking about a file server. I mean that the server is competent to provide a central location in your local network to store files/folders and folders, which users can then share with the domain users. For this type of work, we can reasonably go with confident permissions based on the criteria and level of privacy of the information. Read this article for more information.
Table of Contents
How to Create a Shared Folder in Server 2022
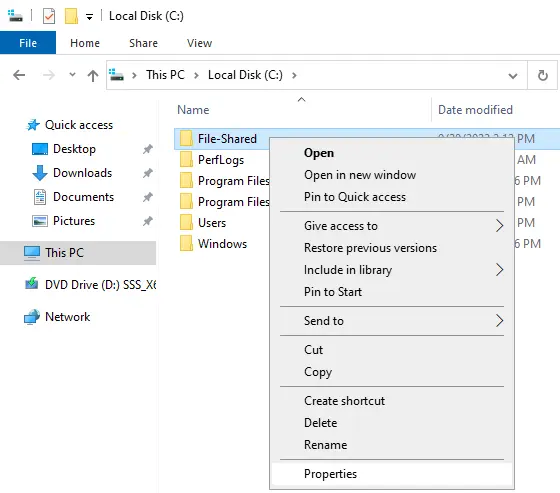
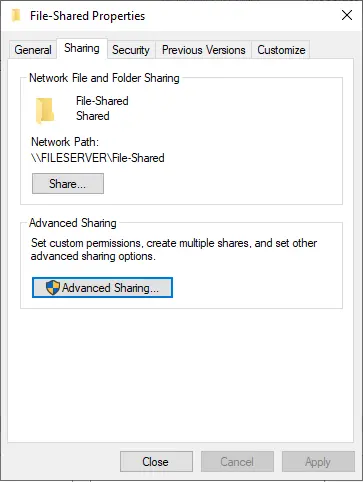
First, we have to create a shared folder inside the Windows server. This folder will work as a file server. After creating a folder, right-click on it and then choose properties.
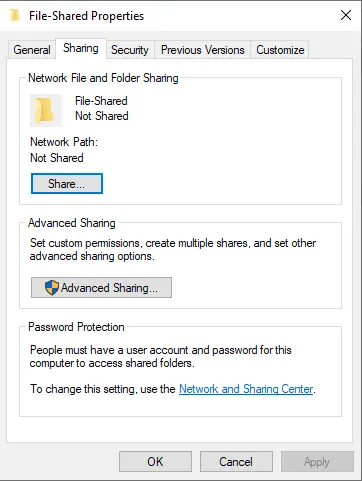
Select the Sharing tab, and then choose Advanced Sharing.
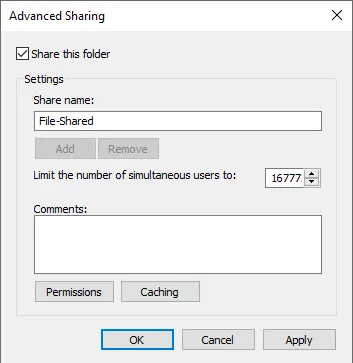
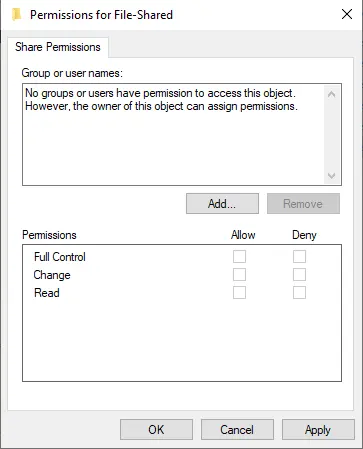
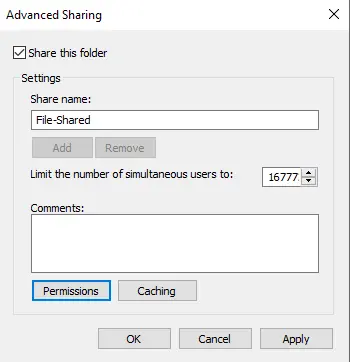
On the advanced sharing page, select the box “Share this folder” and then click on the permissions button.
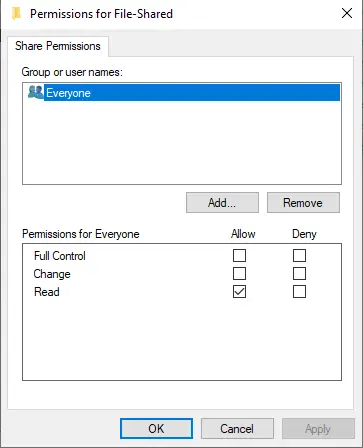
First, click on everyone and choose to remove them.
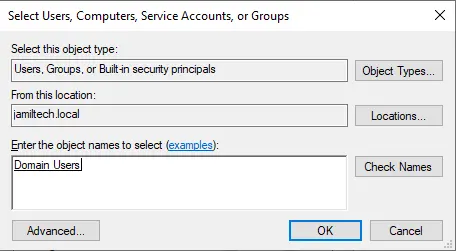
Click on the Add button.
Type domain users the group of users you want access to the folder and then click OK.
Select read and write permission and select OK.
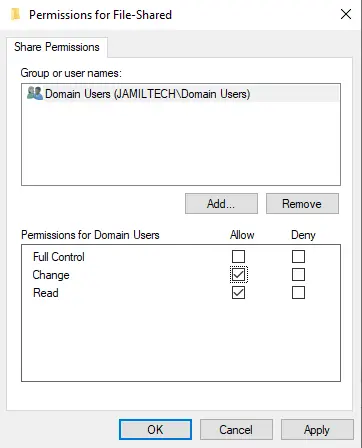
Click ok
Choose close.
The folder for the file server has been created and configured. To view shared folder functionality, just log in from any client system and then view the newly created folder.

Install File Server
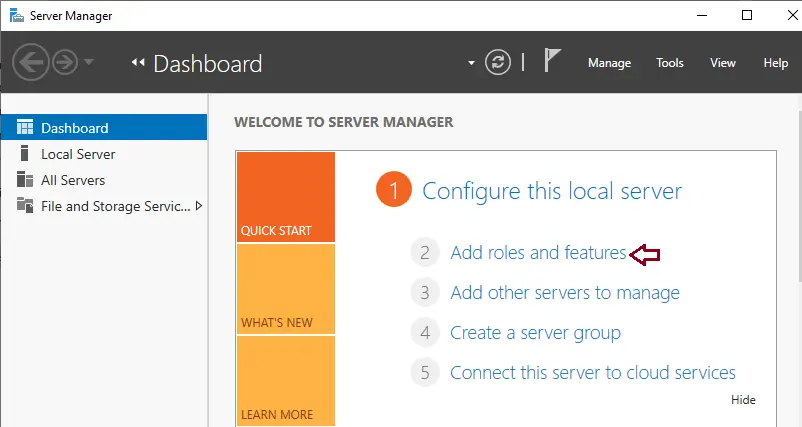
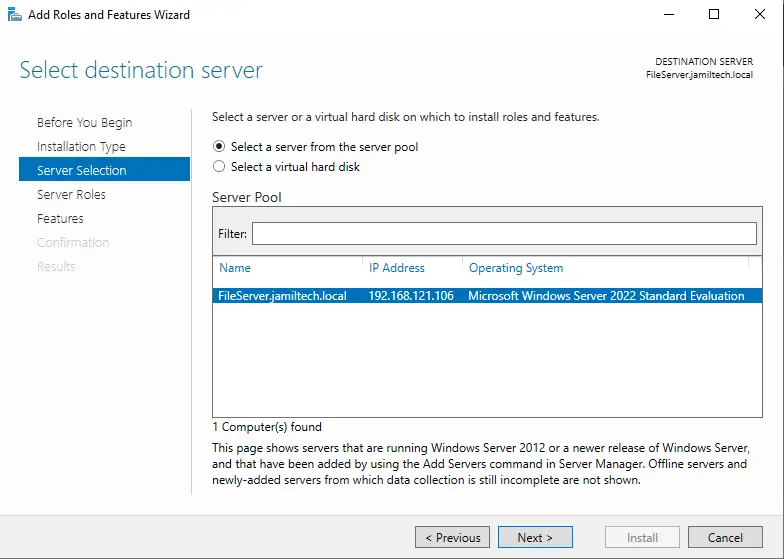
Open server manager, click on dashboard, and then click on add roles and features.
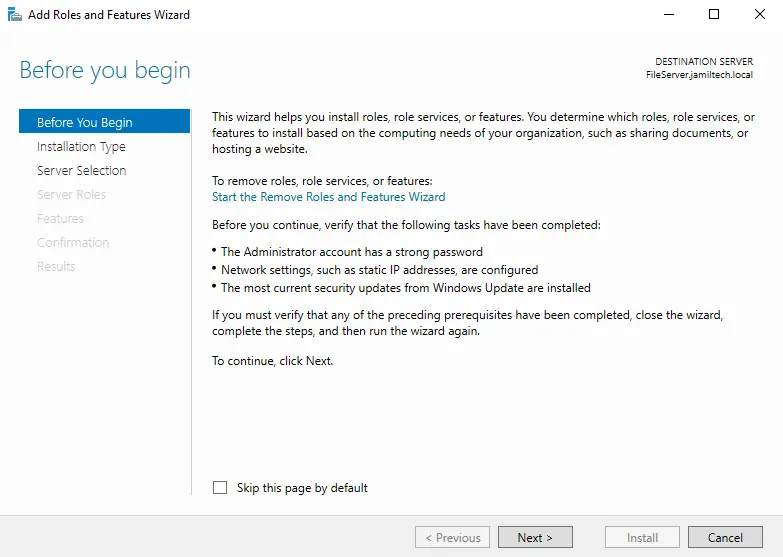
Choose Next
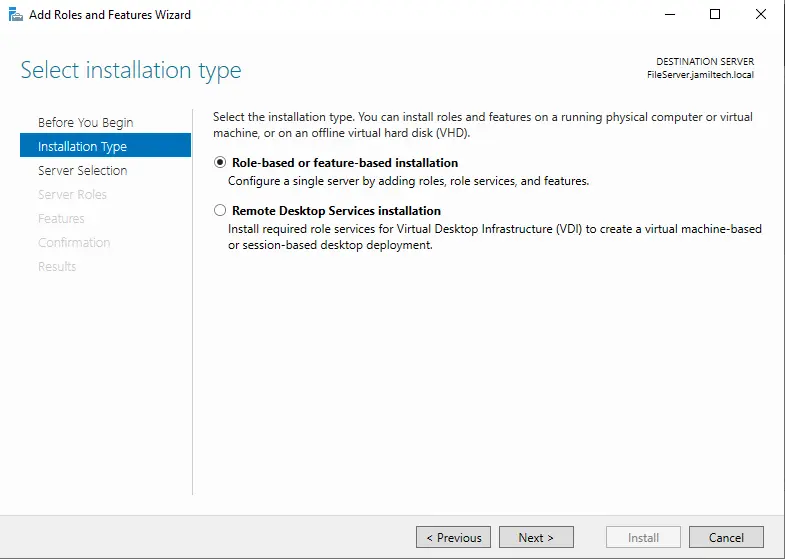
Select next
Click next
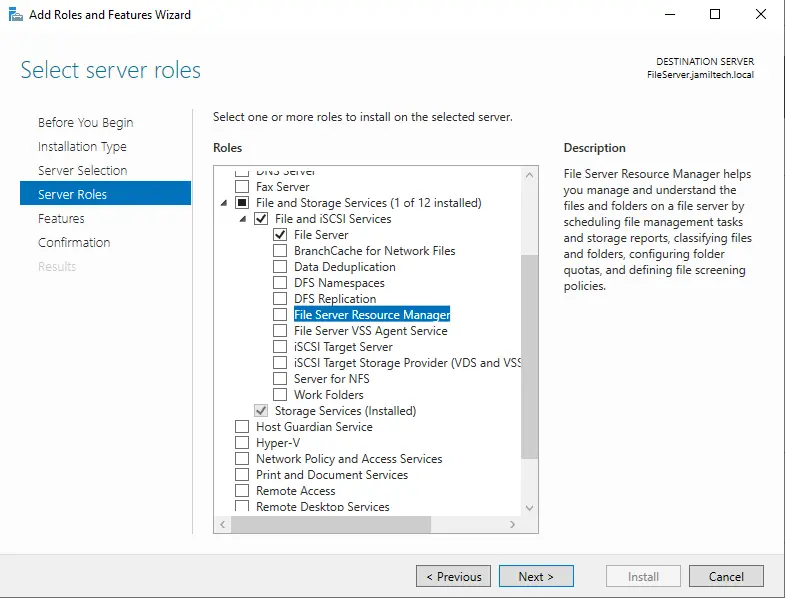
Expand the “File and Storage Services role” and then tick the file server box.
Now tick the File Server Resource Manager feature box.
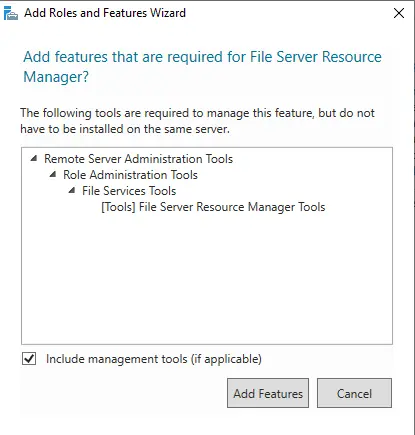
Choose the Add Features button to install the required features.
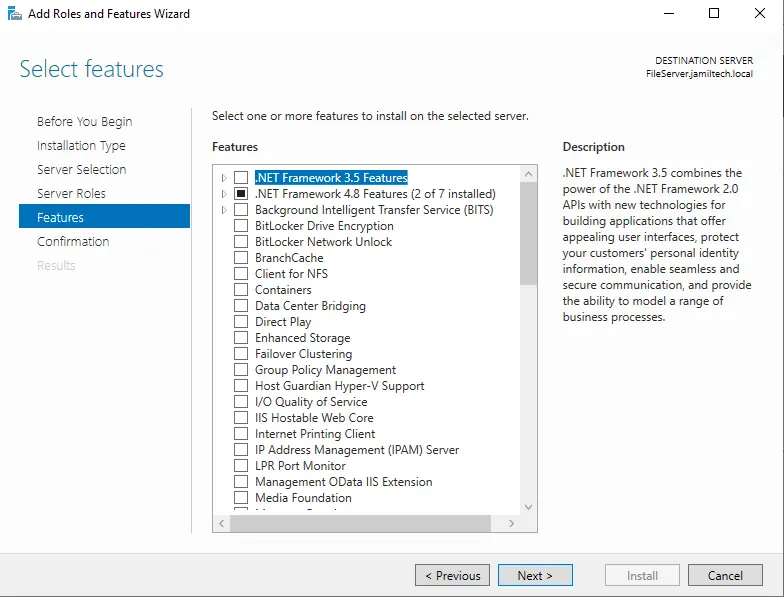
Click next

Select next
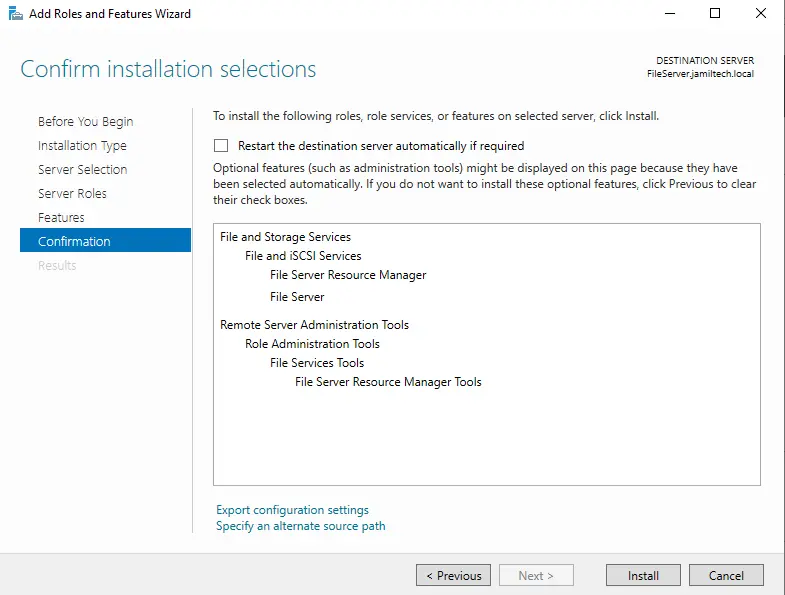
Select the Install button to install the file server in Windows Server 2022.
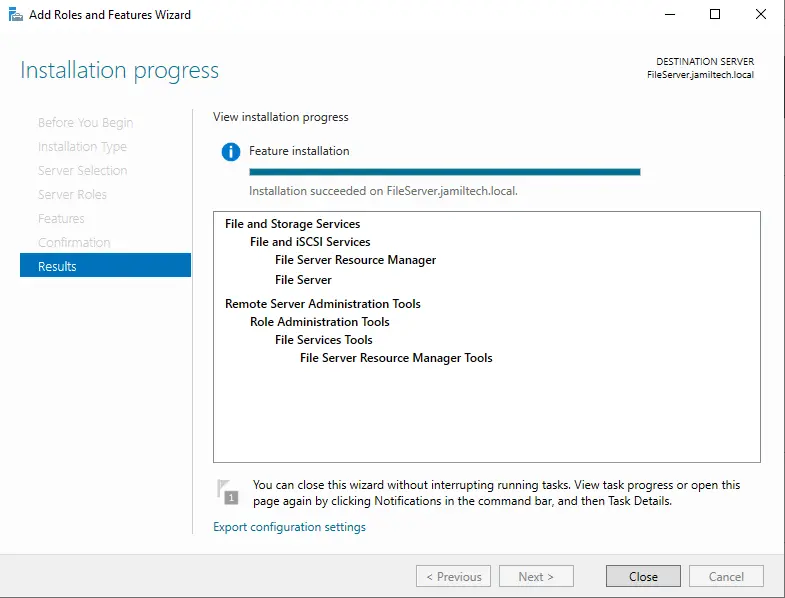
File server role installation is complete; click on the close button.
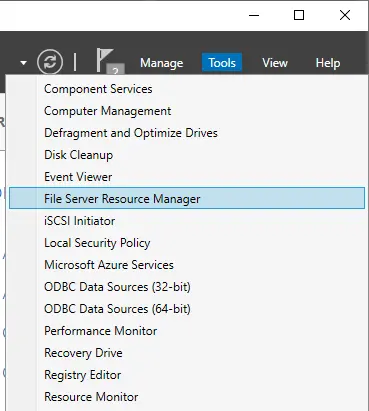
Select the tools tab, and then launch File Server Resource Manager.
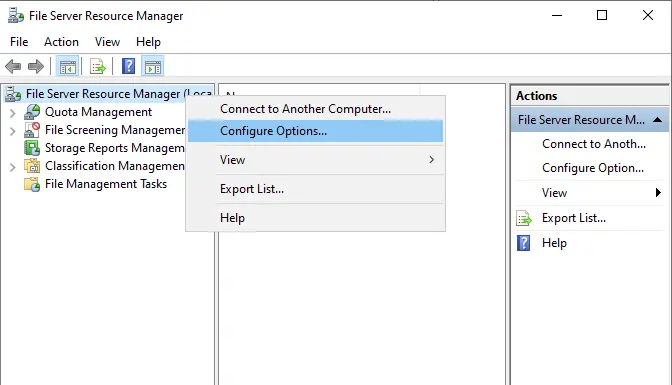
Right-click on the File Server resource manager and then choose Configure Options to configure the main settings.
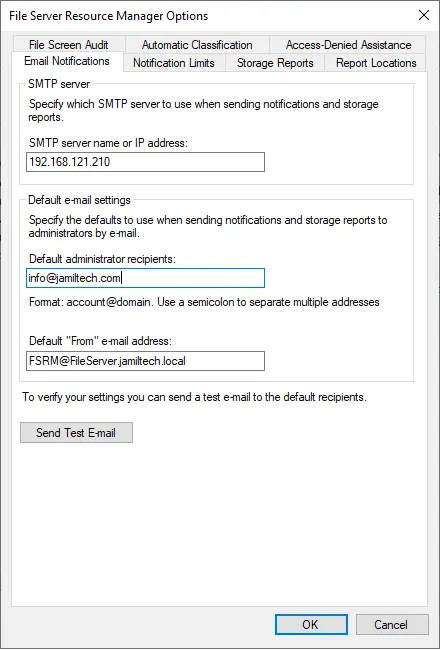
Click on the Email Notifications tab, and then configure email notifications.
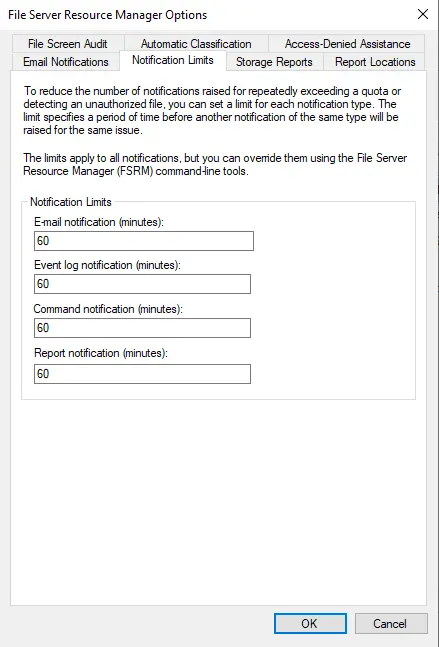
Select the Notifications Limits tab, and then edit the values or leave them as they are.
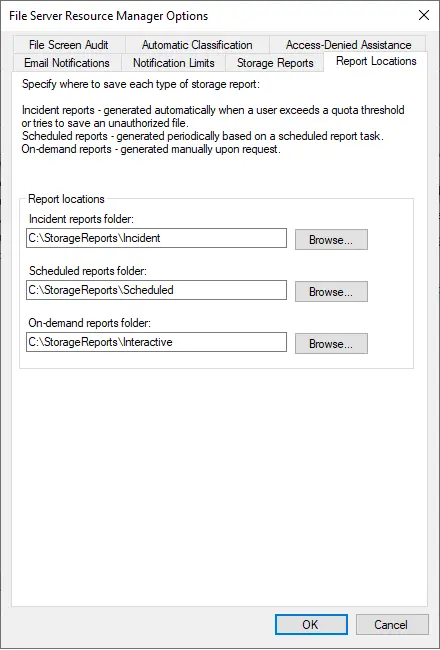
Now click on the Reports Locations tab. Here you can change the area where the reports are stored or leave them as they are.
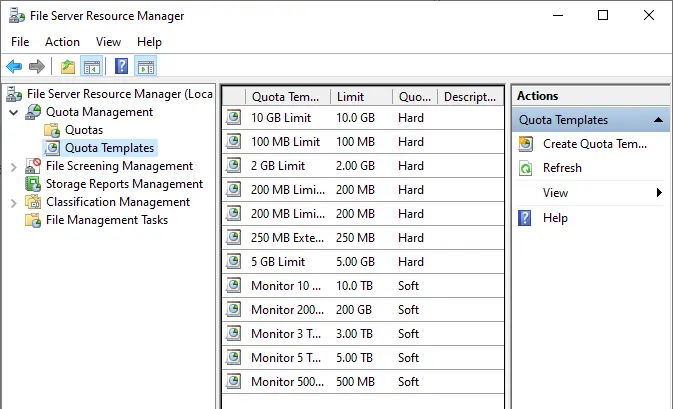
First, select the QUOTA Templates option. Now you can see ready templates prepared in MB, GB, and TB.
Also, read this article: How to Configure Disk Quota with File Server.

Informative, thanks for sharing!