
This article explores how to install Ubuntu on VMware Workstation using Windows 11. There are different ways to install Ubuntu on your desktop or laptop. Either you can do a clean install on your device or dual boot with any other operating system. Before installing Ubuntu, here are a few things you should know.
What is VMware Workstation?
VMware Workstation is a hosted hypervisor that runs on 64-bit versions of Linux and Windows operating systems (an 86-bit version of earlier releases was also available). It allows users to set up virtual machines on a single physical device and use them at the same time along with the host machine. Every VMs can carry out its own operating system, including Microsoft Windows, Linux, etc. The VMware Workstation application is developed and sold by VMware.
Install Ubuntu on VMware Workstation System Requirement
A compatible 64-bit or 86-bit CPU
1.3 GHz or faster
Minimum 2 GB of memory, 4GB RAM, or more is recommended.
VMware Workstation (Pro or Player) runs on most x64 Windows or Linux operating systems.
Can I install Ubuntu on VMware workstation?
Yes, you can install Linux Ubuntu in VMware Workstation Pro or Player.
Prerequisites to Install Ubuntu on VMWare Workstation
Download VMware Workstation
Download the Ubuntu OS ISO file
Setup VMware Workstation
Insert the Ubuntu ISO file
Setup Ubuntu OS
Remove Ubuntu ISO Image
Download VMware Workstation
You can download VMware Workstation Pro from the VMware website and install it on your Windows computer or laptop.
Download Ubuntu ISO Image
Download Ubuntu 21.04 ISO image from its official website.
Install Ubuntu in VMWare Workstation
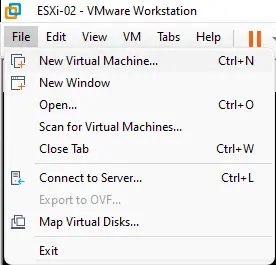
Now run VMware Workstation, click on the file tab, and then create a new virtual machine.
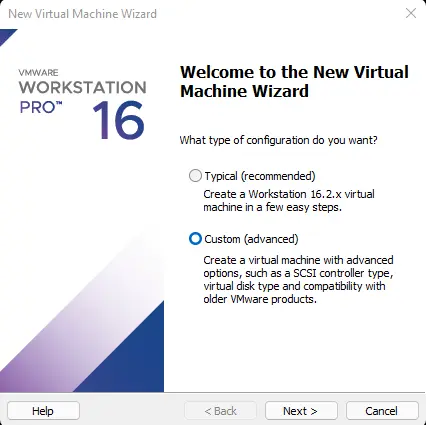
New virtual machine wizard, click next.
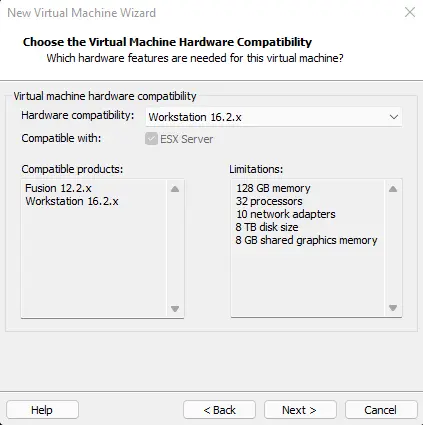
Click next
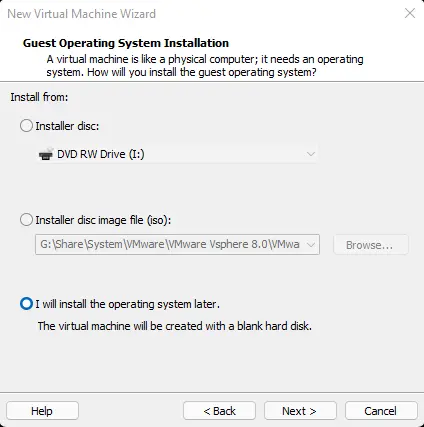
Choose I will install later, and then click next.
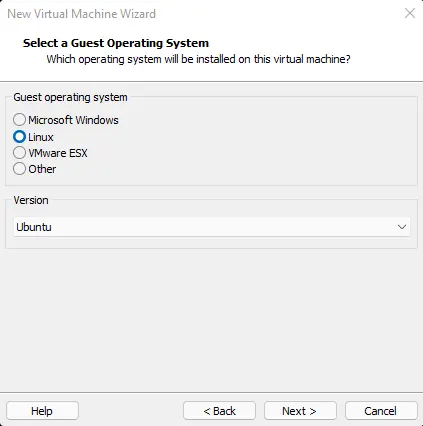
Select a guest operating system (Linux) and its version, and then click next.
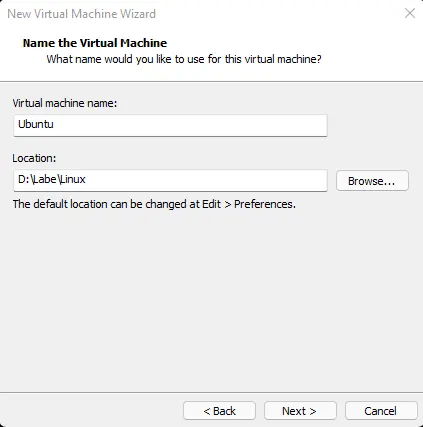
Enter your operating system name and location, and then hit next.
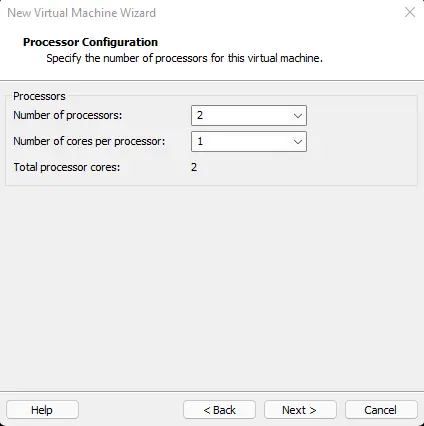
Type the number of the processor, and then click next.
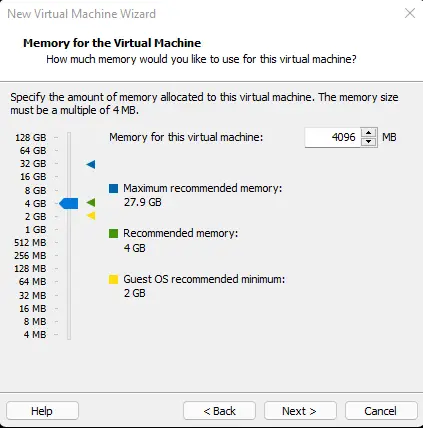
Choose virtual machine memory, and then click next.
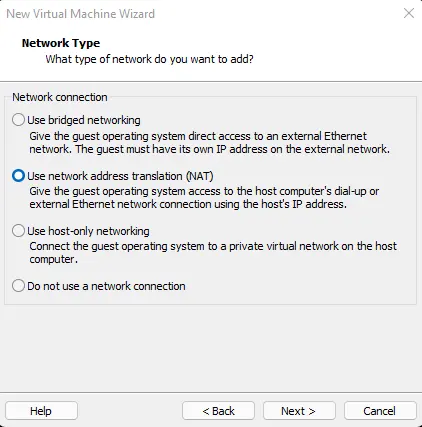
Use the network type and click next.
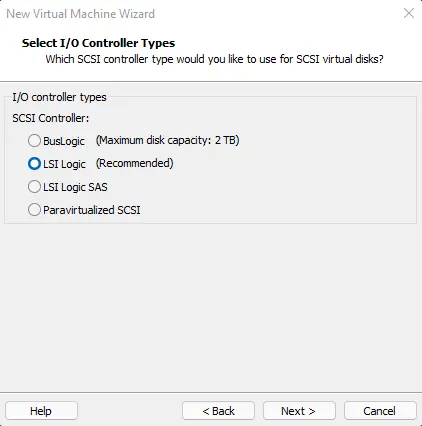
Select 1/0 controller types and click next.
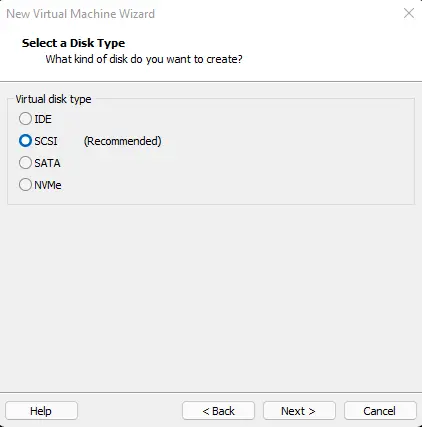
Choose a disk type, and then click next.
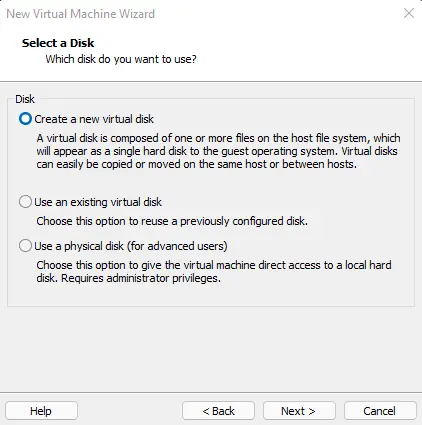
Tick Create a New Virtual Disk, and then choose Next.
Allocate the size of the Hard Disk
Now you have to choose the size of your virtual hard disk and click next.

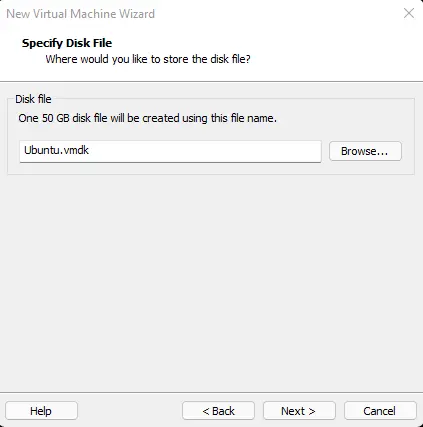
Specify the disk file and click next.
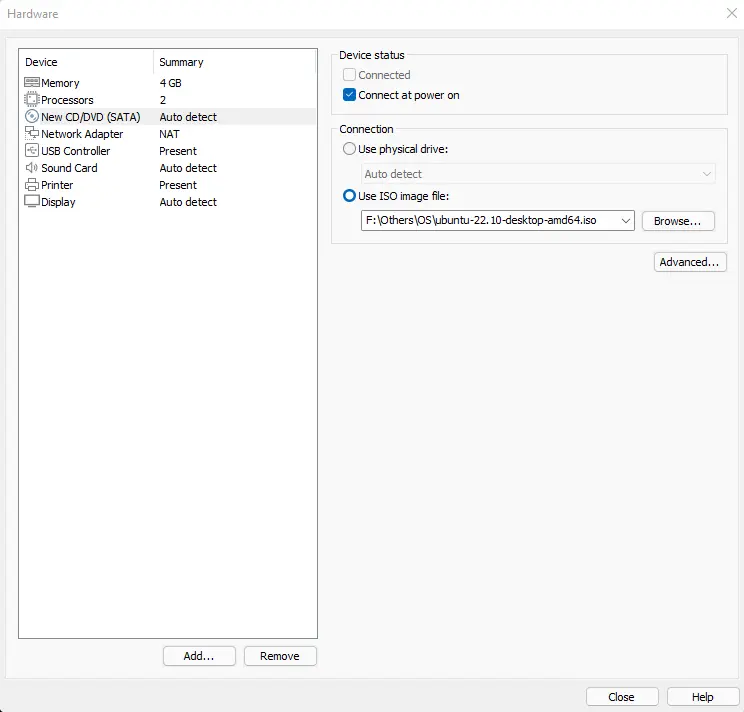
Customize Virtual Machine Hardware
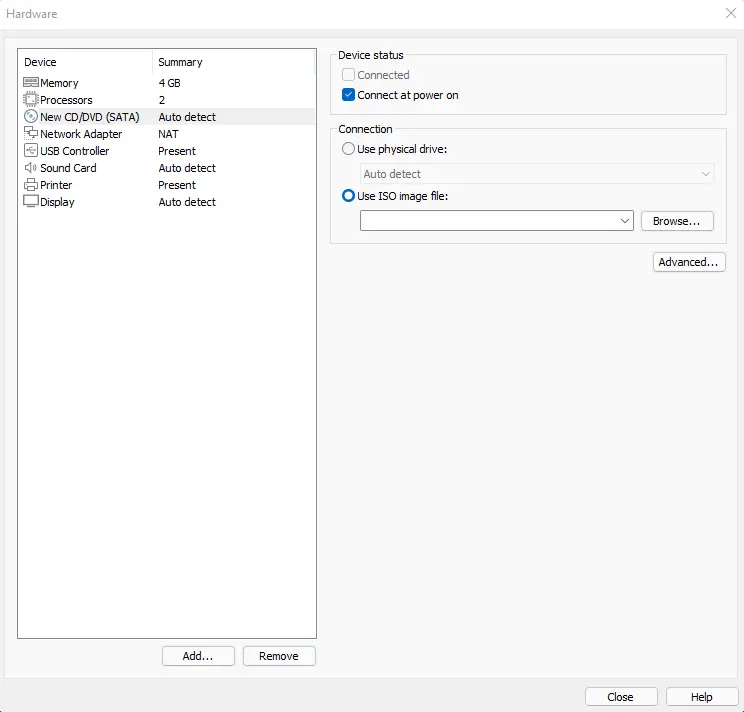
Click on Customize Hardware.
Click on a new CD/DVD, select Use ISO image file, and then click on Browse.
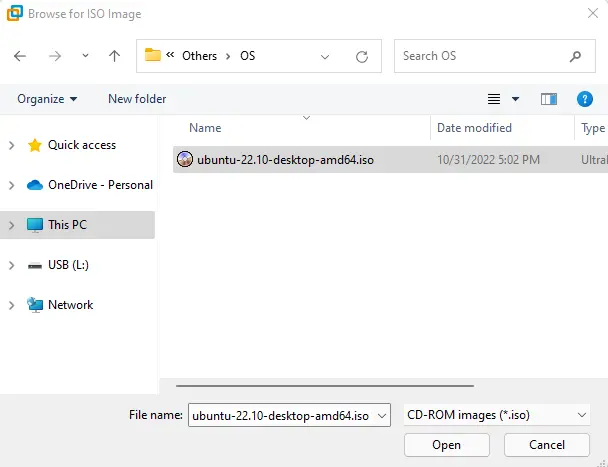
Choose the Ubuntu ISO file, and then click next.
Click close.
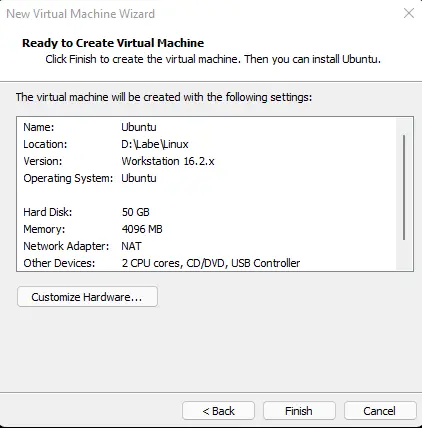
Select finish.

Install Ubuntu on VMware Workstation
Click “Power on this virtual machine”.
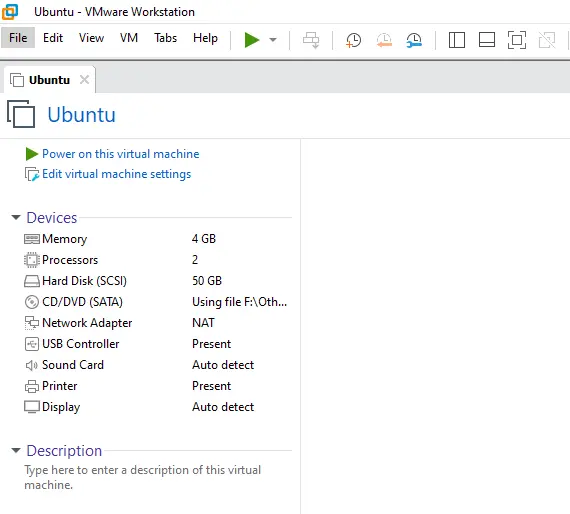
Starting the Ubuntu installation.

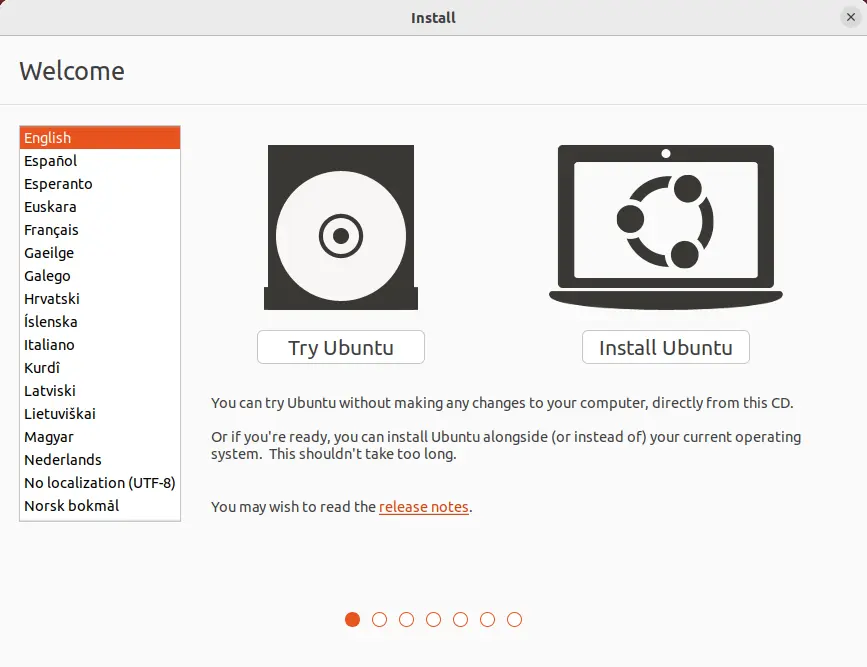
Install Ubuntu 21.04 LTS Desktop
To begin the Ubuntu installation, click Install Ubuntu.
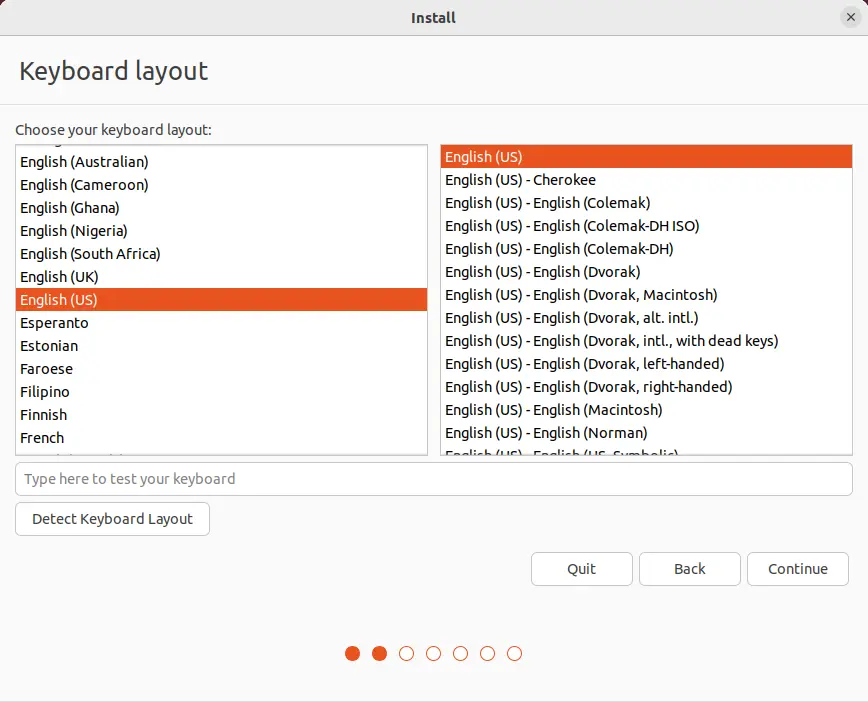
Choose Keyboard Layout, and then click Next.
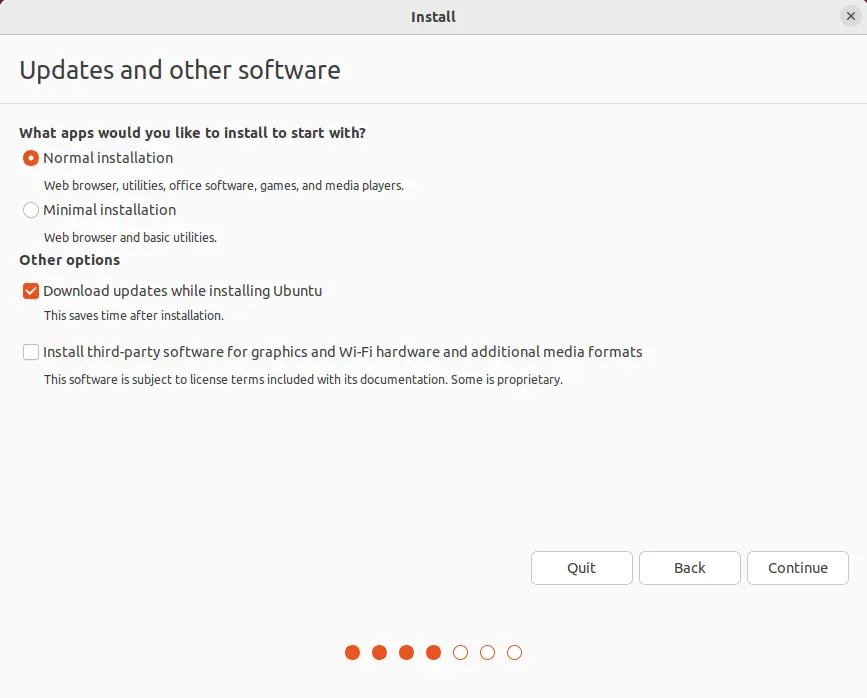
Choose Starting Applications
Normal Installation option – This option is the full Ubuntu Desktop experience, with games, office software, and media players.
Minimal Installation option – select this option to save disk space, especially if you will not be using media players or productivity software.
You will also be asked to confirm other options, and then click continue.
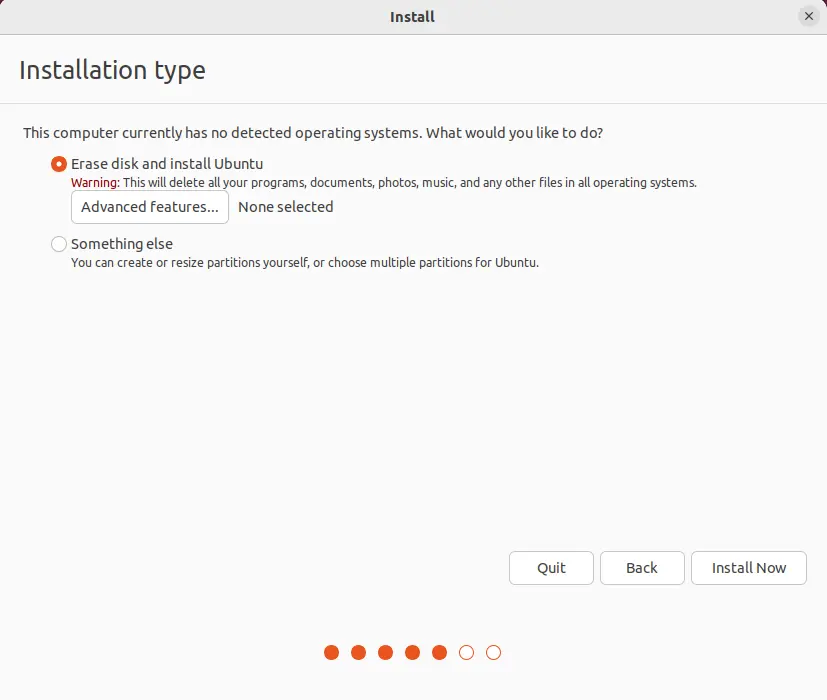
Keep the default setting (Erase disk) as it is, and then click on Install Now.
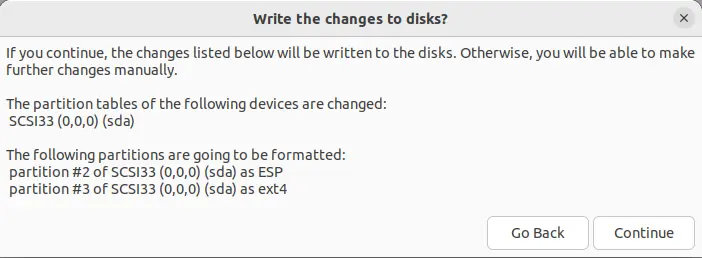
Click Continue.
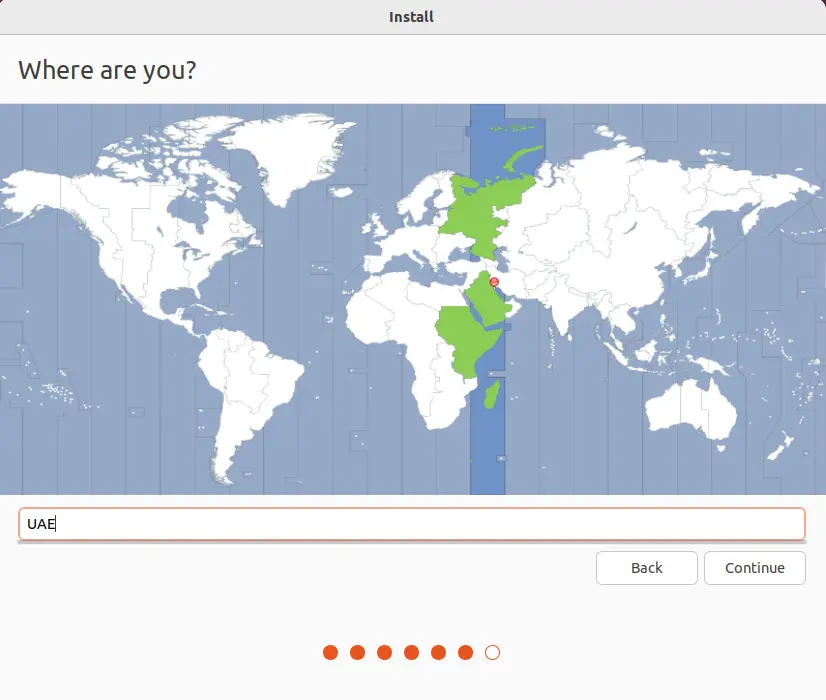
Select the timezone, and then click next.
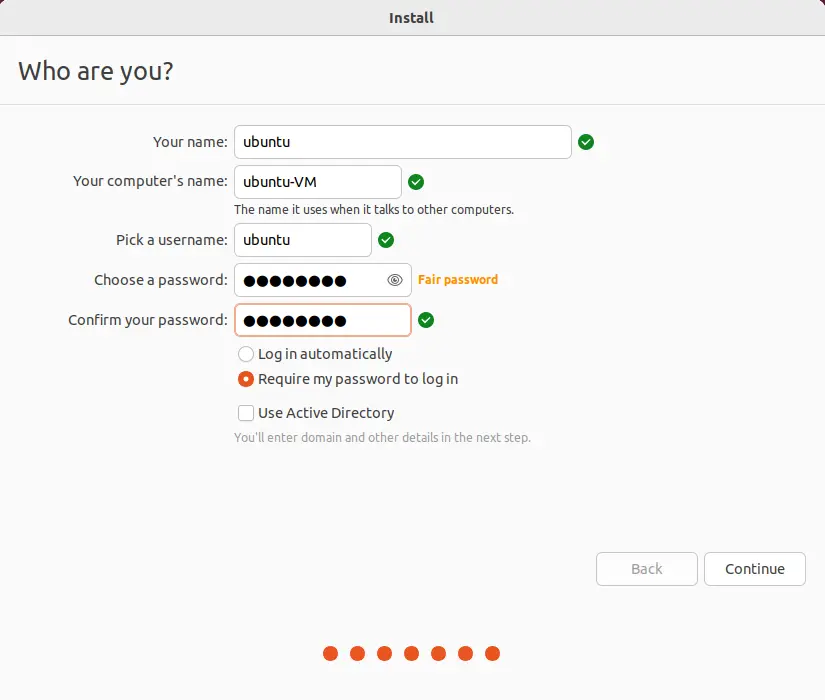
Create User Account on Ubuntu
Name – enter the actual name.
Computer name – This is the hostname or network name.
Username – The user account name you wish to use.
Password – Type and confirm a strong password.
Select the option I need my password to log in.
Click Continue to install Ubuntu.
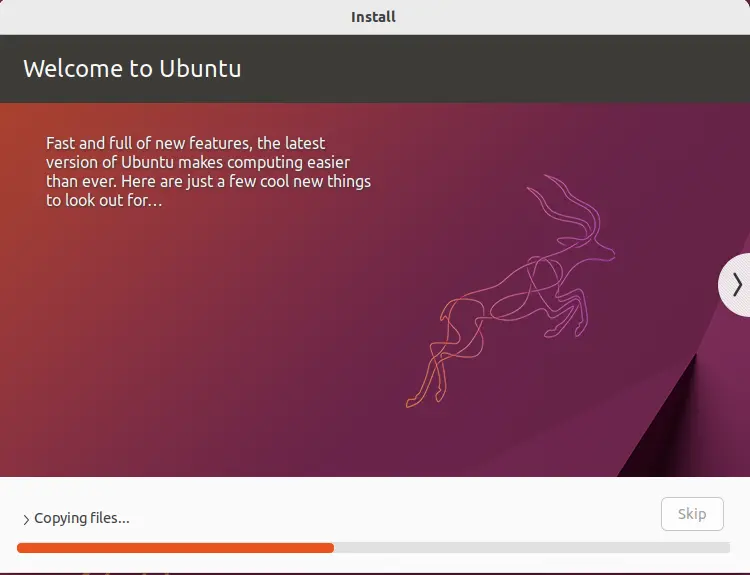
The Ubuntu installation will start now.
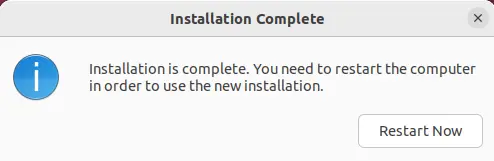
This will take a while to complete; click restart now.
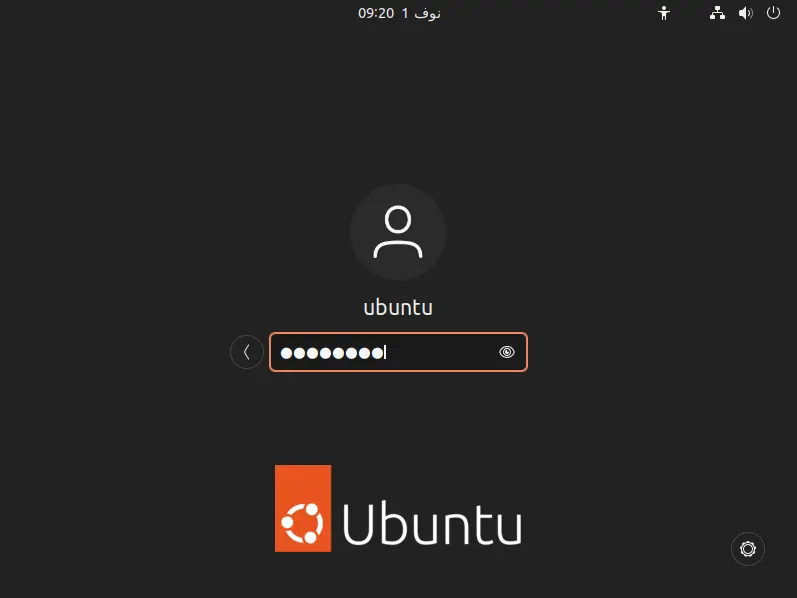
Once the installation finishes, select the username and then type the credential to log in to the newly installed Ubuntu 21.04 LTS desktop.
Connect to your online account.
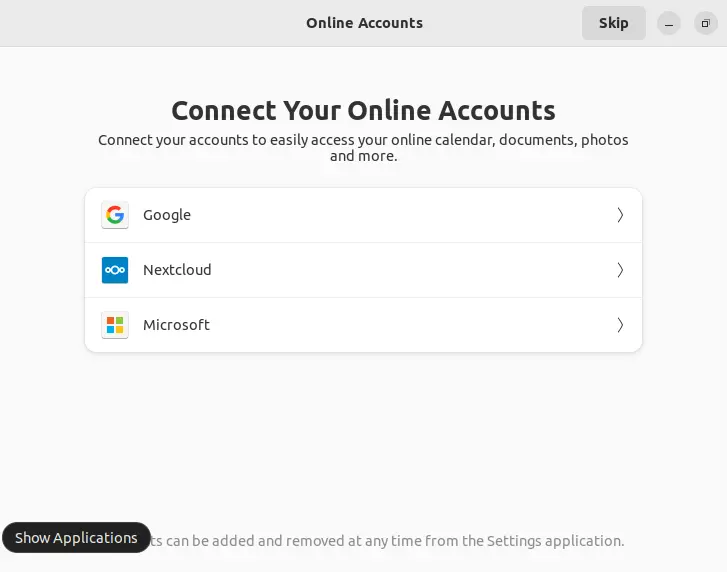
Click next.
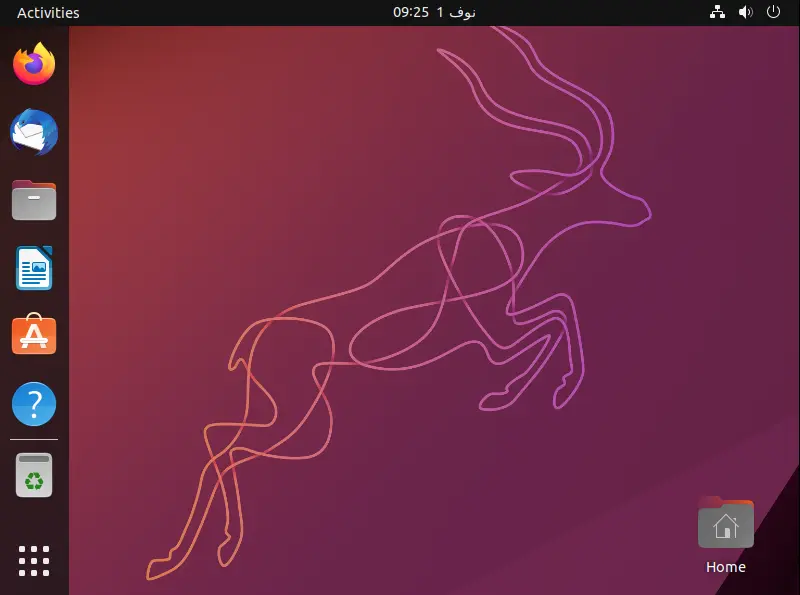
Ubuntu 20.04 LTS desktop.
Well, that is the end of our article. I am sure this article will help you install Ubuntu 21.04 on VMware Workstation.

