This article explains how to install Windows 11 on VMware Workstation 16 Pro.
After waiting a long time, the Windows 11 ISO image is officially available for the public to download. However, there are a few issues with virtualizing Windows 11 on a VMware Workstation.
Microsoft has made it clear that you need to enable TPM on your machine to Install Windows 11 which is fine with the physical computer because most of the latest laptops do support TPM.
Before you begin, you need to have a Windows 11 ISO download image file. Follow the article here on how to Download Windows 11.
Download the VMware workstation from VMware.
After downloading the required components, start installing Windows 11 on the VMware workstation.
Table of Contents
How to install Windows 11 on VMware Workstation Pro with TPM and secure boot enabled.
Create a Windows 11 Virtual Machine
Encrypt access control and enable TPM
Windows 11 installation in the VMware workstation
Installing VMware tools on Windows 11
Windows 11 USB installer
Install Windows 11 on VMware Workstation
Select the Windows 11 VM, and then click on Power on this virtual machine.
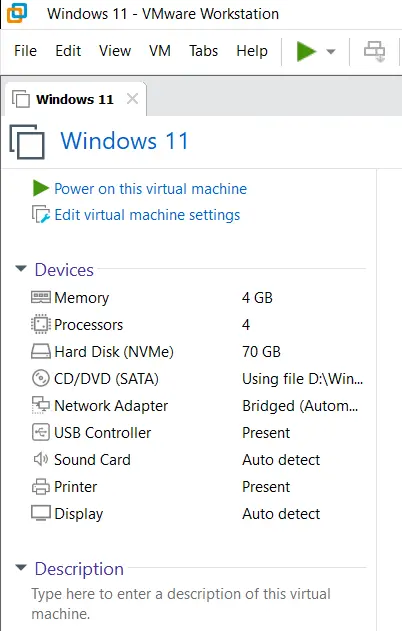
Press any key to proceed.
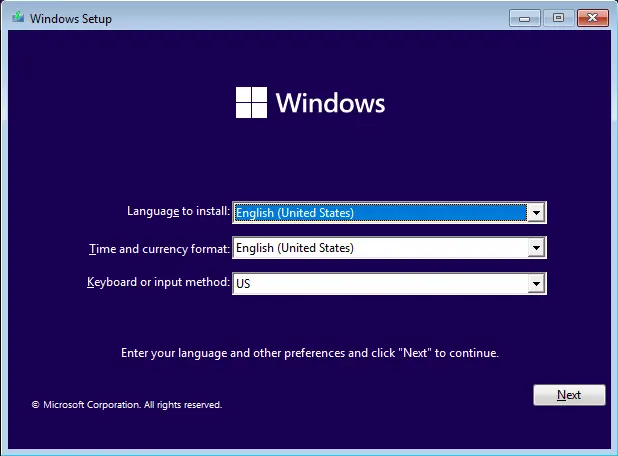
Now you will boot into the Windows 11 installation wizard.
Select the language, time, and keyboard layout of your choice and click on Next.
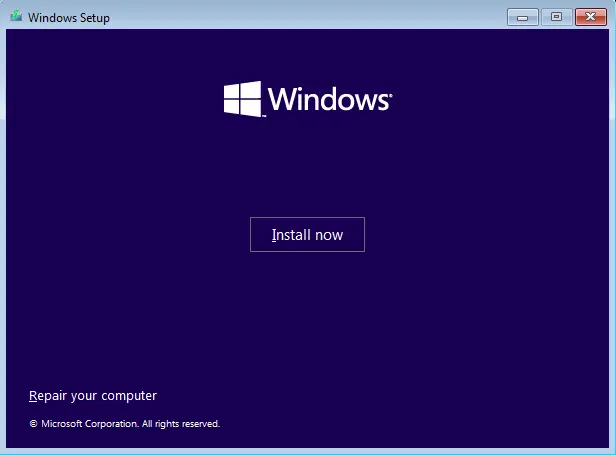
Select the Install Now button to install Windows 11 on a VMware workstation.
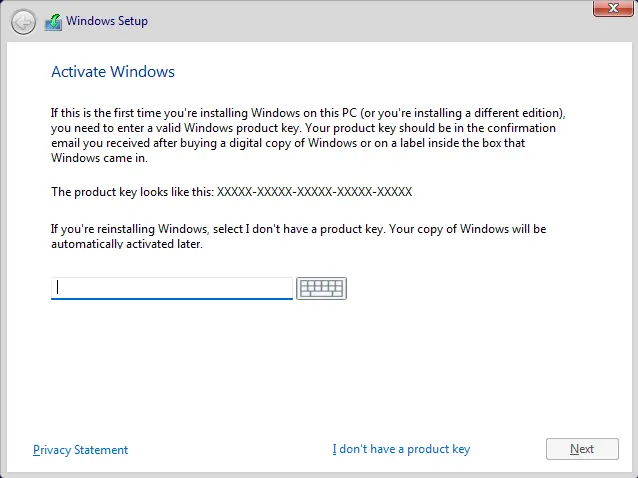
You may select I don’t have a product key If you have a product key, you can enter it here.
Choose a Windows 11 version that fits your needs, and then click Next.
Please also read this article: How to Fix This PC Can’t Run Windows 11 VM VMware.
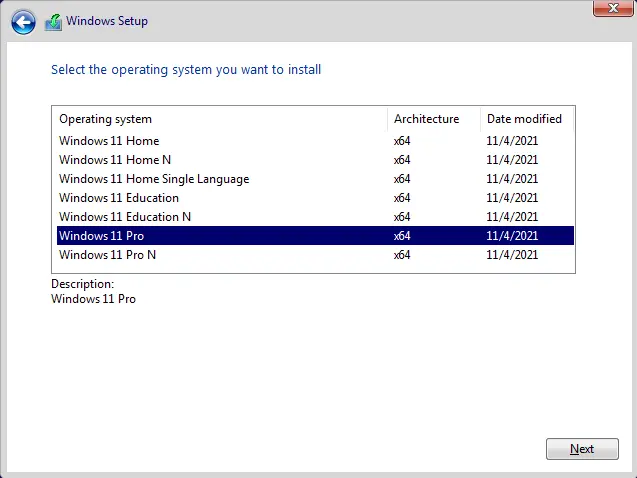
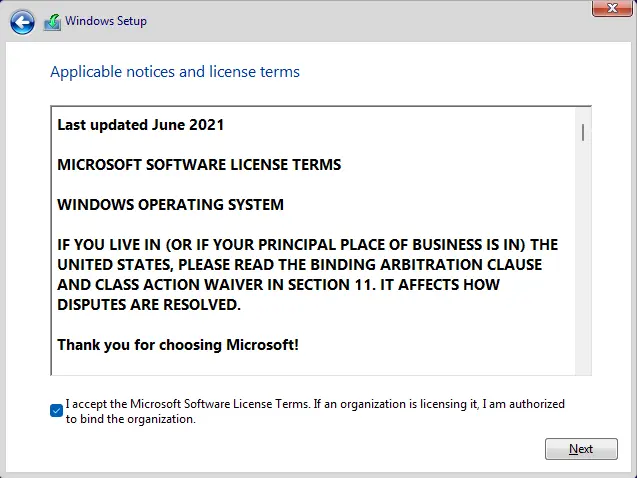
Accept the license terms and click Next.
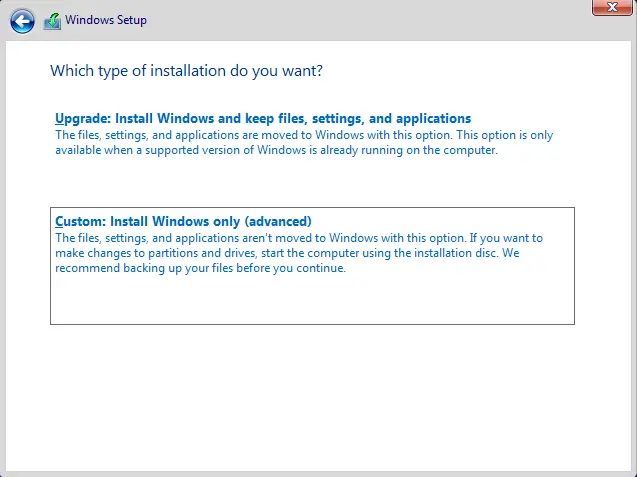
Click on the custom option as the installation type.
Choose the virtual hard disk and click Next.
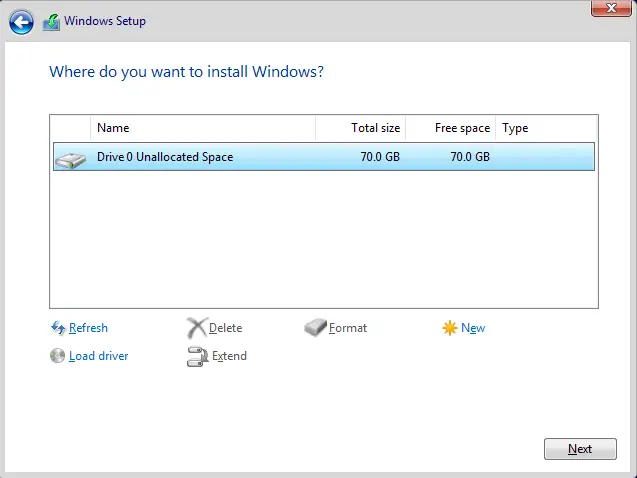
The installation of Windows 11 will now begin.
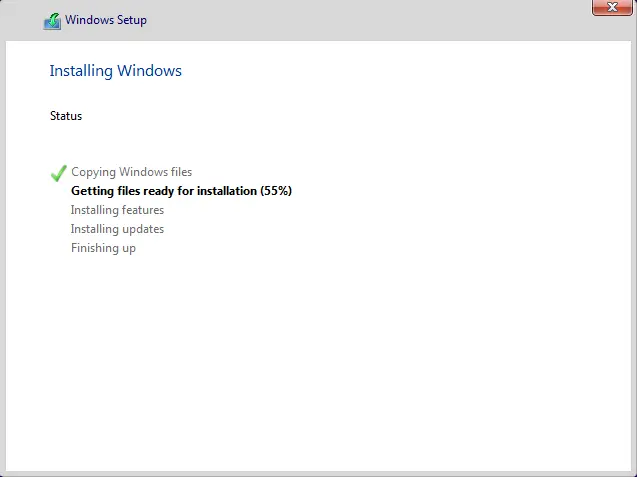
Windows 11 Initial Setup Wizard
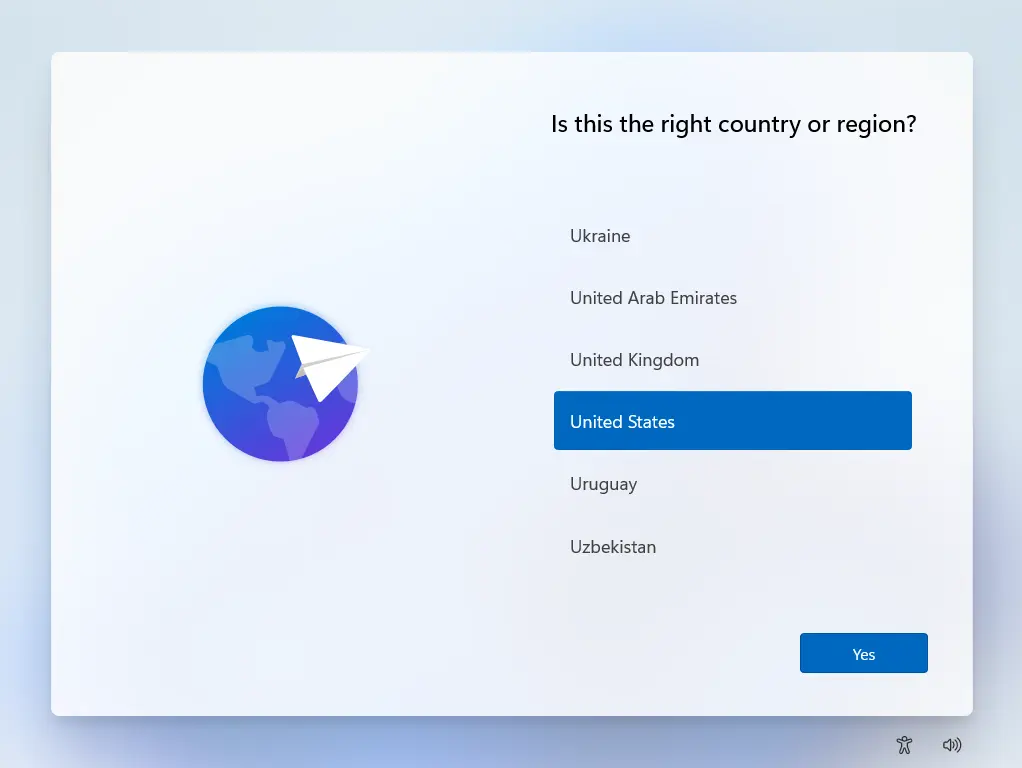
After some restarts, you will be ready for the Windows 11 initial setup wizard. Choose the country/region and click Next.
Choose the keyboard layout by clicking on Yes.
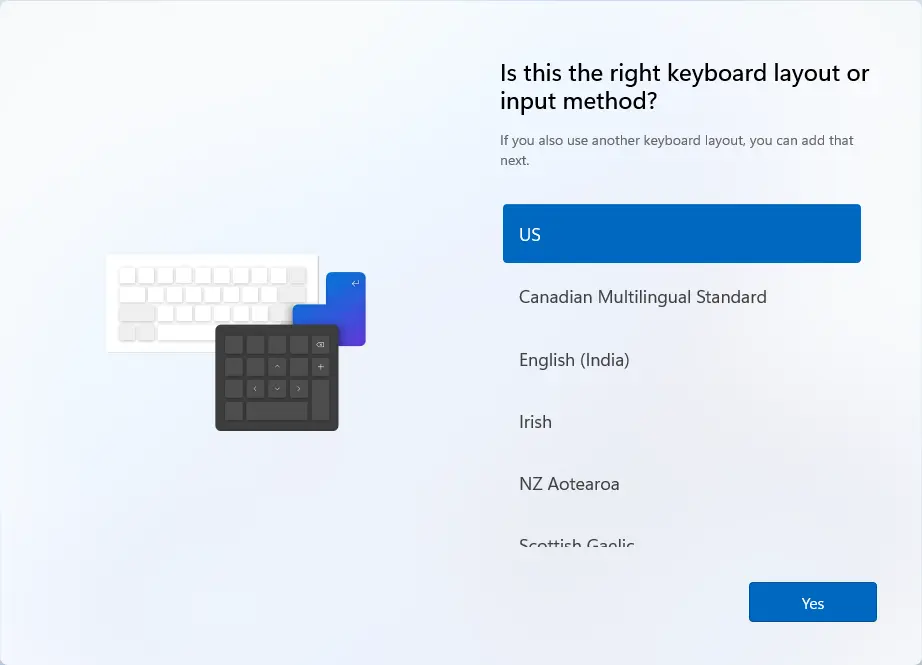
Add a second keyboard layout.
Connect to the internet or click on I don’t have internet access.
No internet connection would help me set up my local account.

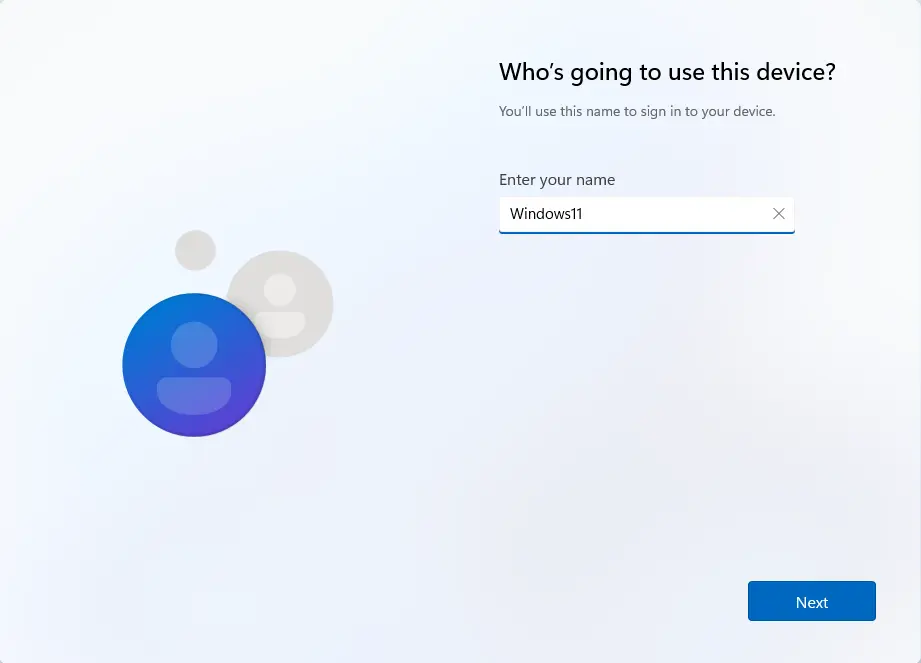
Type a device name and click Next.
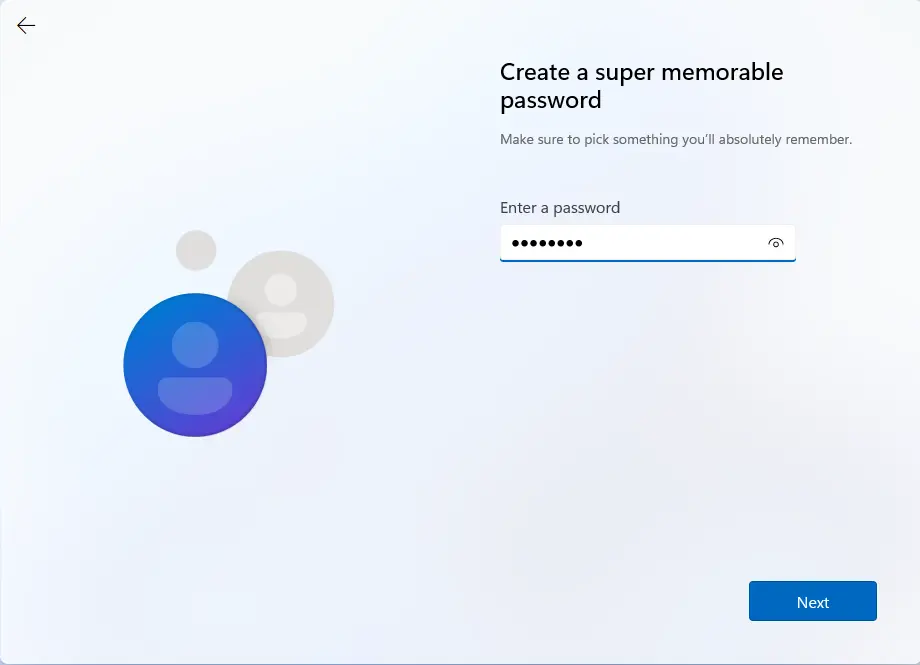
Set up your password, confirm your password, and click next.
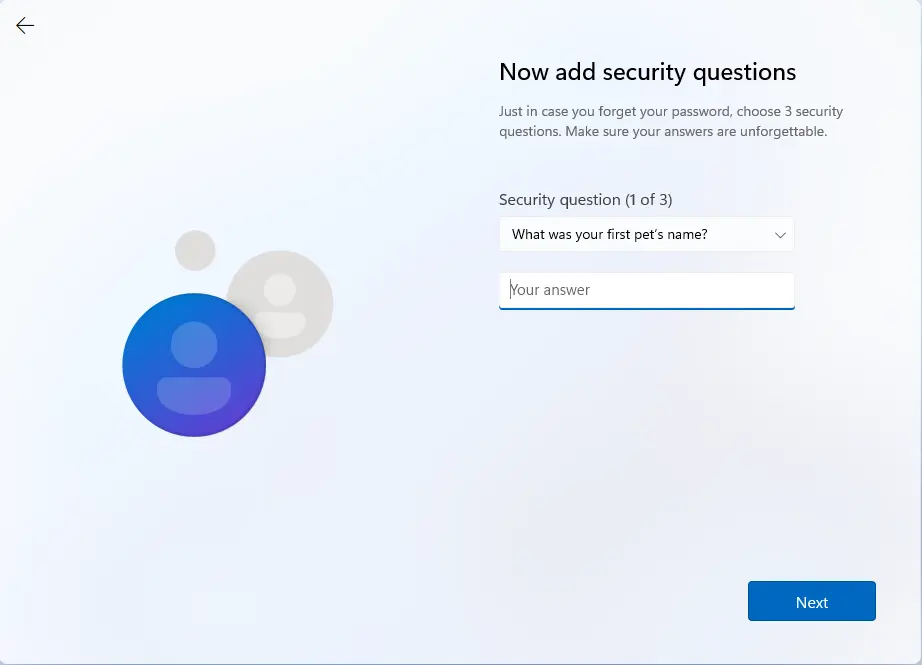
Choose three security questions and click next.
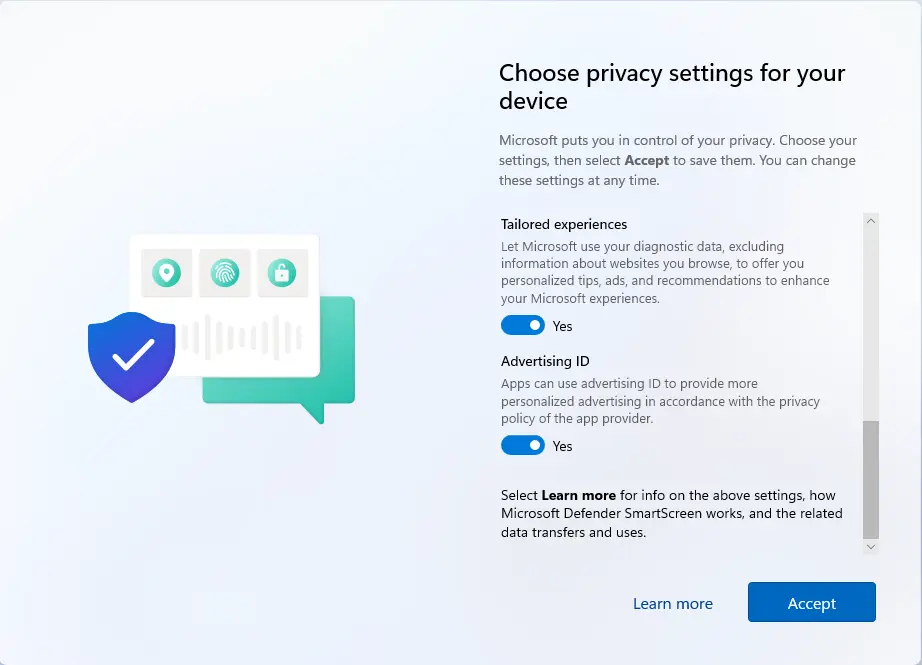
Accept the privacy settings for your device.
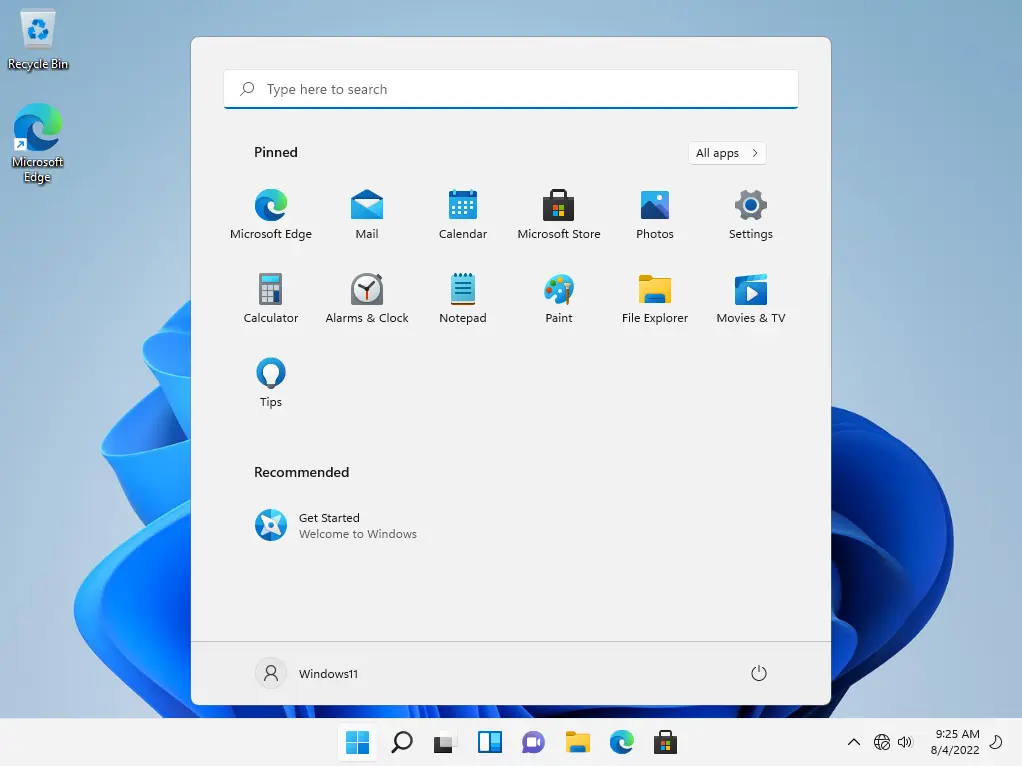
Now you can see the Windows 11 desktop.
Installing VMware Tools for Windows 11
We have successfully completed the installation of Windows 11 on the VMware workstation. Now I will install the VMware Tools on the device. It will provide good performance for the virtual machine.
Right-click on the VM and select Install VMware Tools.
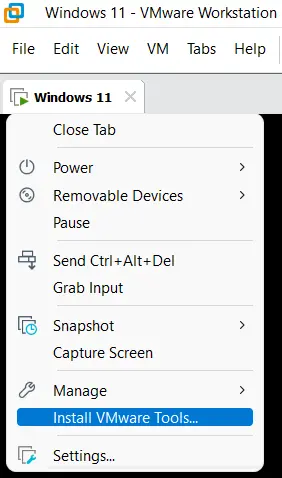
This will mount the VMware Tools drive on the Windows 11 machine.
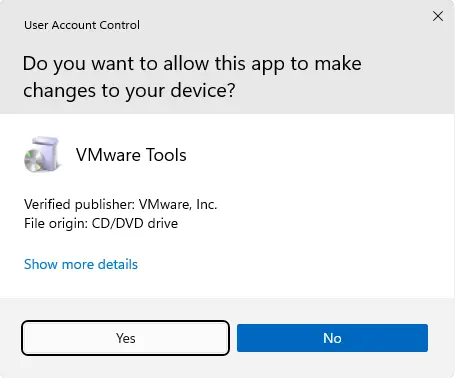
In your CD/DVD files, you will see a file named setup64. Double-click on it to install the VMware workstation tools on your Windows 11 virtual machine.
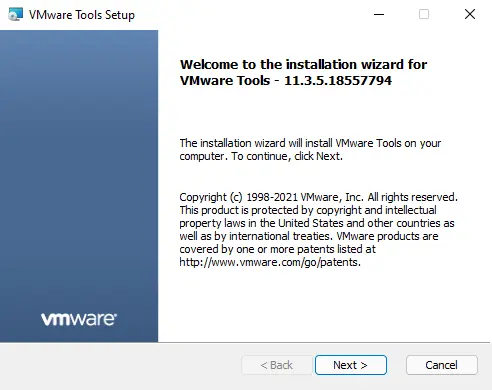
Welcome to the VMware Tools Setup wizard. Click next.
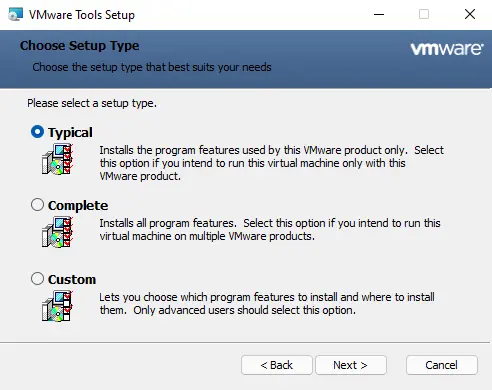
Select the Typical setup type and click next.
Within a few seconds, the VMware Tools will be installed on Windows 11.
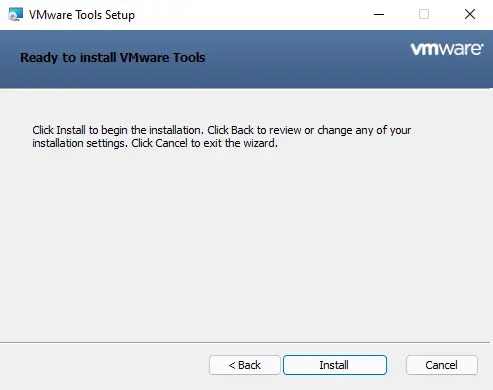
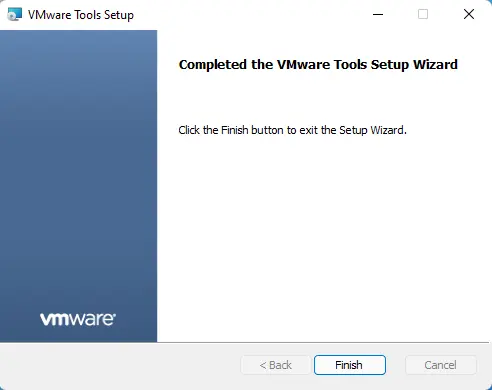
To complete the VMware Tools setup, click on Finish.
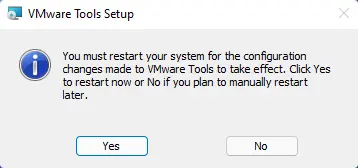
You will get a pop-up to restart the Windows 11 VM. Click yes. After restarting, you are ready to use your VM.
Now, you have successfully installed Windows 11 on the VMware workstation.

Read this article to learn more about how to install Windows 11 on VMware.

