In this topic, we will discuss how to install Windows Admin Center on a Windows computer or on a server so that several users can access Windows Admin Center using their favorite browser. The Admin Center is an administration application used to remotely manage Windows deployments and Windows Server. This guide is only a primer, though. If you are concerned about learning more, stick with us.
Admin Center permits users to configure and troubleshoot their servers and manage all of their Windows Server workloads remotely from their favorite browser and one location. It integrates your on-premises servers with Microsoft Azure in just a few clicks. Now I am going to install this wonderful feature from Microsoft.
Table of Contents
What is Windows Admin Center?
Windows Admin Center is a web-supported GUI application for managing Windows installations. Although Windows Admin Center is primarily used for managing servers, it is also used for Windows 10 and Windows 11 installations. It must be noted that Windows Admin Center is a complementary application to built-in admin panels like MMC and Server Manager.
Install and Configure Windows Admin Center
The process of installing Windows Admin Center is very easy. First, you have to download the latest version of Windows Admin Center.
Install Windows Admin Center
Once downloading Windows Admin Center, double-click on the.exe file you just downloaded and follow the steps as shown below.

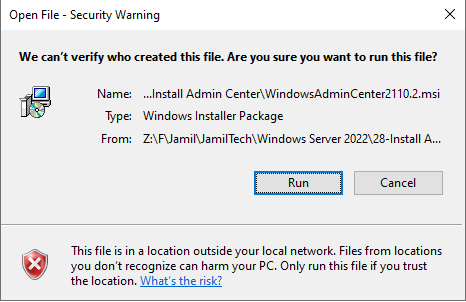
Click run
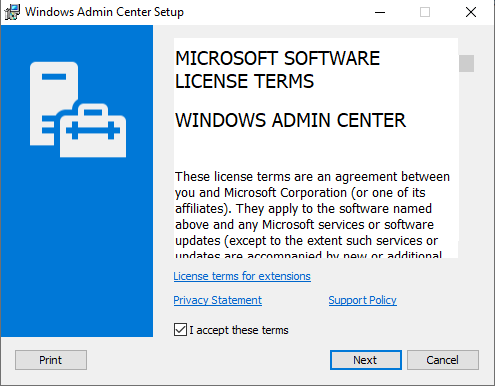
Windows admin center setup, accept terms, and then choose next.
Configure the gateway endpoint, and click next.
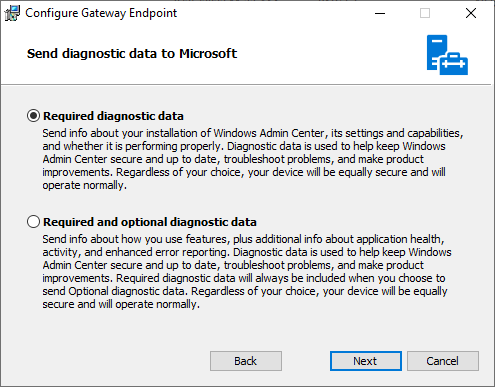
Click next.
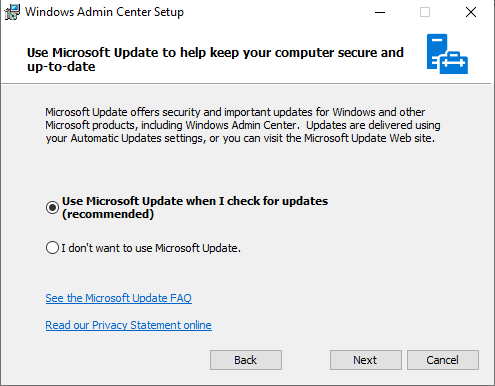
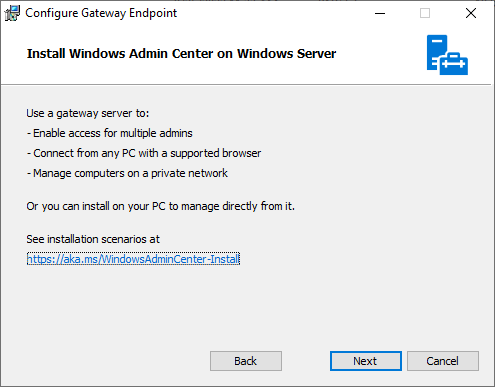
Install Windows Admin Center on the server, and click next.
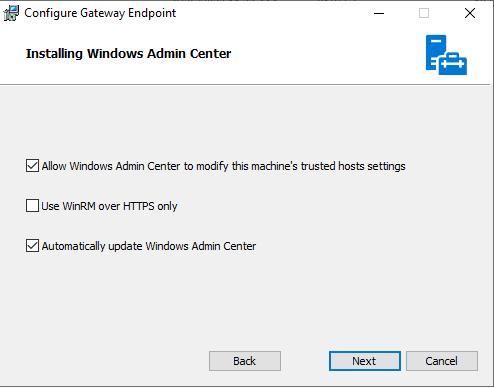
Choose next.
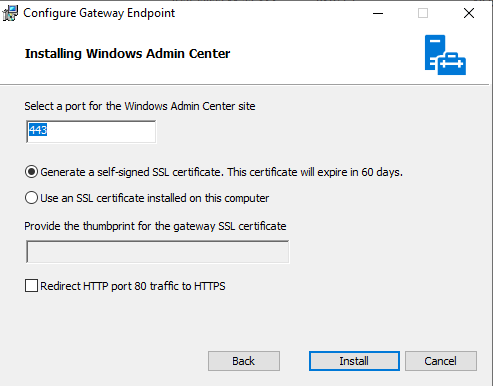
Select the port to use with Windows Admin Center, and then choose Next.
Select the Finish button once you are ready to manage your Server 2022 Core install with the Windows Admin Center.
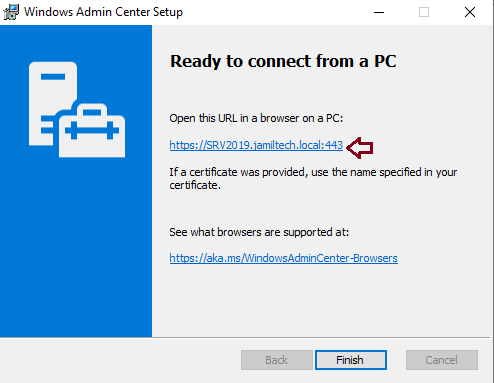
Open the Web Browser and Open Admin Center
Once Admin Center is installed, you are able to load it via your favorite browser and begin using it to add the operating system you intend to administer. Go over to your web browser and enter https://localhost or IP. Choose the certificate from the prompt, and then click OK.
Add Server to Manage with Windows Admin Center
The first thing you have to do to add a server in Windows Admin Center is to add the system you need to manage with Windows Admin Center. Below, I am going to add the Windows Server 2022 Core server to the Windows Admin Center without any configuration changes. You can go ahead and then add the core server to the Windows Admin Center.
I have renamed Windows Server to (SRV2019), where I have installed the Windows admin center.
Type the admin server name or IP address in the browser, and then hit enter.
Enter server credentials, and then click OK.
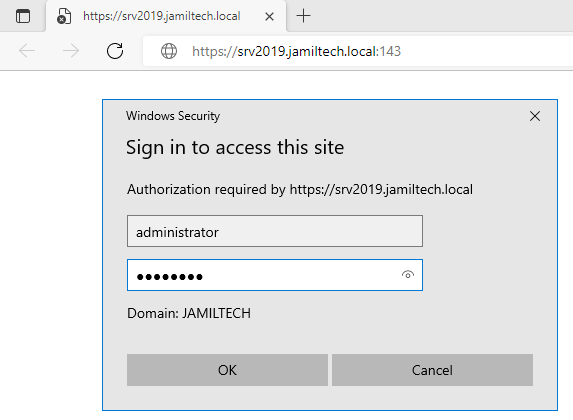
Read the summary.
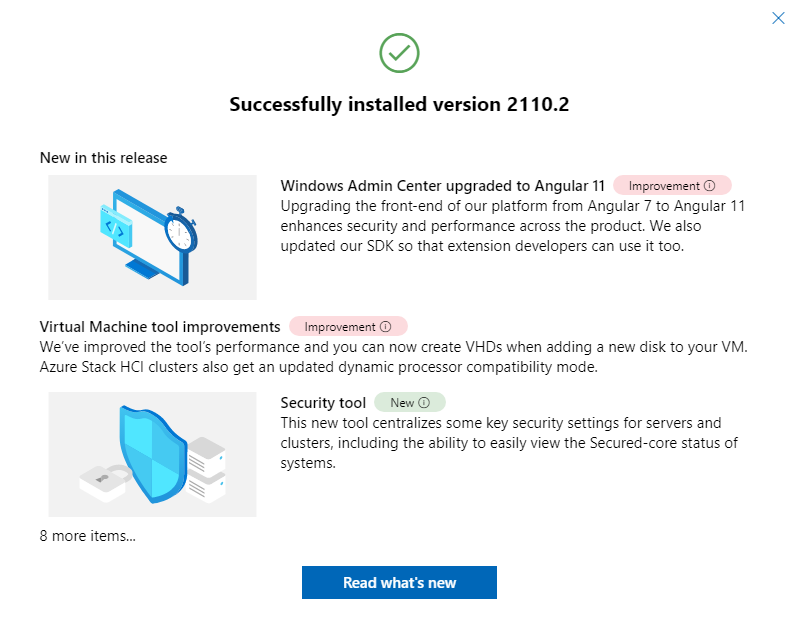
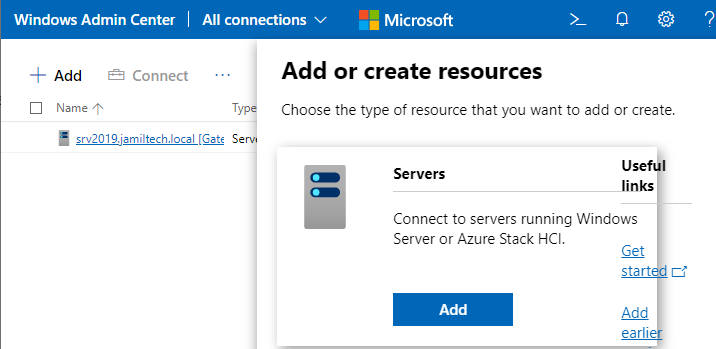
Click on the + Add button. You can add Windows PCs, servers, failover clusters, and others.
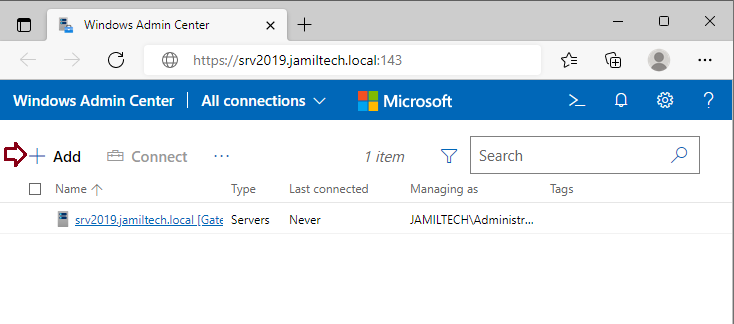
Choose add
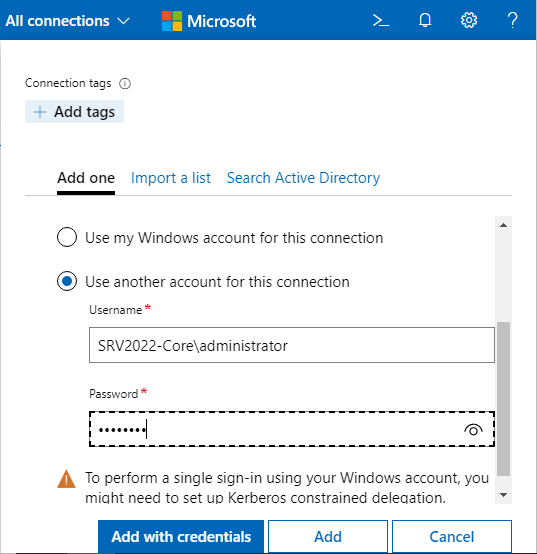
Enter credentials, and then click on Add with credentials.
Click on the server

Visit Microsoft to learn in detail how to deploy the Windows Admin Center.

