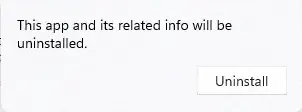
In this article, I will explain how to uninstall Oracle VM VirtualBox from the Windows 11 operating system. Once, a bug was found with the Oracle VM VirtualBox tool that caused connection problems on your computers. The Oracle VM VirtualBox tool is on the NMU application images to provide a way to run applications that aren’t compatible with Windows. Oracle VM VirtualBox software is necessary for the NMU-provided software installed there.
Table of Contents
Uninstall Oracle VM VirtualBox using VirtualBox Installer
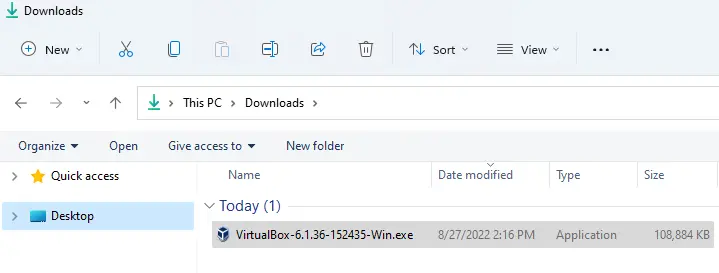
To uninstall the Oracle VM VirtualBox application, you can download VirtualBox from their official website.
Double-click to run the VirtualBox installer.
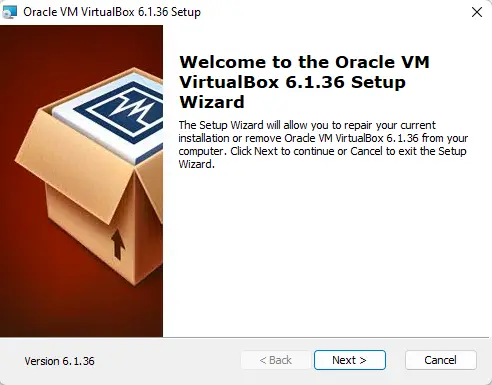
Oracle VM VirtualBox setup, click next.
Modify, repair, or remove the VirtualBox installation; click on remove.
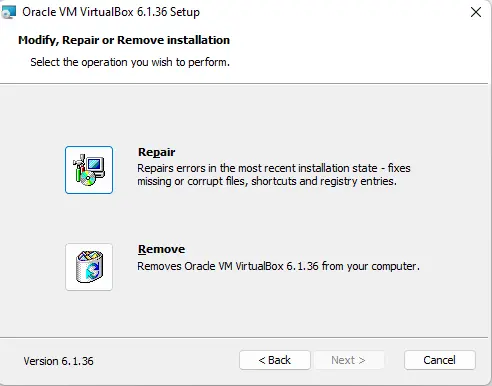
To remove Oracle VM VirtualBox 6.1.36, click Remove.
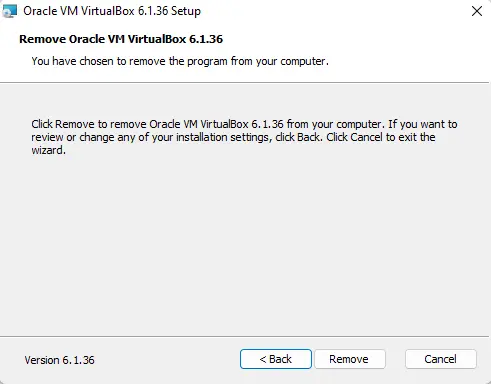
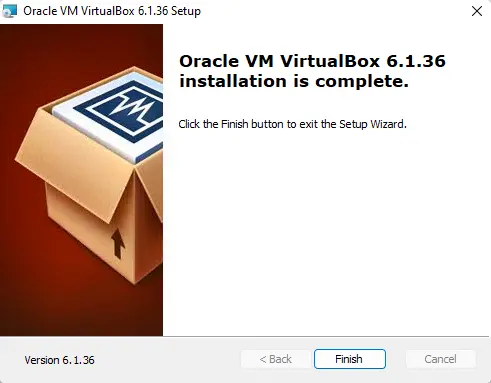
I successfully uninstalled VirtualBox from Windows.
Uninstall VirtualBox using Programs and Features
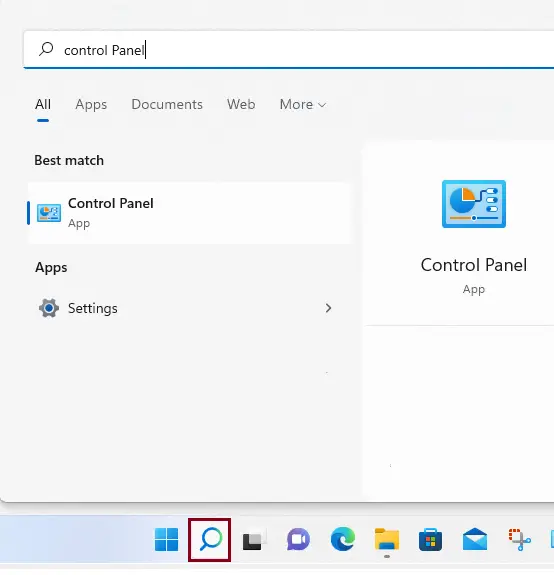
Search the control panel, and then open it.
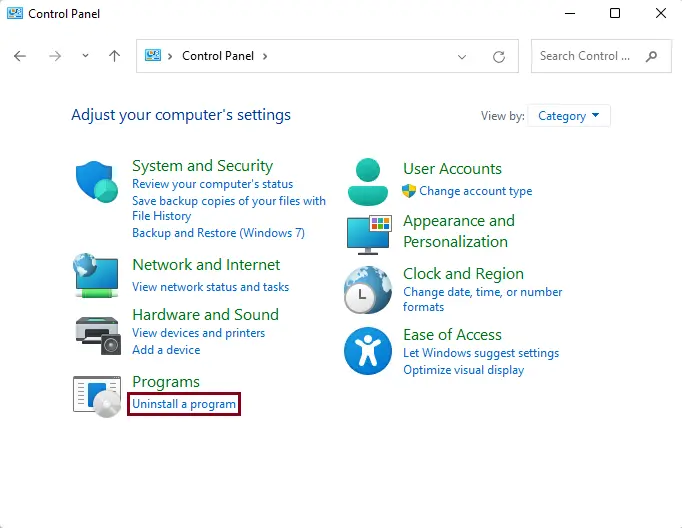
In the control panel, click on Uninstall a program.
Find Oracle VM VirtualBox in the program list, click on it, and then select Uninstall from the menu.
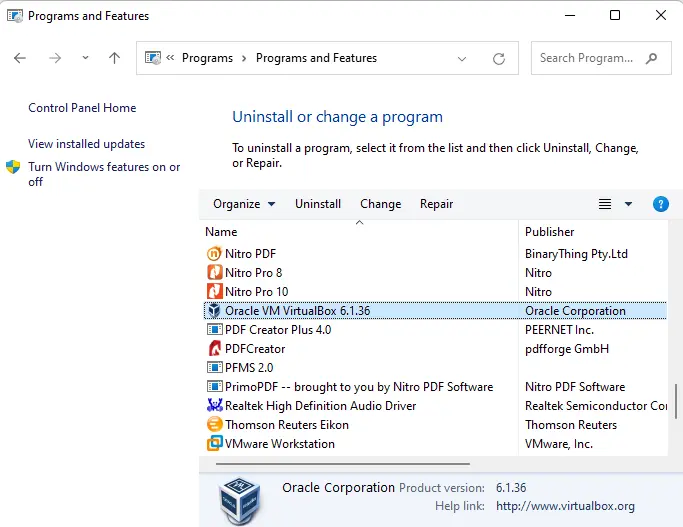
Follow the uninstall wizard.
Remove Oracle VM VirtualBox using Apps & Features
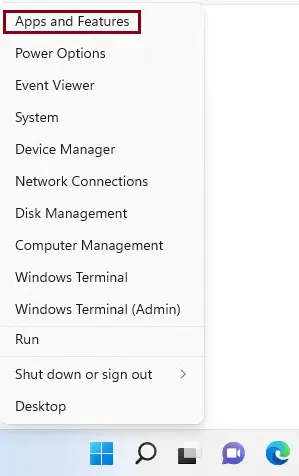
To remove VirtualBox, right-click on the Windows 11 start button, and then choose Apps and Features.
In the Apps & Features window, find Oracle VM VirtualBox from the apps list.
Click on it and then select uninstall.
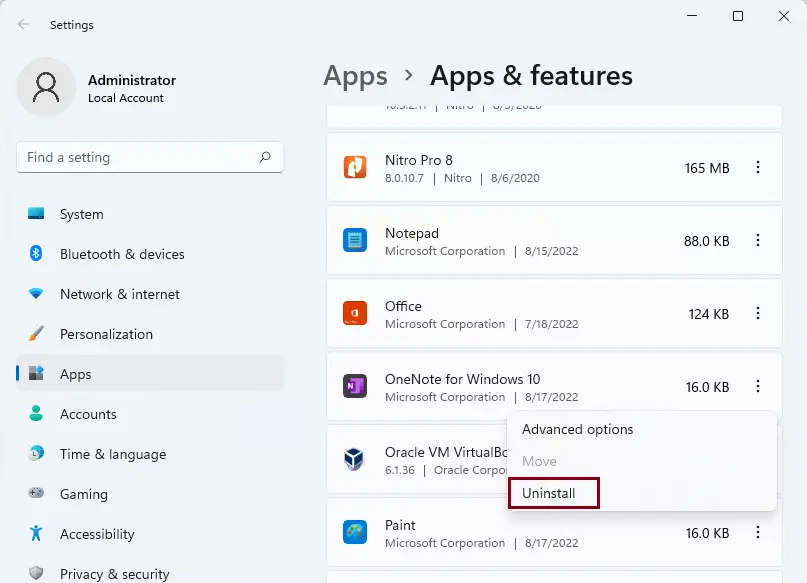
Click Uninstall
