In this article, we will explore how to create Backup to disk job Backup Exec. Run Backup Exec; the backup to disk feature enables you to back up your data to a folder on a hard disk. You can also use it as part of a backup process where you back up data to disk first and then transfer the backup to a tape when more time is available.
On devices that have nonremovable media, create a backup to the disk folder. On computers that have removable media, such as a zip drive, create a removable backup to the disk folder. Backup to disk folders that are created on servers that have non-removable media supports concurrent jobs from one or more media servers.
Table of Contents
Create Backup to Disk Job Backup Exec
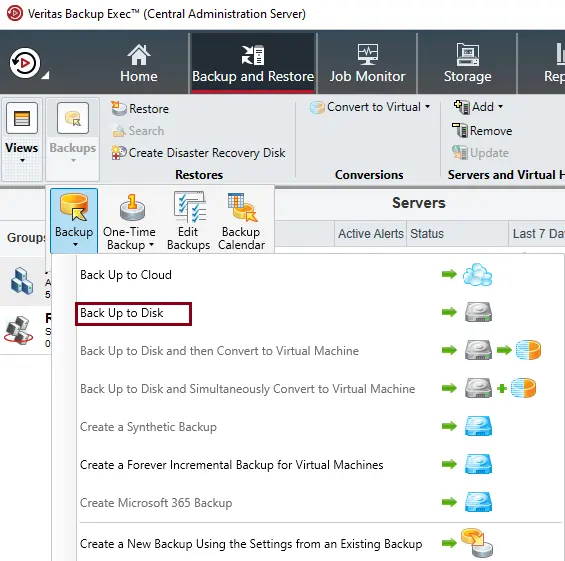
In the Backup and Restore Tab, click on the server that you want to back up. Click on the Backup option, and then choose Backup to Disk.
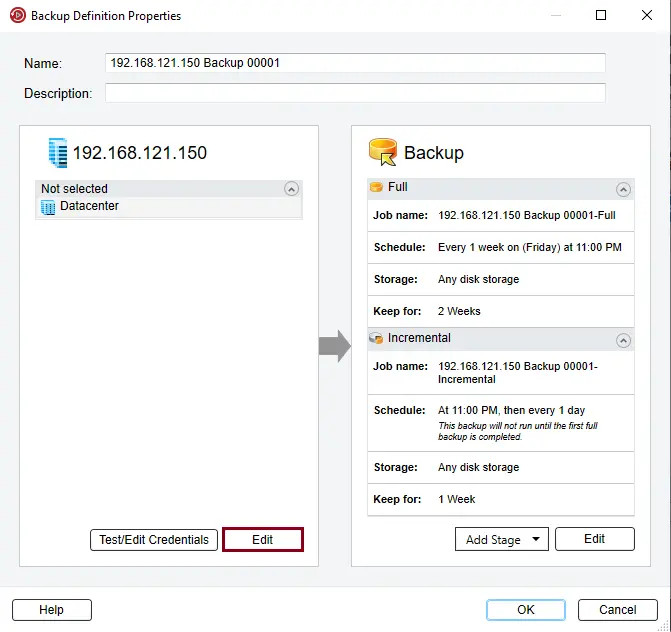
Backup definition properties, Under vCenter Server, click on the Edit button.
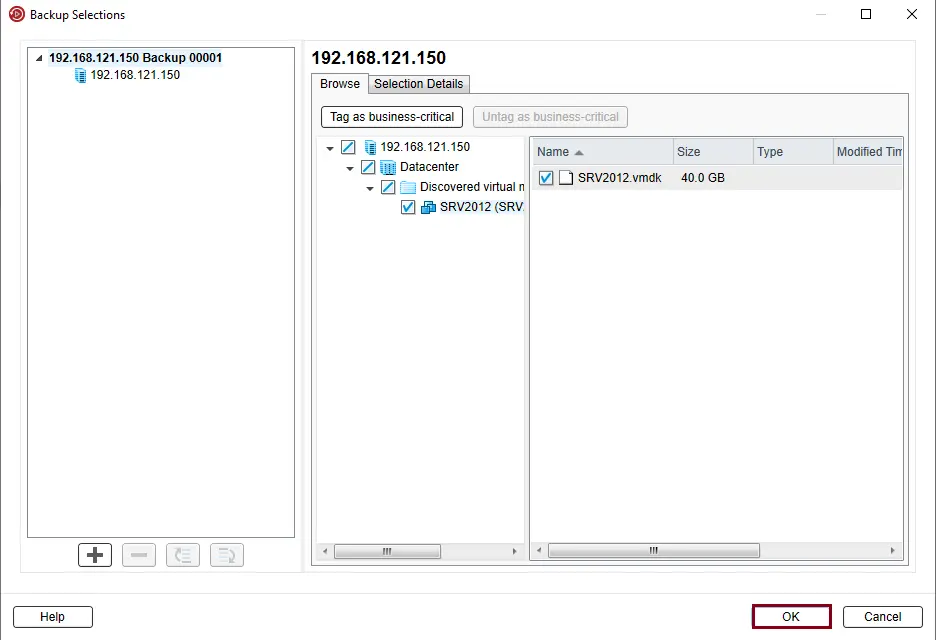
On the Backup Selections page, select the VMs that you wish to backup, and then click OK.
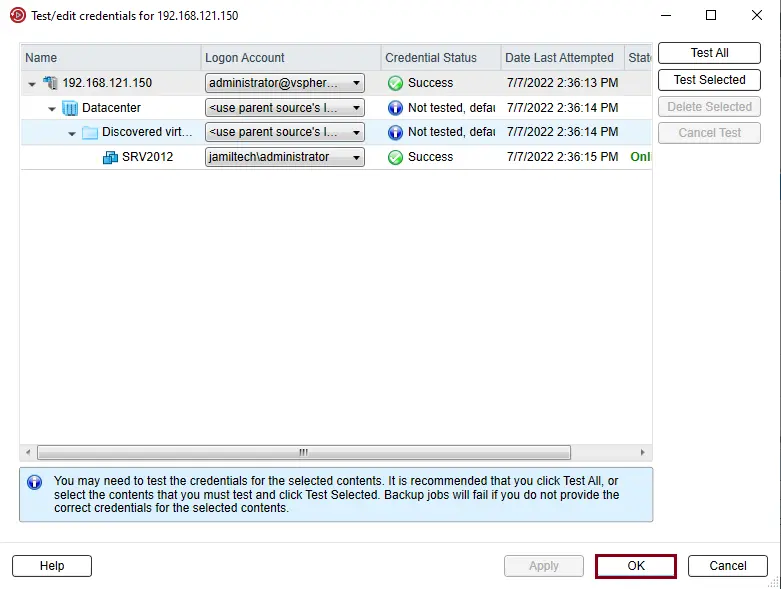
Click on Test/Edit credentials.
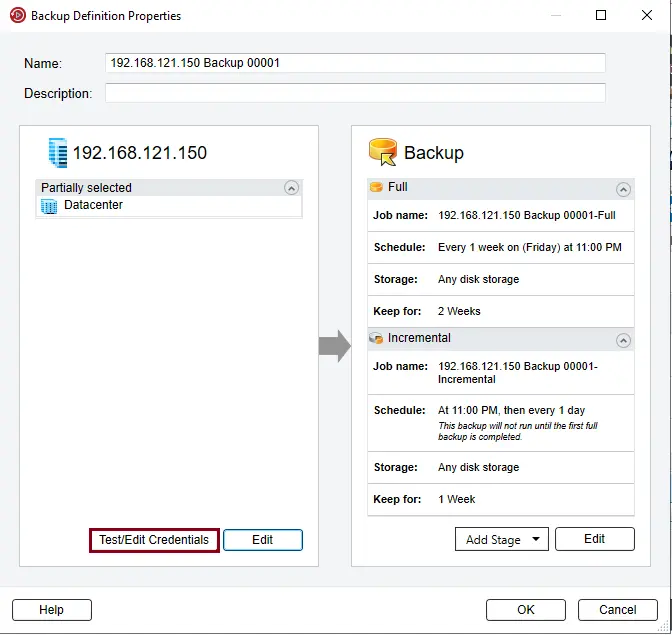
Test/edit credentials
Click on Test All to test credentials, and then click OK.
Under the Backup option, click on the Edit button to schedule a backup job.
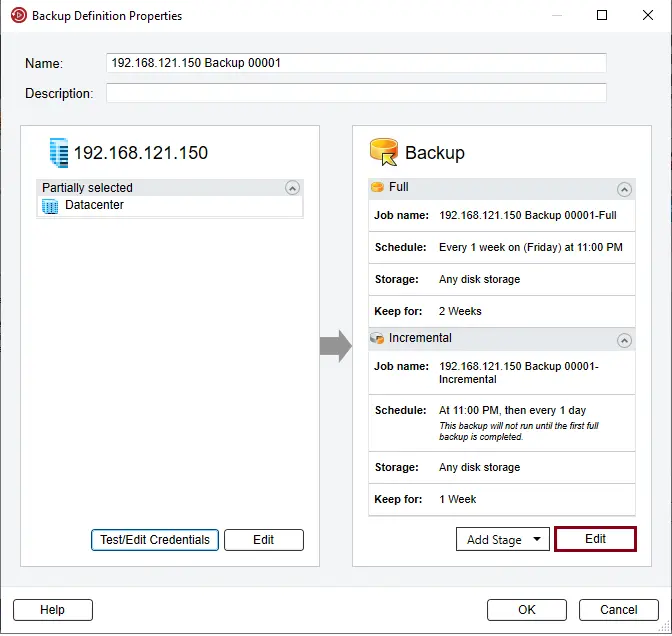
Now you can schedule a backup job for “FULL and incremental backup jobs”.
Click on the storage tab, and you can choose storage for Full and Incremental jobs.
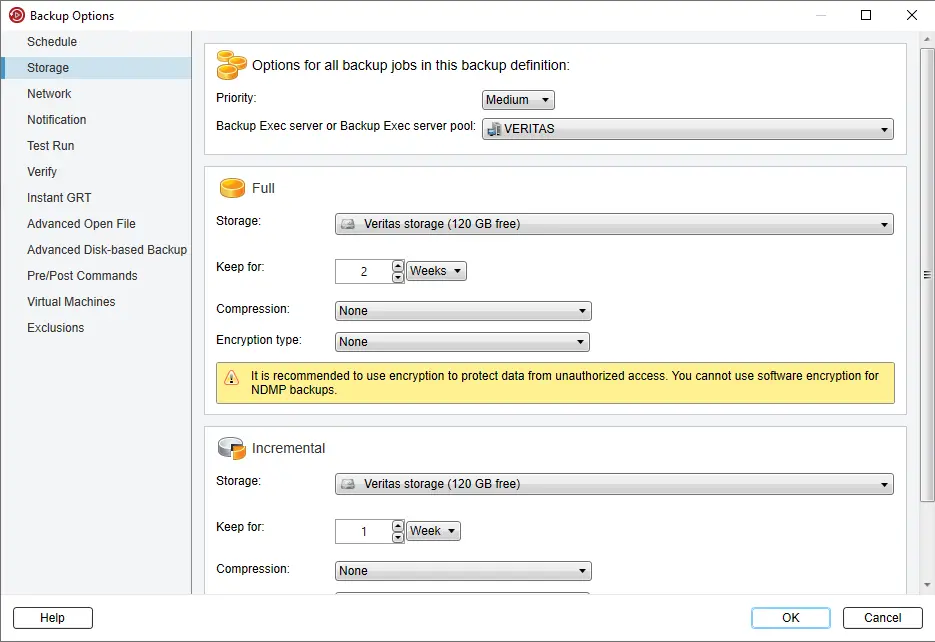
Configure network settings.
Setup Notification Configuration.
Test Run Options.
In the backup verification options Setting, click OK.
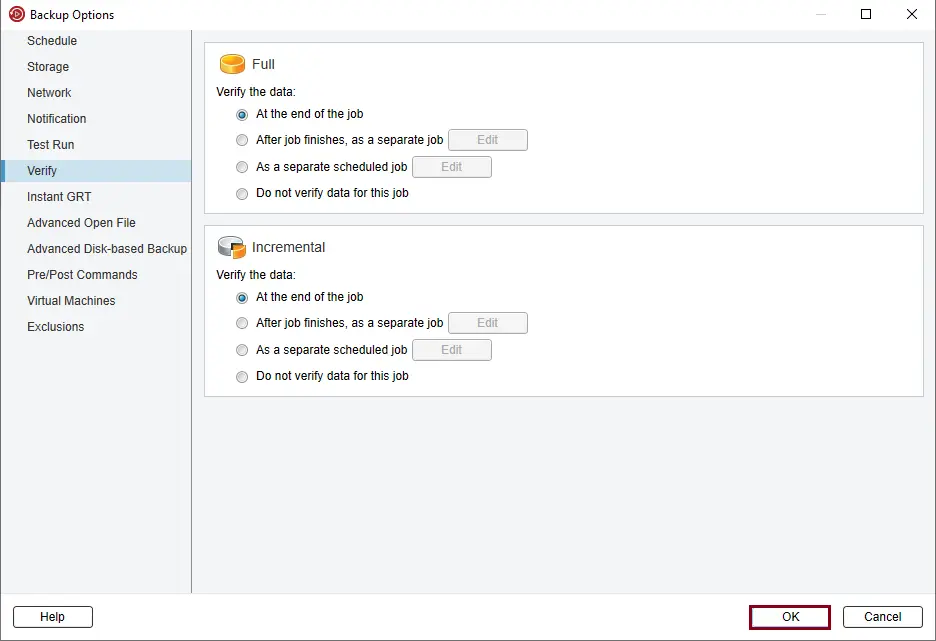
After completing the backup configuration, click OK to complete.
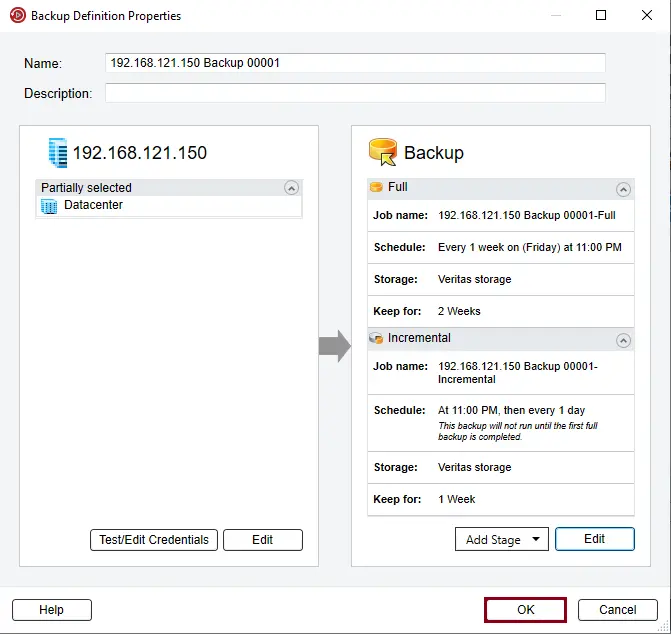
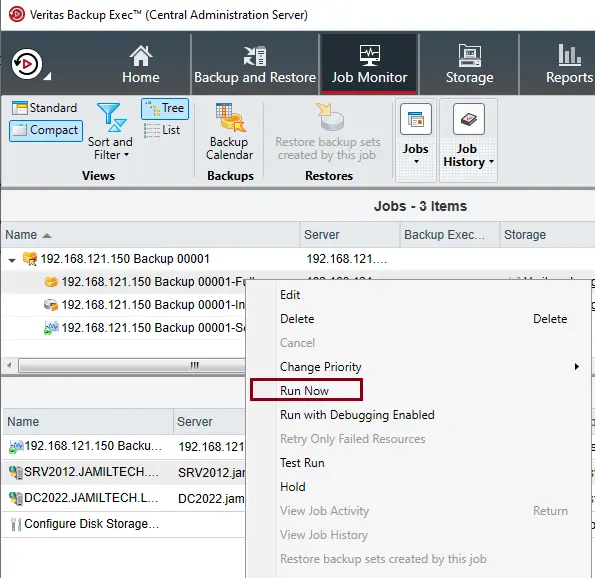
You can wait for backup schedule time or right-click on the backup job and then click Run Job Now.
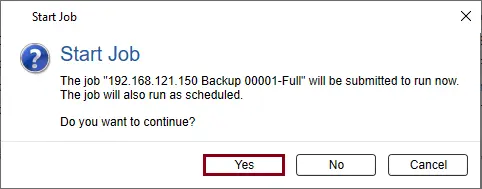
Click Yes to start the backup job to disk.
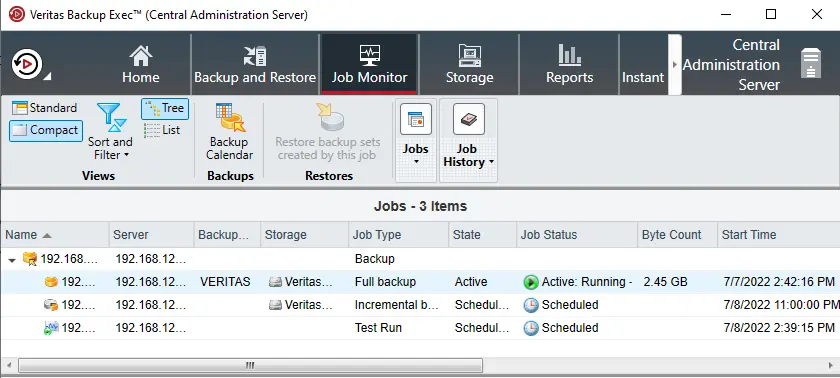
Now backup jobs are running.
For more details, please visit Veritas Documents


