In this article, we have provided our readers with how to create system backup in AOMEI Backupper on Windows 11. The AOMEI Backupper application backs up and recovers the full system disk containing the system, installed applications, and games, as well as personal files/folders, the disk backup is suggested. It is highly recommended to regularly take a system backup in case of a system crash. Then you can restore your Windows operating system with all applications with the system image backup Windows.
A full system backup is a type of backup aimed at imaging system disks and other system-related volumes (like system reserved and boot partitions), including system files/folders, boot files, and data on these partitions.
Table of Contents
If you wish to perform any modifications to your Windows operating system or if you are planning to upgrade from Windows 10 to Windows 11, please ensure you create a full system backup. It will keep your data secure and help you restore it. Creating a system backup is crucial, and you must do it regularly to overcome any data loss or system crashes.
System Backup in AOMEI Backupper
Run AOMEI Backupper for free, click on the Backup tab, and then select System Backup.
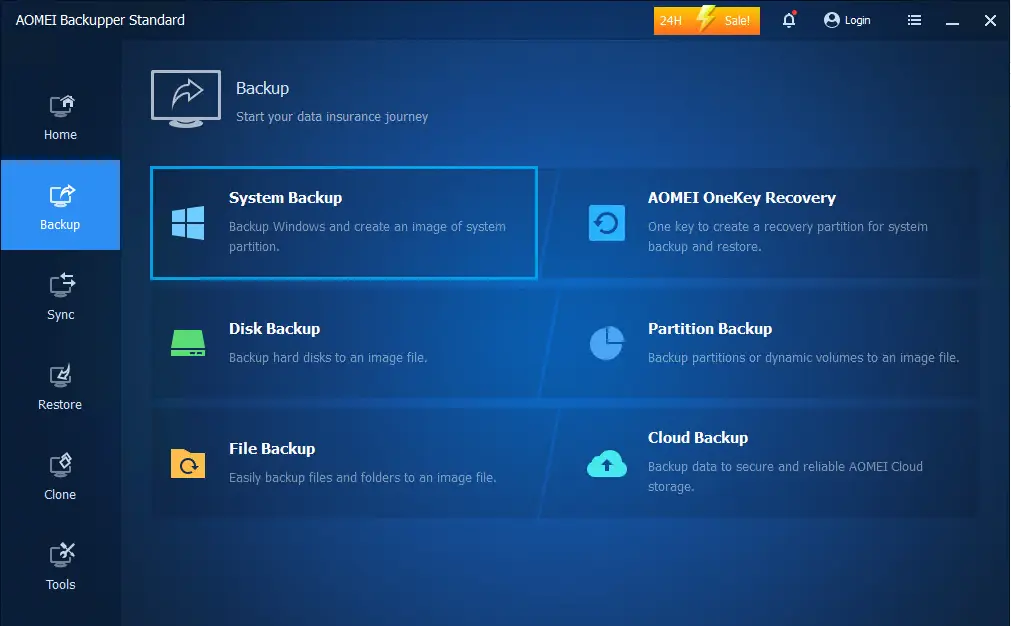
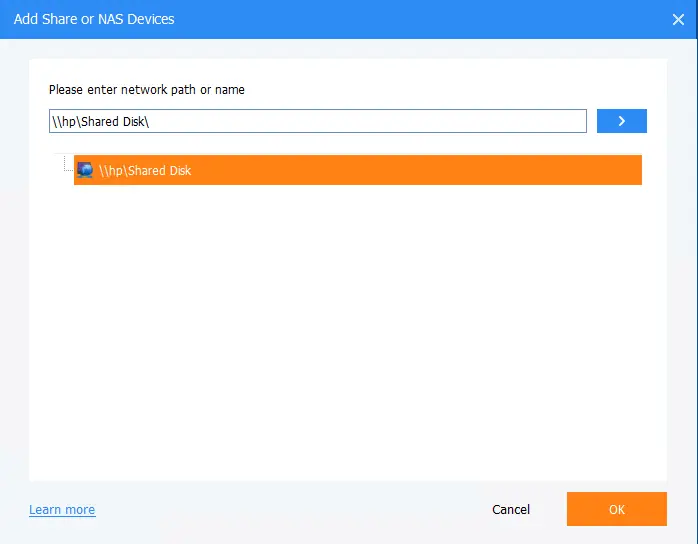
Select a destination location to save the backup image (you can save to network share, external drive, USB, etc.). Select the network location.
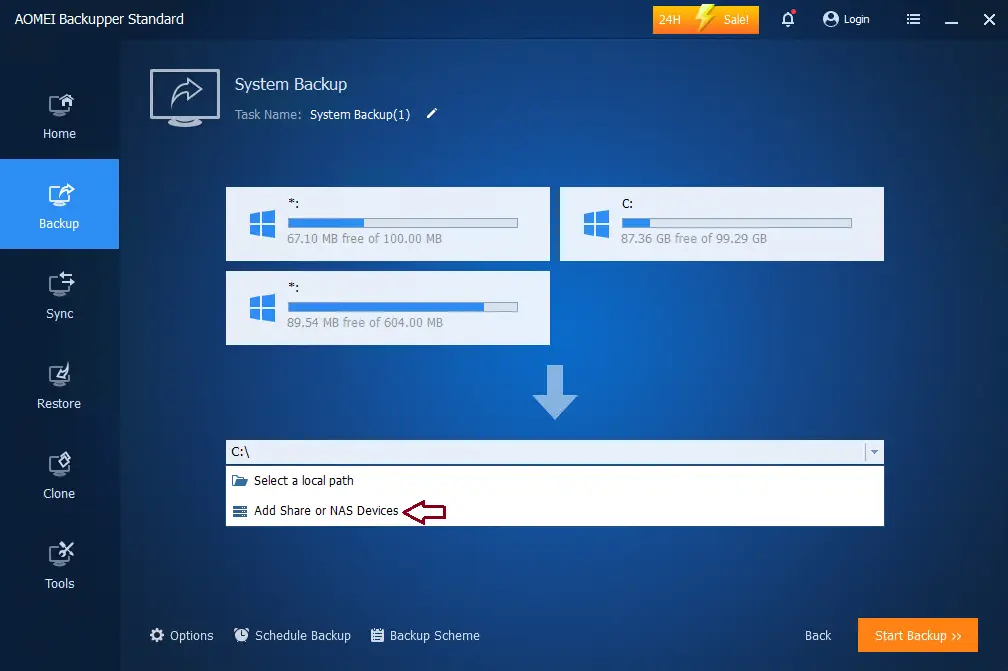
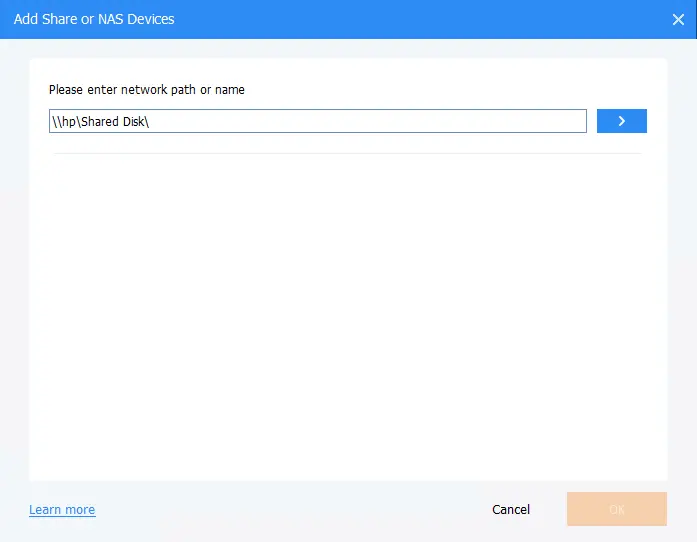
Add Share
Type your network path, and then hit enter.
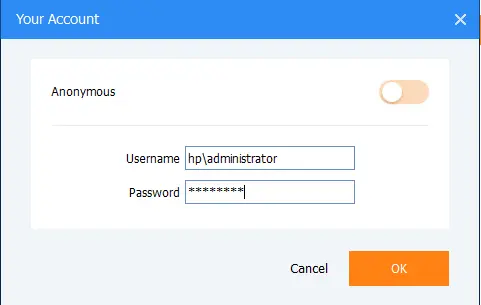
Very user network credentials and then choose OK.
After selecting a network folder, choose OK.
To rename the system backup name, click on the edit icon. We can see all the partitions of the system backup are listed automatically. Click on the schedule backup button to set the backup schedule.
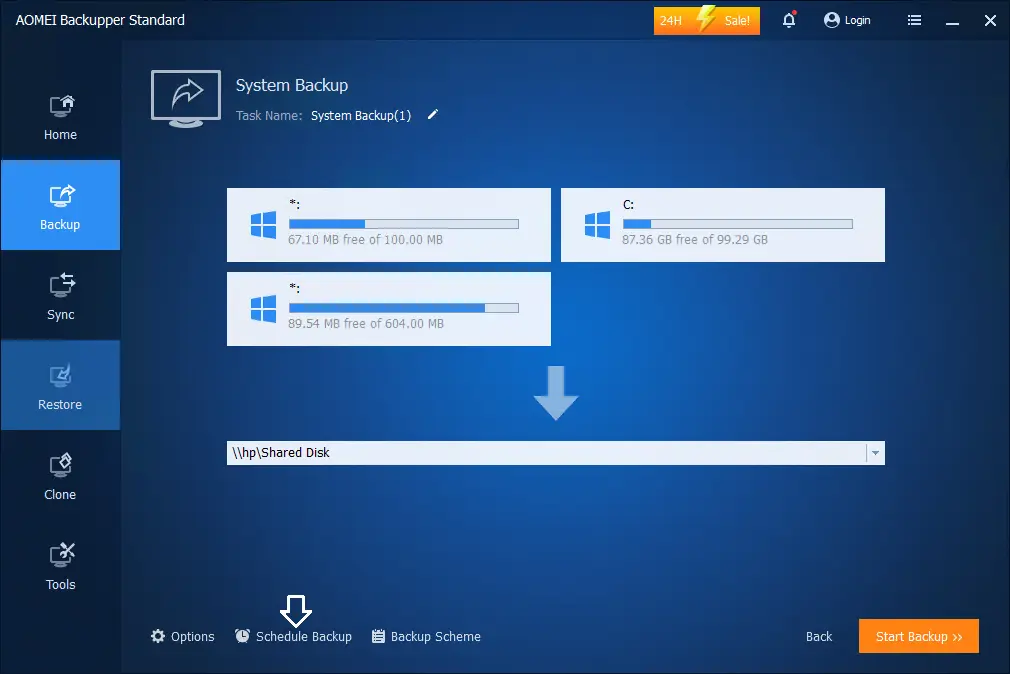
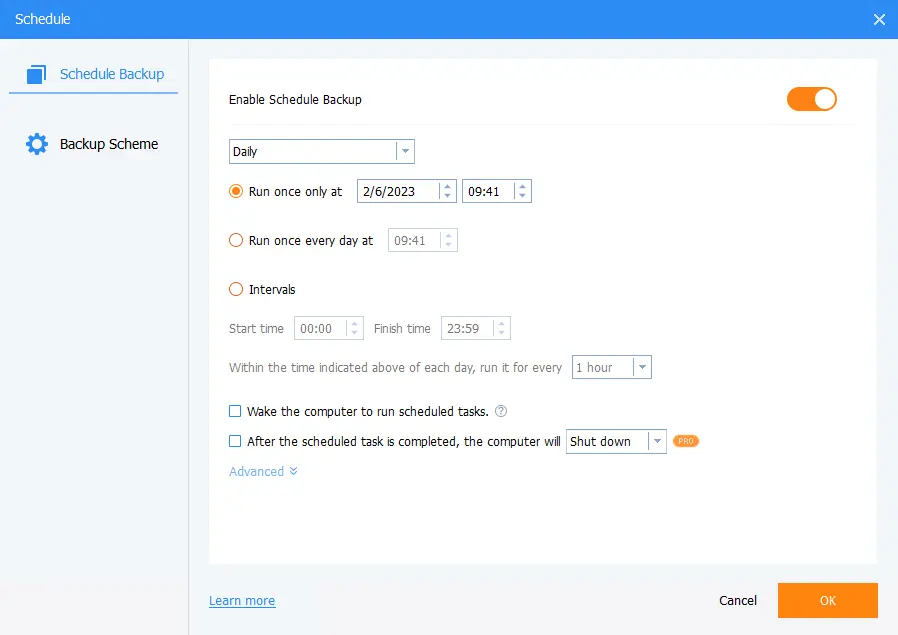
Schedule Backup
Configure the backup schedule, and then select the Start Backup button to start the backup process.
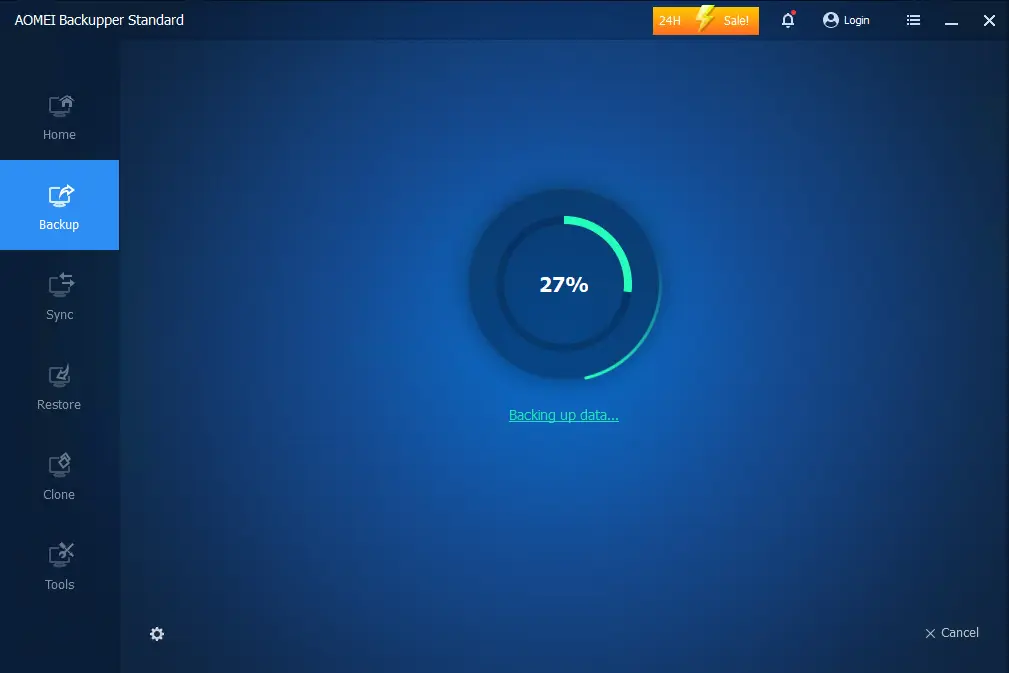
A system backup is running.
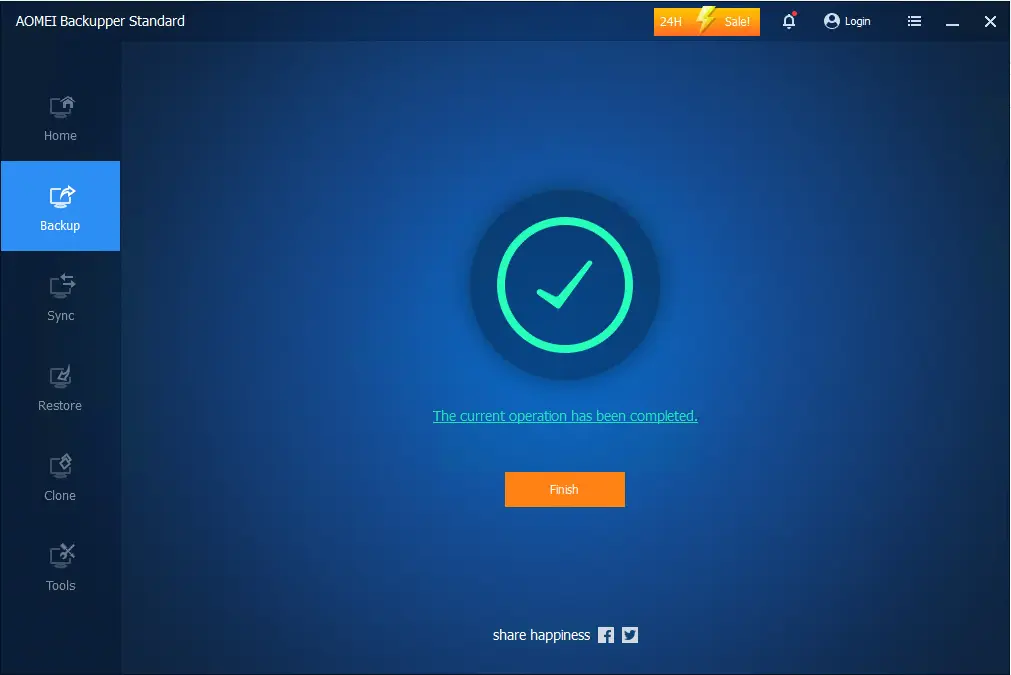
The system backup was successfully completed; click Finish.
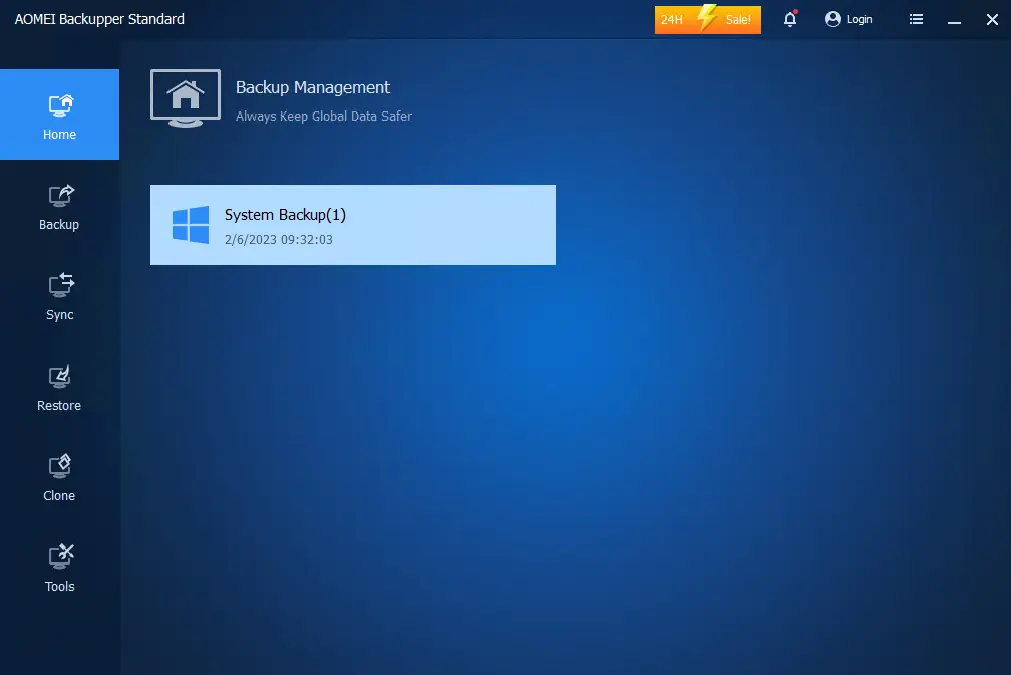
Now you can see your system backup.
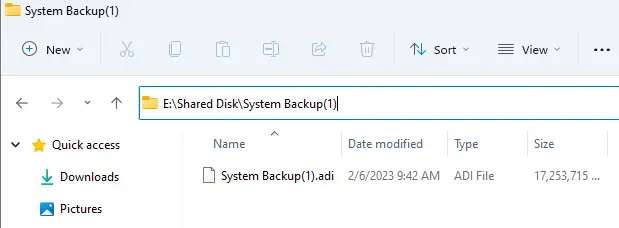
Now you can go to your destination folder to check the backup image (.adi).
Visit the Ubackup website to learn how to create a system backup.


