In this article, we will learn how to download and install PostgreSQL on Windows 10. We will show you the different ways to connect to a database in PostgreSQL and verify the installation. This guide explains how to install and set up a PostgreSQL database server and the psql command line. How to install and configure these components on your computer for local access.
Table of Contents
Setting up PostgreSQL on Windows
The PostgreSQL project provides a native installer to install and configure your database.
Download PostgreSQL
Visit the PostgreSQL website to find a link to the installer. Choose Postgres and download the installer at the beginning of the page. On the page that follows, in the Windows x86-64 columns (depending on your computer’s specifications), choose the PostgreSQL version you want to install. Select Download your PostgreSQL version and then save the file to a convenient location.
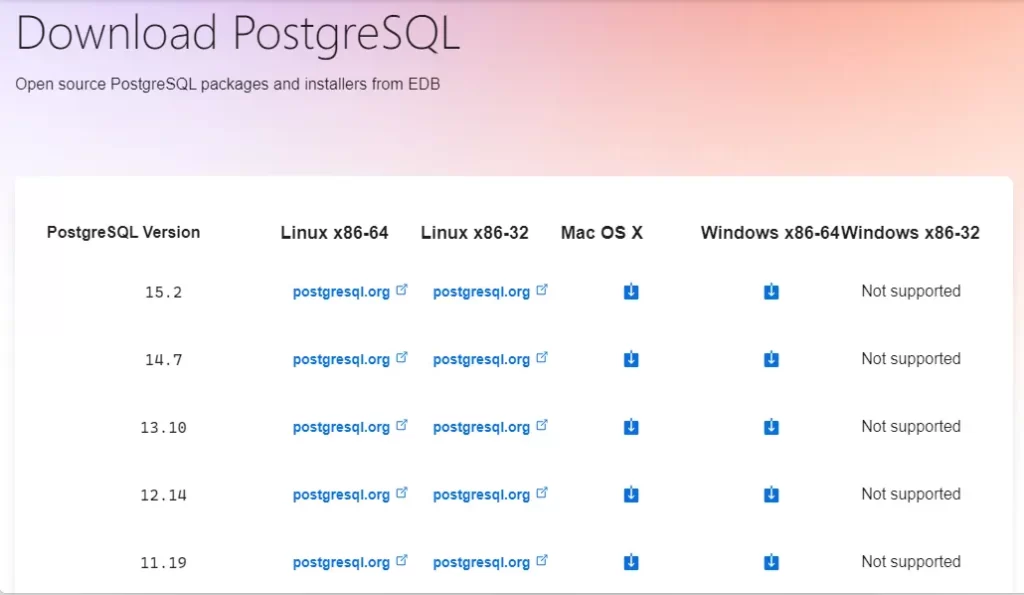
Download and Install PostgreSQL on Windows
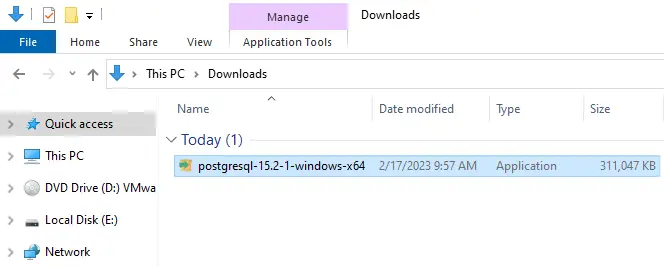
Go to the downloaded folder, and then run the PostgreSQL installer file to start the installation.
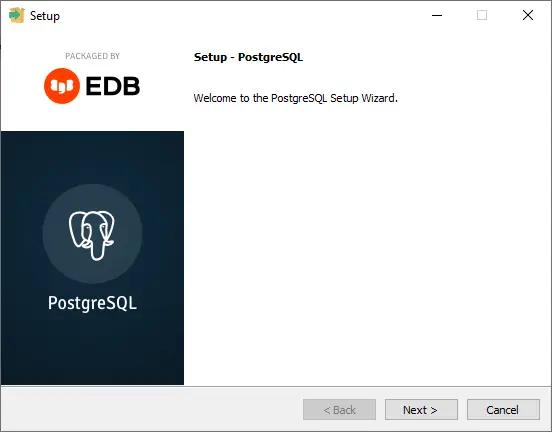
Welcome to the PostgreSQL setup wizard. Choose next.
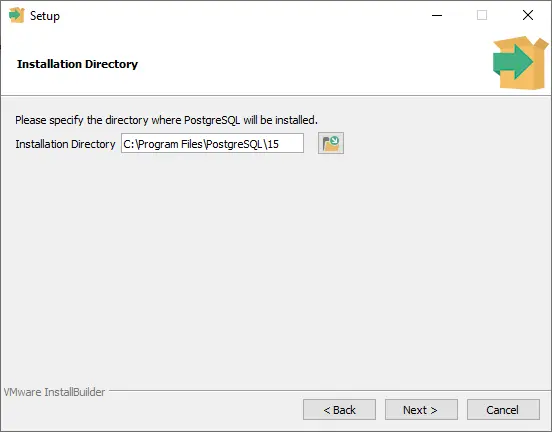
Choose an installation location for PostgreSQL, and then click Next to proceed.
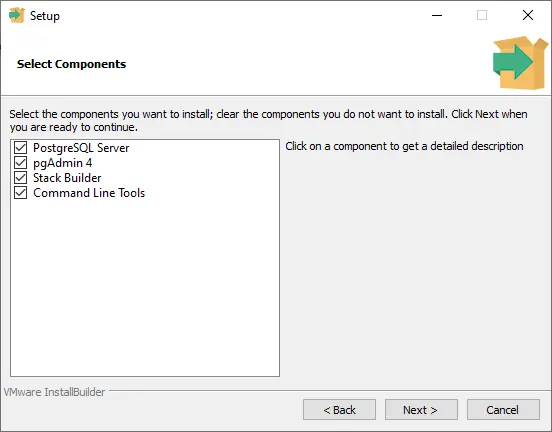
The next window allows you to select which components you want to install. Your minimum selection is PostgreSQL Server and Command Line Tools.
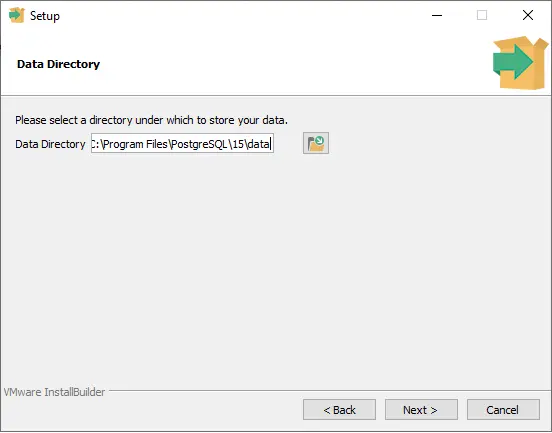
Now, choose the directory where the database data files will be saved, and then click Next.
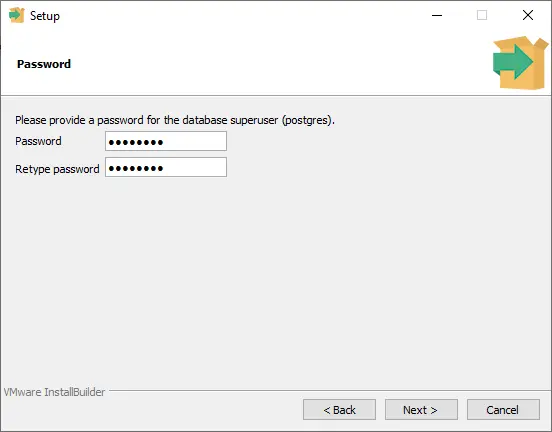
Verify an administrative password for your PostgreSQL superuser (called Postgres) and then click next.
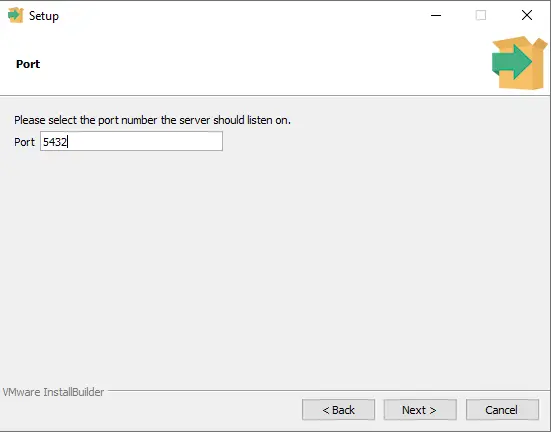
Accept the default 5432 port, and then choose next.
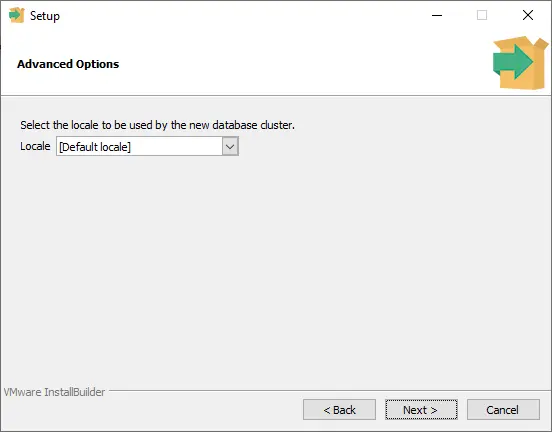
Install PostgreSQL’s advanced options, choose the locale that your database will use, and then click next.
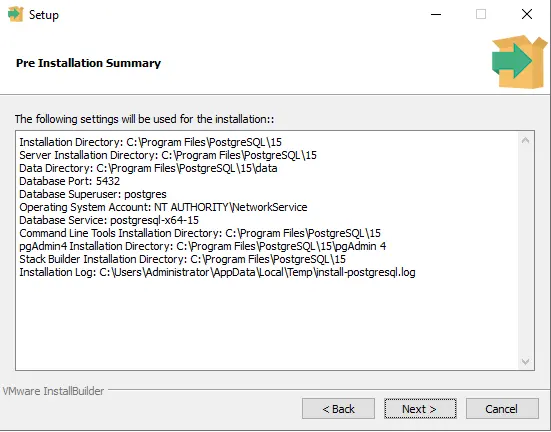
The pre-installation summary of the PostgreSQL setup is now complete; click next.
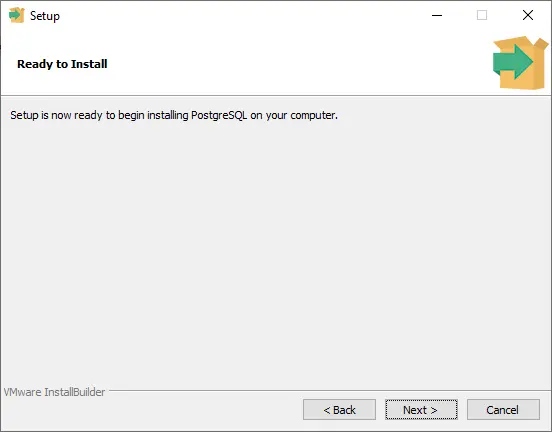
Click on the Install button to install PostgreSQL on your Windows computer.
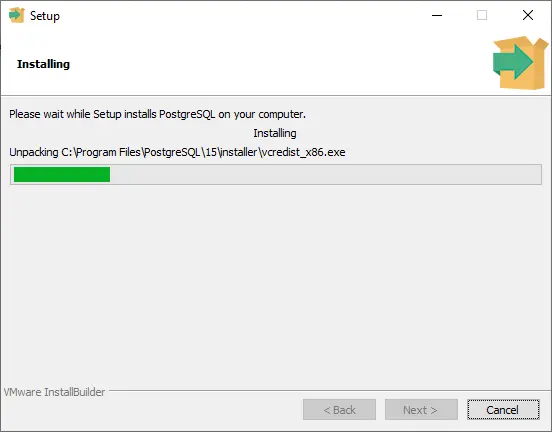
The PostgreSQL installation is in progress.
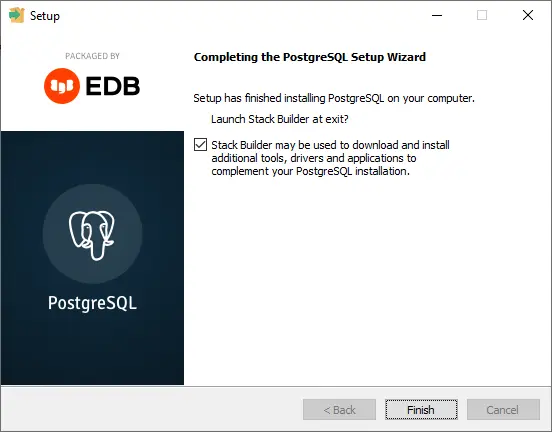
After completing the PostgreSQL setup, choose Finish.
Verify the PSQL Command Line Tool
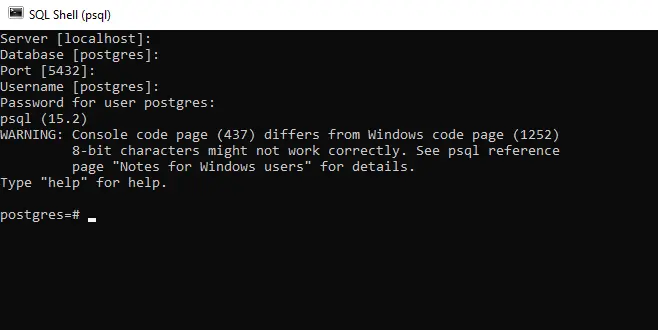
After the installation is complete, you need to verify the installation using the psql command line tool. In the Windows search box, type psql, and then click on the tool to open the program.
Hit enter to accept the default choices provided in the square brackets. Type the Postgres password for the user that you configured during setup.
After successfully authenticating, you will be dropped into a synergistic psql session with your database. When you are finished, exit the session.
Connect to the PostgreSQL Database
Open the pgAdmin 4 tool by searching in Windows Search or from the PostgreSQL folder.
Note: pgAdmin demands that you set a master password at the first launch and then click OK.

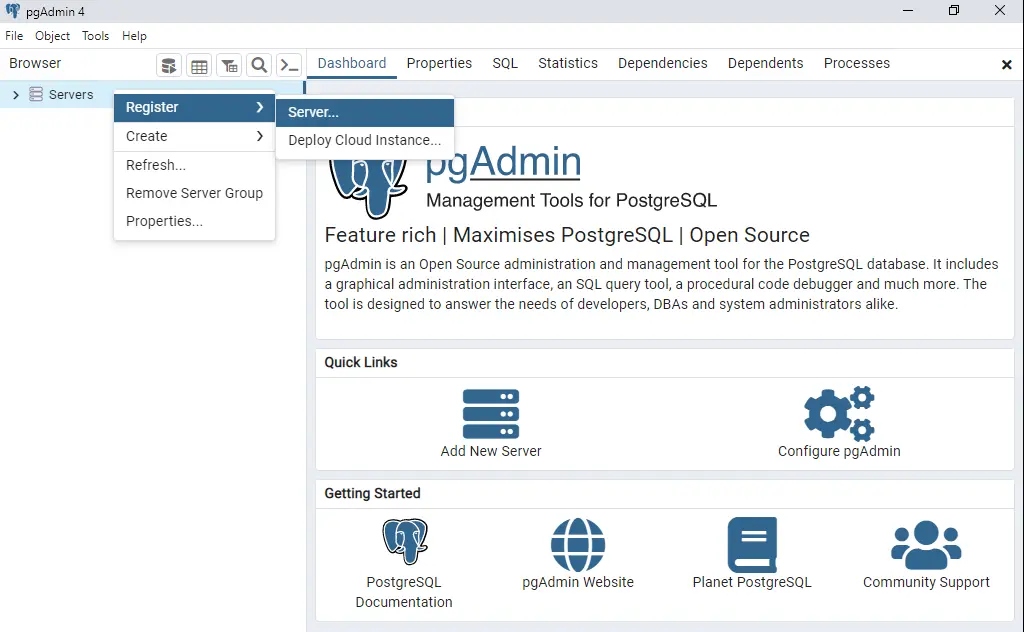
Right-click the Servers option on your left-hand side. Choose to register, and then choose the server to set up a new database server.
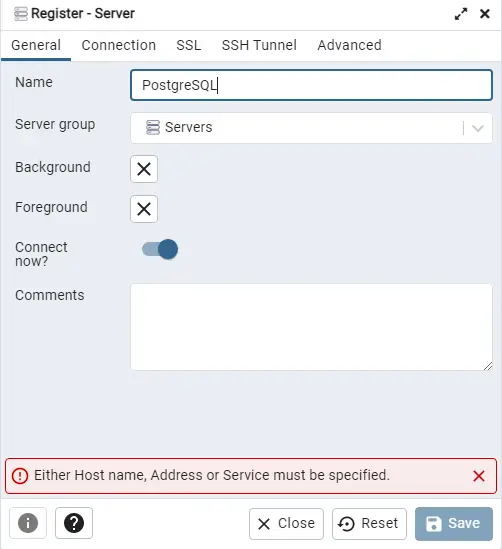
In the General tab, type a name for the new database. In this scenario, we are using PostgreSQL as the database name.
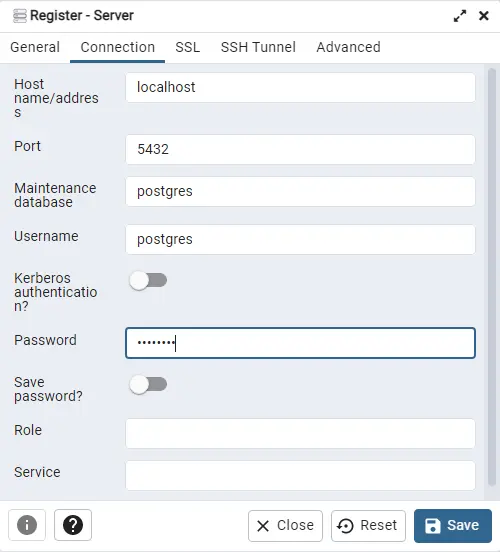
Click on the Connection tab, type the hostname (the default is localhost), and then the password selected during the setup process. Choose Save.
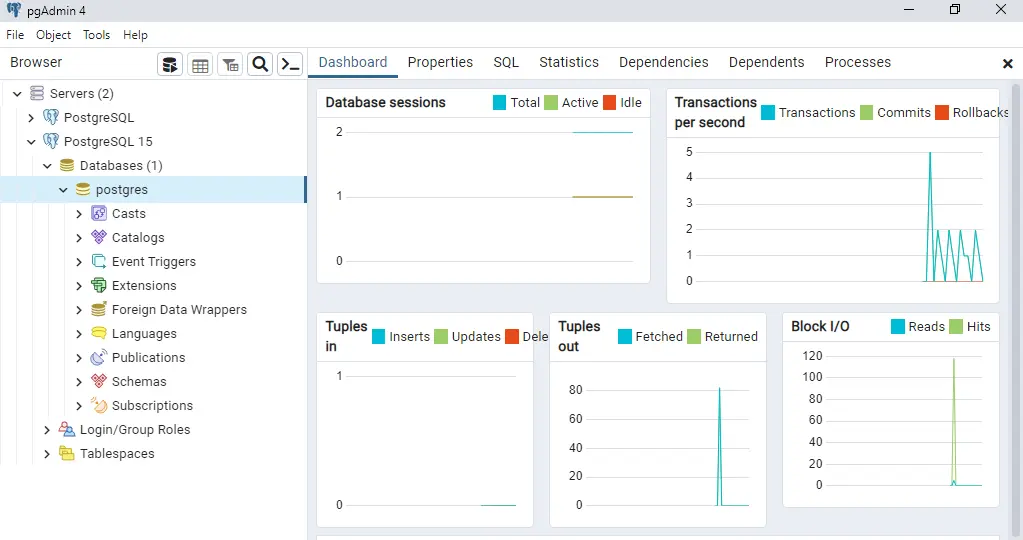
Expand the servers, and then expand the PostgreSQL icons. Click on the default Postgres database.
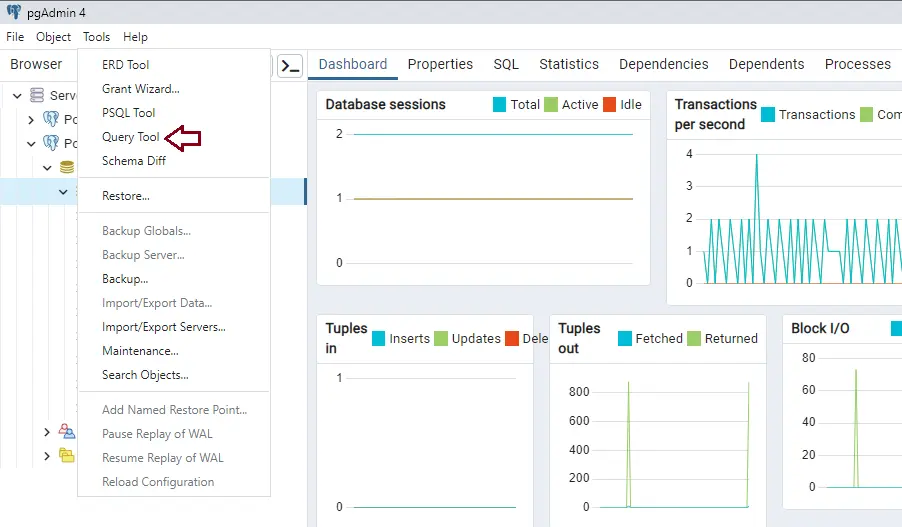
Click on the Tools menu, and click Query Tool to launch the query editor.
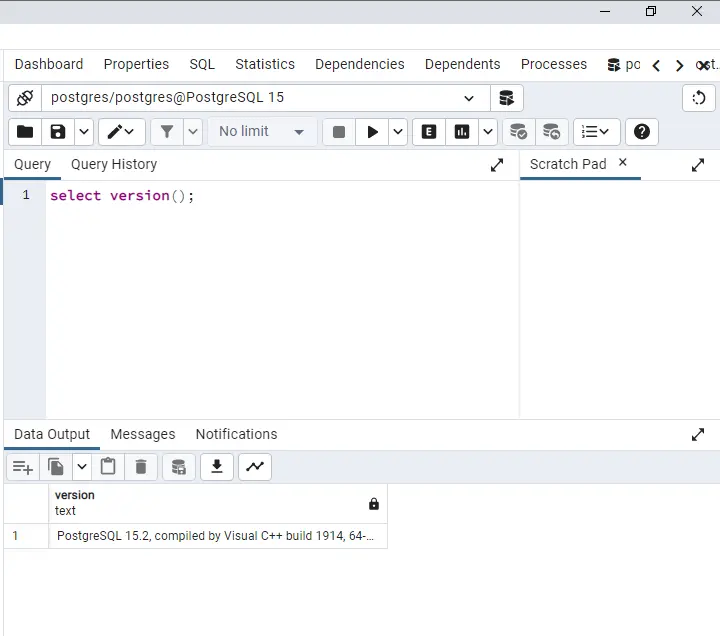
Verify your database in the query editor by typing the following command and then clicking on the Execute button.
select version();
If the PostgreSQL database is working fine, the current version of your database will appear in the Data Output window.
Refer to the PostgreSQL website to learn in detail about downloading and installing PostgreSQL.


