Hello, friends! Today we are going to discuss how to configure file witness server in exchange 2019. In this article, we will learn briefly about witness servers too. So, let’s get started. I will walk you through the installation of an Exchange Server 2019 database availability group. For this example, a DAG with two members on the same site is being created, with a third Windows server on the same site being used as the file share witness.
When we start creating a DAG, we need to specify a name for the DAG with no more than 15 characters that are unique within the Active Directory forest. In addition, every database availability group (DAG) is configured with a file witness server and witness directory. The witness server and witness directory are used only when there is an even number of members in the database availability group, and then only for quorum purposes. The witness directory should not be used for any object other than the DAG witness server.
Table of Contents
What is Witness server?
As you may know, the file witness server is used for high-availability groups and site flexibility in a Database Availability Group (DAG). It helps the Exchange server handle user requests in a DAG among nodes on two different Exchange servers. In a large organization, an Exchange server is installed in a DAG for high availability.
Configure File Witness Server in Exchange 2019
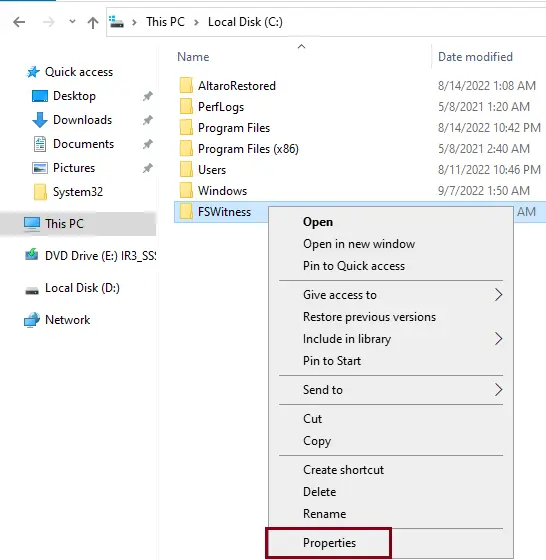
To set up and create a new witness server in Exchange 2019, there should be a shared folder related to it. Therefore, first, you need to create a shared folder. Just open the C: drive and then create a folder (name it FWServer).
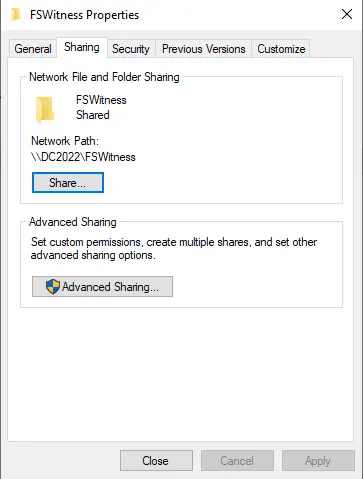
Then right-click and select the properties
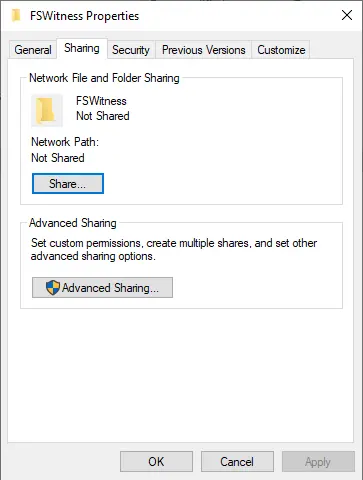
In the sharing tab, click on advanced sharing.
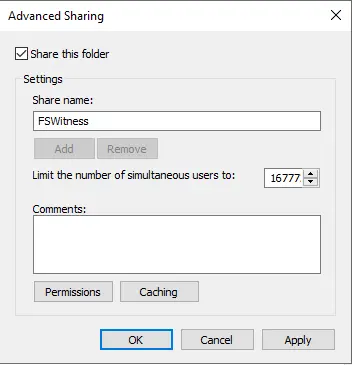
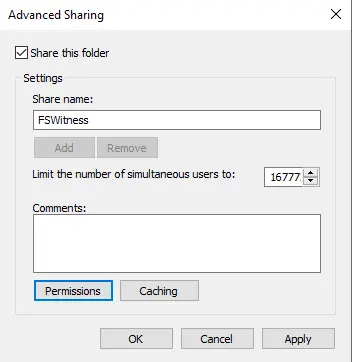
Choose Share this folder, and then click on the Permissions button.
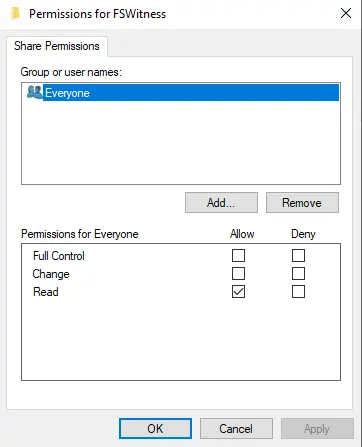
Remove everyone, and then click on the add button.
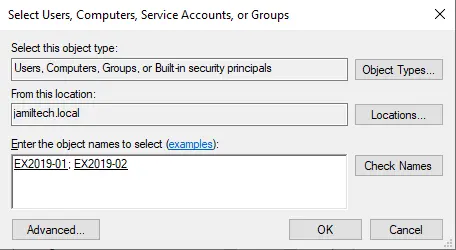
Select Object types
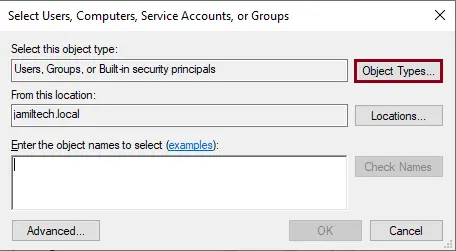
Choose the computer checkbox, and then click OK.
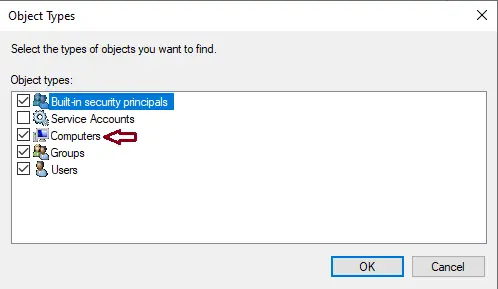
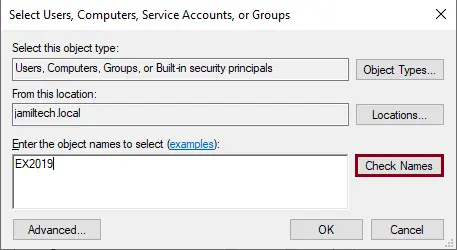
Enter your Exchange server name, and then select check names.
Select your Exchange servers, and then click OK.
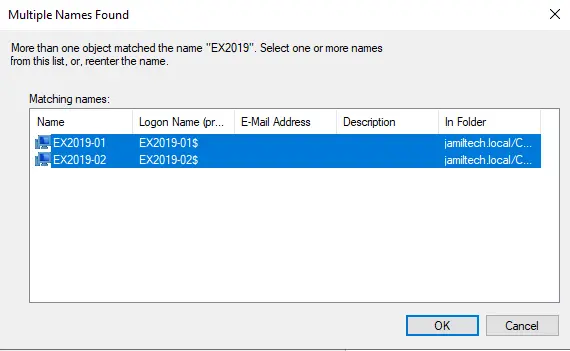
Click ok
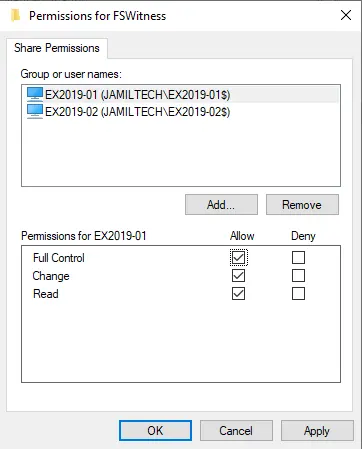
Choose full control permissions for both nodes, and then click OK.
Select ok
Select ok
After the creation of the shared folder (file share witness), go through the Exchange Admin Center, click on Servers, and then select the database availability groups tab. Now select the + sign and enter the new Database Availability Group Name, Witness Server, and location of the shared folder that you have created. To get more information about Witness Server, please visit Microsoft.
Related: How to Add Database Copy in Exchange 2019


