
This article will explain Android Studio setup configuration. This article explains additional configurations you can use to customize your use of Android Studio. After successfully completing the Installation of Android Studio, now is the time to run this tool on your computer to verify that the installation has worked. Click on the search bar, and then type Android Studio in the launcher bar. You will see the Android Studio App appear under the search bar.
Table of Contents
Android Studio Setup Configuration
Now we will need to set up the configuration of the Android Studio components in our system. When you click on the Android Studio shortcut, the following dialog will pop up on your desktop.
You will choose the Do not import settings option from the displaying dialog, and then click OK.
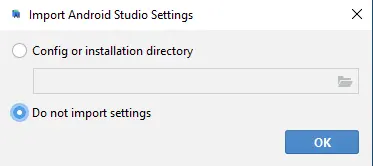
Once you select this option, the Android Studio will find all the important SDK components available.

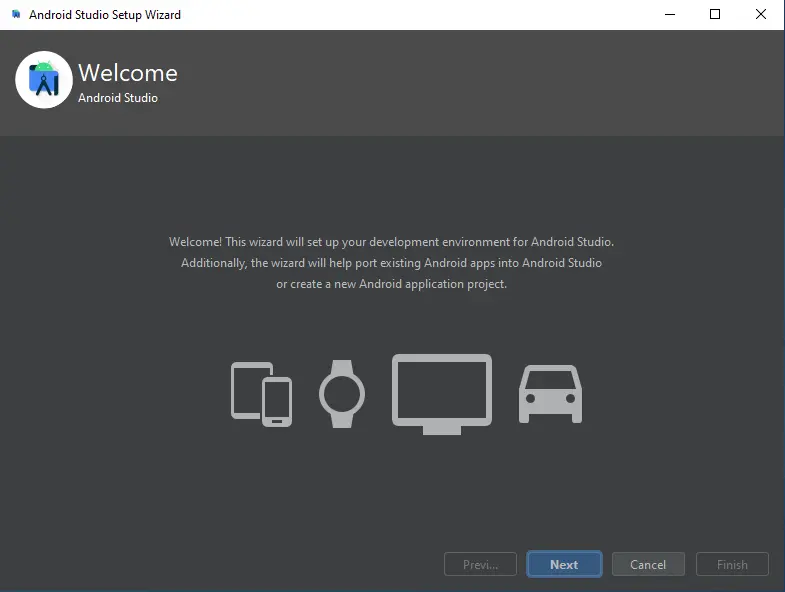
Now, the Android Studio Setup Wizard will pop up on your system. Click on the next option.
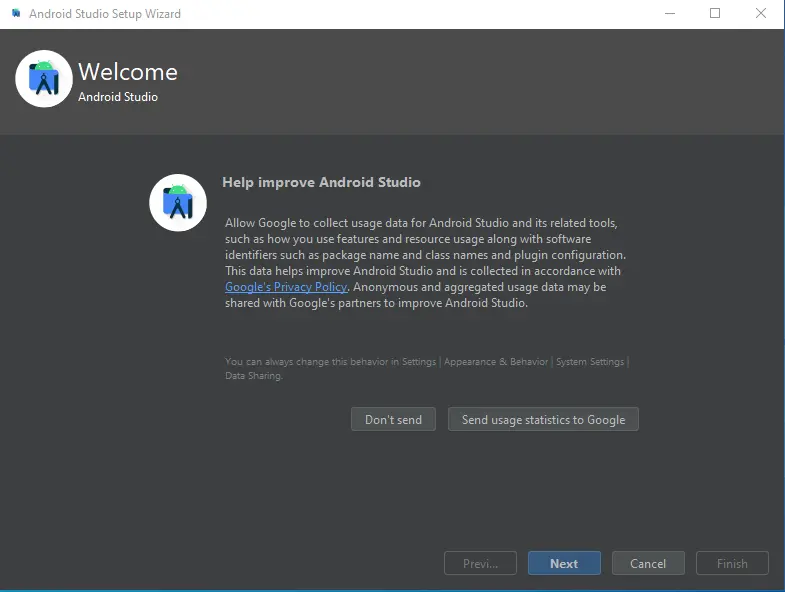
Click next.
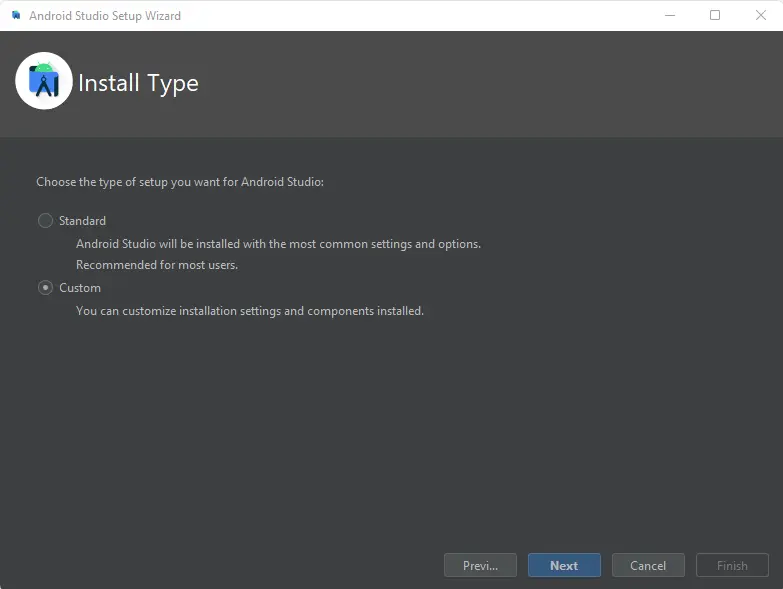
In the installation type dialog, you will have to select the custom type and then click next.
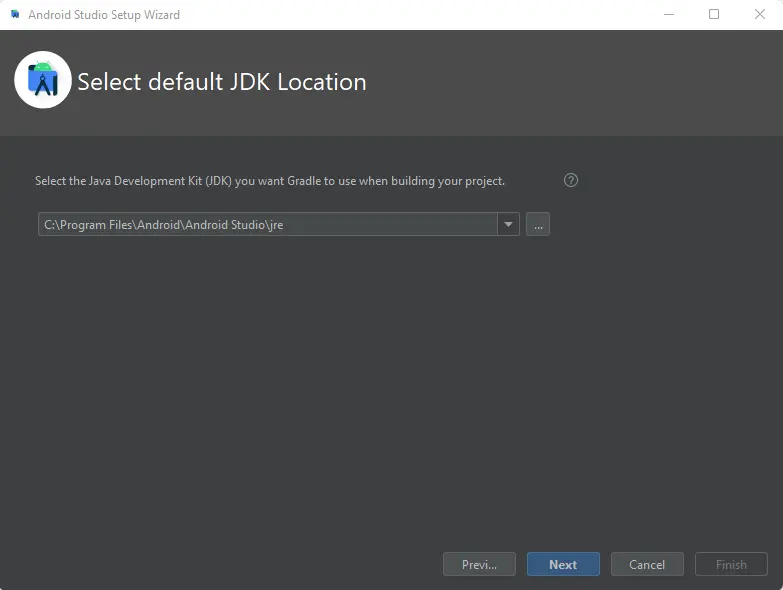
You can change the installation directory of JDK or leave it as it is, and then click next.
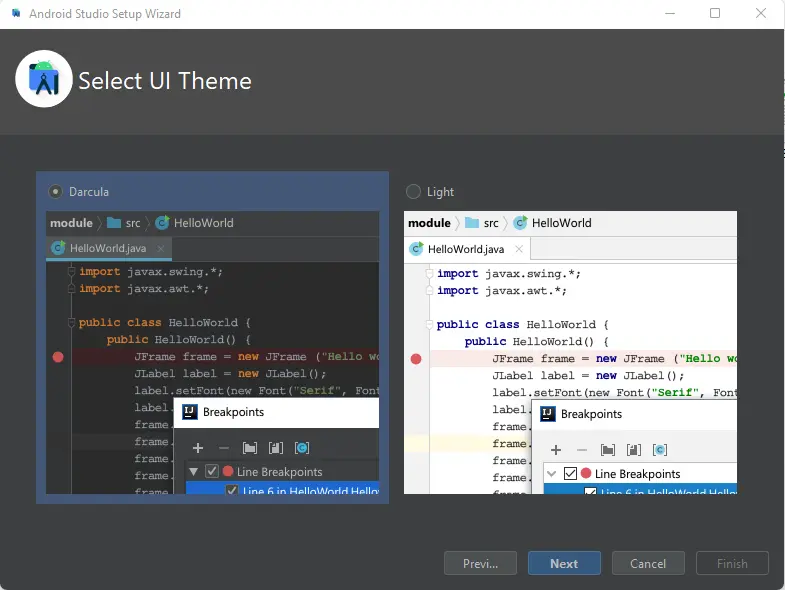
Next, you will need to select the user interface theme for your Android Studio. The popular theme among users is light.” It is up to you which one you would like; continue by clicking next.
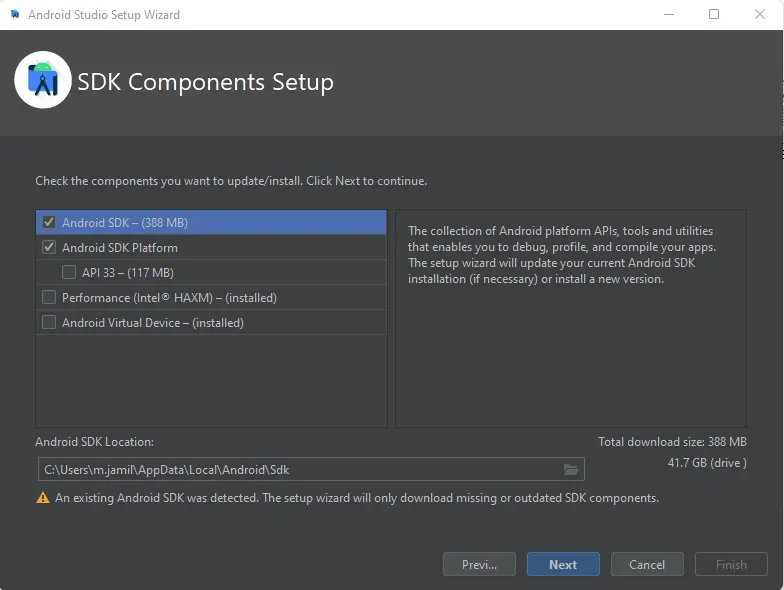
Configure Android Studio SDK Components Setup
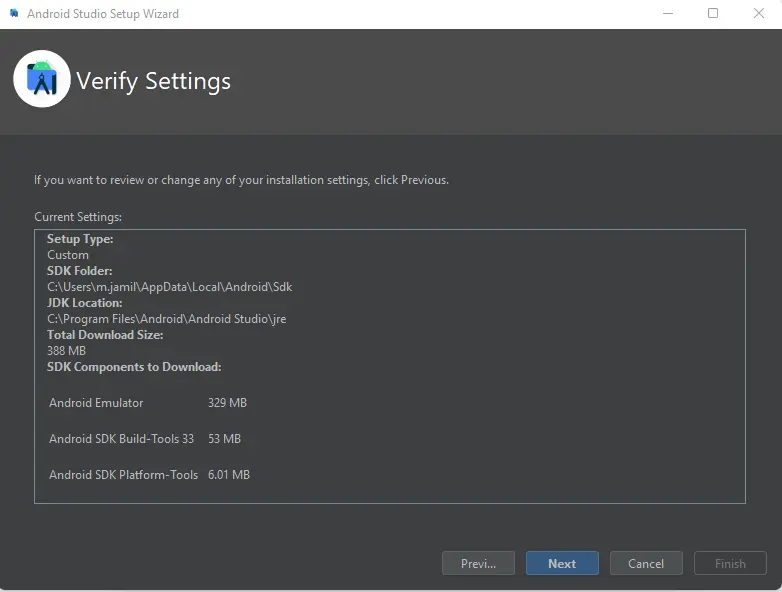
Here, you will have to verify or review the SDK component installation settings. Select the next button if you agree with the installation settings. Or else, select the previous button to change the installation settings.
In the next interface, the emulator settings will appear in the window. You are now at the end of the setup process, so you will click the next option.
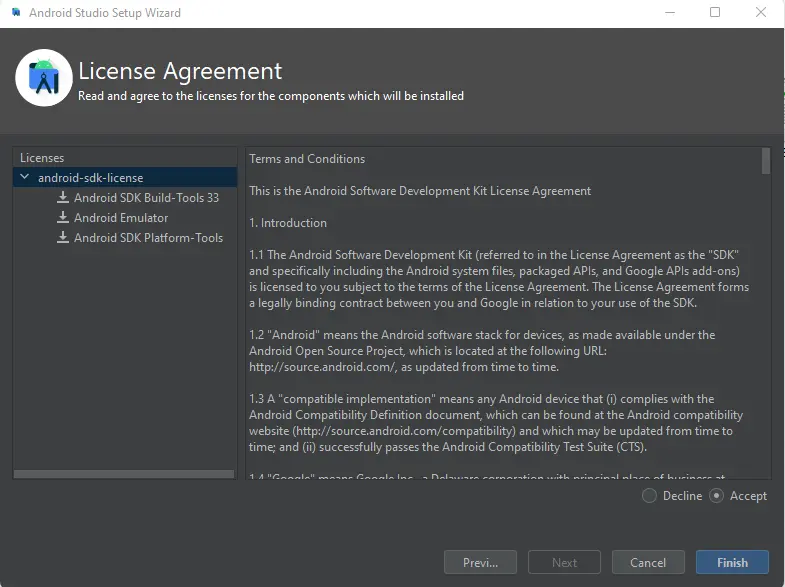
Accept the license agreement. In this interface, the Android emulator settings will appear. Click the Finish button.
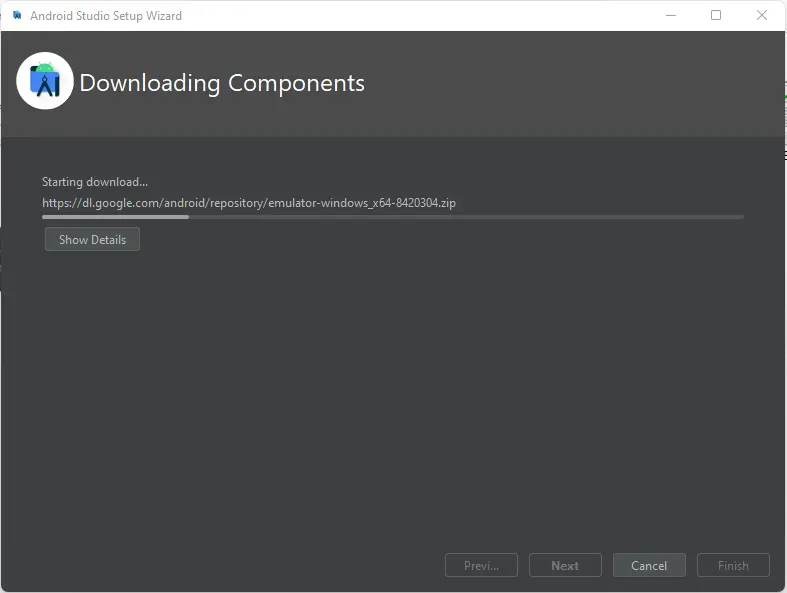
All the necessary Android Studio components will start to download on your computer.
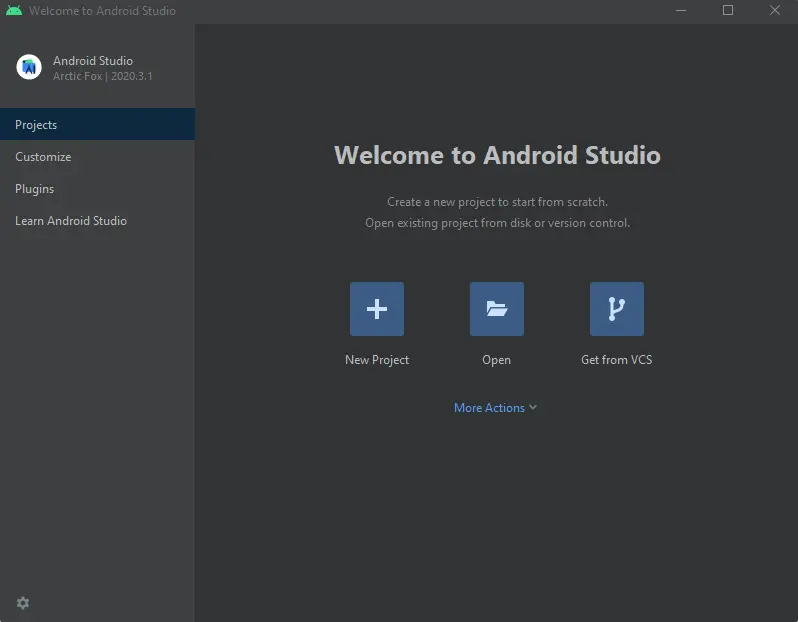
After the download process is completed, In the next article, I will show you how to create a new project in Android Studio.
For more details, please visit the Android Studio Website
