
In the article, we will walk you through the steps on how to configure iSCSI storage on the server to connect to VMware. You must have a central storage like SAN in order to perform with the VMware advanced features like FT, HA, vMotion, etc., but that isn’t always possible for lab or evaluation. In my previous article, I showed you how to deploy VMware vCenter 8.0. In this article, we will show you how to use the Windows server 2022 ISCSI solution as shared storage for VMware. The iSCSI Target setup takes a look into Microsoft iSCSI Solution. Read this article for more detail.
If the VMware ESXi Host datastore is running out of storage, then there is nothing to worry about since you have the provision option, which will help to add a new datastore in vCenter, increase the storage size, and also expand the VMFS datastore capacity.
Table of Contents
Let’s Get Started
Set up software iSCSI storage and then mount the datastore on the ESXi server. To create an iSCSI target server, we need to enable the iSCSI server role.
Enable iSCSI Target Server Role
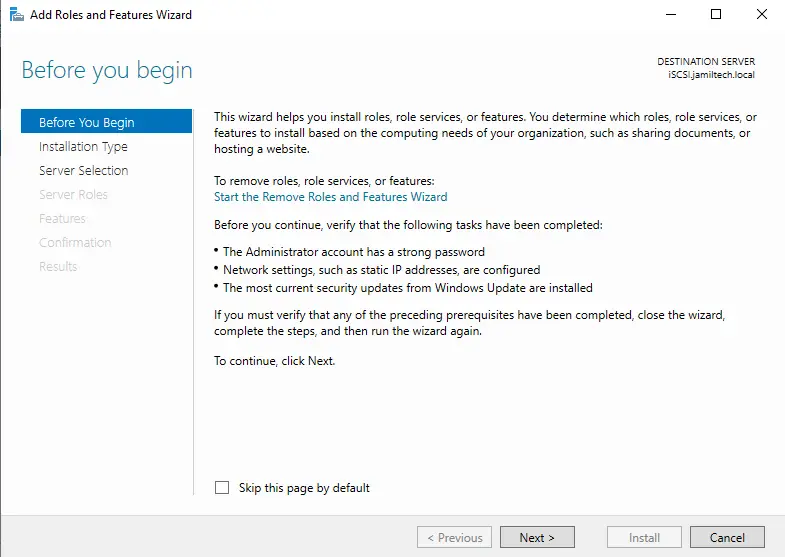
Open Server Manager 2022 and then choose Add Roles and Features.

Click next
Choose Role-based or feature-based installation, and then choose next.
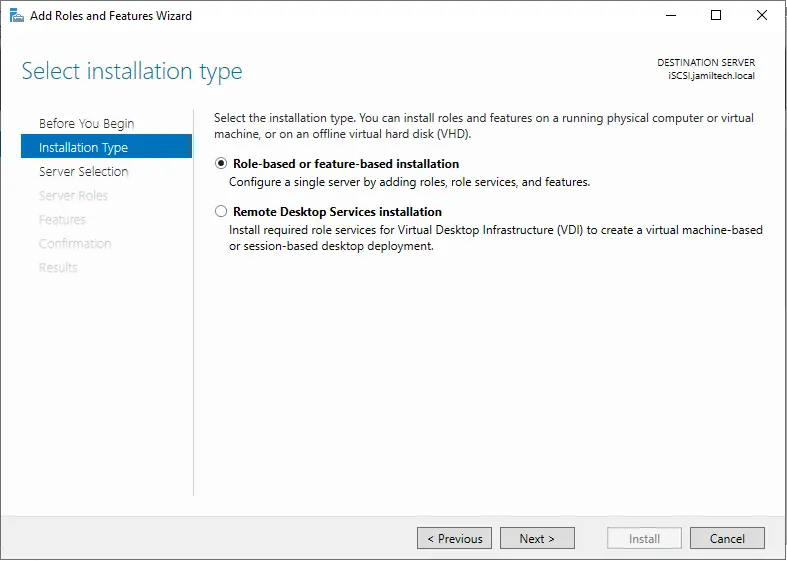
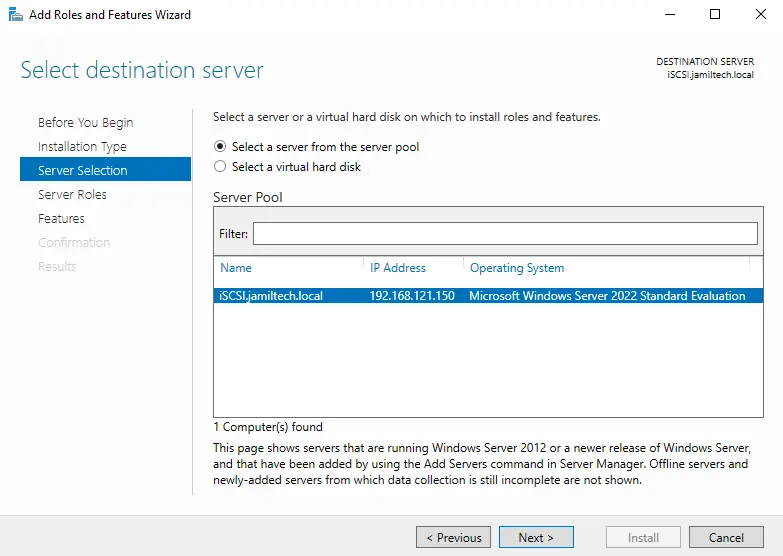
Click next
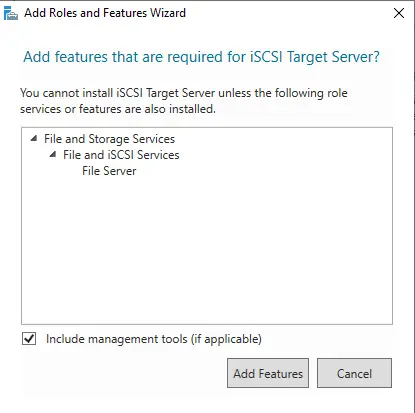
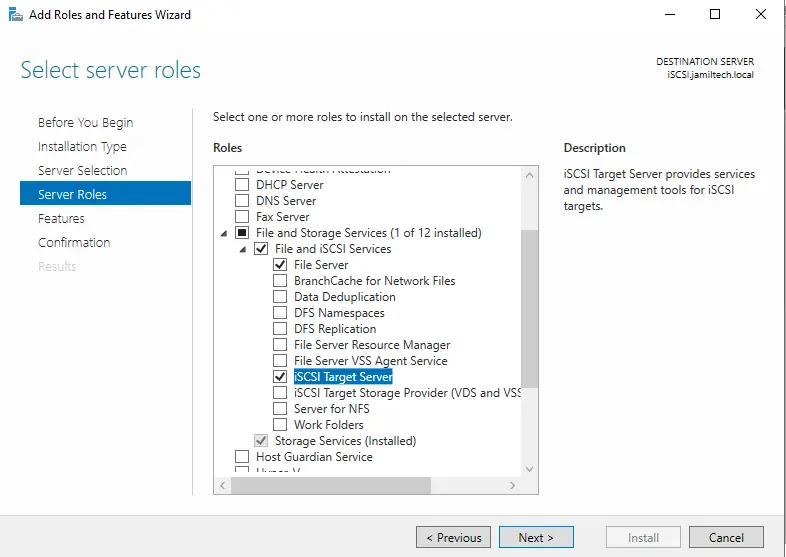
Here, we need to enable the iSCSI target services. Expand the file and storage services option, and then file and iSCSI.
Select the box iSCSI Target Server.

Click on Add Features.
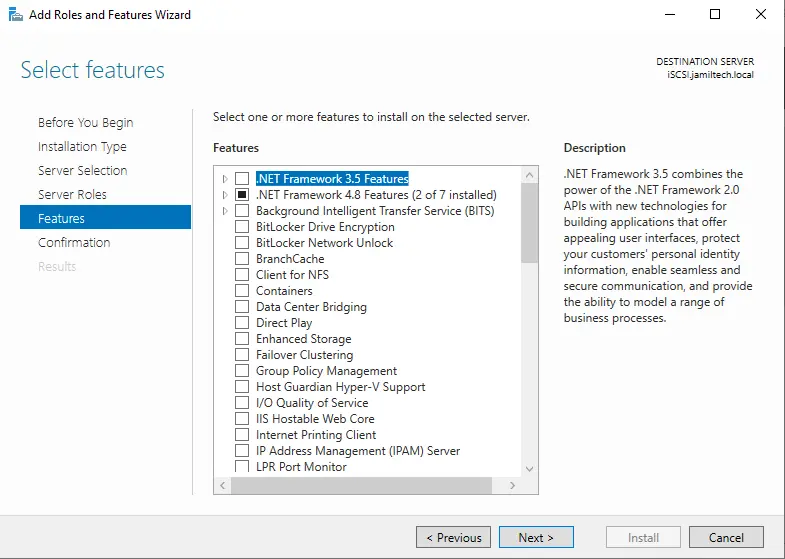
Select next
Click next
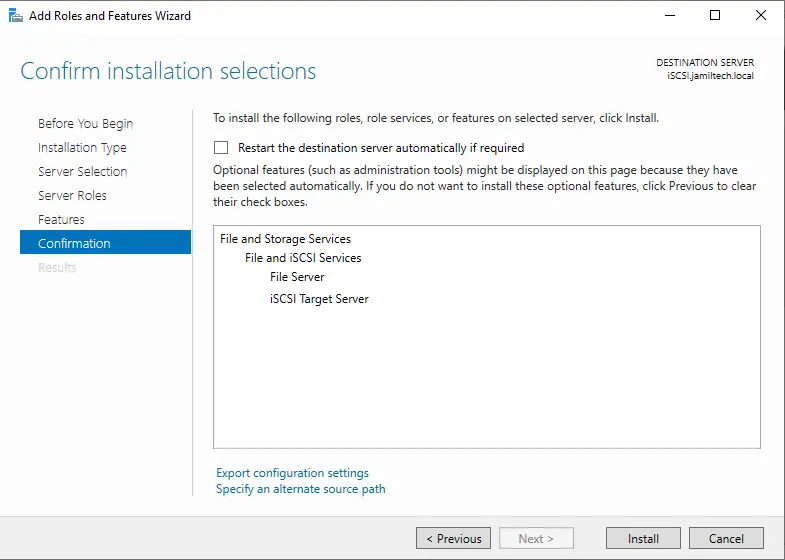
Select install
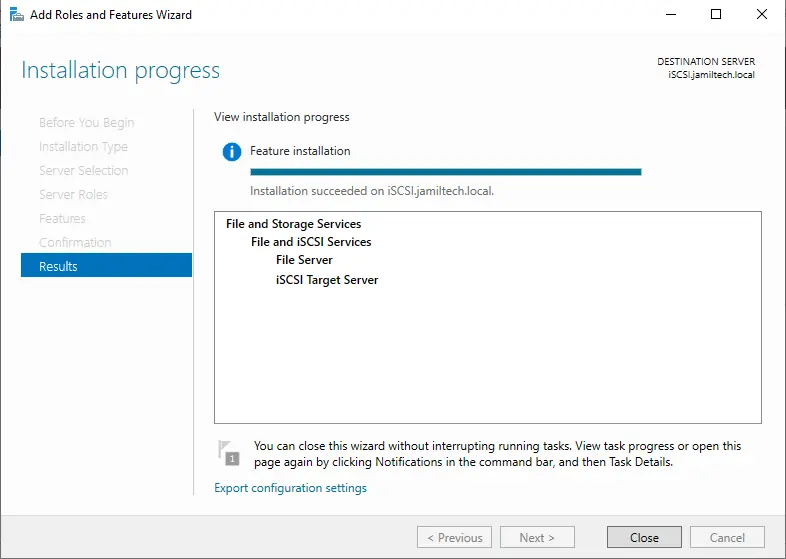
iSCSI target installation is completed; choose close.
Configure iSCSI Storage Server
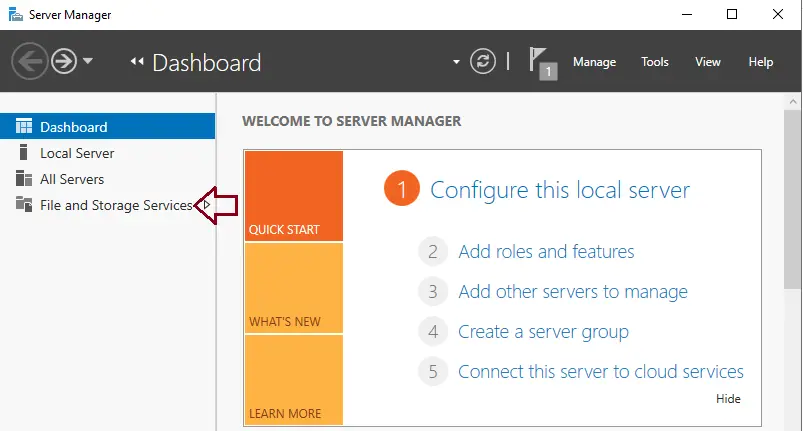
Click on File and Storage Services.
Creating iSCSI Virtual disks
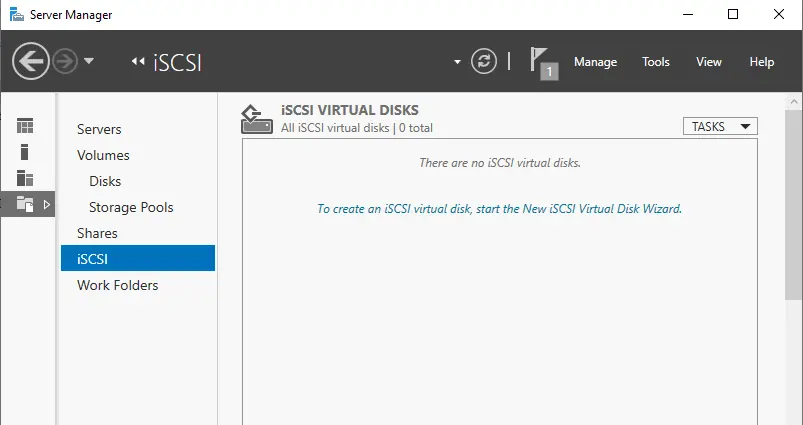
Choose the iSCSI tab, and then on to create an iSCSI virtual disk.
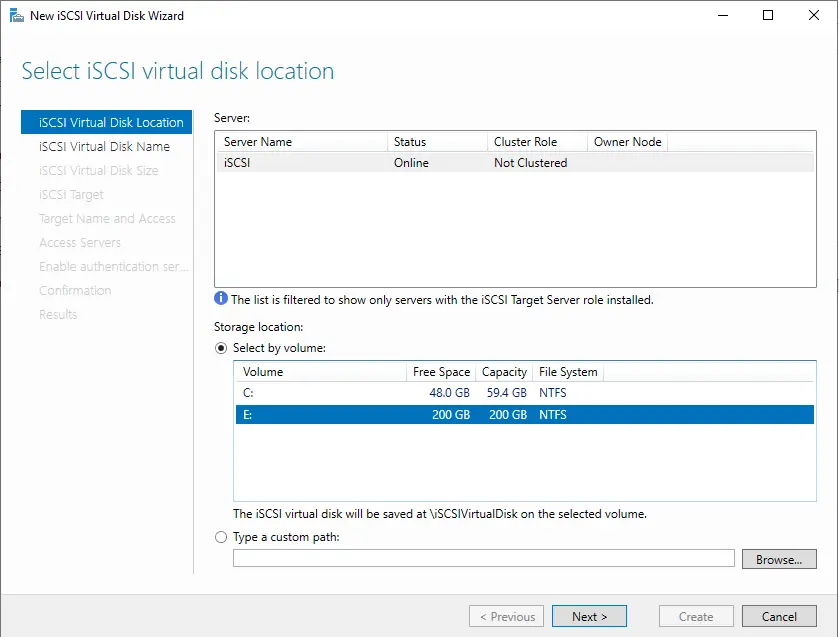
In the Select by Volume box, you can type the custom path. We will create a virtual disk on the E volume. Click next
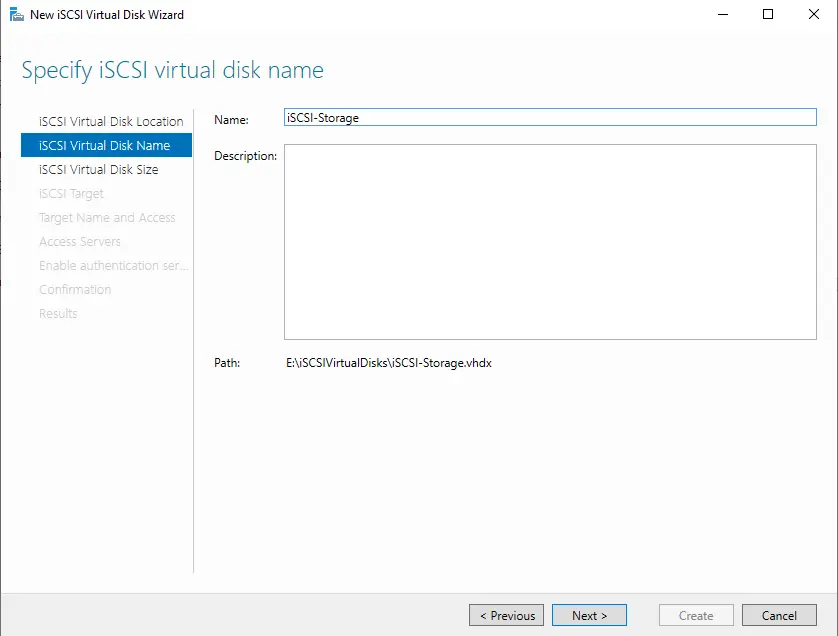
Specify iSCSI virtual disk name and description, and then click on Next.
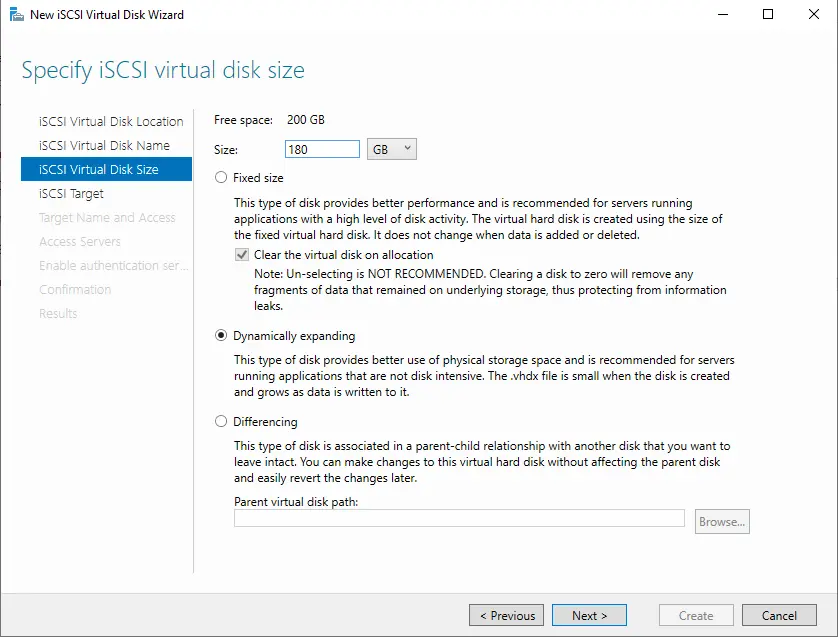
Specify iSCSI virtual disk size, type the storage size, choose Dynamically expanding, and then choose next.
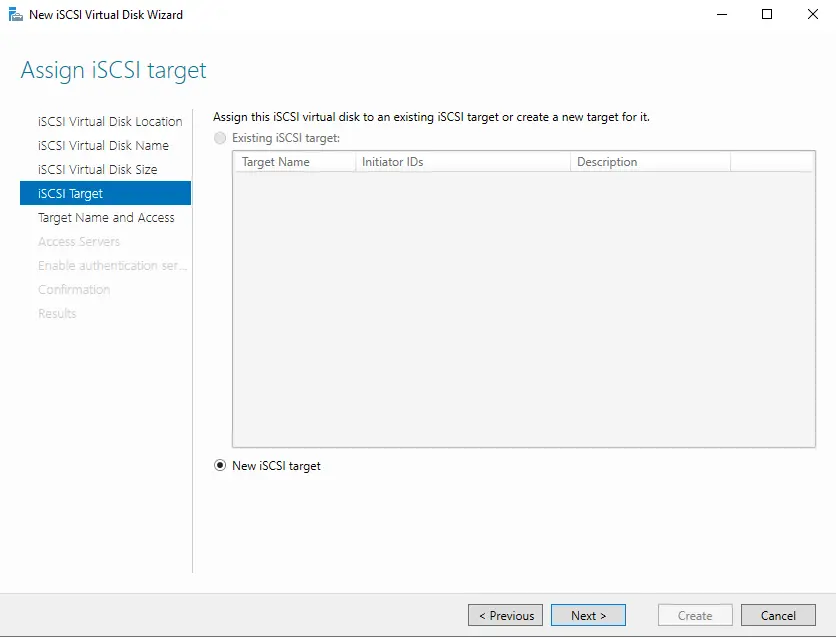
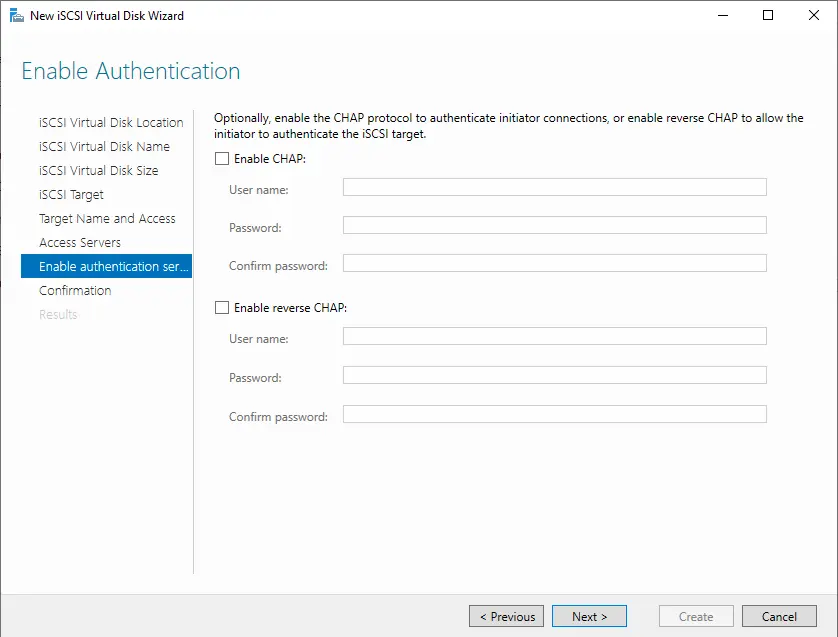
Choose the “New iSCSI target” box, and then choose next.
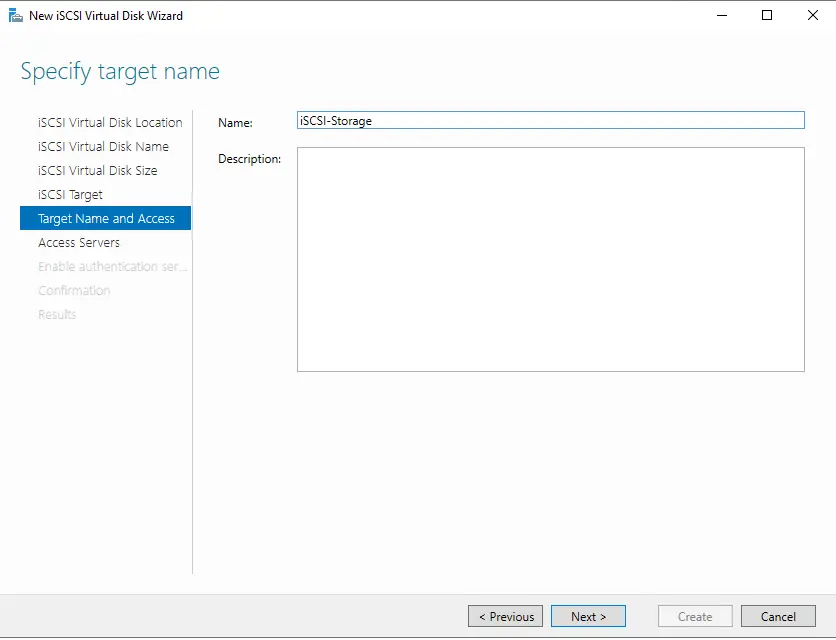
Type the iSCSI storage name, and then click on Next.
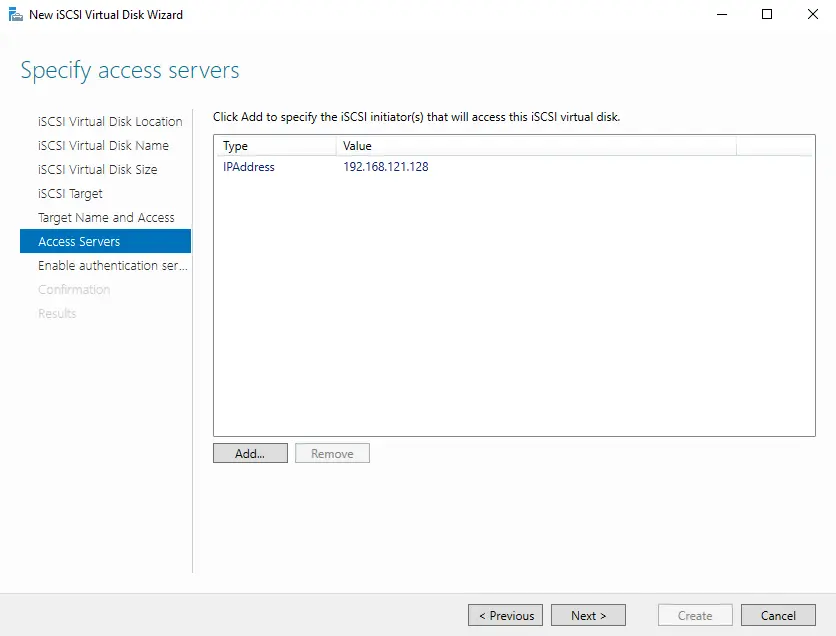
To add access servers (VMware ESXi), choose the Add button.
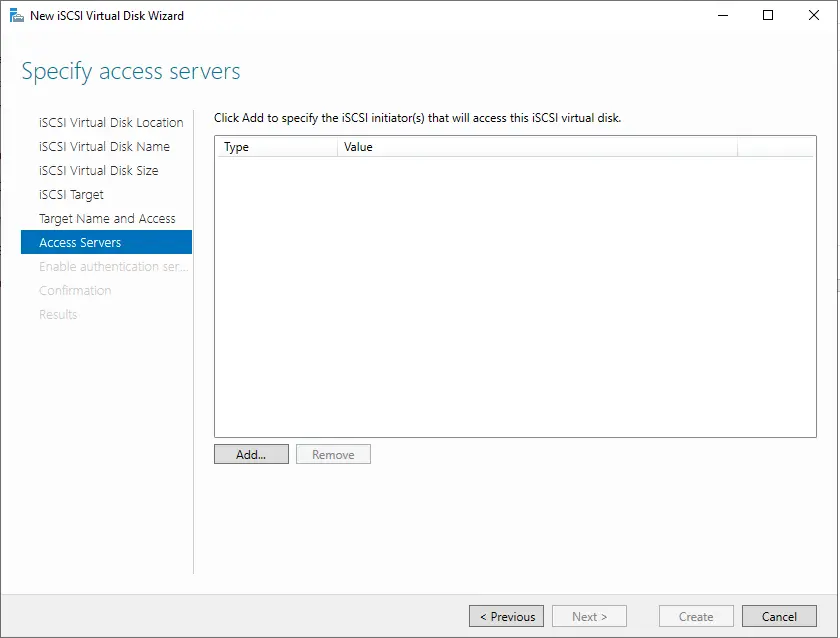
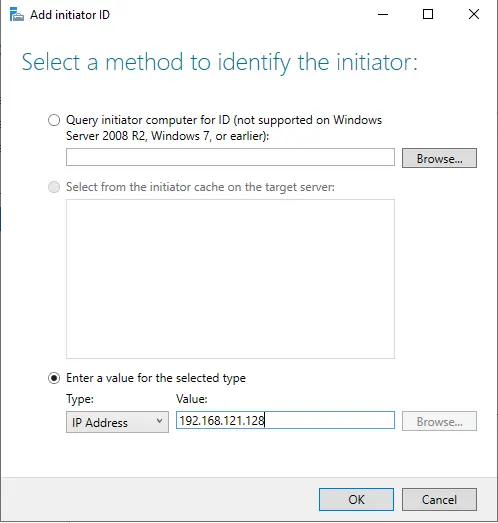
Tick the box and enter a value for the selected type.
Select the type of IP address and then enter your ESXi host IP address. Click ok
Click again on the add button to add more ESXi servers if you have any.
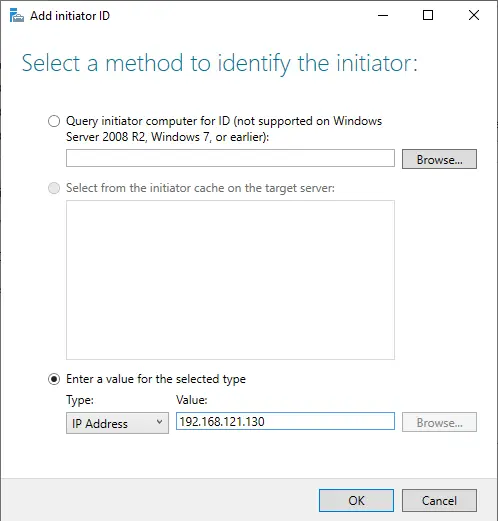
Enter the second ESXi server IP address, and then click OK.
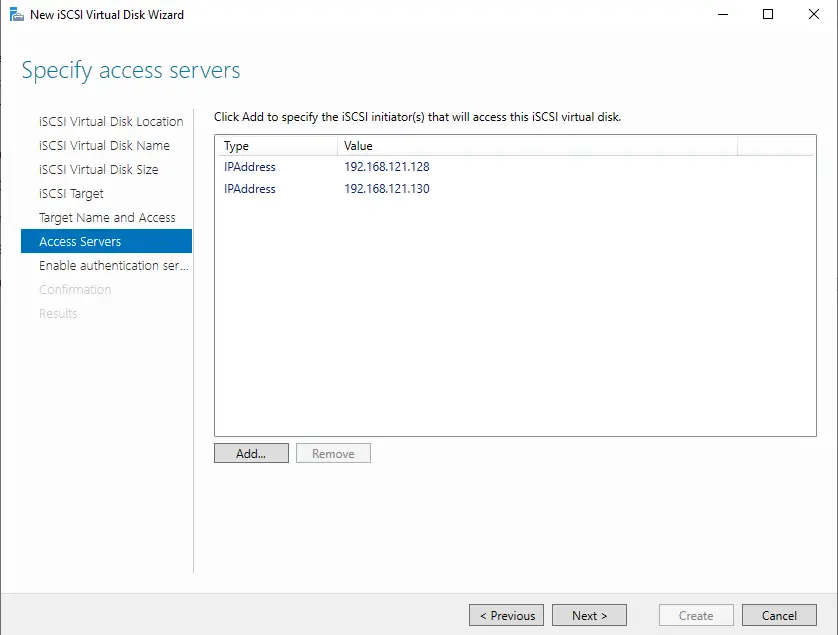
Click next
Choose Next
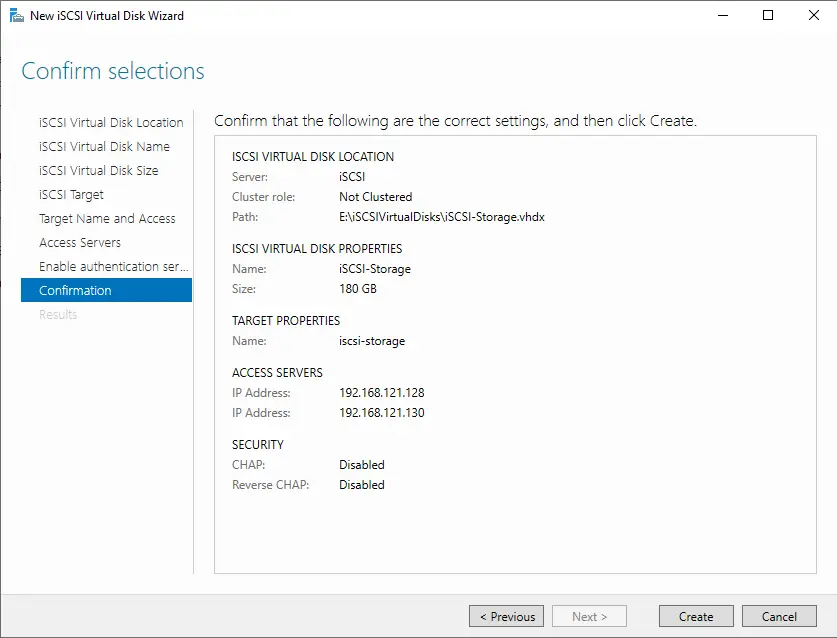
Select Create to create iSCSI storage.
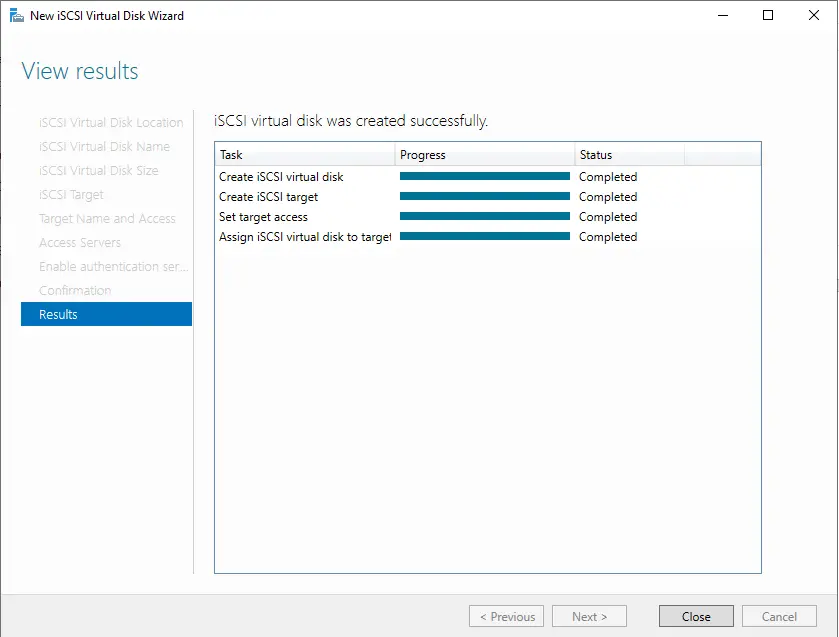
The disk has been created successfully. Click close
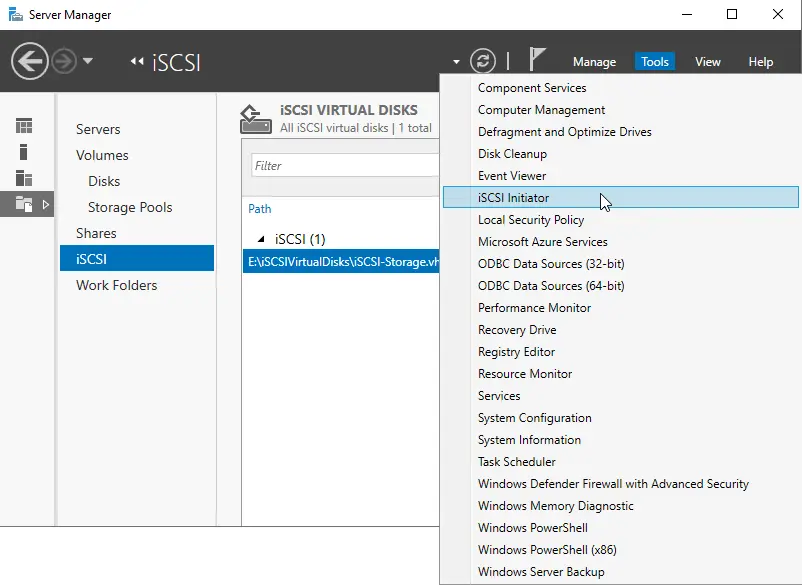
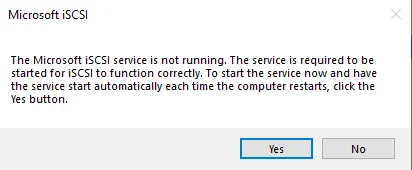
Click on Tools and then iSCSI Initiator.
Select ok
Summary
In this article, we have explained how to enable and configure the iSCSI storage server on Windows Server 2022. Follow this article on how to Connect the iSCSI storage in VMware vCenter as a datastore.
