
In this article, you will learn how to configure Outlook Web App in the Exchange Server 2019 account manually. Outlook Web App on the web is a browser-based e-mail client for users to access email, calendars, tasks, and contacts.
The user interfaces in Outlook on the web (before known as Outlook Web Access) for Exchange Server have been improved and simplified for use with phones and tablets. The supported web browsers allow users access to more Outlook features. The unsupported web browsers allow users to use the light version of Outlook on the web, which has fewer features. Visit this article to get more information.
Outlook Web Access is an entire-featured, web-based e-mail client with the look and feel of the Outlook client. With the OWA, users can access their mailboxes from each Internet connection, regardless of whether or not the device is equipped with Outlook.
Table of Contents
To set up Outlook Web App to access your Exchange Server, follow the below steps.
Access Outlook Web App (OWA)
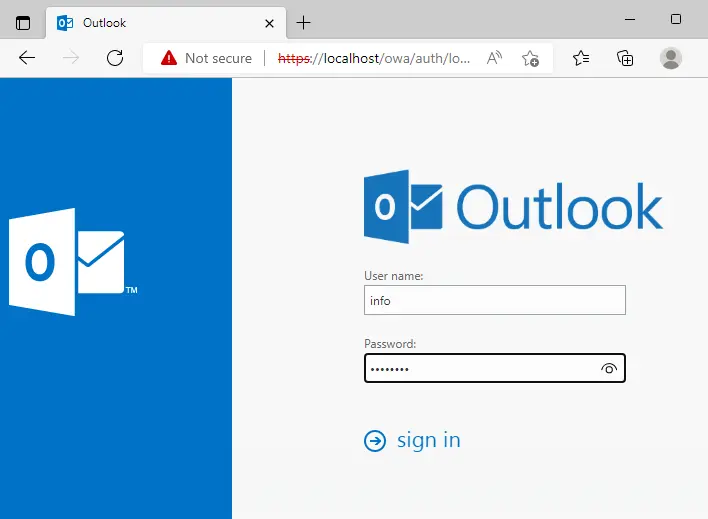
You can access Outlook Web App at https://localhost/owa/ or https://mail.jamiltech.com/owa/
Open any web browser, such as Chrome, Edge, etc. Explorer, enter your Outlook Web App address in the browser address bar, and then hit enter.
If you receive the browser certificate warning message, select Continue to this website (not recommended) to continue to launch the Outlook Web App.
Type the full email address in the “Email address” text box, and then type the password you selected when you created the mailbox in the Password field. If you forget your password, you can change it within your fascistic control panel.
Configure Outlook Web App
On the Outlook Web App sign-in window, enter your username and password, and then click sign in.
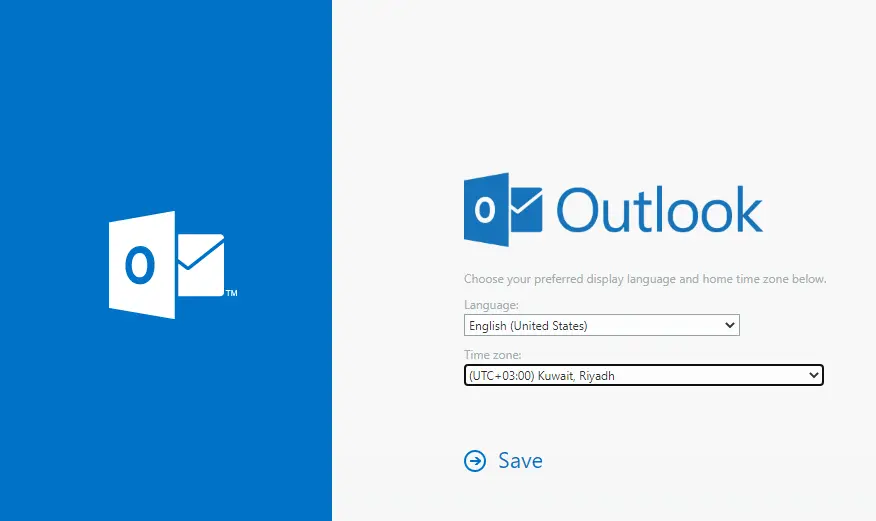
Select your language and time zone, and then click save.
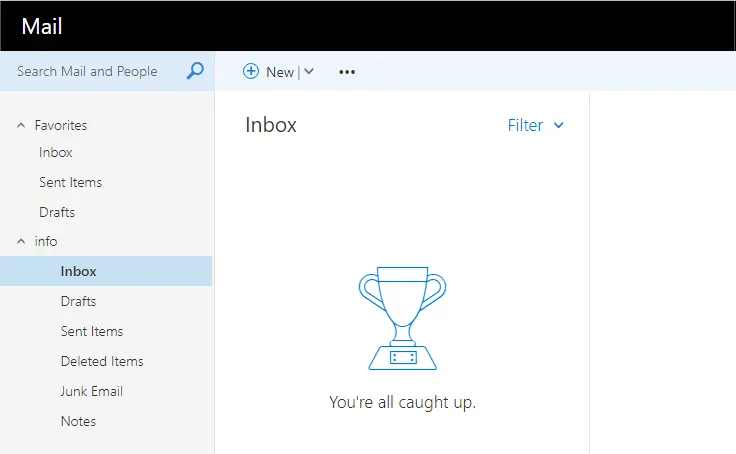
Click on the + New tab for the new email.
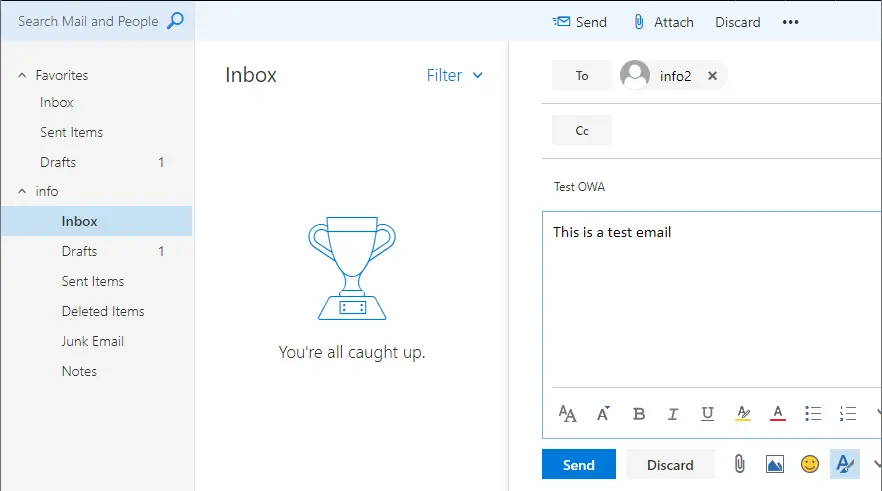
Enter the receiver’s email, type the subject and description, and then click send.
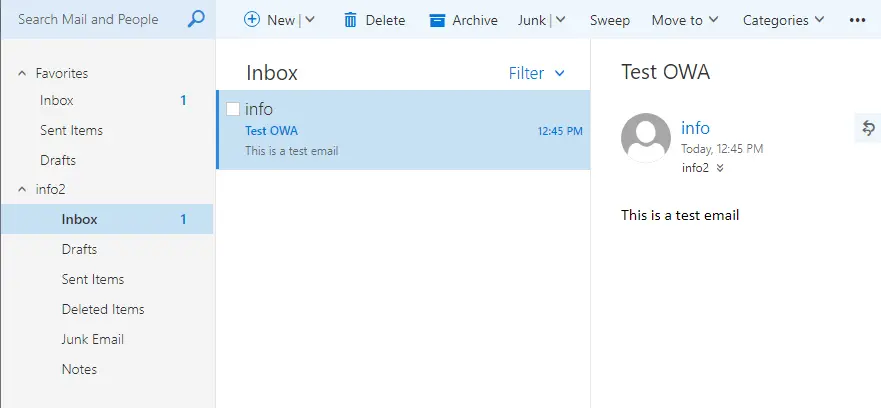
Check received email
If you want to reply to this email, then click reply.
Related: Configure Outlook Anywhere in Exchange Server 2019

