In this guide, we will walk through the steps for configuring Microsoft System Center Virtual Machine Manager (VMM) after installing SQL Server. Once your SCVMM server is restarted, locate the Configure VMM shortcut icon on the server desktop and double-click it to initiate the configuration process. You can refer to the official Microsoft documentation for additional details.
Table of Contents
Step 1: Start the VMM Configuration
- Launch the Configuration:
- Double-click the Configure VMM shortcut on your desktop.
- Setup Wizard:
- The Microsoft System Center 2022 Virtual Machine Manager Setup wizard will appear. Enter the required product registration information, including your name, organization, and the System Center Virtual Machine Manager license key.
- Click Next.
- Accept the License Terms:
- Review and accept the license agreement, then click Next.
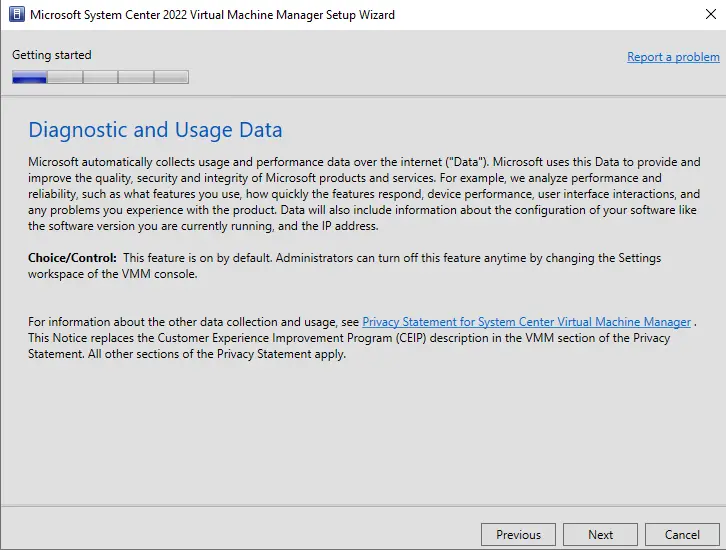
- Diagnostics and Usage Data:
- On the SCVMM Diagnostics and Usage Data page, review the information and click Next.
- Microsoft Updates:
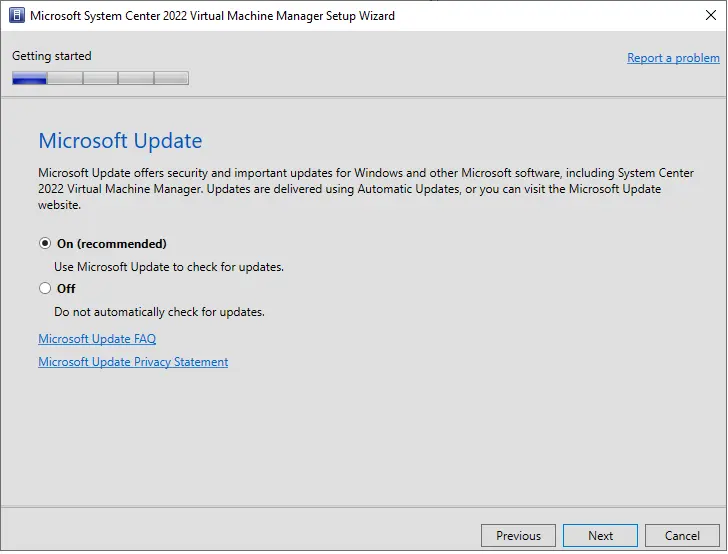
It is recommended to enable Microsoft Update to keep your system patched with the latest updates. Select your preference and click Next.
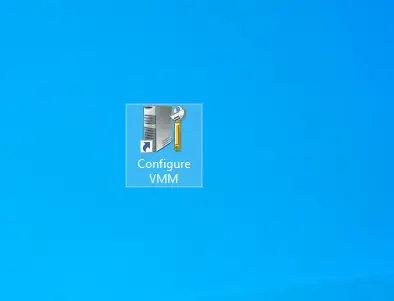
The Microsoft System Centre 2022 Virtual Machine Manager Setup wizard page. Enter product registration information, name, organization, and your system center virtual machine manager license key, and then click next.
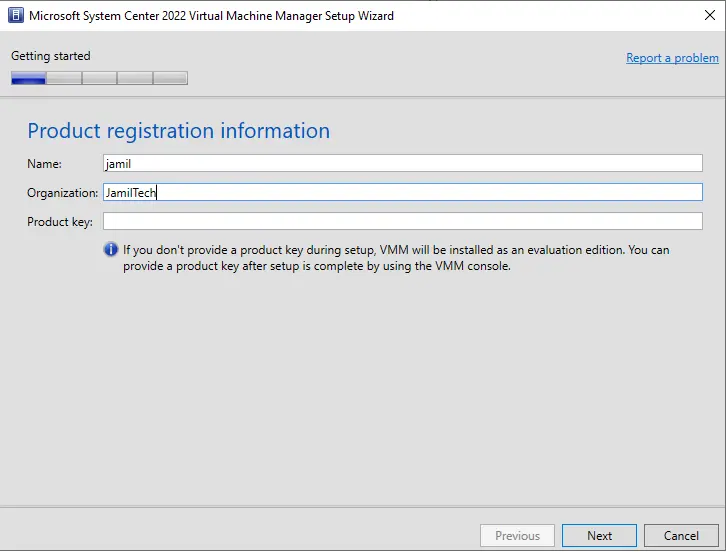
Accept the license terms, and then choose next.
SCVMM Diagnostics and Usage Data page. Please read through this and then click on the next.
Step 2: Configure the Virtual Machine Manager Database
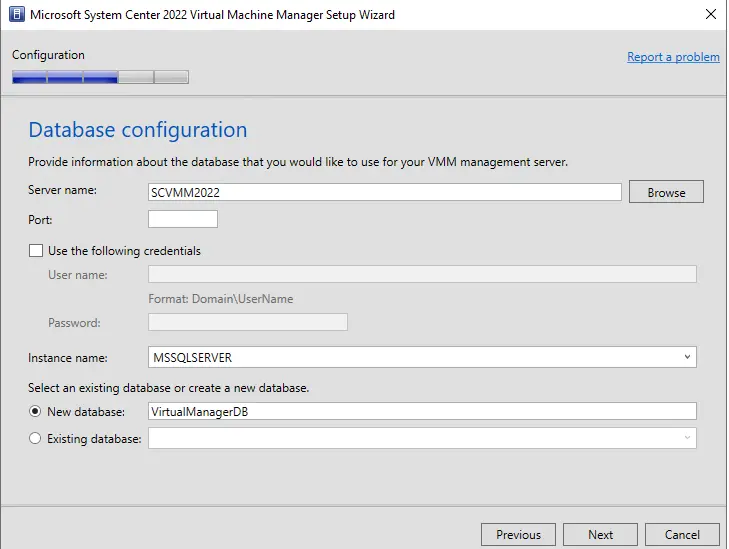
- Database Information:
- Provide the necessary details about the database that will be used by the Virtual Machine Manager.
- Click Next.
Provide information about the database you need to use for your virtual machine manager, and then click next.
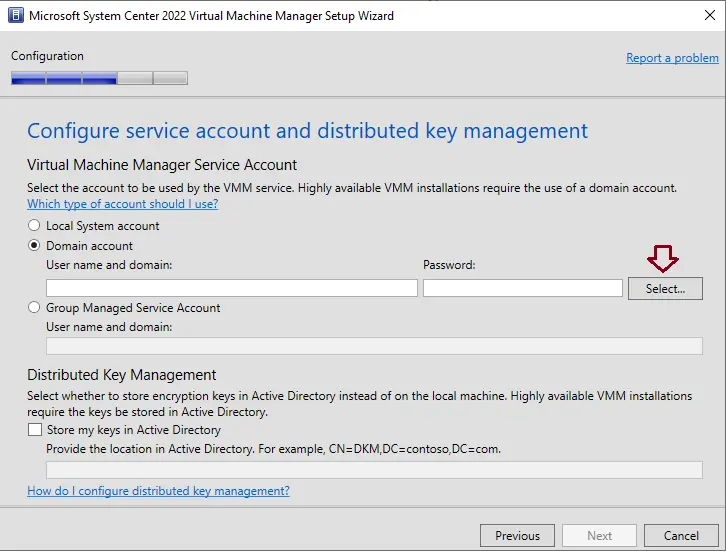
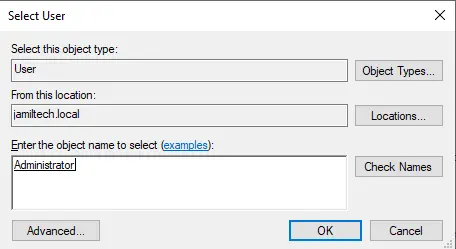
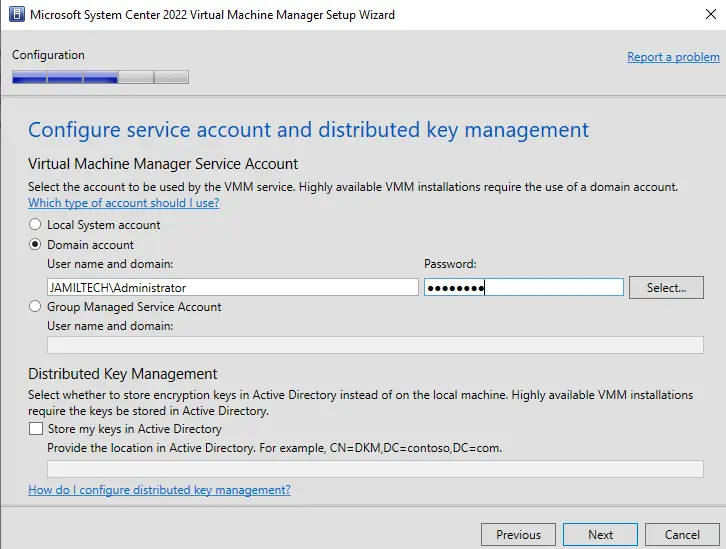
Configure service accounts and distribute key management. Select whether you need a local account or a domain admin, and click on select.
Step 3: Configure Service Accounts
- Service Accounts:
- Choose whether to use a local account or a domain admin account for your Virtual Machine Manager service. Click Select to enter the account details.
- Enter Account Name:
- Specify the account name and click OK.
- Proceed to the Next Step:
- Once the account is configured, click Next.
Step 4: Configure the Virtual Machine Manager Library
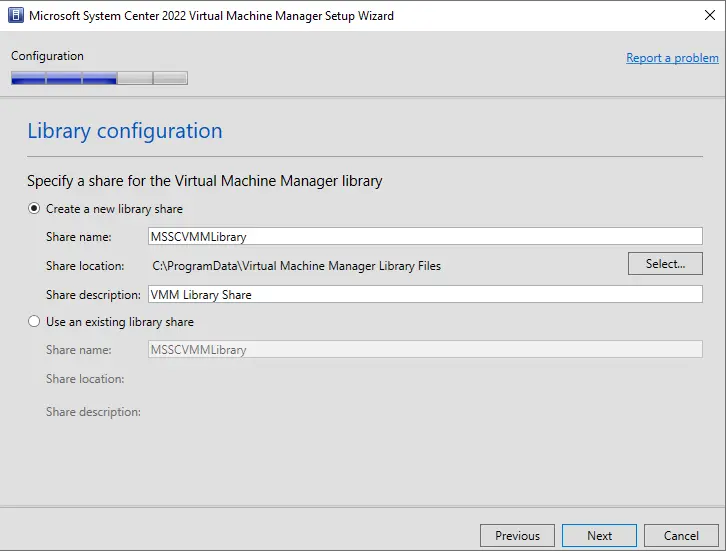
- Library Configuration:
- You can either create a new library share or use an existing one. For a new installation, the default settings will suffice.
- Click Next to proceed.
Select next
Specify a share for the virtual machine manager library. You can create a new library or go with an existing library share. I am leaving its default settings as it is a new install of SCVMM. Click next to proceed.
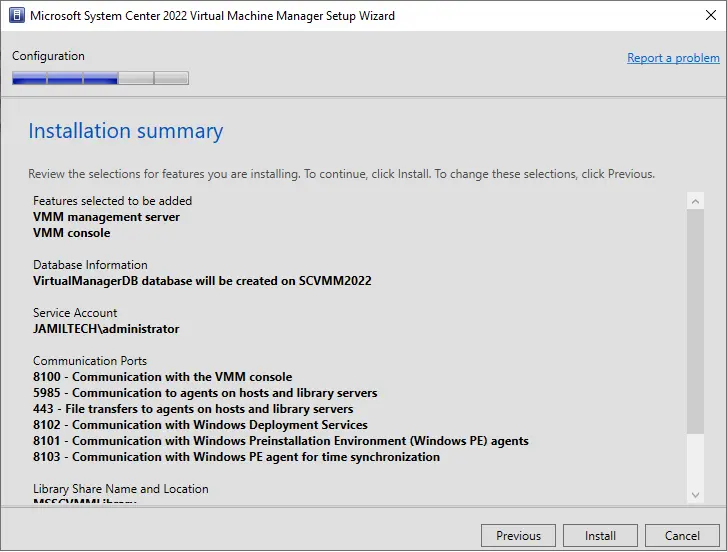
Review the selections for features you are installing, and then choose install.
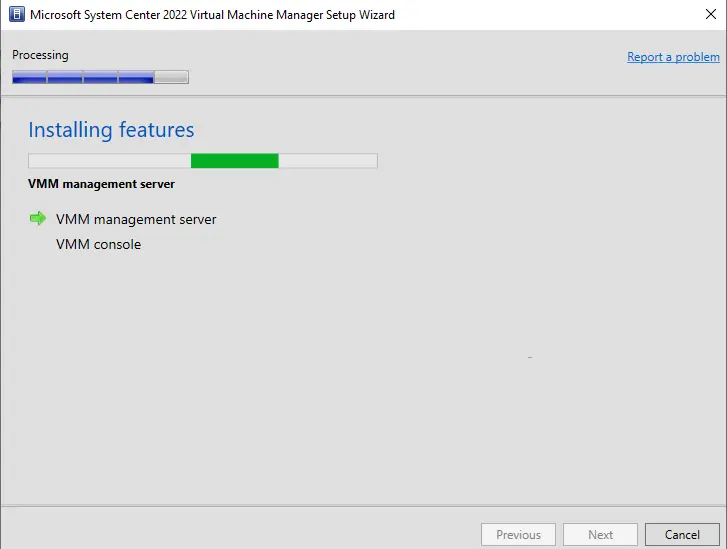
The Microsoft System Center 2022 virtual machine manager setup installing features.
Step 5: Review and Install
- Review Installation Choices:
- Before proceeding, review the selected features and configurations.
- Once confirmed, click Install.
- Installing Features:
- The Microsoft System Center 2022 Virtual Machine Manager Setup will begin installing the selected features.
- Setup Completed:
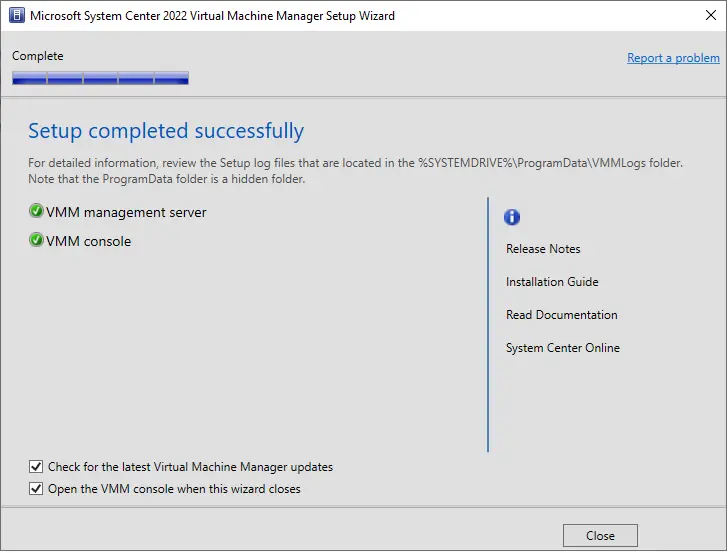
- Once the setup is completed successfully, you will be prompted to check for the latest Virtual Machine Manager updates. Tick the box if you want to do so and click Close.
Step 6: Connect to SCVMM
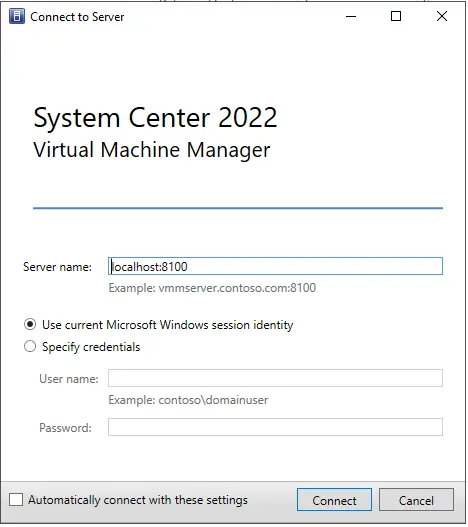
- Connect to Server:
- Open the SCVMM console and click Connect.
- VMM Interface:
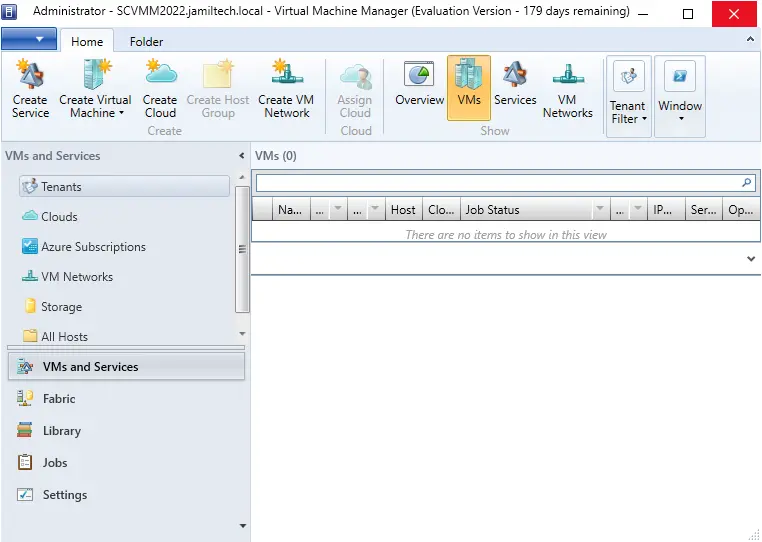
- You should now be connected to the Virtual Machine Manager interface.
Connect to server SCVMM, and click on connect.
Virtual machine manager interface
Conclusion
In this article, we successfully configured Microsoft System Center Virtual Machine Manager (VMM). The next steps include adding your Hyper-V hosts, which will be covered in a follow-up article.

