In this article, we will teach you how to convert physical machine to Hyper-V using MVMC. The Microsoft Virtual Machine Converter v3.1 tool is developed by Microsoft and is used to convert a physical computer and VMware virtual machines, including all the disks, to a Hyper-V virtual machine.
Table of Contents
Download Microsoft Virtual Machine Converter 3.1
You can download the Microsoft Virtual Machine Converter 3.1 tool by clicking here.
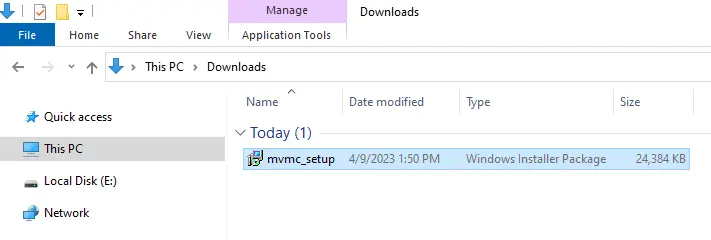
After downloading, go to the downloaded folder and then double-click to run mvmc_setup to start the installation.
Welcome to the Microsoft Virtual Machine Converter Setup wizard. Choose next.
Accept the end user license agreement and then choose next.
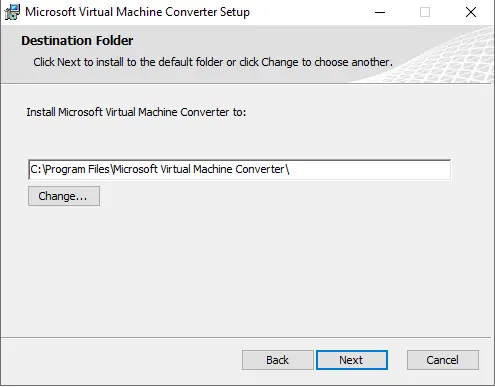
Choose a destination folder for the installation, and then choose Next.
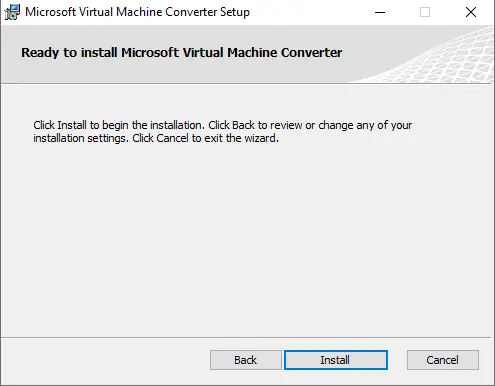
Ready to install the Microsoft virtual machine converter? Click on install.
When you successfully complete the MVMC installation, choose the finish.
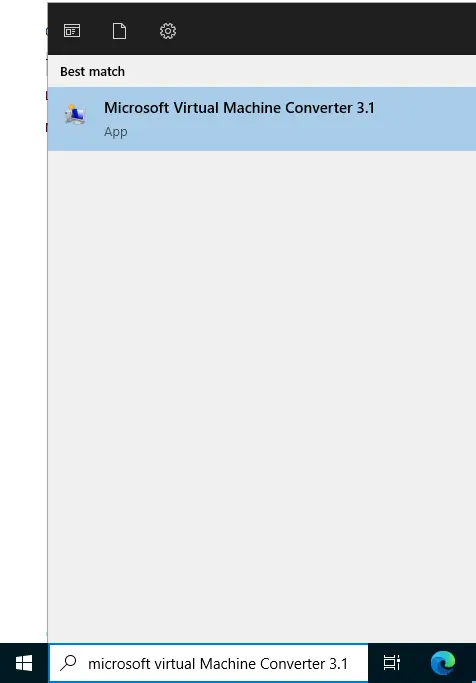
Search for Microsoft Virtual Machine Converter and then open it.
Convert Physical Machine to Hyper-V
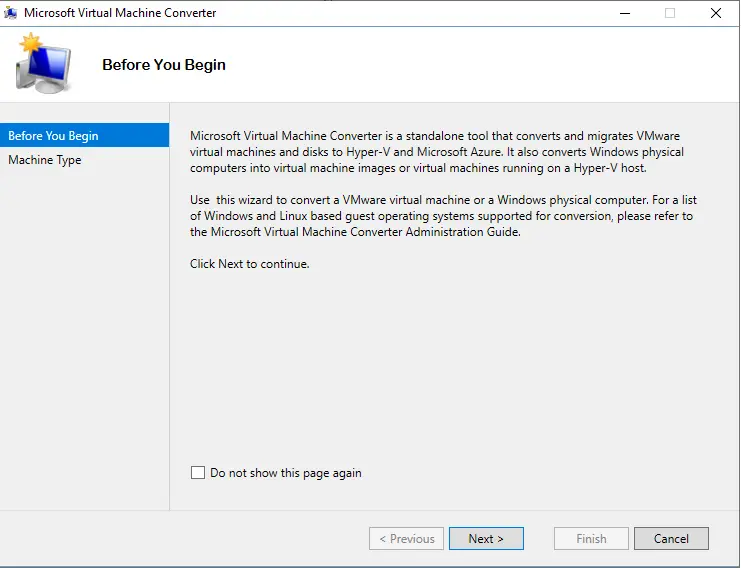
Microsoft Virtual Machine Converter, choose next.
Here you can find two types of virtual machine conversations. I am converting a physical machine. Click Next.

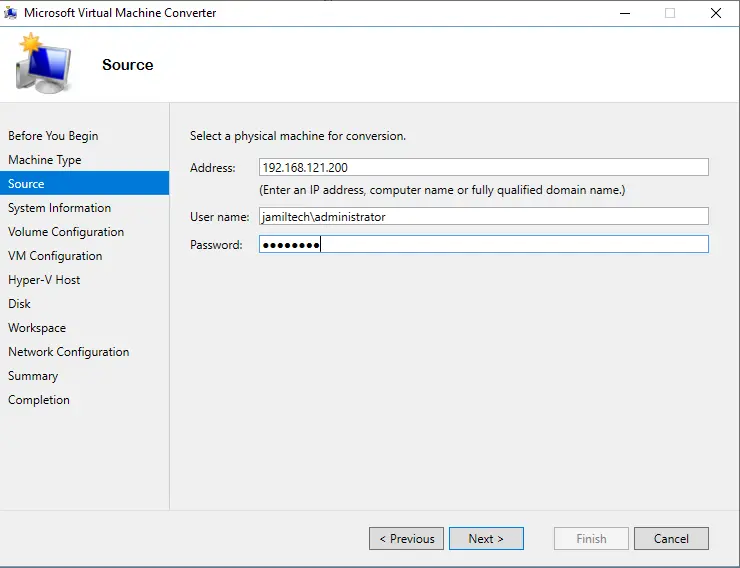
Specify a physical machine for conversion (type FQDN or an IP address, username), enter credentials to access that machine, and choose next.
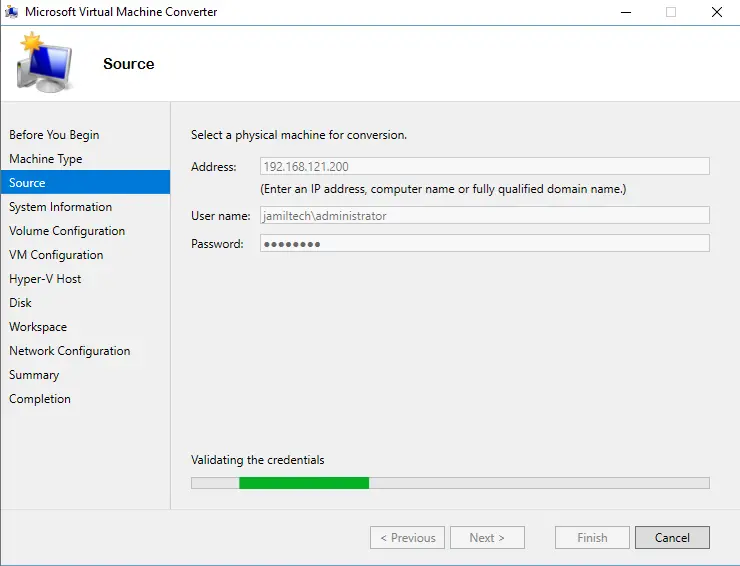
Validating the physical machine credentials.
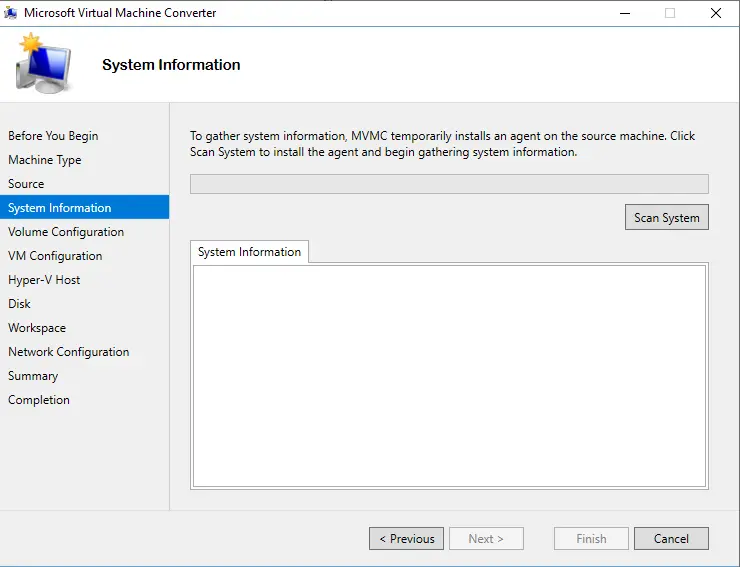
Click on the Scan System button.
Select next
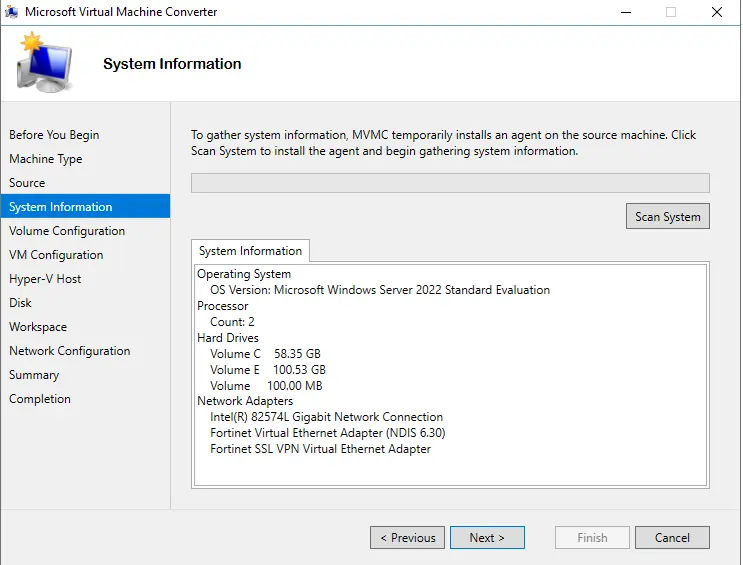
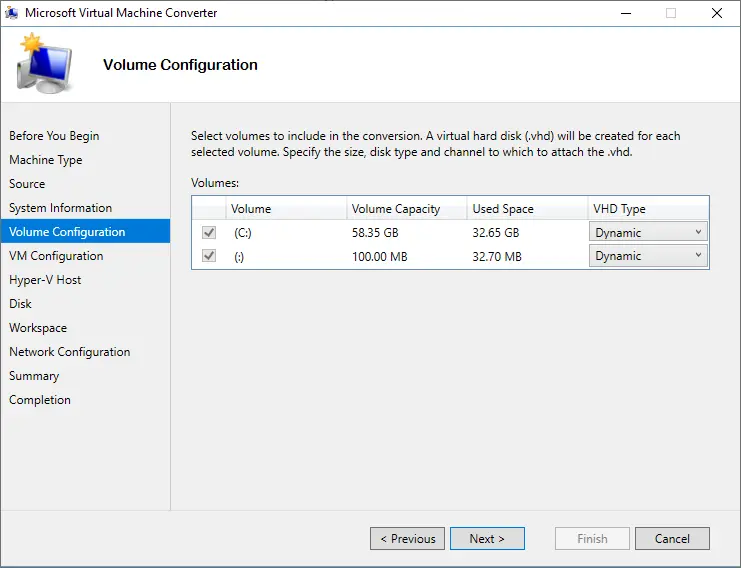
Pick volumes to include in the conversion. Two volumes are on disk in this scenario. Please don’t forget to check the volume box. You can also verify the type of VHD and then click next to continue.
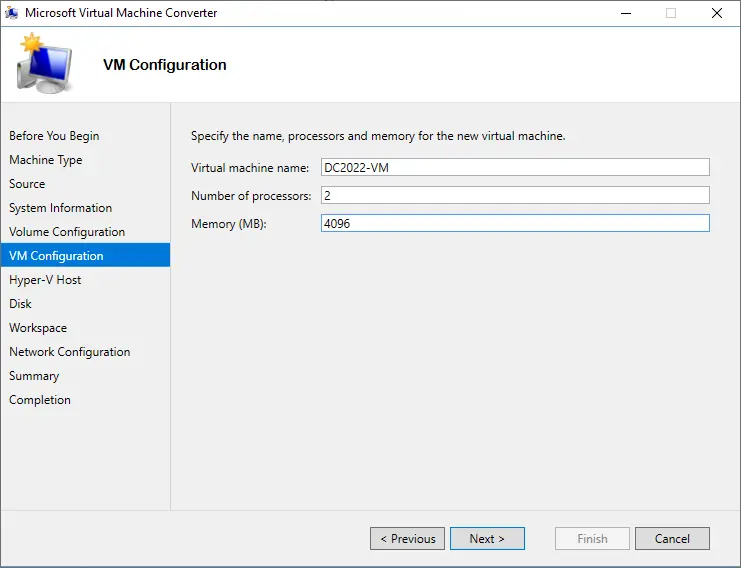
Specify the name, the number of processors, and the memory for the new virtual machine. Click Next.
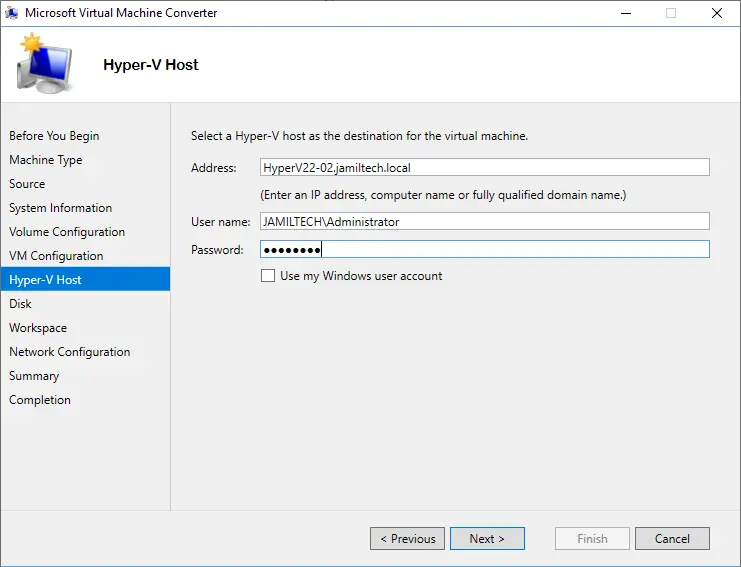
Choose a Hyper-V node as the destination for this virtual machine. Enter the credentials of an administrator account in order to access your Hyper-V node, and then click Next to continue.
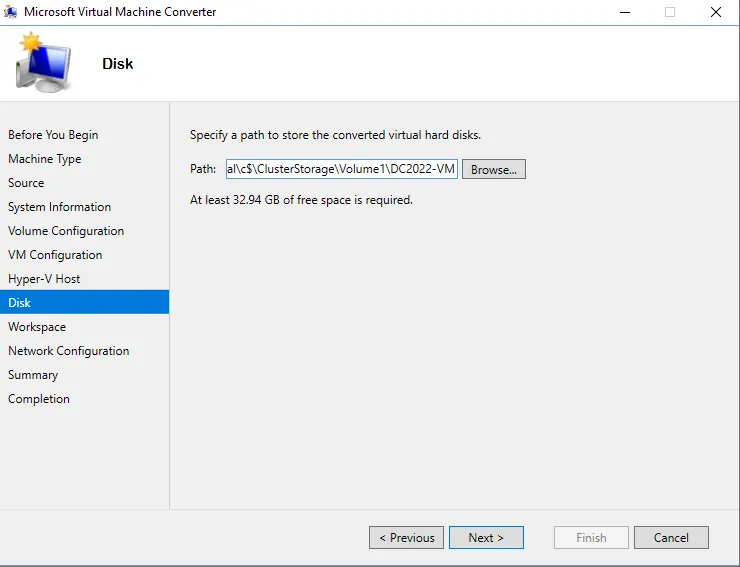
Specify the path to store the converted virtual machine disks, and then choose next.
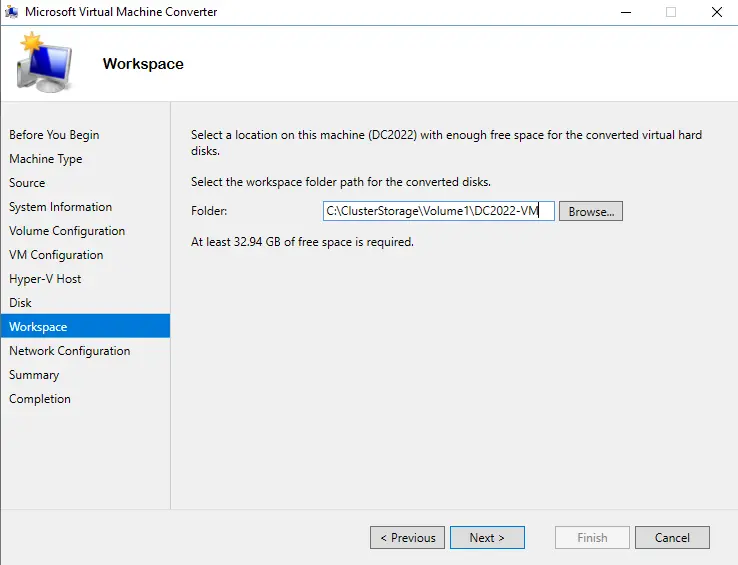
Choose a location for this machine with enough disk space, and then choose next.
Please don’t forget to power off the source physical machine or disconnect from the network before starting the conversion process. Click next.
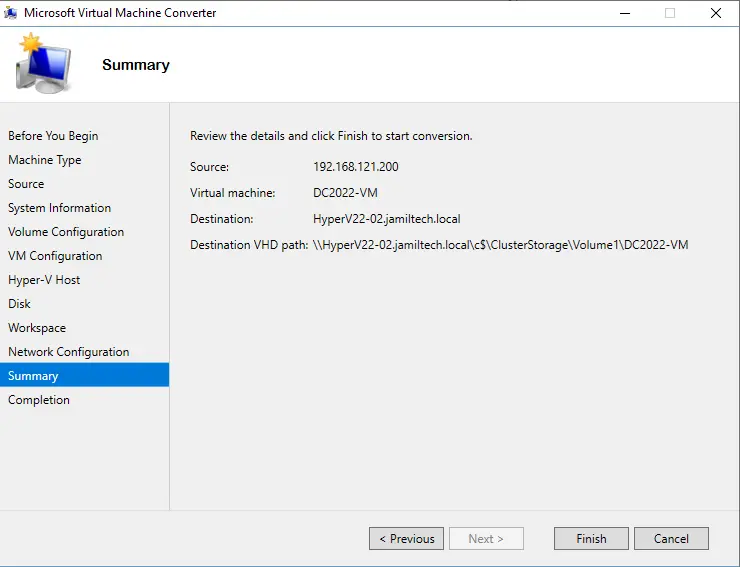
Review the details, and then click Finish to start the conversion.