Let us show you how to create a distribution list in Microsoft 365 (Office 365) with our step-by-step guide. creating an Office 365 distribution list is very important if you want to get the most out of Microsoft 365 (Office 365). If you use distribution lists in Outlook, you can send emails to groups of contacts without having to send each one individually. This is very helpful to send emails to a group of people in an office or at a larger organizational level.
With distribution groups, you can use one email address to reach many people in the organization. They work well when you have many projects or departments. To share news or meeting invites, only use one email address.
Table of Contents
Create a distribution List in Microsoft 365
Distribution lists are useful for managing groups of users or contacts inside an organization. You may create them based on region, department, team, project, or any number of other factors. For instance, the marketing department might get a mailing list with all the email addresses of the people who work there. It is possible to create and manage distribution lists with PowerShell or the Microsoft 365 admin center.
Create a Distribution List via Exchange Admin Center
Follow the steps below to create a distribution list using the Exchange Admin Center in Microsoft 365.
A distribution list is a list of email addresses in Exchange 365 that can be used to send messages or organize projects together. Let’s walk through the process of creating a distribution list in Microsoft 365.
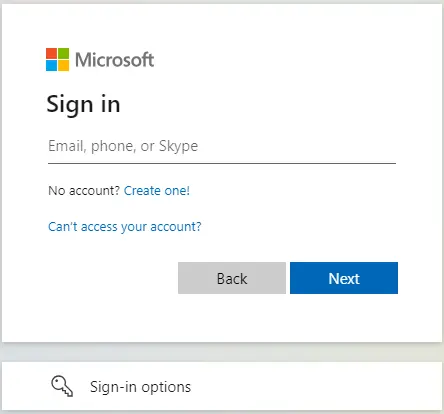
Go to the Exchange Admin Center and sign in with your administrator credentials.
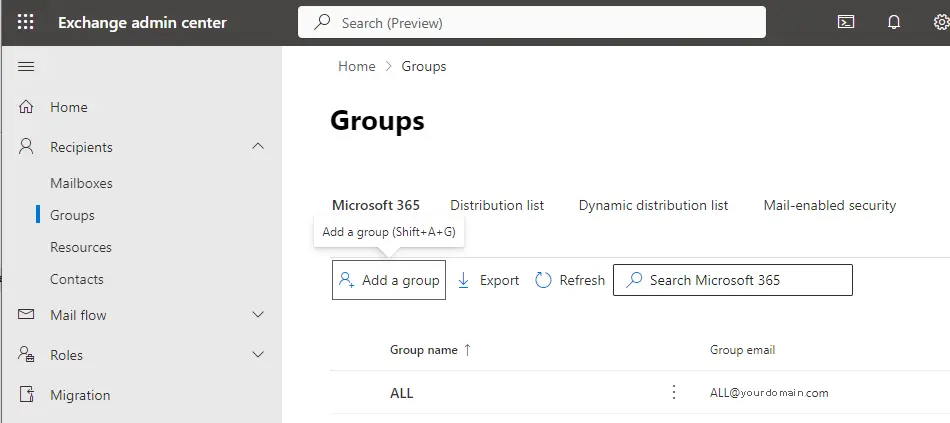
In the left navigation pane, expand recipients and click on Groups.
To create a new distribution list in exchange online admin center, click on the Add a group button under the Microsoft 365 tab. This will launch a wizard where you can setup the distribution list.
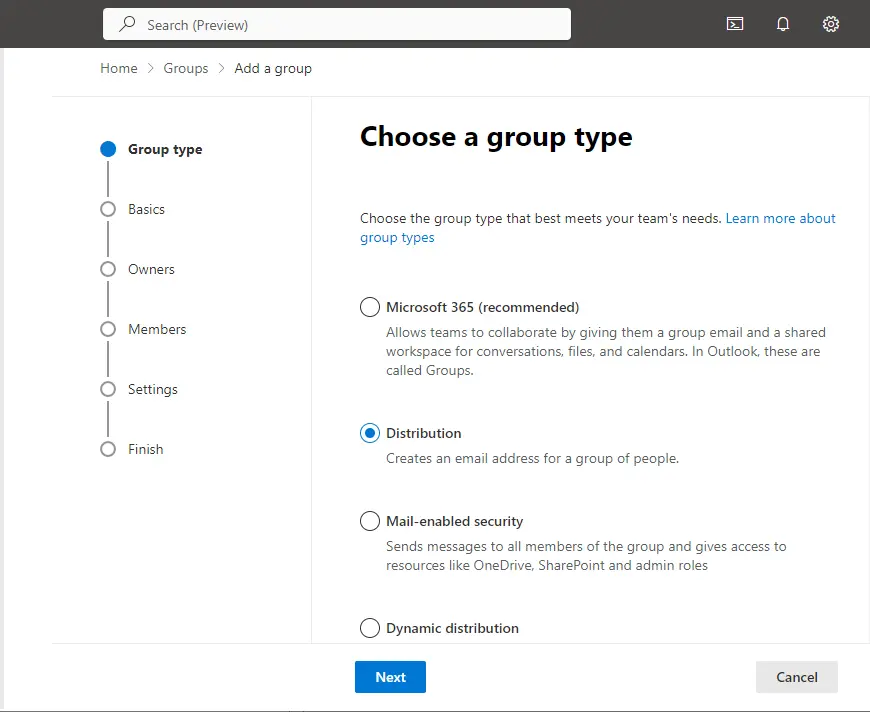
Choose a group type, select “Distribution” and click next.
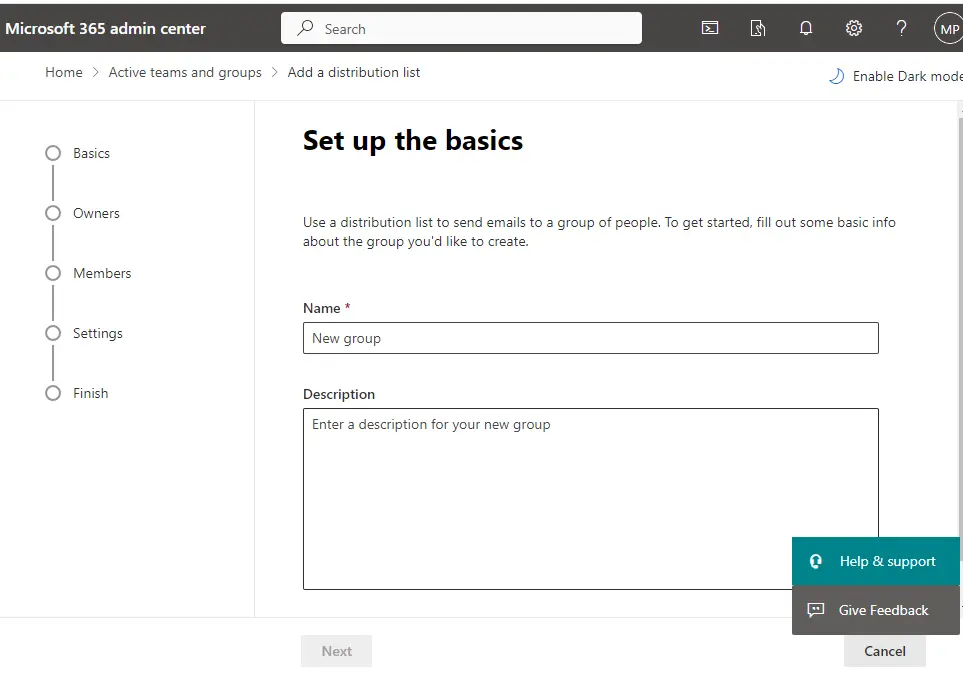
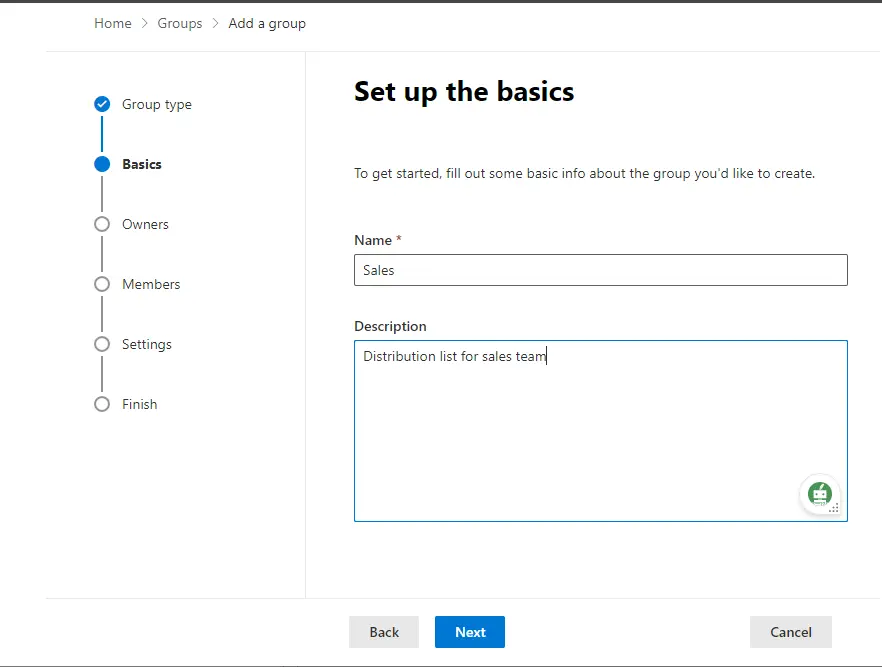
Next, type a display name for the distribution list under the Name field. This name will be used to identify the group while sending messages or working together on projects. You can also type a description for the distribution list under the description field.
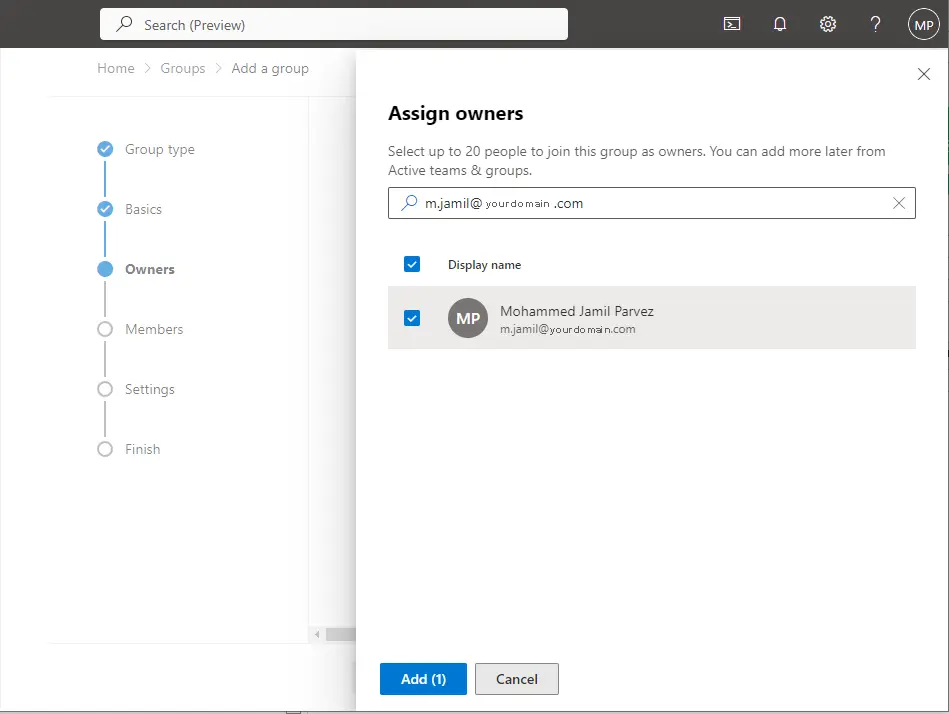
After entering the group name and description, you need to add owners and members to this distribution list. Click the “+ Add Owners” button to select the users or contacts you would like to designate as owners.

You can search for contacts or users by email address or name and select them from the list.
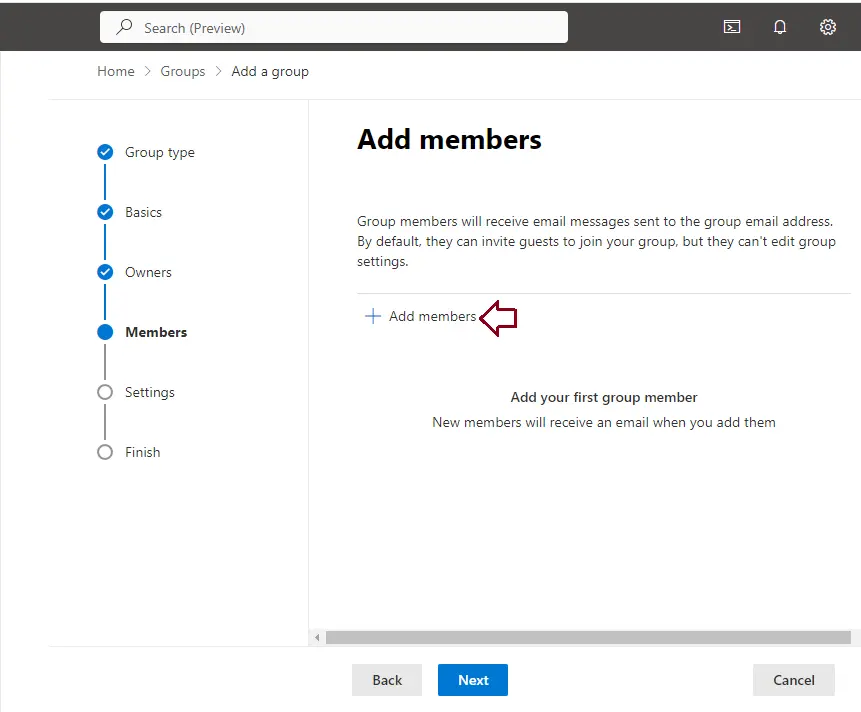
Click on the “+ Add members” button to add members to the distribution list.
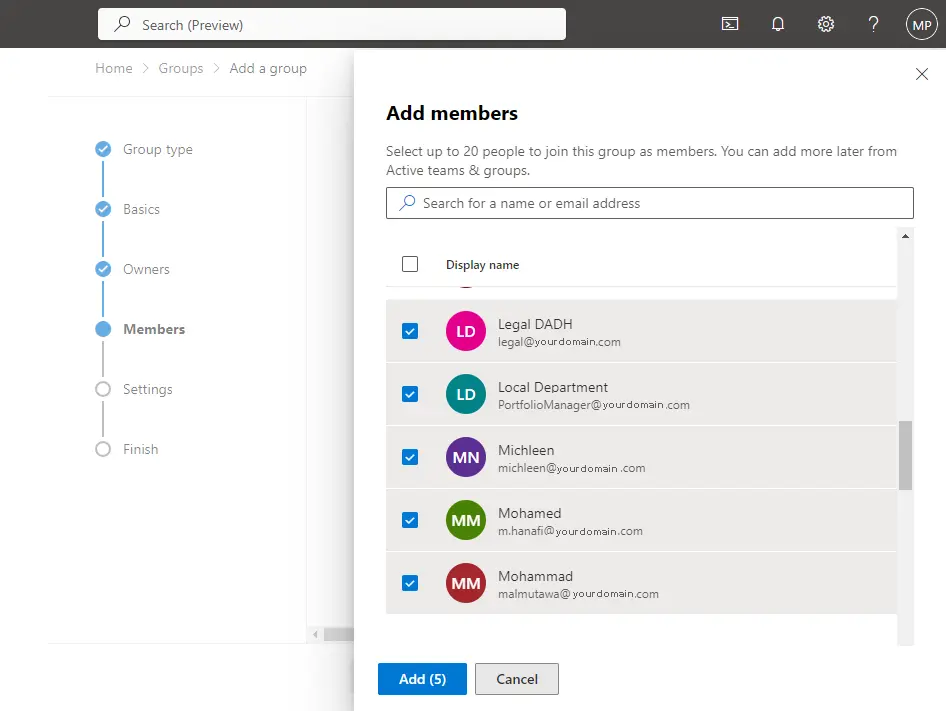
Search and select the users or contacts you wish to include in the list.
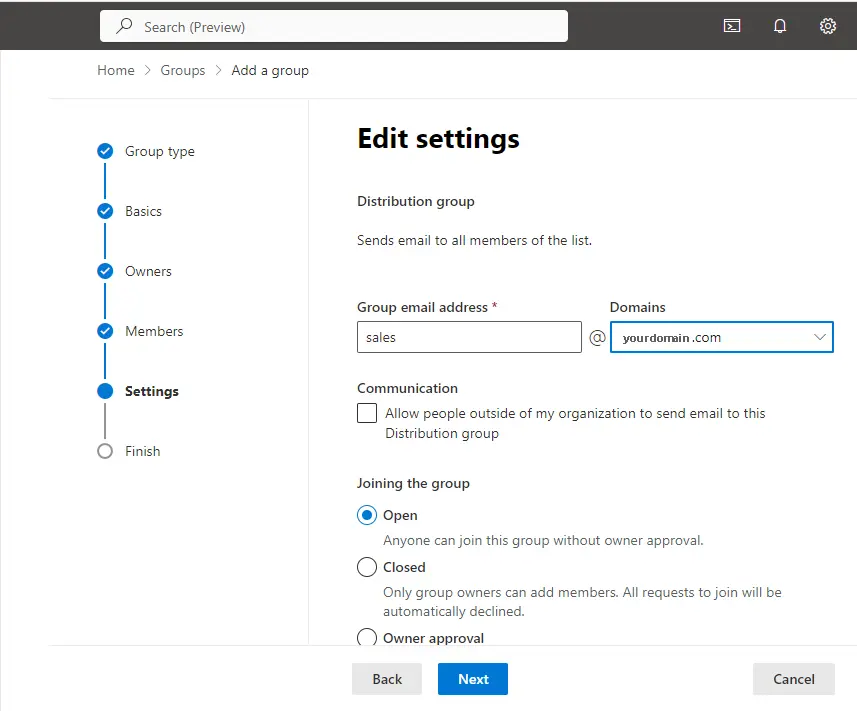
Assign an email address for the distribution group. Email clients like Outlook will use this. You may also specify whether external senders are permitted on the distribution list.
Once you have entered all the necessary information and added members to the distribution group, choose the “Create group” button to create the distribution list.

After creating the distribution list, the “Group created” page will appear. Upon creation, the distribution list will be added to the Groups section’s inventory of groups.
Now, click on the group name in the list of groups to change its settings. You can change the settings for the list according to your needs, add or remove members, and control who has access.
Create a Distribution Group via Microsoft 365 Admin Center
To create a distribution group using the Microsoft 365 Admin Center in Office 365, follow these steps:
Sign in to the Microsoft 365 Admin Center
To create a distribution group, you need to sign in to the Microsoft 365 admin center with your admin credentials. To create a distribution list, you will require administrative privileges in Microsoft 365.
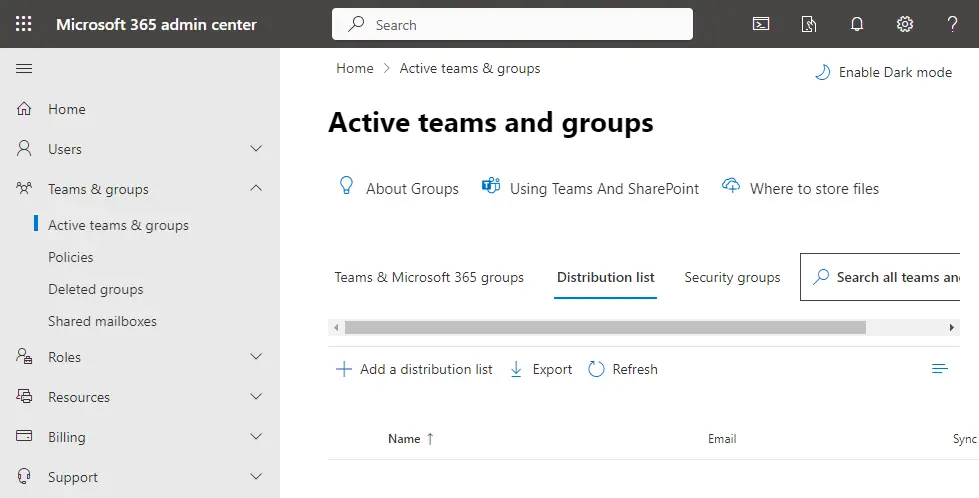
From the left side menu of the Microsoft 365 admin center, expand “Teams & Groups” to access “Active Teams & Groups”. This area has all the groups that the organization created, like Microsoft Teams, distribution lists, and security groups.
Select the Distribution List tab and click on + Add a Distribution List.
Now follow the above steps to create a distribution list in the Microsoft 365 admin center.