
In this article, I will show you how to create Hyper-V VM template to prepare the VM after imaging and then export and import it as a template on Hyper-V 2022, with a Server 2012 Datacenter VM.
Creating a Hyper-V template to rapidly deploy new virtual machines can save time on spin-up and updating. We can establish Hyper-V templates pre-installed with Windows features and programs just as a WDS or PXE image would produce a consistent configuration for every deployment.
Table of Contents
Create Hyper-V VM Template
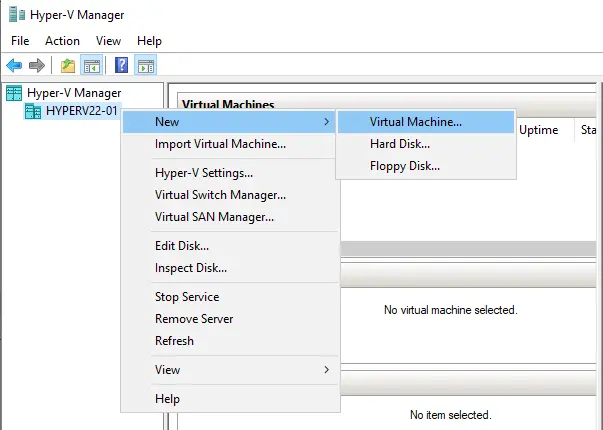
First, we will create a VM template. Right-click on the Hyper-V host, choose new, and then virtual machine.
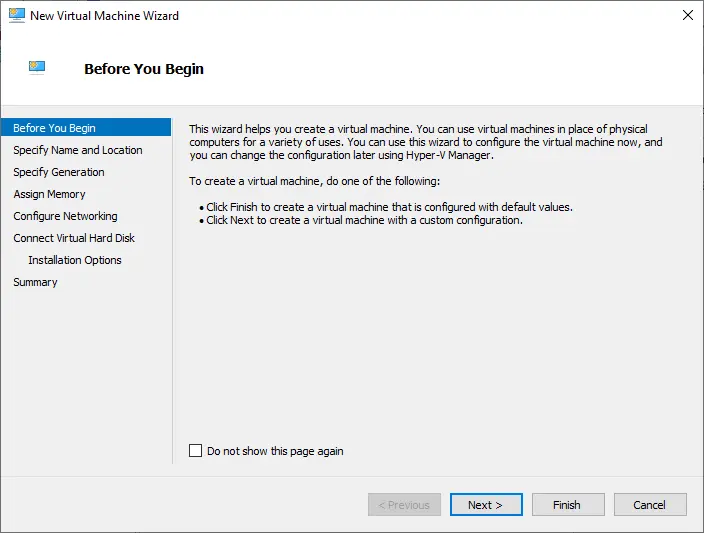
Choose next.
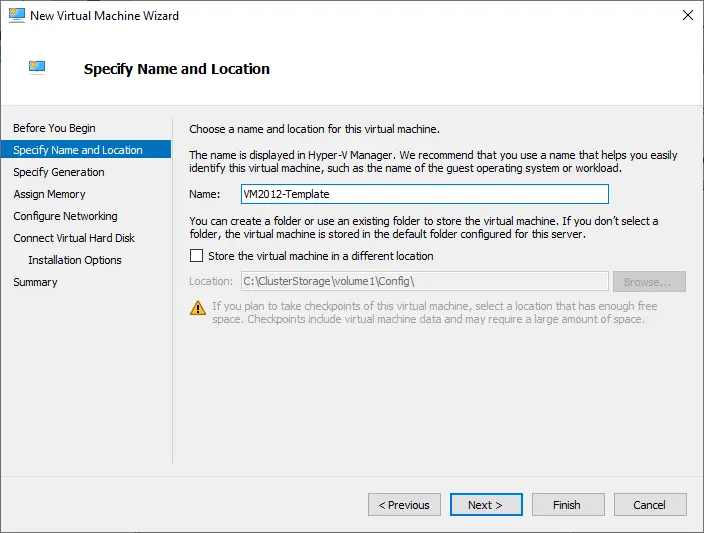
Specify the name and location, and then choose next.
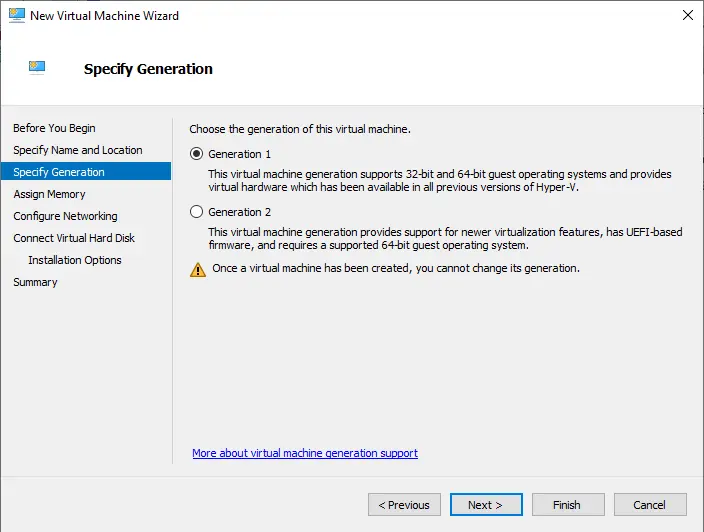
Specify generation and choose next.
Additional information about virtual machine generation is located here.
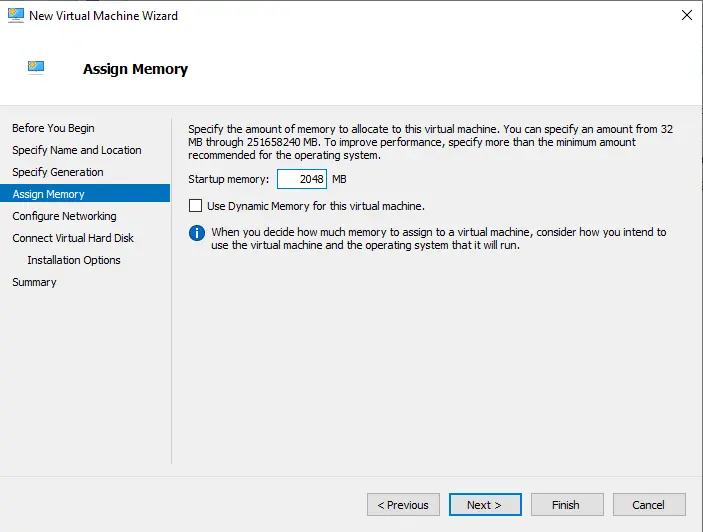
Assign virtual machine template memory, and then click next.
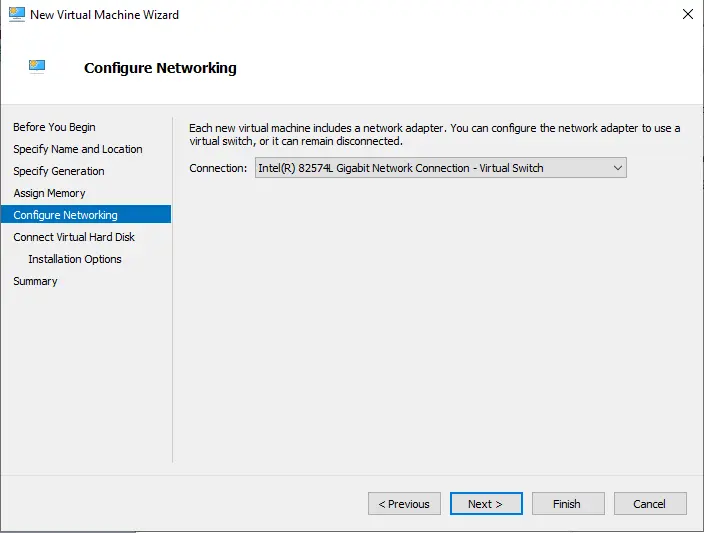
Assign a network and choose next.
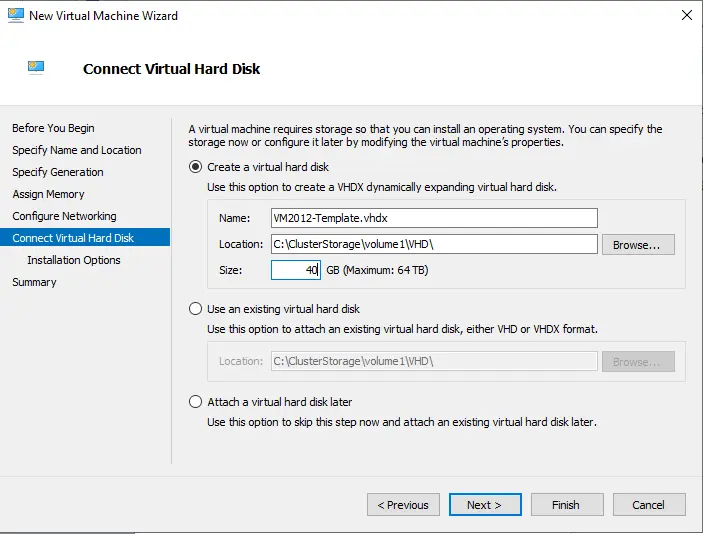
Connect the virtual hard disk page, assign a storage size for the VM, and select Next.
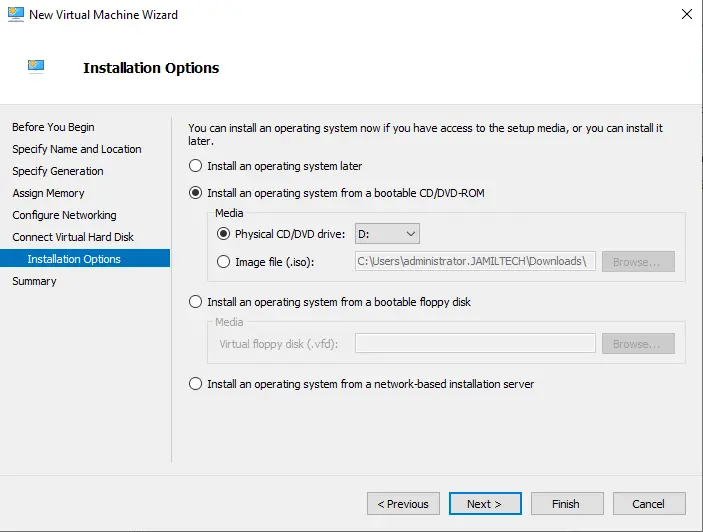
Configure the installation options and choose Next.
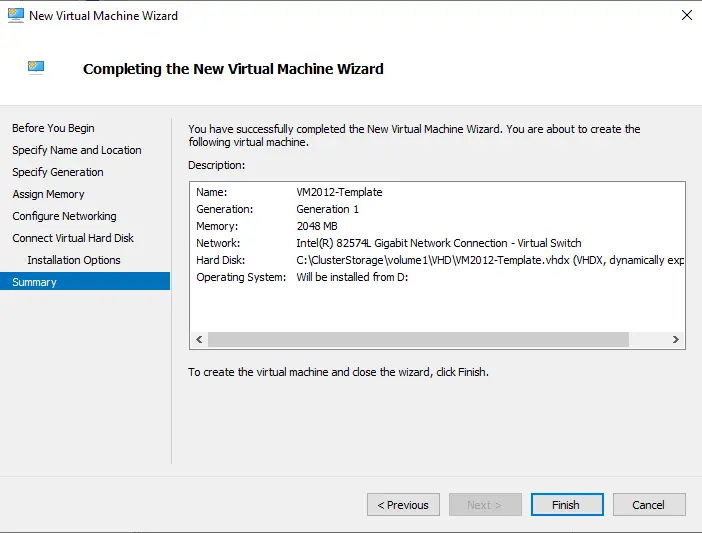
Verify the new virtual machine summary, and then choose the finish.
Now proceed with the installation of the operating system as you would any other server. Once OS installation is done,. Do not join the domain or activate it. This data will be cleaned during the Sysprep action we will be taking next. You can change the virtual machine name, which will also be reset.
Sysperp Preparation Tool
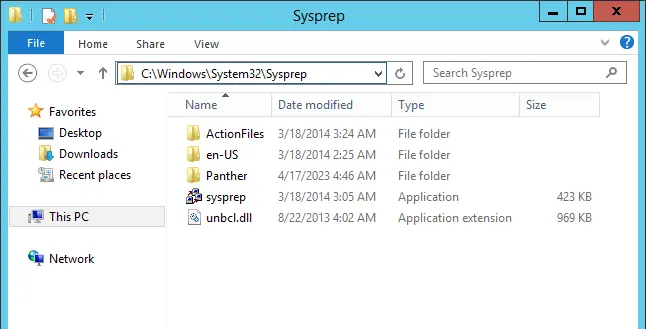
Once you have your apps, settings, and updates where you want them on the virtual machine, go to C:\Windows\System32\SysPrep and then run SysPrep.exe
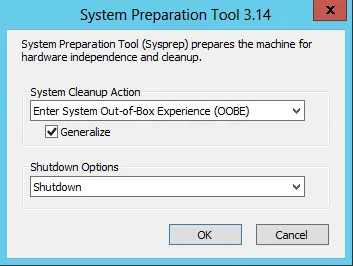
You will need to use individual experience and check the box to generalize. In the shutdown options, choose shutdown. The system will enter a generalized state, much like when purchasing a system from a retailer, and shutdown once done so we can export the template.
Once your virtual machine is completely shut down, right-click on it and then choose export.

Create Hyper-V VM Template
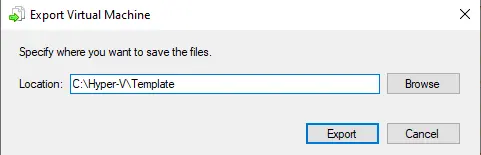
Select your Export Location and Click Export
Optionally, you can simply copy and paste the VM template VHD and rename it each time you start a new VM. Selecting the export option permits sharp cloning of the VM Configuration file, which might prove helpful if you plan to set up numerous virtual machines with the same hardware specs.
Now Hyper-V will go through the method of copying the VM hard drive and configuration to the target you selected. Once the copying process is done, you can move the exported directory to any other Hyper-V server running a similar version to where you created the virtual machine and import the image for use.
You can leave the VM and turn it on later to apply the updates and repeat the Sysprep method to keep an always-up-to-date Hyper-V template.
Importing the virtual machine template looks just as simple as exporting the VM, but there are a few additional items that need changing after import.
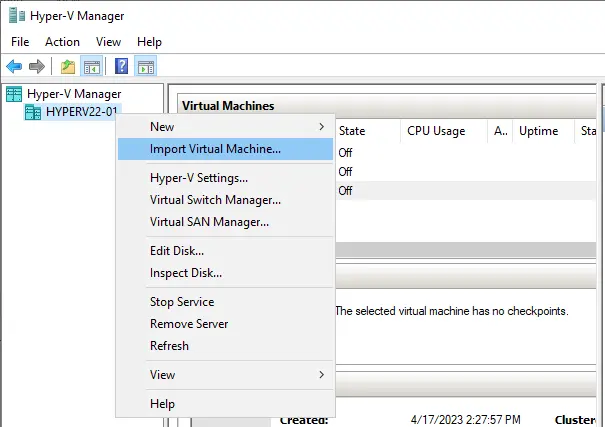
Right-click on the Hyper-V host and then choose Import Virtual Machine.
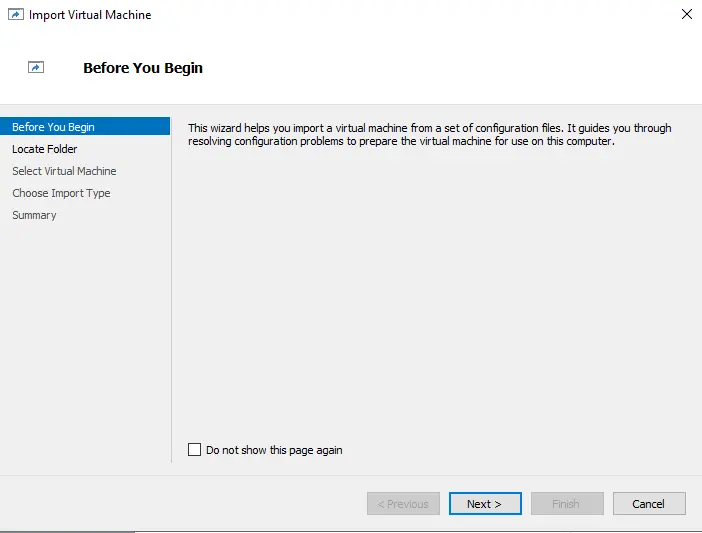
Import a virtual machine wizard; choose next.
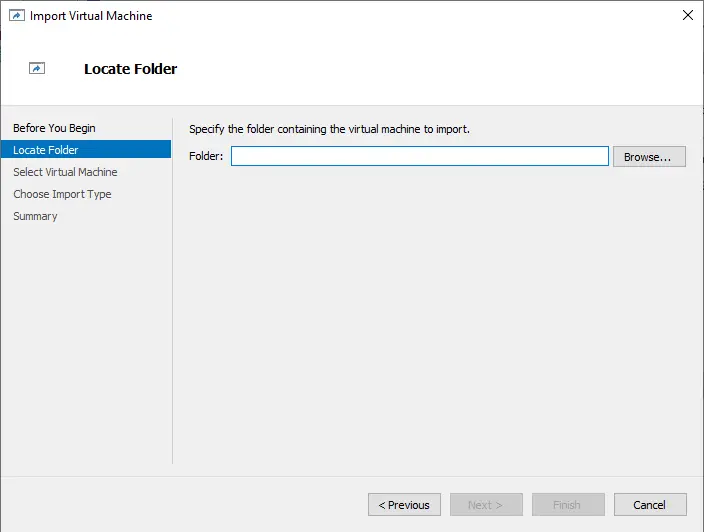
Click on the browse button to select the exported template VM.
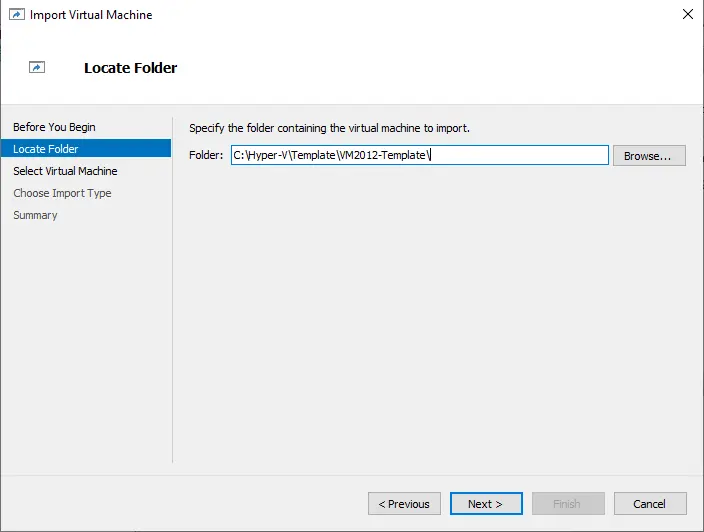
Select the template folder, and then choose Select Folder.

Click next.
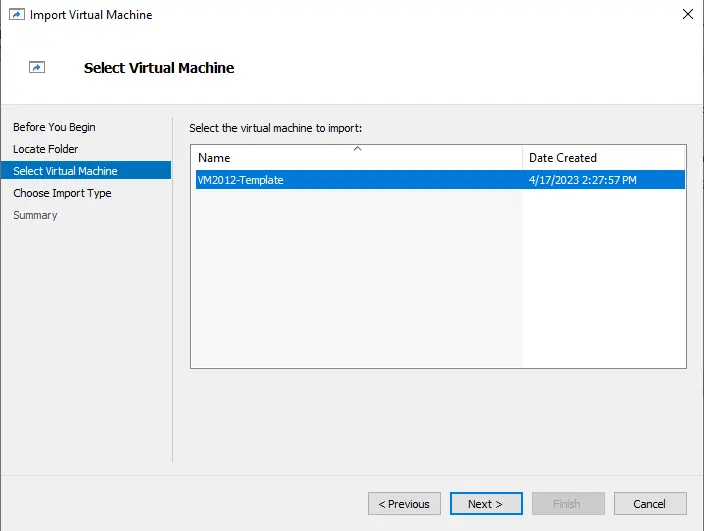
Select the virtual machine and choose Next.
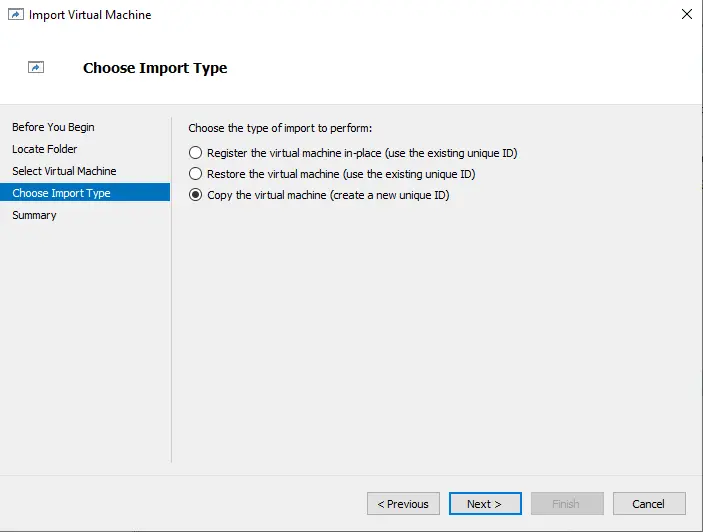
Tick the box Copy the virtual machine to create a new ID and click next.
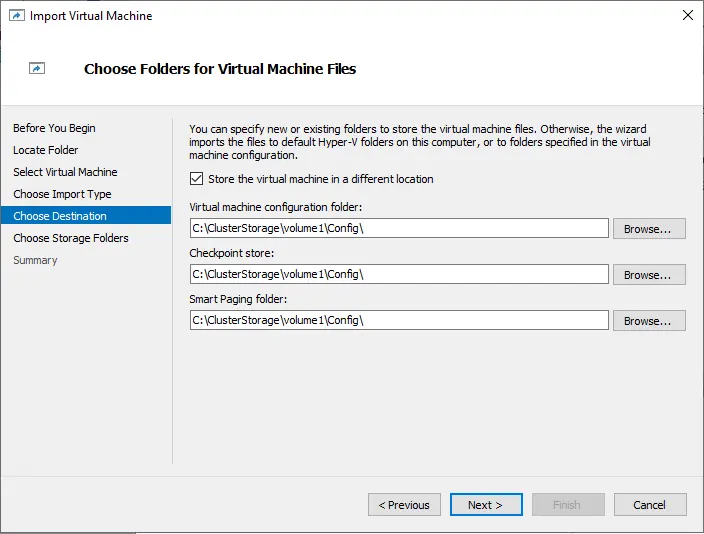
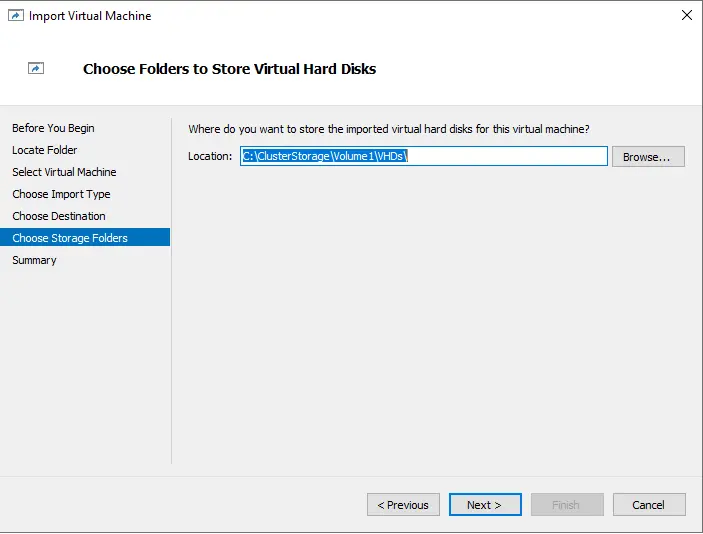
Specify the directory of the VM files after the copy and the directory of the VHD. Click next
Choose the storage folder and click next.
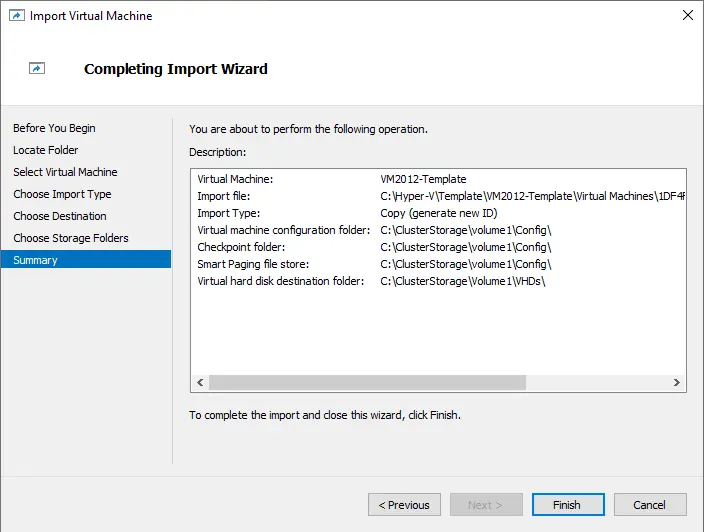
Verify the importing VM summary, and then choose Finish.
Virtual Machine Settings
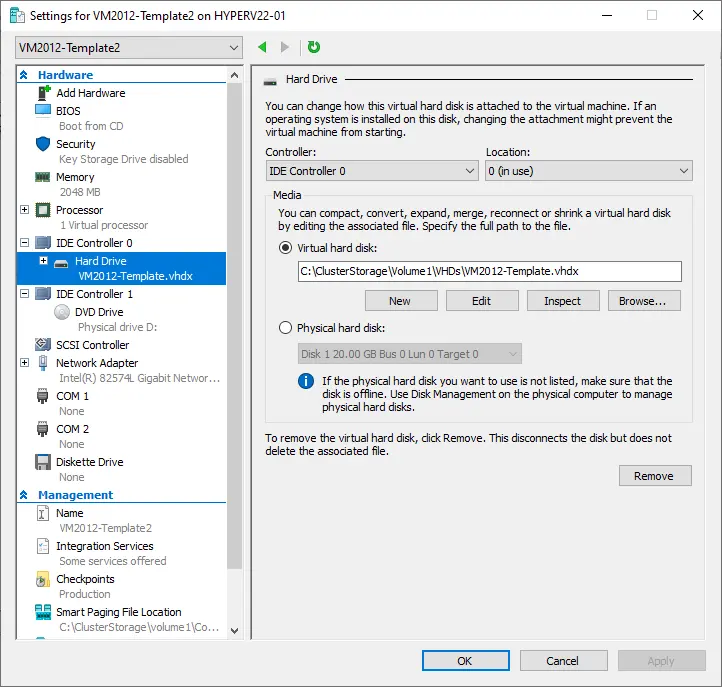
Do not forget to edit the virtual machine after renaming the disk and renaming the virtual disk to this new file name.
After that, it’s simply powering the VM on, going through the initial setup, and you have a fully updated virtual machine that’s been deployed in a few minutes.

