
This article explains how to create Public Folder in Exchange 2019. Here you will learn about public folders, their features, and their importance. You will see how to create and manage those using Exchange tools, like the Exchange Management Shell and the Exchange Admin Center. You can set up public folders to share data such as emails, contacts, calendars, and tasks with other Microsoft Exchange 2019 users.
Table of Contents
Why Public Folder Mailbox?
Before we can start creating a public folder in Exchange Server 2019,. First, we should create a public mailbox. Publicfolder mailboxes control the hierarchy information as well as the content of public folders.
The public folder mailbox is stored in the exchange mailbox database, where other exchange mailboxes are also stored.
Create a Public Folder Mailbox
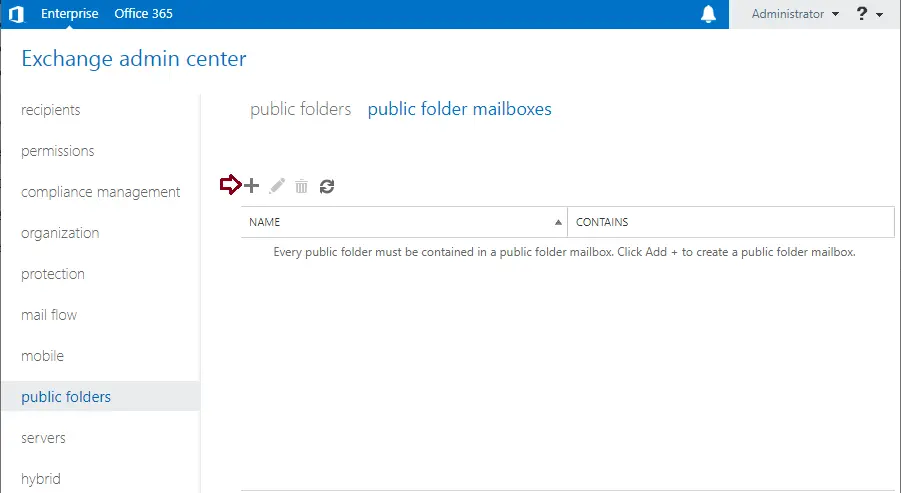
Log in to the Exchange Admin Center and click on the public folder. Click on the public folder mailboxes tab, and then click on the + icons to create a new public folder mailbox.
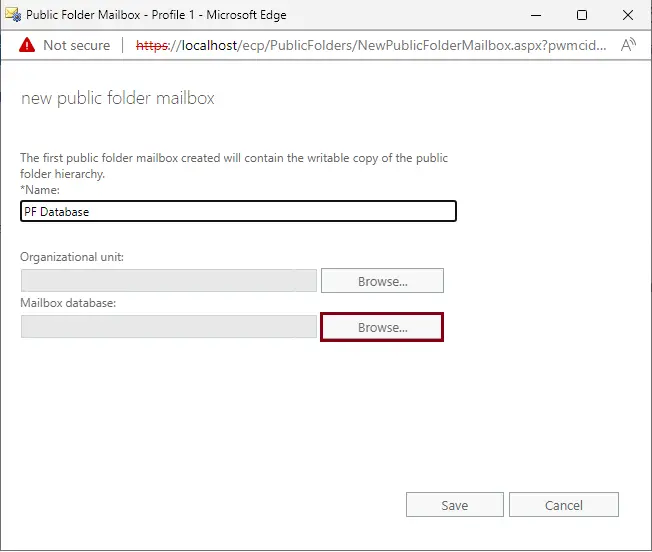
In the Name field, type a name of your choice (PF Database); under the Mailbox Database, click on the browse button.
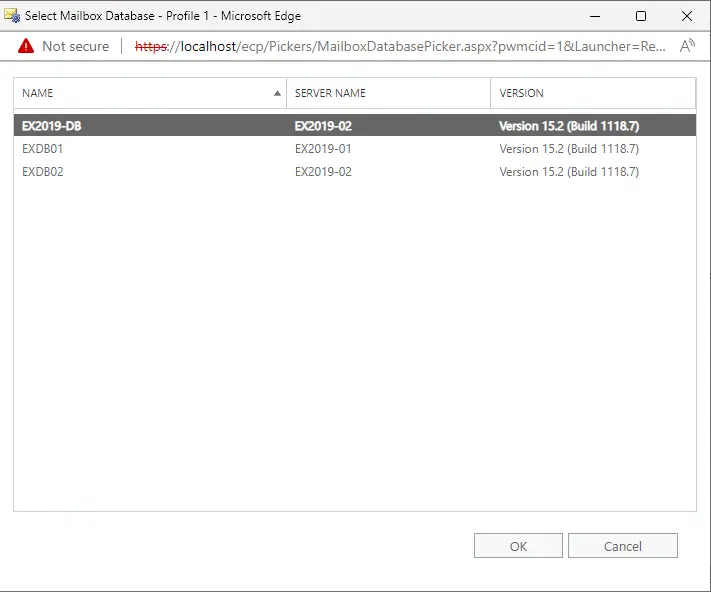
Select a database where you want to create a public folder mailbox, and then click OK.
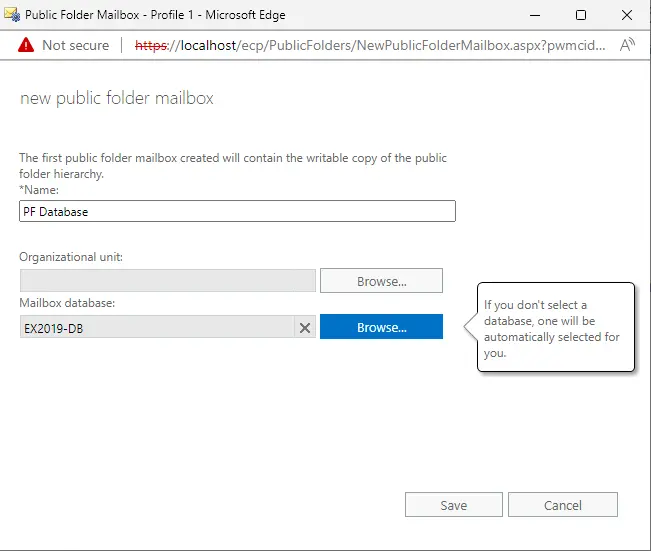
Click Save.
Create Public Folder
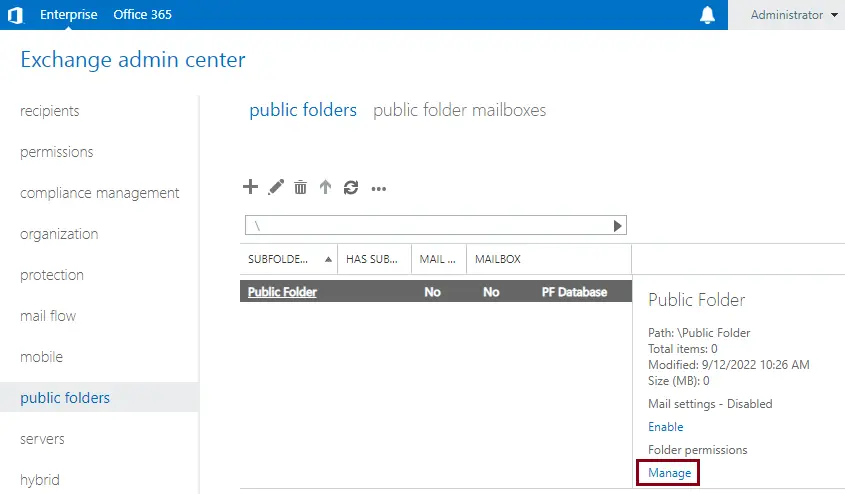
The public folder database was created successfully.
Now click on the public folders tab, and then click on the add icon.
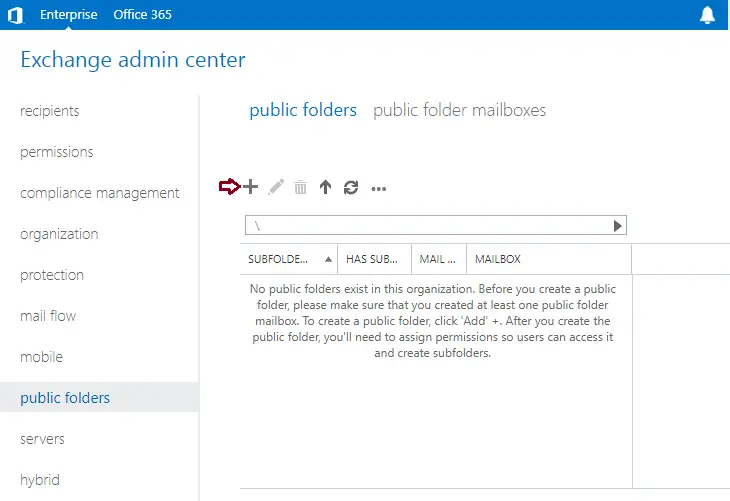
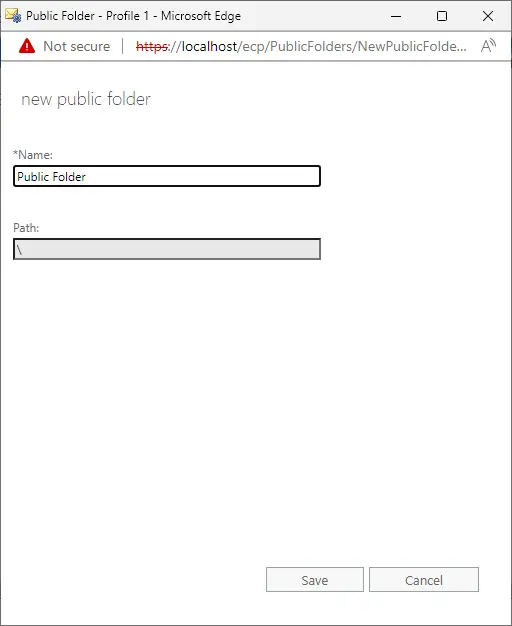
Enter a unique public folder name, and then click Save.
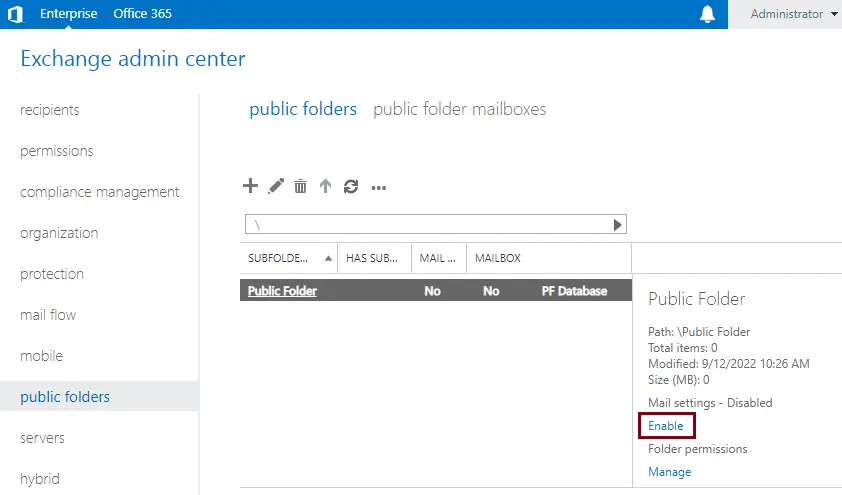
After creating the public folder, highlight the public folder and then click on manage.
Select the + icon.
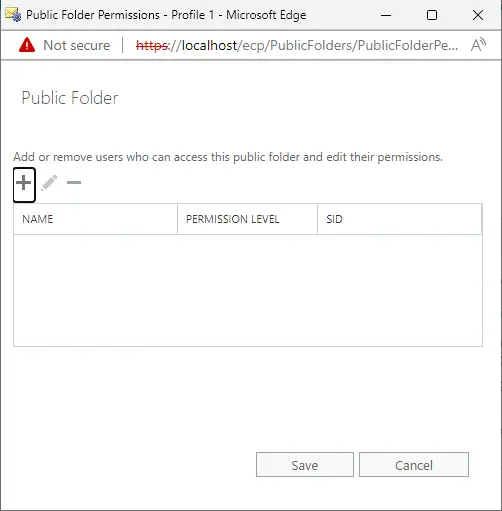
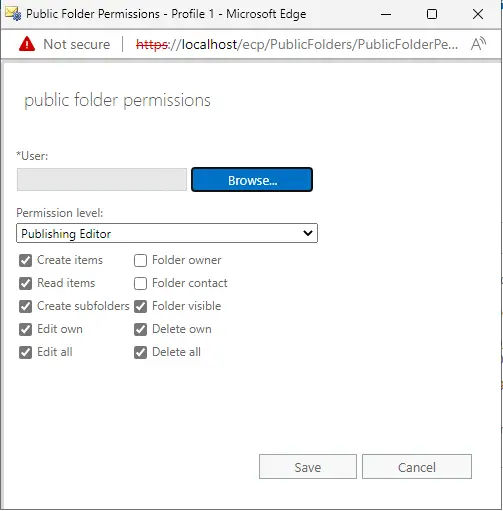
Under public folder permissions, the user clicks on the Browse button.
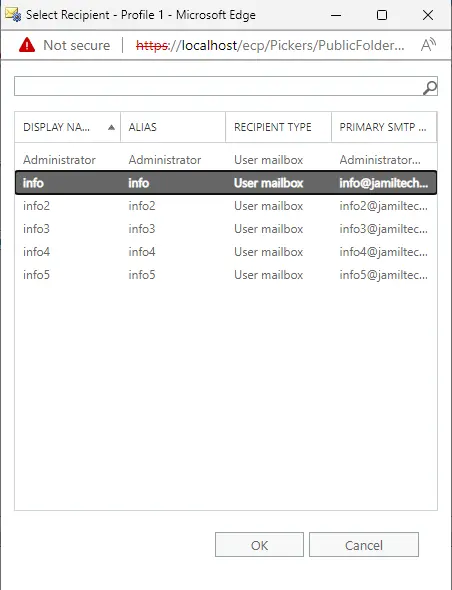
Select a user for whom you need permission, and then click OK.
Choose the permission level, and then click save.
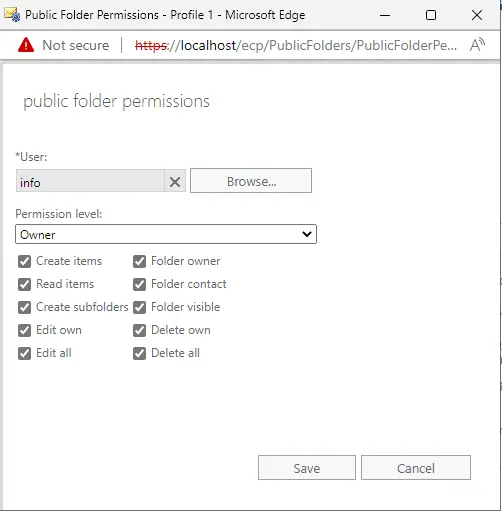
Click Save
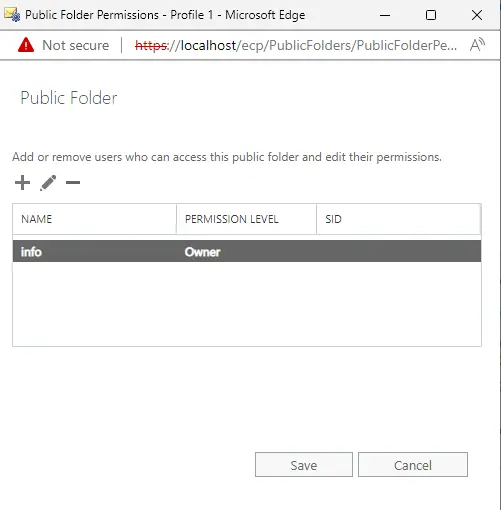
Permission is added successfully, and click close.
You’ve completed the operation.
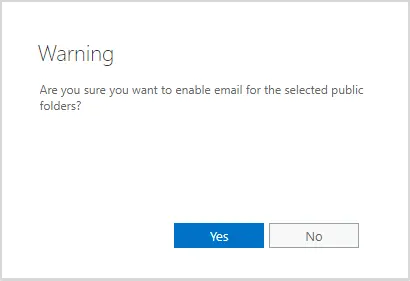
Warning message while choosing to enable and clicking yes.
Add Public Folder to Favorites
Log in with your Outlook web app, and from your left side, right-click on Favorite, and then click Add a Public Folder to Favorites.
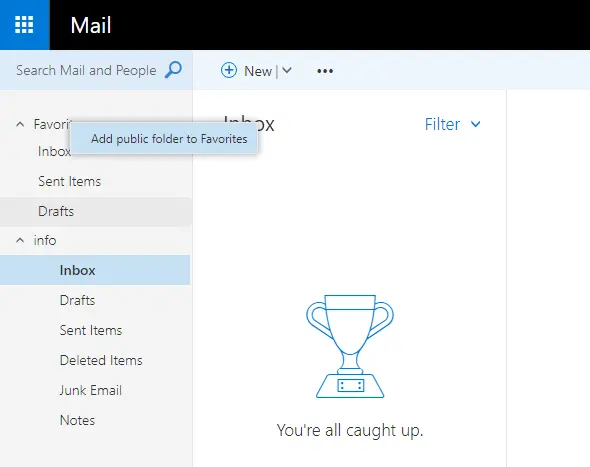
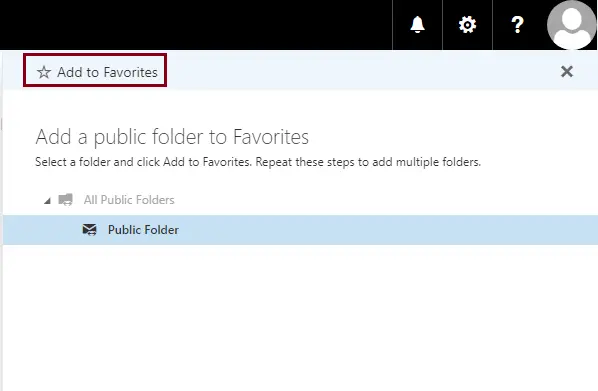
Click on the public folder, and then click Add to Favorites.
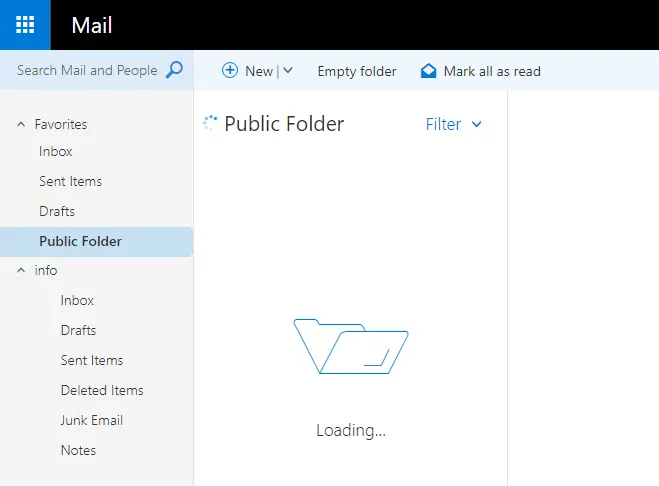
The public folder was added successfully.
Visit Microsoft for more details

