
In this article, we will teach you how to create shared folder in Windows Server 2022 to allow multiple users to access this share. The shared folders in Windows Server 2022 are designed with the purpose of making them a central point to access both administrators and users to resources that are made available, and everyone can be determined with the permissions required for that purpose, all of which help to ensure more accurate control of the information to use.
Shared folders are one of the excellent tasks of Windows Server 2022, and we will explain how to create one share folder on this new system. In this way, you’ll be able to create directories that you can smoothly share with other Windows users in different ways, as we explain in the chapters of this guide.
Table of Contents
Create Shared Folder
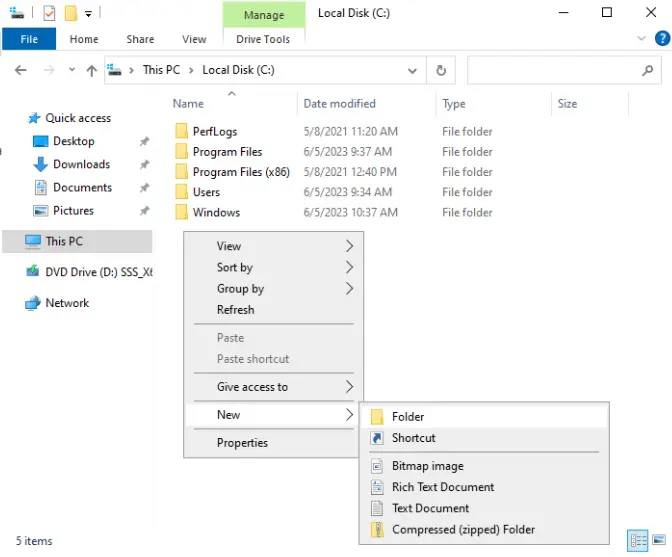
It is one of the traditional tasks; for this, we need to access the File Explorer. Right-click, choose New, and then folder.
Then right-click on it and select Properties.
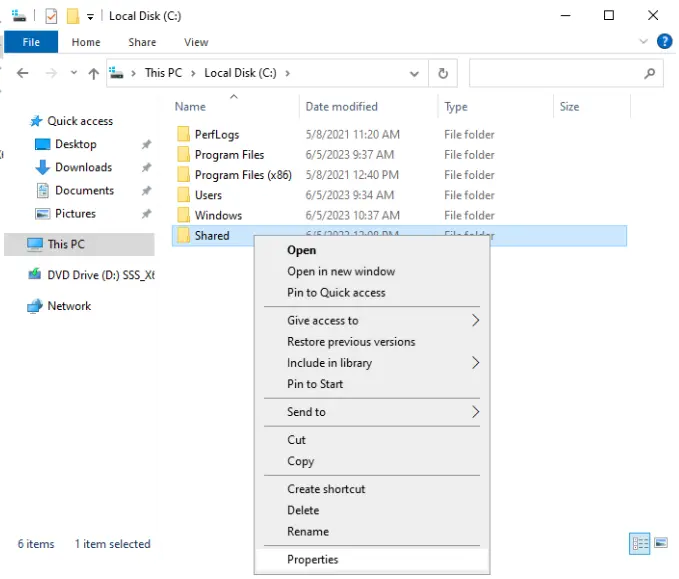
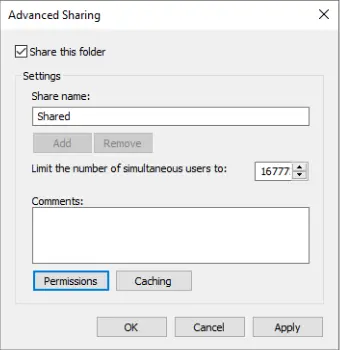
In the shared folder properties, click on the Share tab, and there we click on advanced sharing.

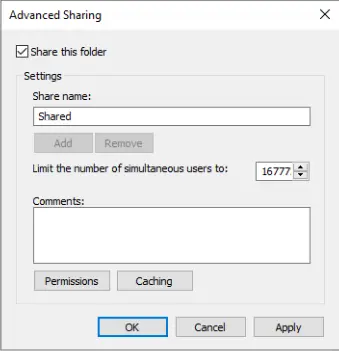
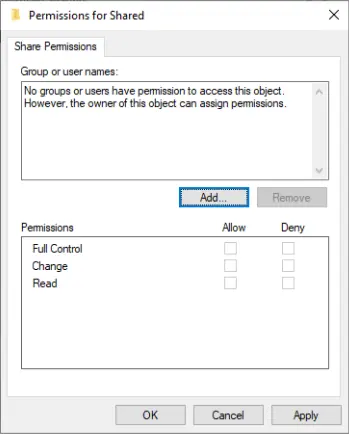
Select the box “Share this folder” and click on permissions.
Assign Permissions for Shared Folder
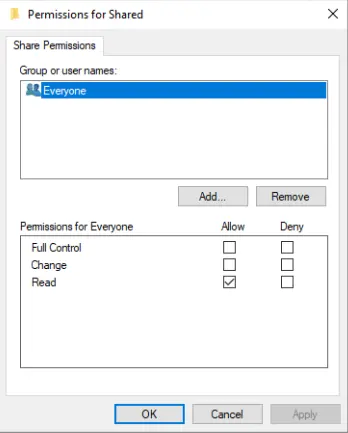
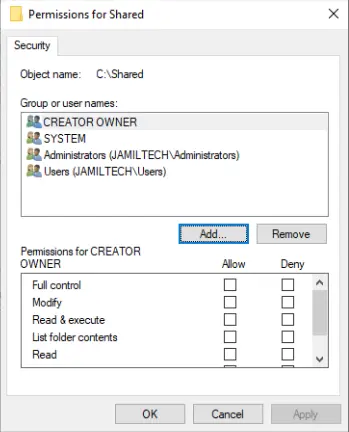
You can see that, by default, everyone can read the contents of the shared folder. Everyone is the default group, including all users on the current computer. In this instance, we choose everyone and click Remove because we need to create a custom configuration.
Click on Add.
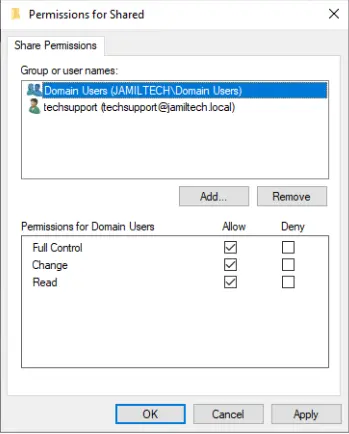
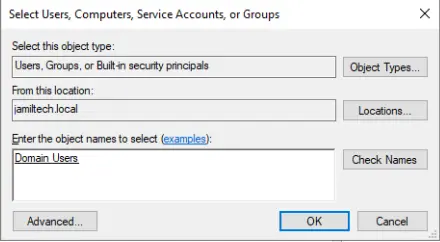
Type domain users, click on check names, and click OK.

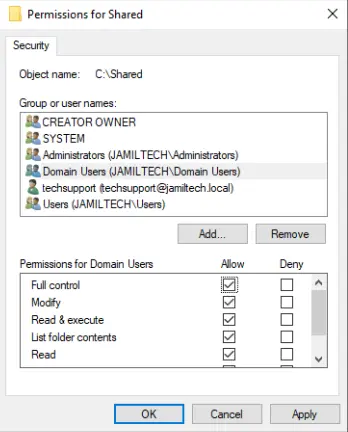
I have added domain users and a specific user. Click OK to grant the permissions.
Choose ok
Setting file System Permissions
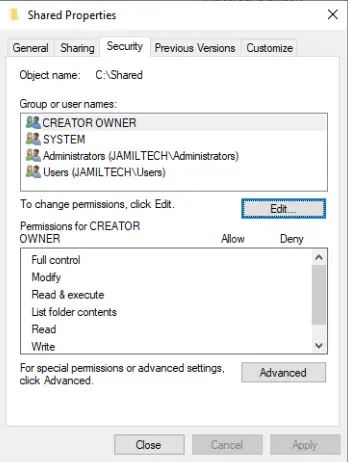
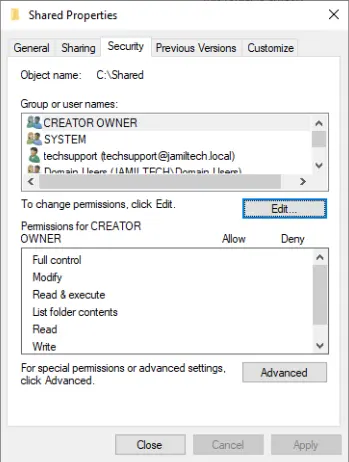
We have successfully configured file sharing permissions for the shared directory. In addition to that, we need to configure file system permissions for this shared folder to set the appropriate access for users. NTFS file system we can use on Windows volumes.
Now click on the Security tab and click on Edit.
Click on Add.
Type domain users and click OK.
We grant the permissions (domain user and a specific user) and click ok.
Click close.
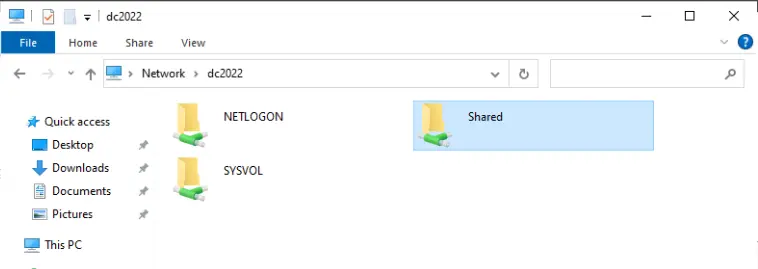
In the file explorer, we need to go to the network section, and there we find the shared folder.
Refer to this article for more details.

