
In this article, we will teach you how to create shared mailbox in the Exchange admin center. A shared mailbox may store up to 50GB of data. After that, you need to provide a license so it can store further data. When a shared mailbox’s capacity is full, For a while, you will be able to get email, but you will not be able to send new email. After that, it will stop receiving email. The mailbox will notify senders a “non-delivery” notification.
With a shared mailbox, several people can read and write emails from the same address. For example, let’s say you created a shared mailbox named [email protected] for your business. If a customer sends an email to [email protected], any users who have access to that mailbox will receive and can reply to the message.
Table of Contents
Create Shared Mailbox in Microsoft 365
Required: You need admin access to create a shared mailbox. For more information, visit Microsoft for admin roles.
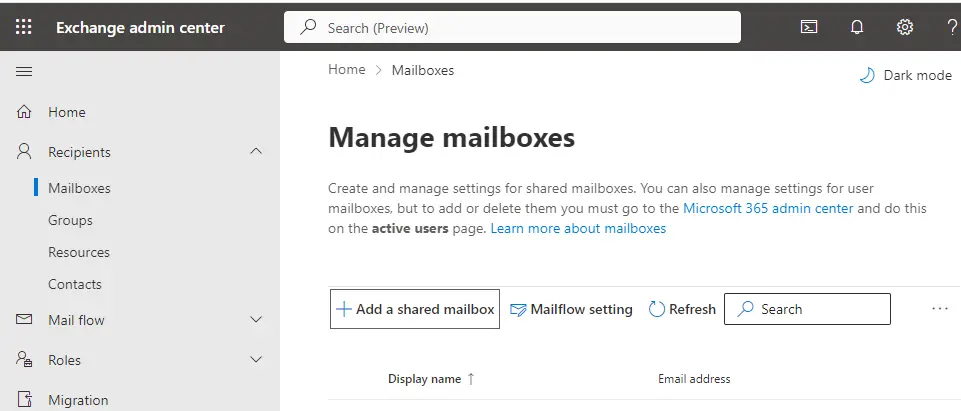
Sign in to the Exchange admin center. Use your Microsoft 365 credentials.
Expand the Recipients pane and select Mailboxes.
Click on + Add a shared mailbox link. The + Add a shared mailbox window will launch on the rightmost side.
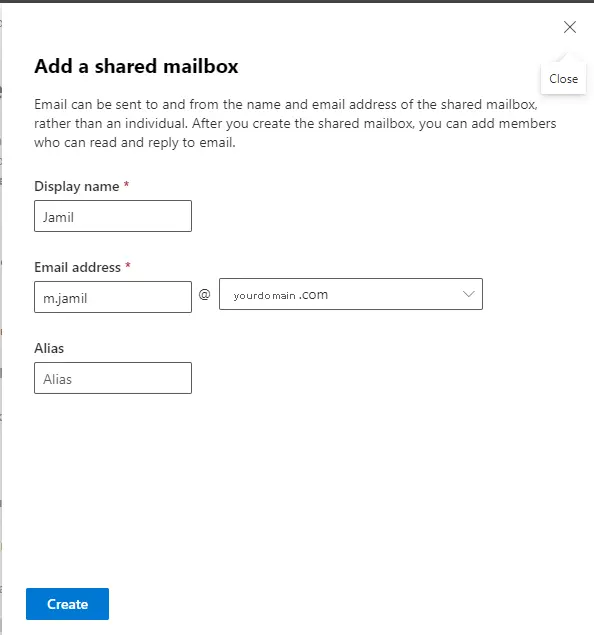
Add a shared mailbox page, type a “display name”, which will be the name of your shared mailbox. Once someone receive an email from this address, they will see this.
Type an “Email address” for the “shared mailbox”. This will be the name of the address before the @.
Example: For example, you could use sales@ for your sales team and contact@ for general questions.
Choose your domain name from the list.
(Optional) type an Alias for the shared mailbox.
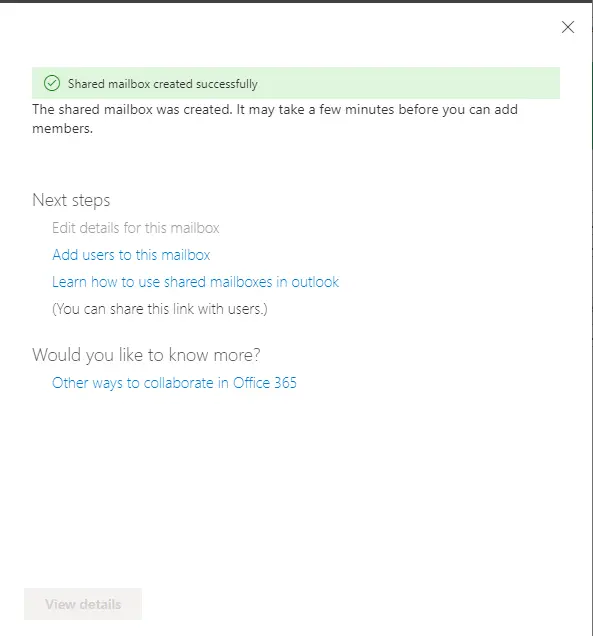
Click on the create button to create a shared mailbox in Microsoft 365 exchange admin center. Your shared mailbox will be saved. You will get a success message when the shared mailbox is created. It might need to wait a few minutes before you can add members.
Under Next steps, click on “Add users to this mailbox” link.
In the Manage shared mailbox members page, click on + Add members.
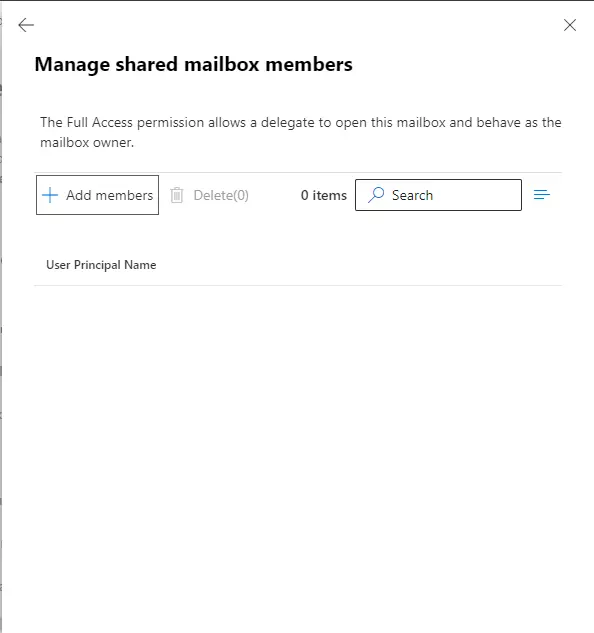
Select the users that you would like to have access to the shared mailbox, and choose Save.
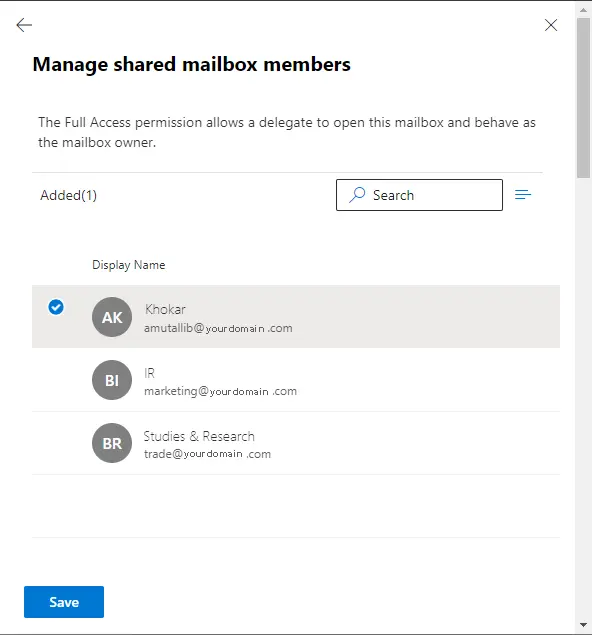
Select confirm to confirm that you wish to add delegate permissions for these mailboxes.
After adding the people who were selected to the mailbox, you’ll see a message that says “success.” This could happen in up to an hour. Your changes will then appear in Outlook and Outlook on the web.
