
In this article, we will look at how to create virtual machine in VMware Workstation to install Windows 11. If you’re looking to install Windows 11 on your computer, one option is to create VMware virtual machines using VMware Workstation. This allows you to run a separate operating system within your existing system. In this article, we will guide you through the process of creating a virtual machine in VMware Workstation for the purpose of installing Windows 11.
Table of Contents
Create a Virtual Machine for Windows 11
The first step in the procedure is to create a Windows 11 virtual machine in VMware Workstation 16 Pro.
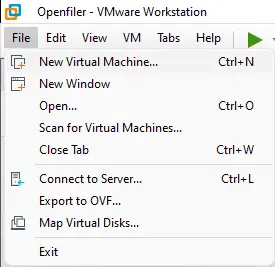
Run VMware Workstation, click on the File tab, and then click on New virtual machine VMware or press the CTRL + N key from your keyboard. It will launch a new virtual machine wizard.
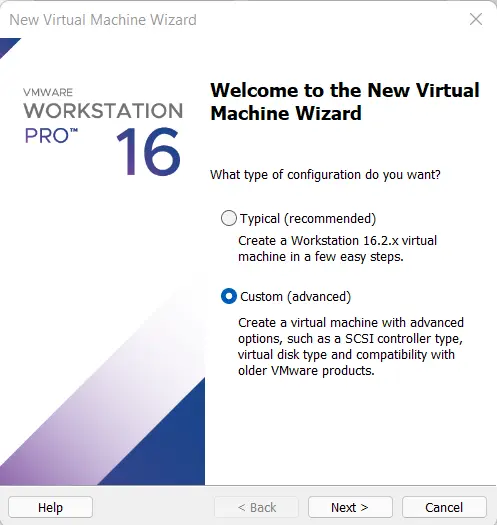
Welcome to the new virtual machine wizard, You may select the typical option, but do not choose Typical. Choose Custom (Advanced) and then click on Next.
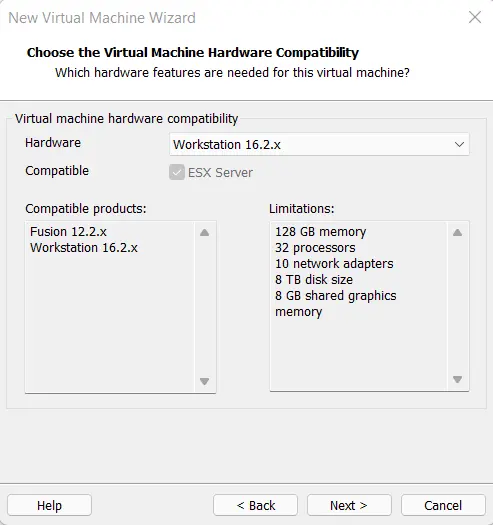
You will need to choose the virtual machine’s hardware compatibility. I am using VMware Workstation Pro 16. If you are using an old version of VM Workstation, you may choose according to your hardware compatibility. Click next.
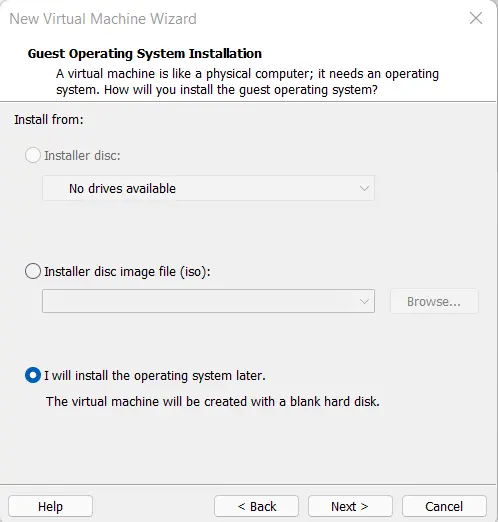
Guest operating system installation: click on I will install the OS later, and then click Next.
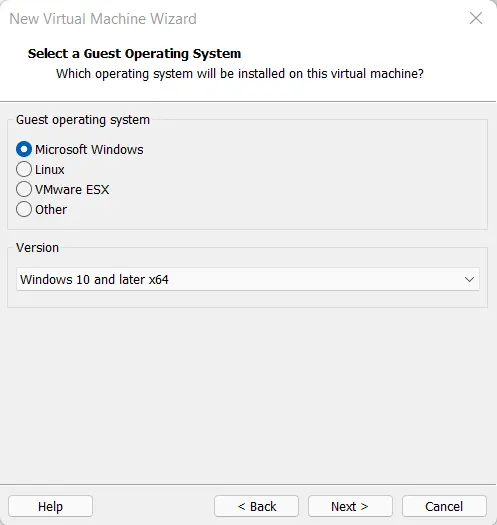
Select a Guest Operating System
Now you have to choose the guest operating system on the VMware workstation.
Everyone knows that Windows 11 was recently launched. It isn’t yet available as a supported OS on the VMware workstation, so you need to choose Windows 10 and later x64, and this will work just fine. Click on Next.
Create Virtual Machine in VMware Workstation
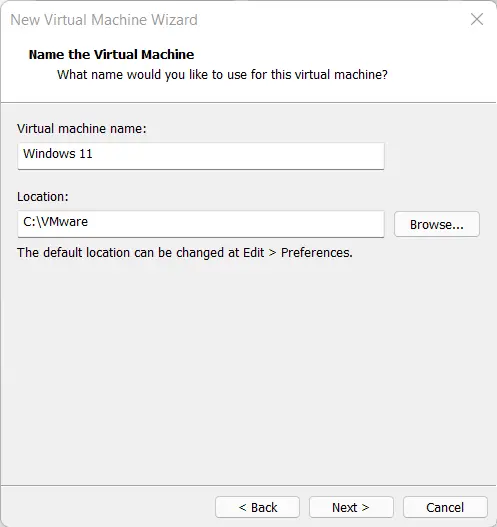
Name the Virtual Machine
Choose the location
You need to choose a location where you want to save the virtual machine files.
Or leave it if you are okay with the default location, and then click next.
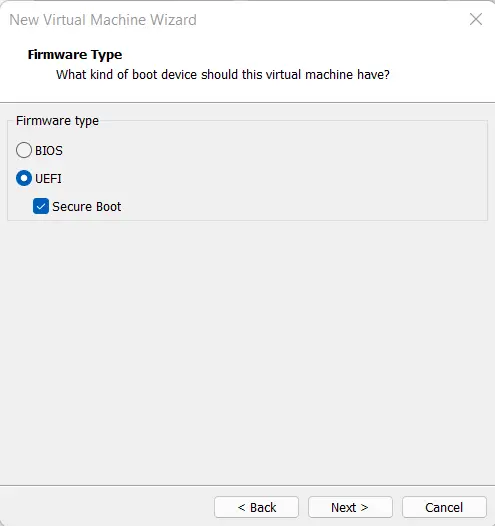
Firmware type
Select the firmware type as UEFI and then tick the Secure Boot option. Click on Next.
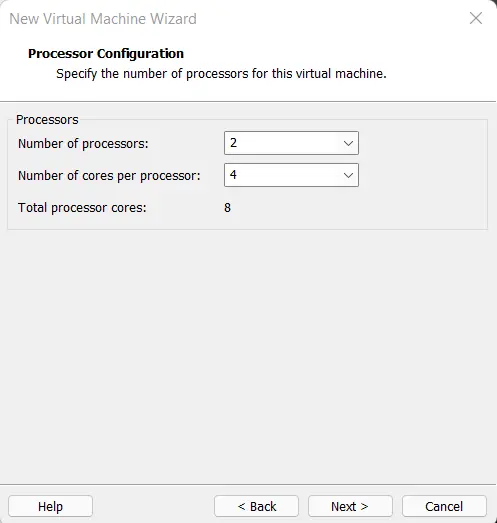
Configure the CPU
Select the processor configuration and click Next.
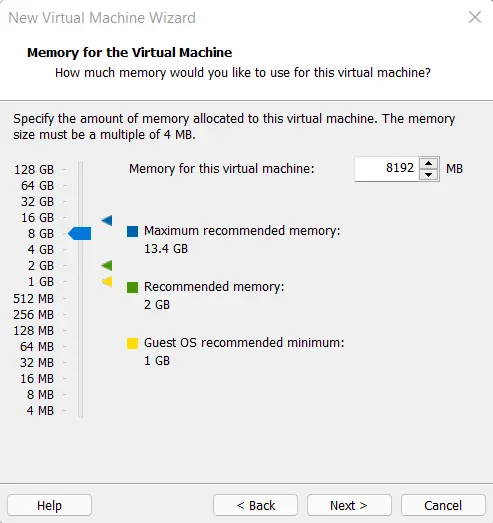
You need to provide 4 GB of RAM for Windows 11 to work fine. I will provide 8 GB of memory for my virtual machine, and then click on Next.
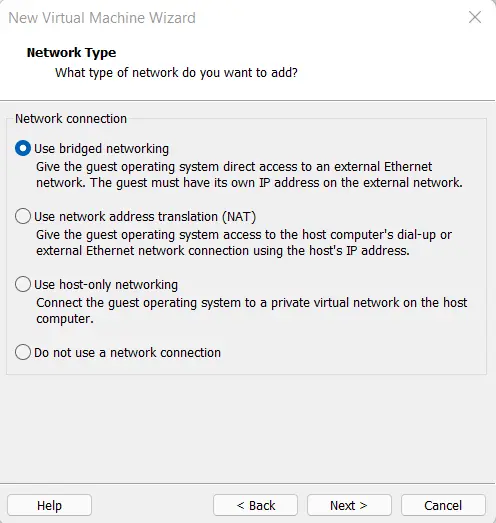
Select the new virtual machine network connection type and then click next.
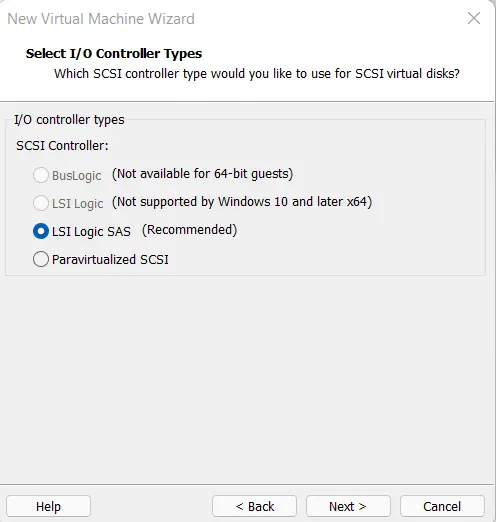
Leave it as the default setting for the I/O controller type and click next.
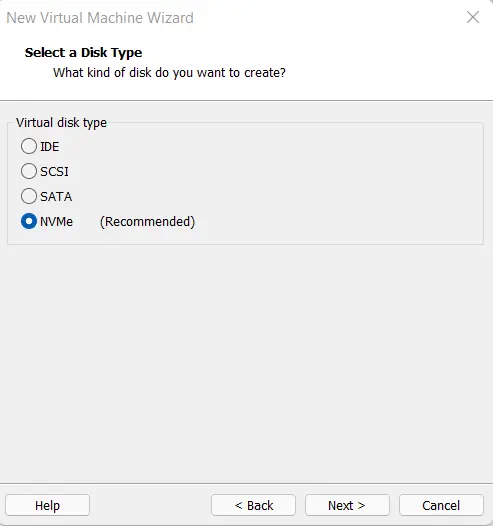
Choose the disk type as NVMe (recommended) and click on Next.
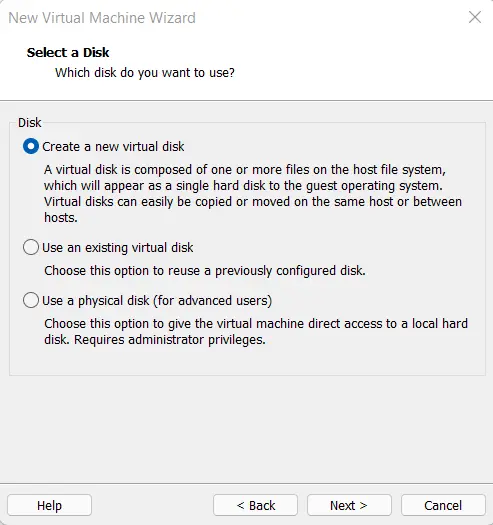
Tick the checkbox to create a new virtual disk and click next.
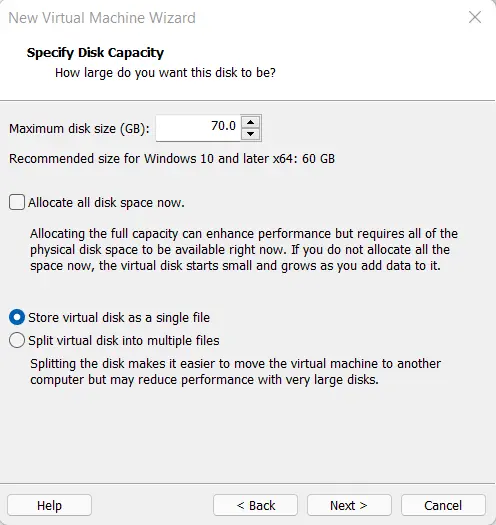
Specify disk capacity for your virtual machine, choose to store the virtual disk as a single file, and click next.
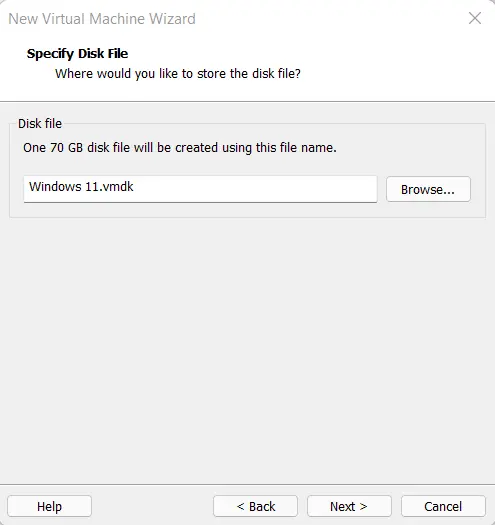
Specify the new virtual machine disk file and click next.
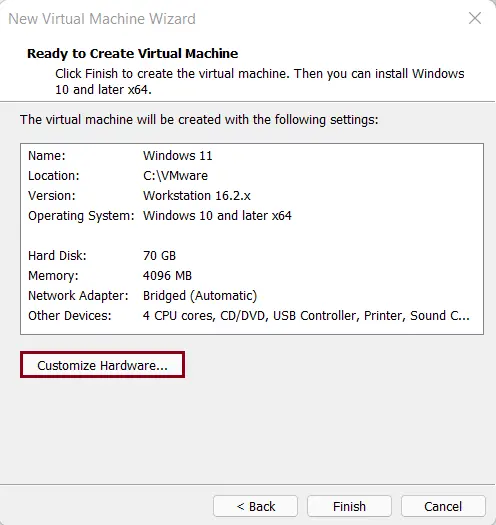
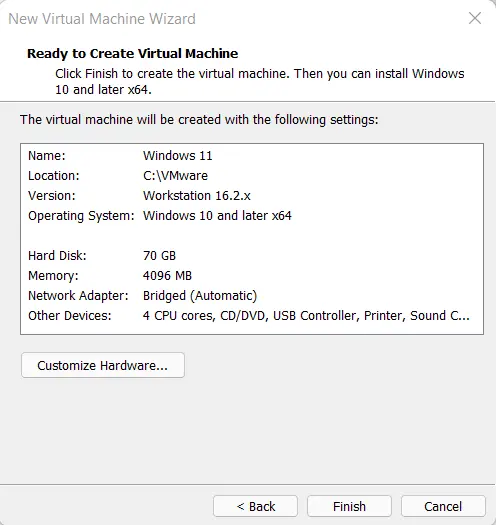
On the Ready to Create a Virtual Machine page, select the customized hardware.
Attach the Windows 11 ISO Image
Attach the Windows 11 ISO file, so click on the new CD/DVD.
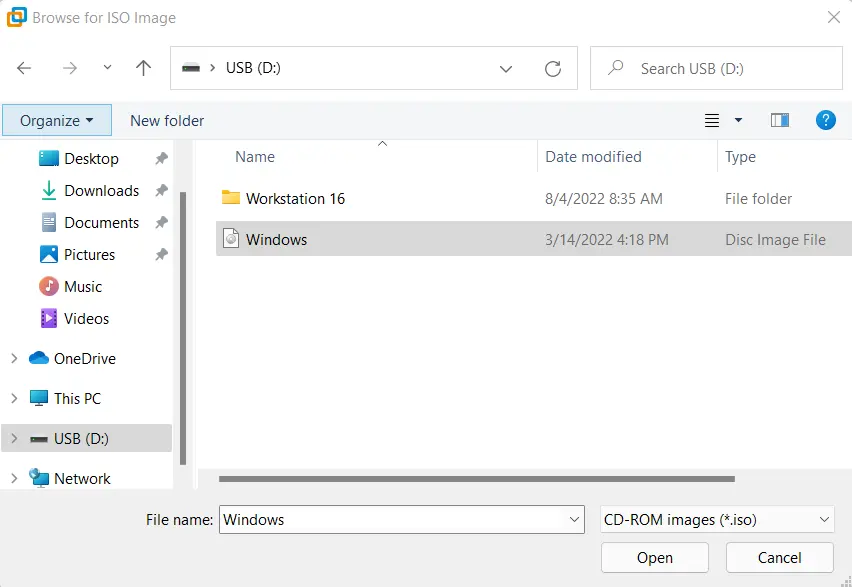
From your left side, choose the checkbox Use ISO image file, and click on the Browse button to attach the Windows 11 ISO image.

Choose Windows 11 ISO and click Open.
Click close
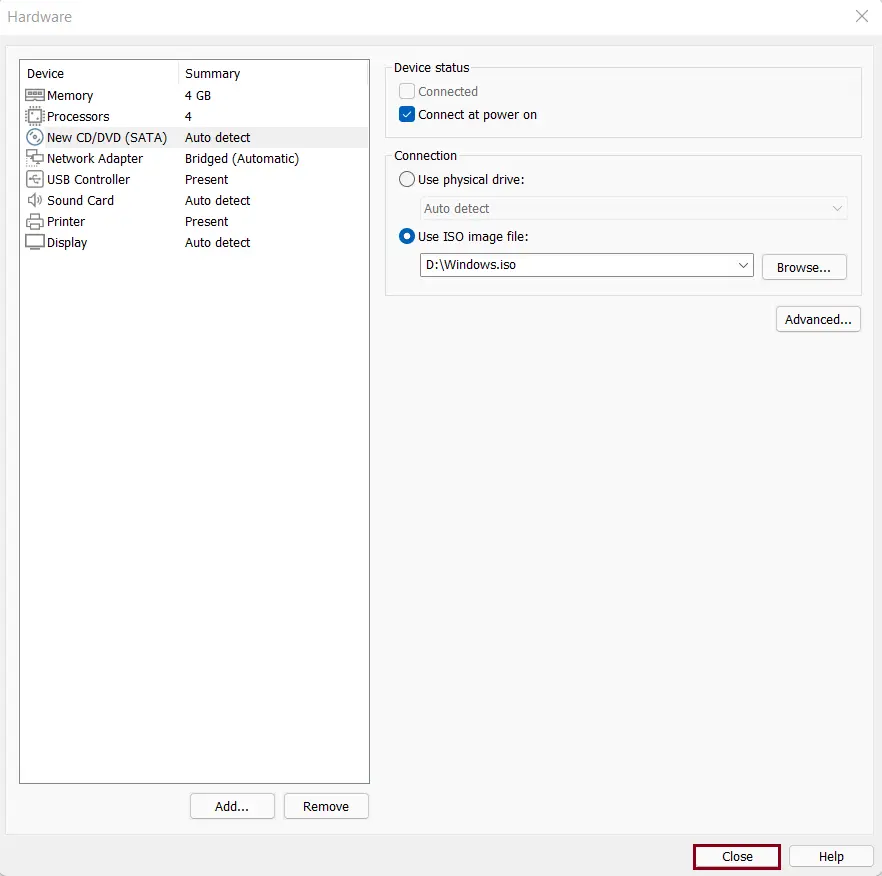
After attaching the ISO file, click on Close to create a virtual machine for VMware Workstation.
Choose to power on this virtual machine to install Windows 11 on a VMware workstation.

