
This article describes how to enable telnet in Windows Server 2019. One of these protocols is Telnet, which has been used in operating systems for a long time and allows administrators and users to access multiple additional features for files or internal and external communication. Telnet (Teletype Network) is a protocol that functions as a command-line interface to enable direct communication with a remote device or server for the purpose of performing administrative or support tasks.
Telnet connections utilize the Transmission Control Protocol (TCP), which enables the connection to transmit data with Telnet control interleaved between the devices to be utilized in the process. With Telnet, it is possible.
Table of Contents
Telnet connections
Manage databases
Manage servers and networks centrally
Act with application on other computers and servers
Telnet in Windows Server 2019
When using Telnet in Windows Server 2019, it is possible to perform the following commands:
Open hostname: It will remotely establish an additional connection to the specified host.
Quit: terminates the Telnet client and all active connections.
Logout: forced to terminate the current Telnet session.
Mode type: set the transfer mode (binary file, text file)
? Displays Telnet help
Close: close the current Telnet session
Display argument: allows the display of the connection’s parameters (port, terminal type, etc.).
Send argument: The task is to send the telnet strings to the host.
Set argument: Set connection parameters
Unset: This value loads the default connection parameters.
Follow the steps below to enable Telnet in Windows Server 2019.
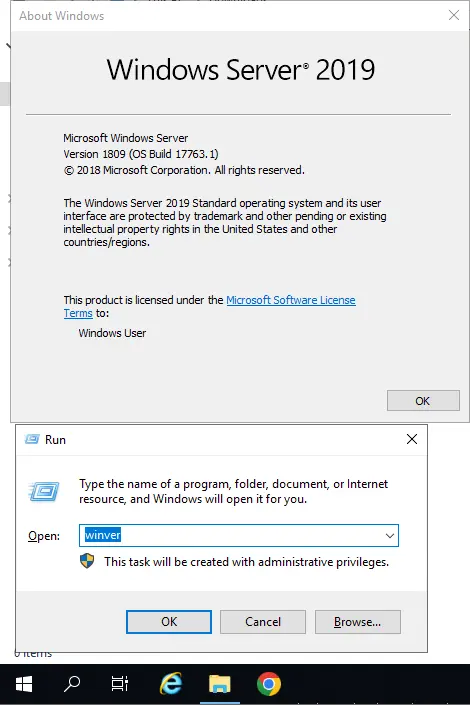
To verify the Windows Server version, type winver in the run command.
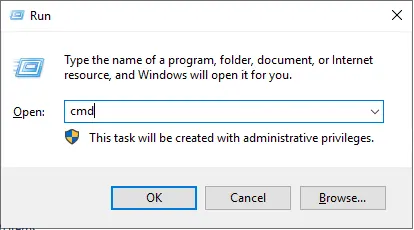
To access the command prompt, type CMD in the run box to open it.
In the console, we execute telnet google.com:80

You can see that Telnet isn’t recognized as a command on the server.
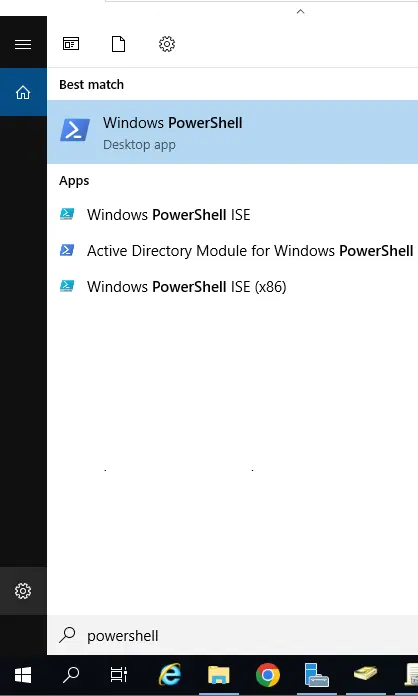
Search PowerShell in Windows to open PowerShell as an administrator.
Enable Telnet in Windows Server 2019
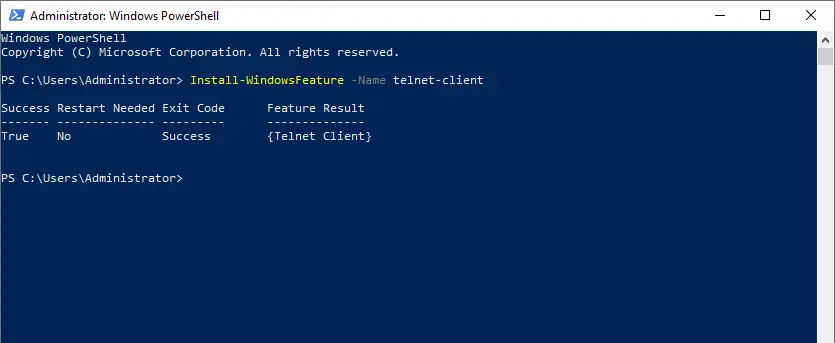
Enter the below command in PowerShell to enable telnet.
Install-WindowsFeature -name Telnet-Client
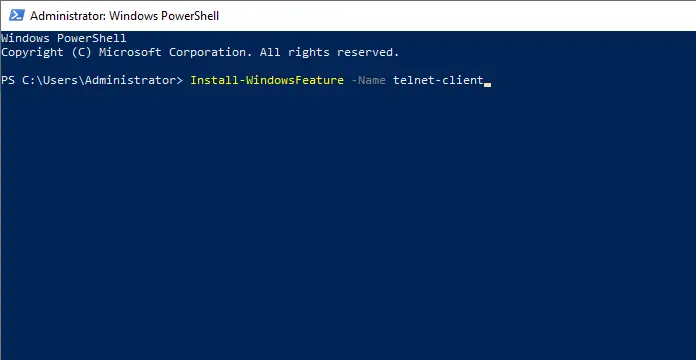
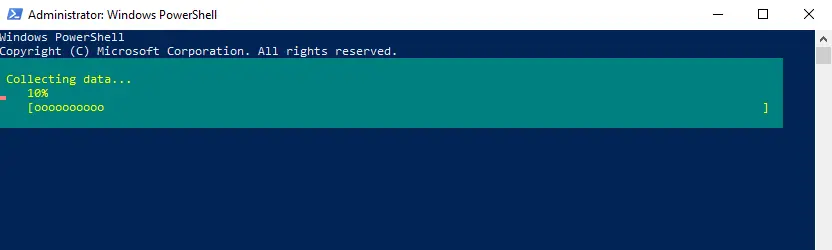
Enabling telnet.
Successfully installed telnet.
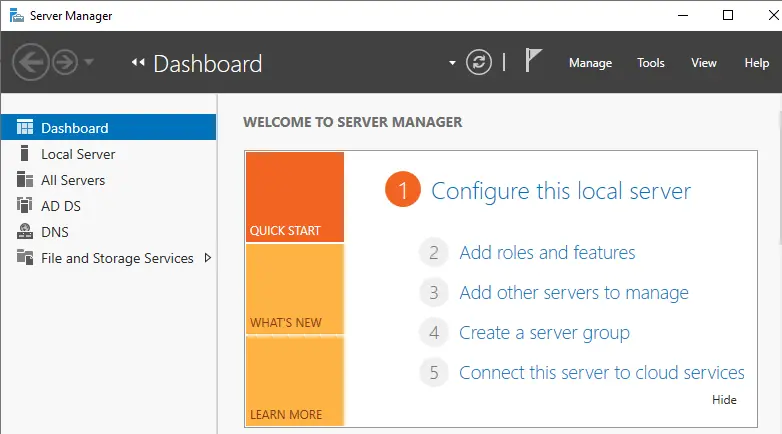
Install Telnet on Windows Server GUI
Go to the Server Manager and click on Add Roles and Features.
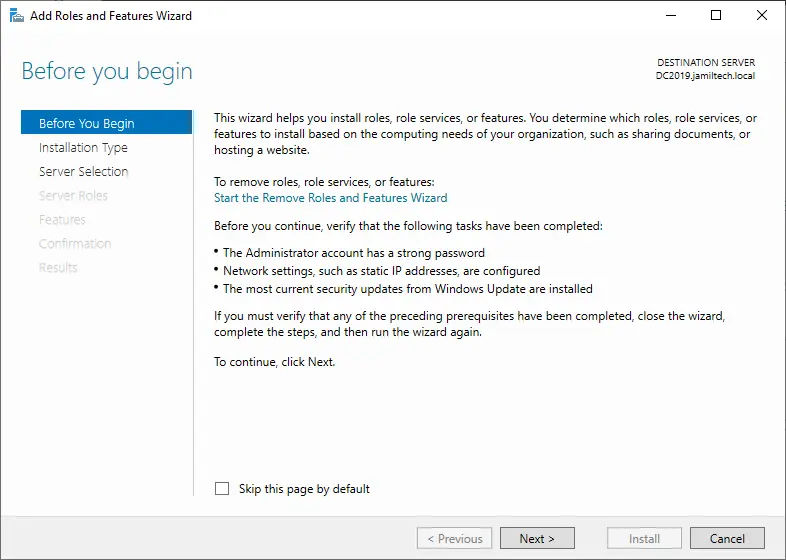
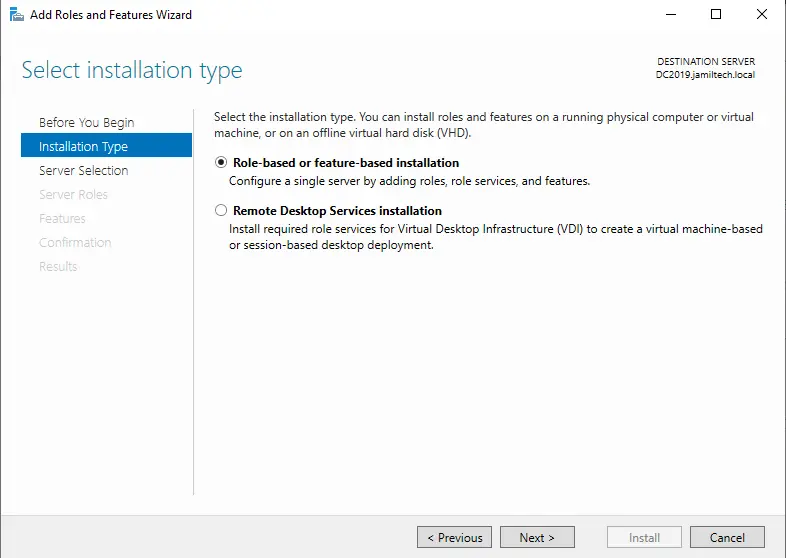
The following wizard will open; click next.
Choose “role-based or feature-based installation and click next.
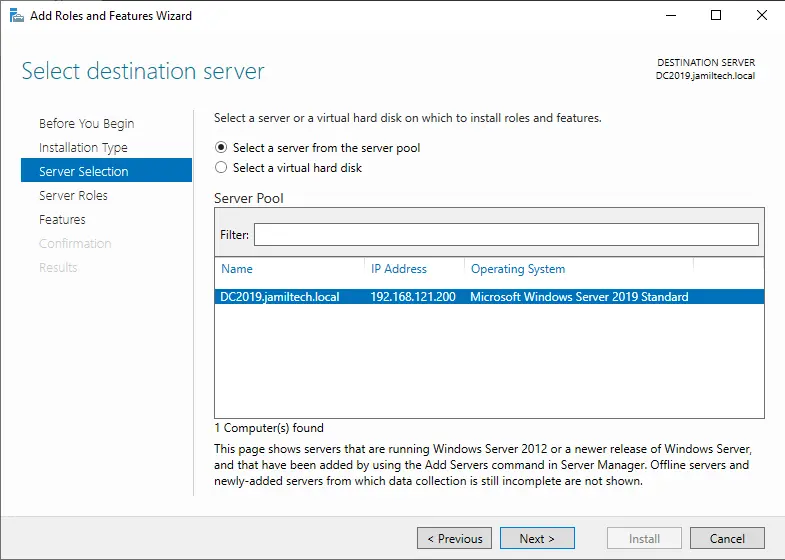
Now select the server and click next.
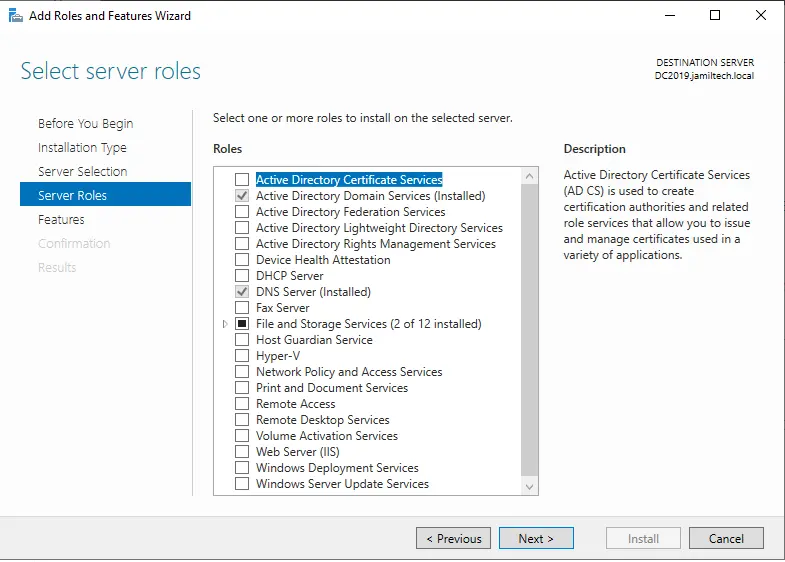
Click next.
In the “Features” section, ensure that the “Telnet Client” checkbox is active; if it is not, activate it and proceed.

Now go back to the command prompt and type “telnet”, You will see the following:.
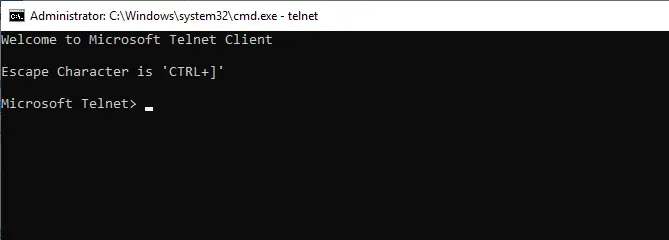
You can now see that we have access to Telnet, and it will be possible to manage connections as required.
Refer to this article for information on how to enable telnet on Windows.
