In this article, we will learn how to create new mailbox Database Exchange Server 2019. After successfully installing the Exchange Server 2019, the next step is to create a new mailbox database to store various types of mailboxes and related data. We wish to create a new mailbox database in Exchange Server 2019. After that, we can create new user mailboxes in the database. In this article, you will learn how to create a mailbox database on Microsoft Exchange Server. Refer to this article to learn more about creating a Mailbox database.
Table of Contents
Create New Mailbox Database via Exchange Admin Center
Sign into your Exchange Admin Center (EAC).
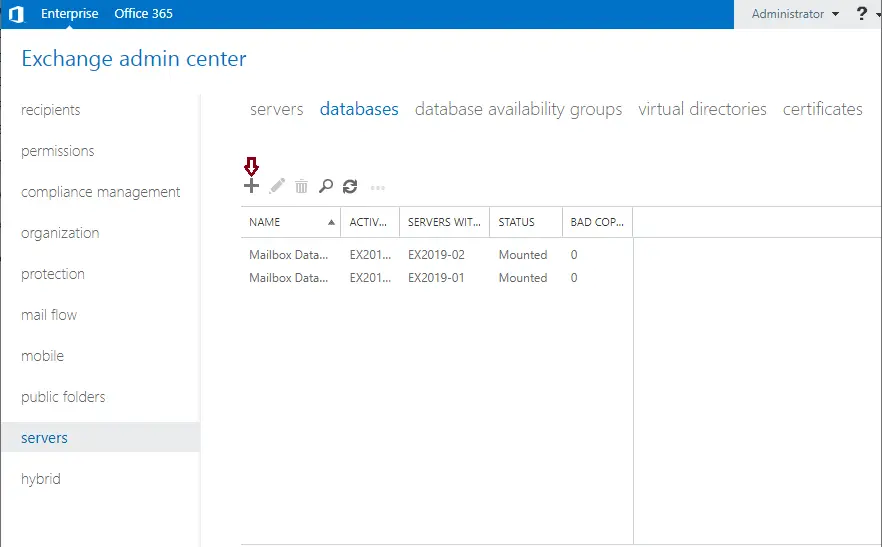
Go to the server’s options and click on the databases tab.
Select the + icon to create a new database.
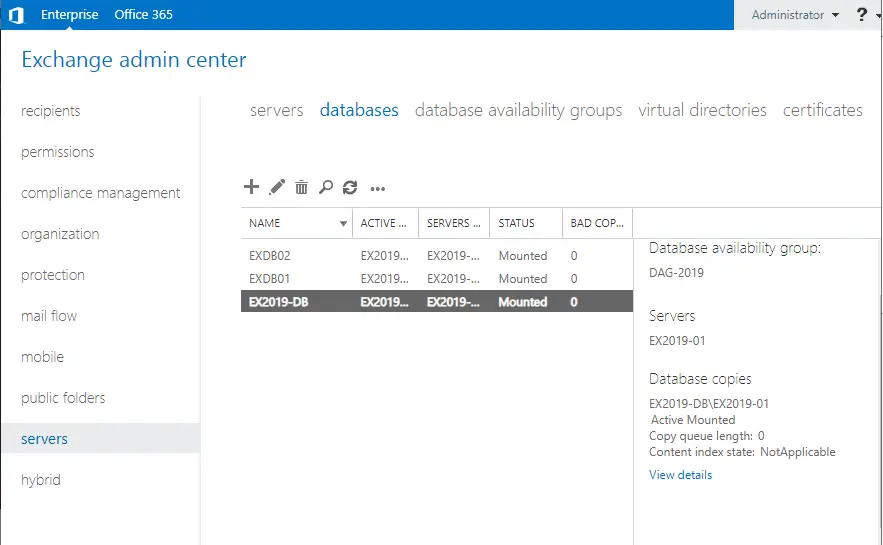
In our instance, there are already two databases.
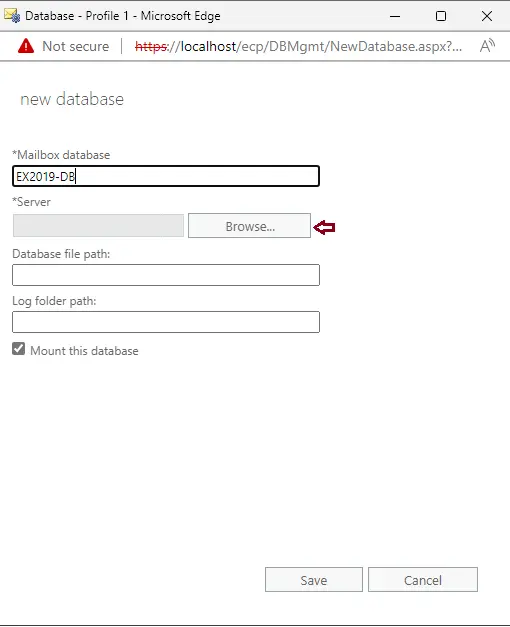
Type a new database name, and next to the Server option, click on the Browse button.
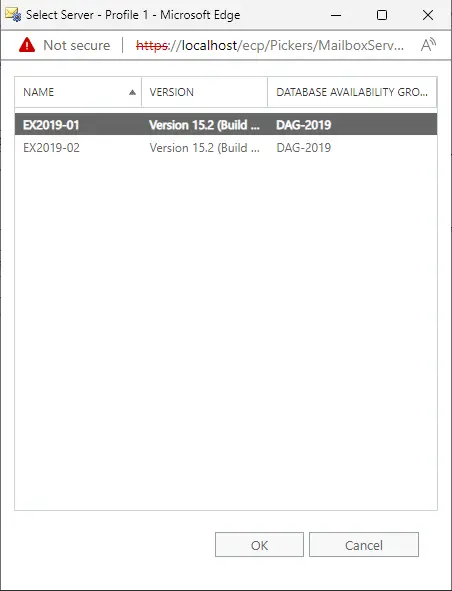
Choose the Exchange server where you would like to create a new database, and then click OK.
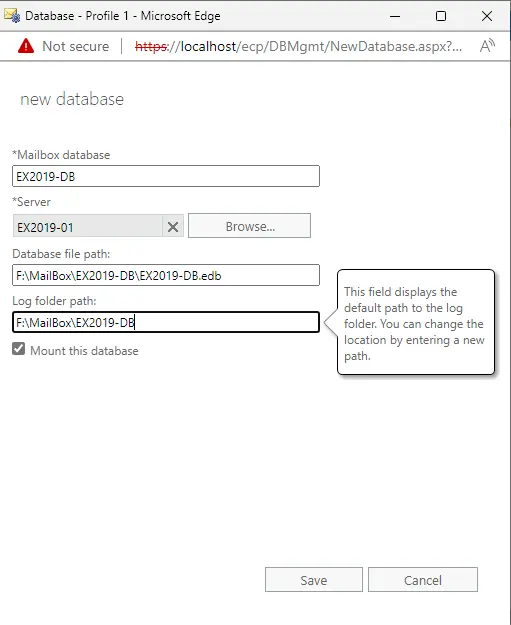
Choose the database file and log folder paths, and then click save.
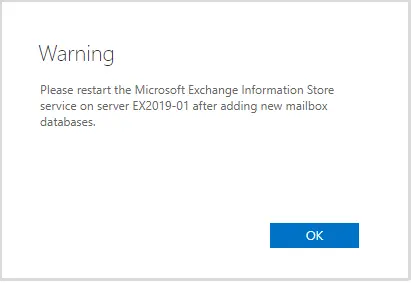
A new warning message will pop up. This warning shouldn’t be ignored.
Restart the “Microsoft Exchange Information Store Service” on your Exchange server after adding new Mailbox databases. Click ok.
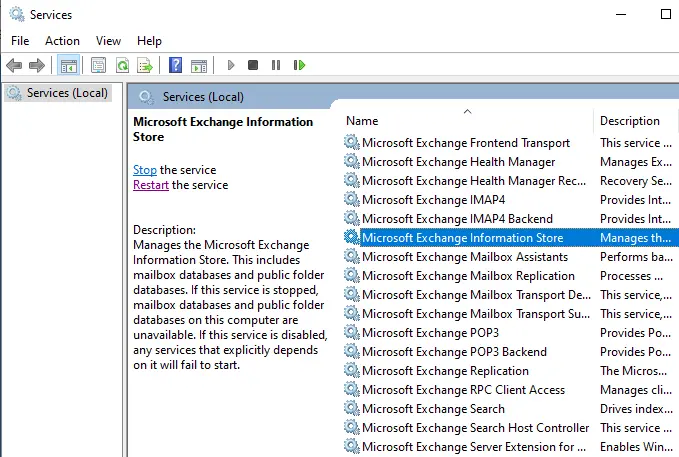
Open services by typing services.msc in the run box, and then restart the Microsoft Exchange Information Store service.
Now you can see that a new database has been created and mounted after restarting the service.
How to Verify Database and Log Folder
The new database was created successfully, and both folders look great.
Let’s have a look at File Explorer in the configured log folder, database folder, and log folder.
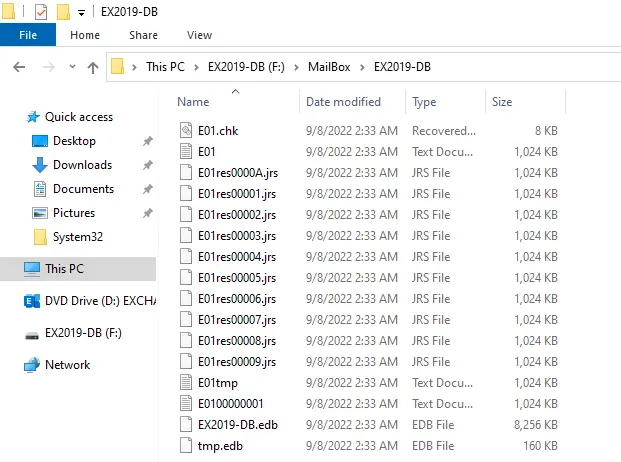
Now we are ready to create new mailboxes in the recently created mailbox database in Microsoft Exchange Server 2019.
Related: How to Add Database Copy in Exchange Server 2019
Conclusion:
You learned how to create a mailbox database in Exchange Server 2019. First, you configure the Refs volumes, and after that, you create the new database on these volumes.

