Let’s have a look at how to create new project in Android Studio. We can create a new project to create a new mobile app for Android, which is also very important. Take our article and follow the below couple of simple steps. When starting your journey to become an Android developer, the very first thing you really learn is how to start an Android Studio project. All items considered, these steps aren’t to be taken, likely because this is the place where you choose and configure the necessary foundations for your Android Studio project.
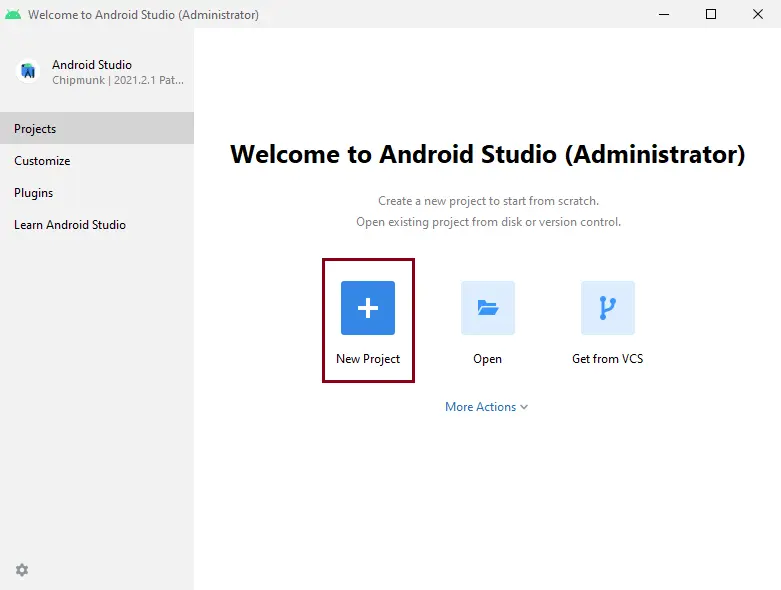
After installing Android Studio and running it for the first time, a number of options are displayed, as shown in the below picture.
Table of Contents
Here is the guide to starting and setting up a new Android project in Android Studio.
Create New Project in Android Studio
Click on New Project to start a new Android project.
Or from the Android main interface, click on the file menu, New, and then New project.
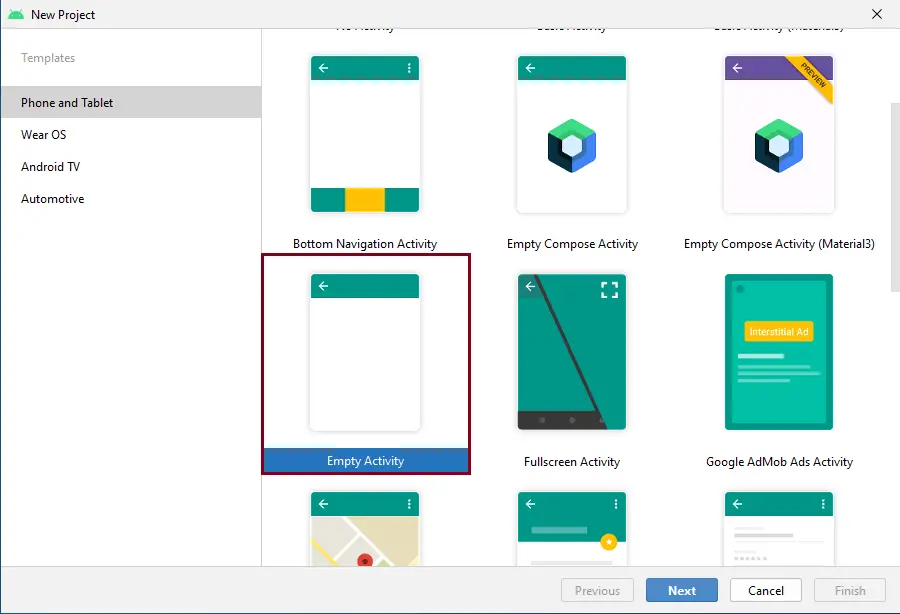
First, we need to decide on what type of Android device we need to develop our applications on. Our options are phone and tablet, Wear OS, Android TV, and automotive. For instance, I am going to select the Phone and Tablet option and then start an Android Studio project for a phone. In the field below, please ensure you choose an empty activity.
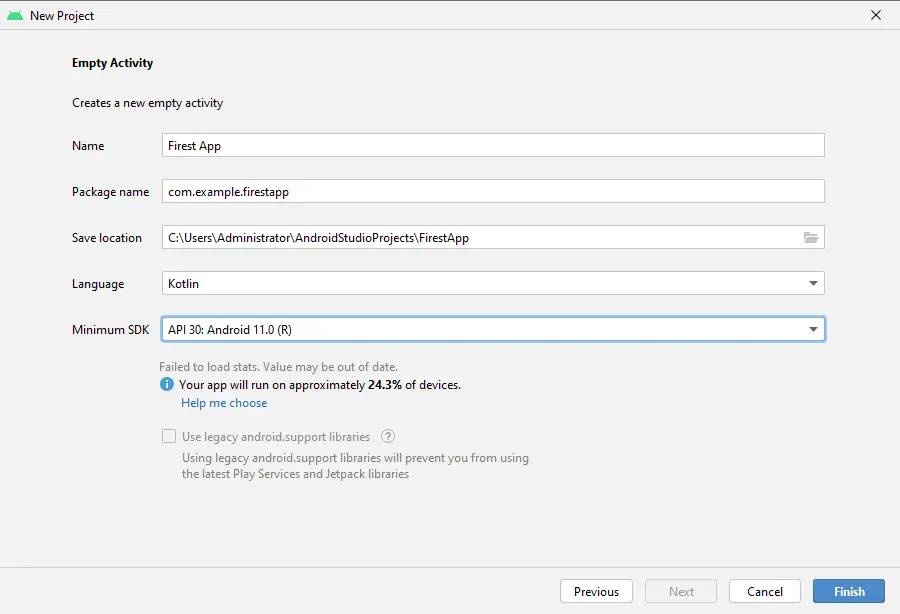
By default, the application name displays as MyApplication. Fill in the application name field, and leave the other fields at their default values.
New Project SDK Settings
Then choose the Minimum SDK to choose the operating system that should be the last version to run your application; here, API 30 Android 11 is the Minimum SDK, and tablets and phones with versions lower than this OS won’t be able to run your application. Click on next.
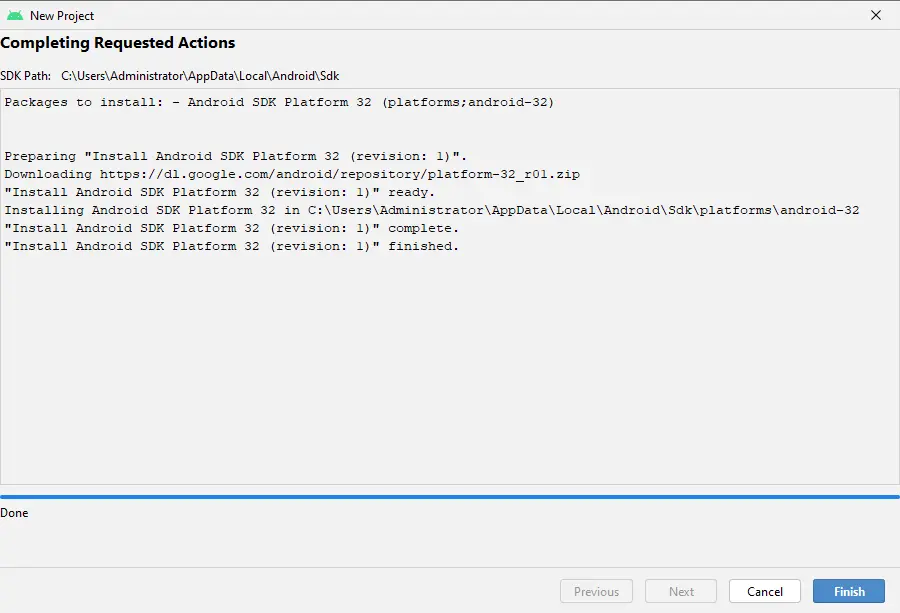
Now it starts downloading
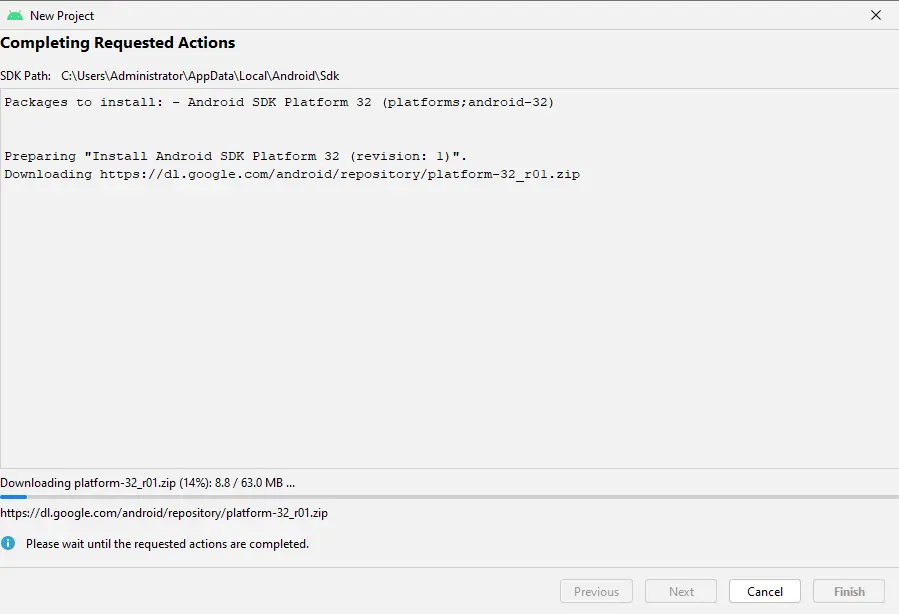
After completing the requested action, click next.
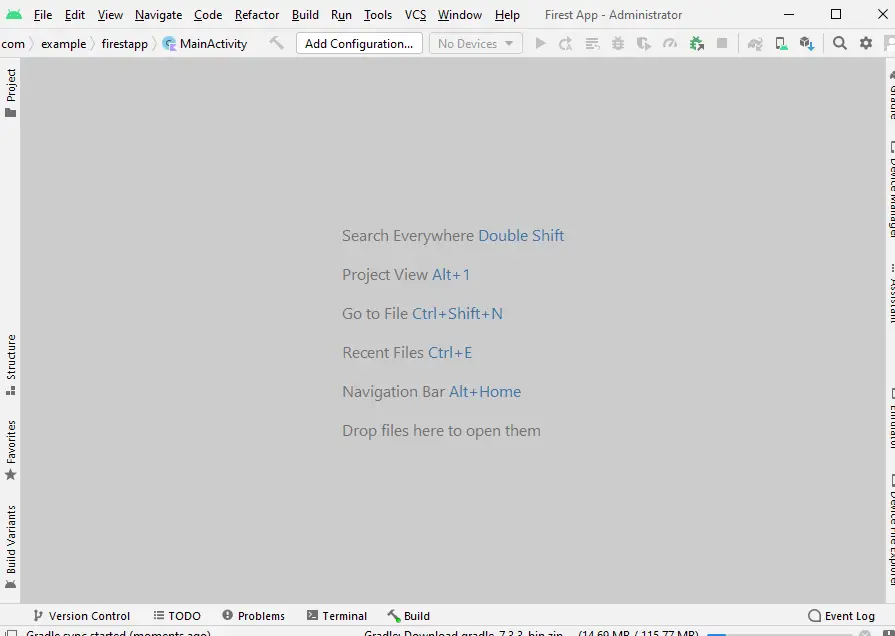
Your first App Administrator
Follow this article on how to Configure Android Studio


