
In this article, I will install Bitnami WordPress Stack on Windows. Bitnami provides you with a pre-configured WordPress blog that you can initiate using right away. But WordPress is just an instance. There are lots of other Bitnami software programs to select from, and they are all equally easy to set up. Follow the steps below to host WordPress locally.
Table of Contents
Introduction
Bitnami WordPress is a software stack that combines MySQL, PHP, and Apache (AMP) to provide efficient web hosting capabilities. By installing Bitnami WordPress, you not only get a local web host but also the necessary additional software. In essence, the Bitnami WordPress Stack offers an uncomplicated solution for hosting various open-source publishing applications, such as WordPress, on your computer.
When we install WordPress locally using Bitnami, all your website files will be saved on your own system, which means only you will be able to access this website. It’s a perfect way for WordPress users to start learning and creating websites for free. Also, once you need to set up your website locally, you can move it to a live platform.
Install Bitnami for WordPress
Login and start using WordPress
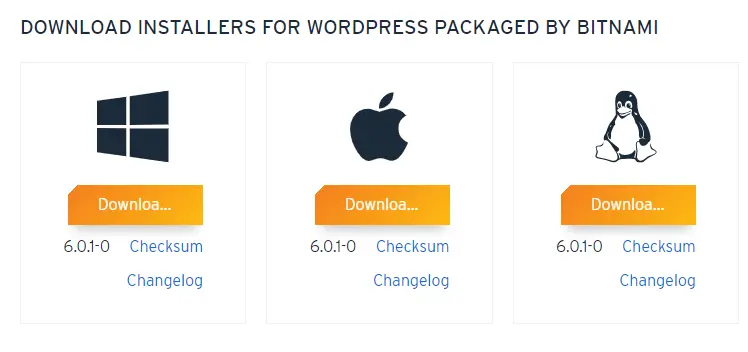
Download Bitnami WordPress installers from their official Bitnami Website.
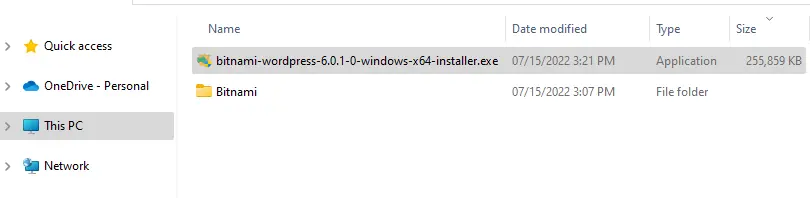
Run the Bitnami WordPress installation file to start the Bitnami for WordPress process.
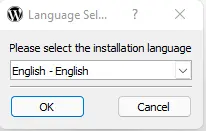
Select the installation language, and then choose OK.
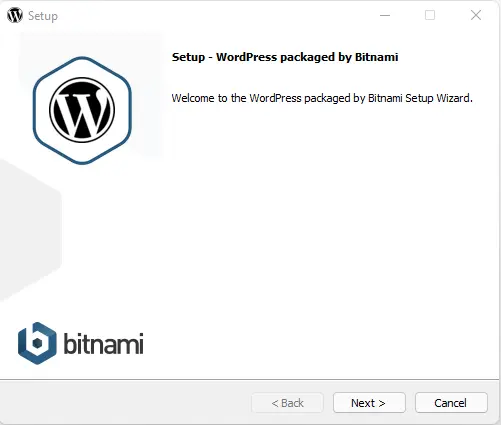
Setup – WordPress is packaged by Binami; click next.
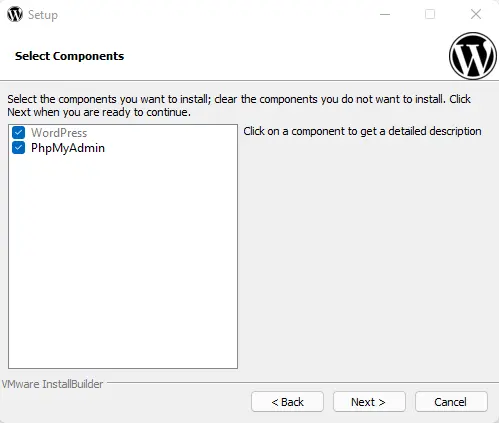
Bitnami setup, select the component page, and you can install WordPress local and PhpMyAdmin. Click next to proceed.
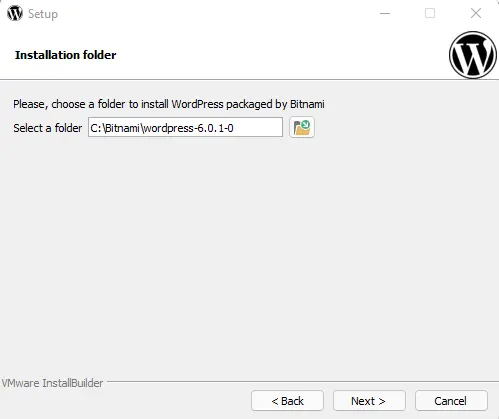
Choose the installation folder for the local WordPress installation, and then click next.
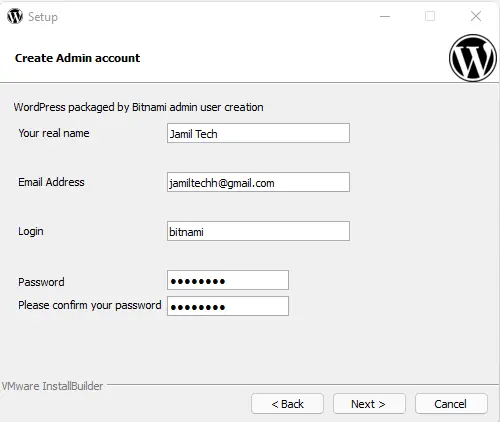
Enter your Bitnami WordPress name and email address.
The WordPress login name and password. These settings will be needed to log in to the WordPress admin panel, so note them carefully and then click next.
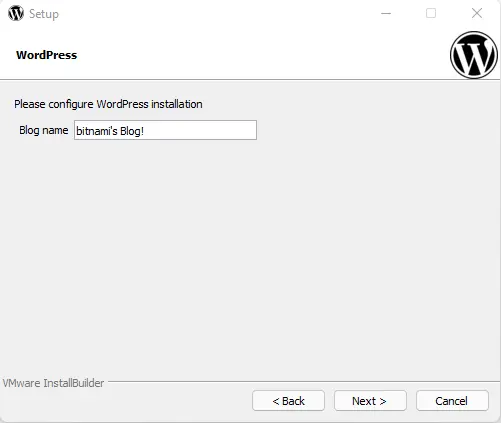
Type a unique name for your WordPress blog website (you can change it later), and then click next.
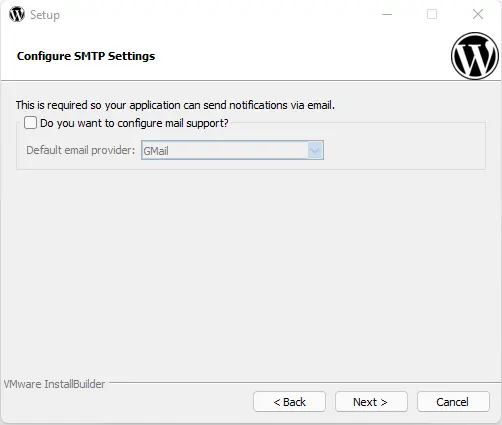
Configure SMTP settings or leave them as they are and click next.
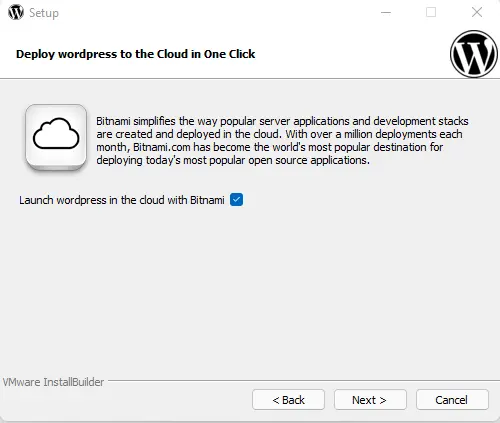
Deploy Bitnami WordPress; click next.
Install Bitnami WordPress Stack
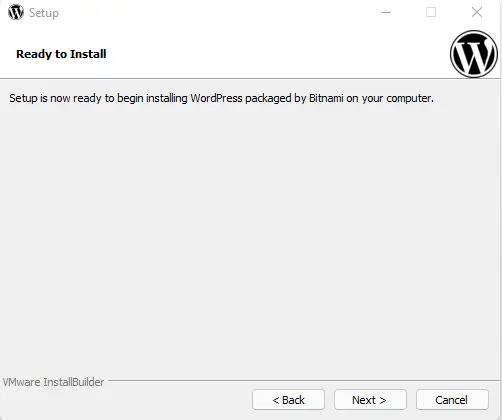
Ready to install Bitnami WordPress Cloud Hosting? Click on the Install button to begin the installation process.
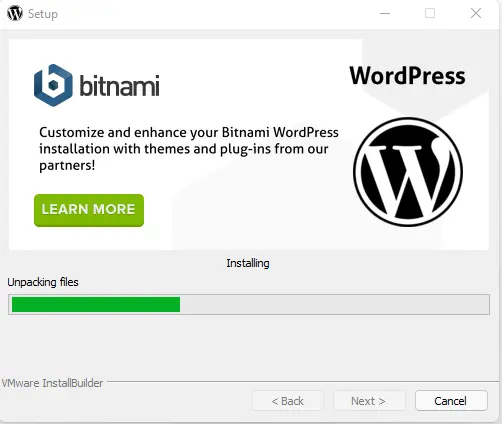
The Bitnami application will now start installing in the folder you specified. The Bitnami installation process usually takes a few minutes.
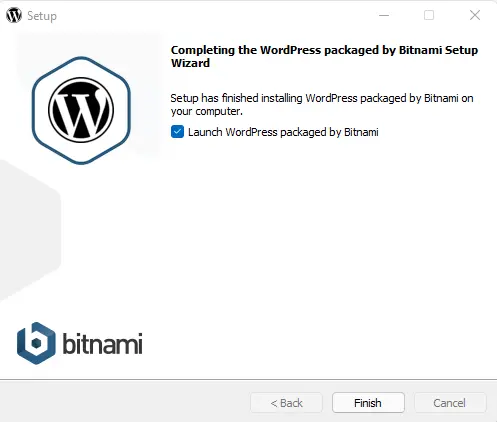
Once installation is done, you will see a success message. Click Finish to complete the installation and check the box to launch Bitnami-packaged WordPress.
This process will launch a new web browser with a welcome screen. Click the Access WordPress link.
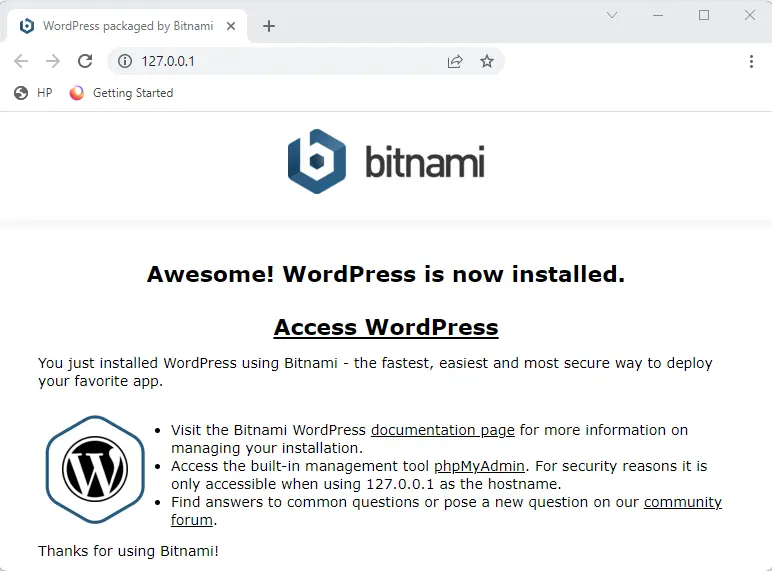
You can also access Bitnami WordPress by opening a web browser and typing the URL http://localhost:8080 or http://localhost (depending on which program you are using and whether you installed the stack as a regular user or an administrator) into the web browser address bar. You will be able to see the front page of your Bitnami WordPress blog with a sample post:
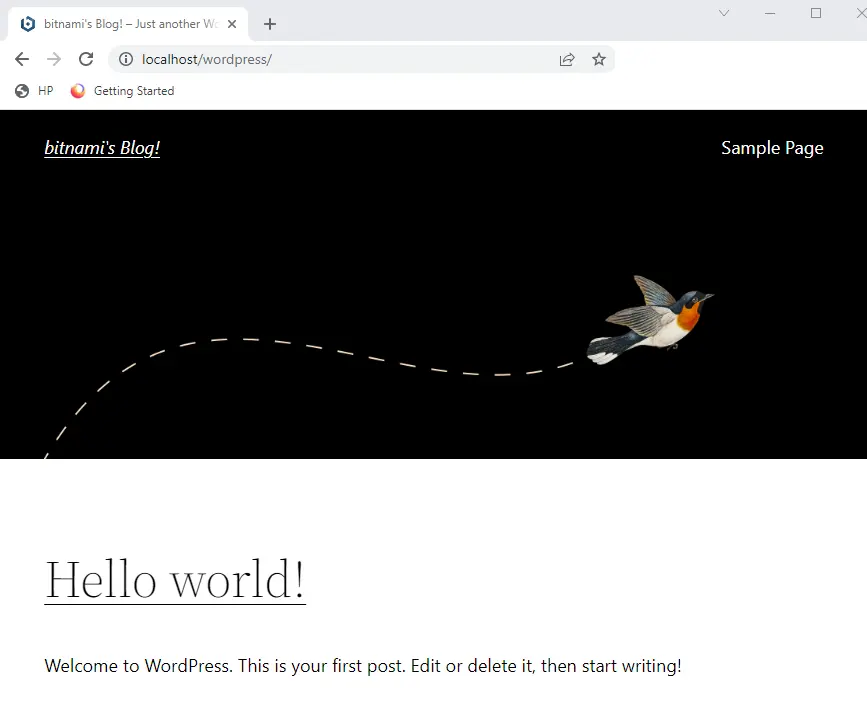
Congratulations! You have successfully installed the Bitnami WordPress blog in the cloud.
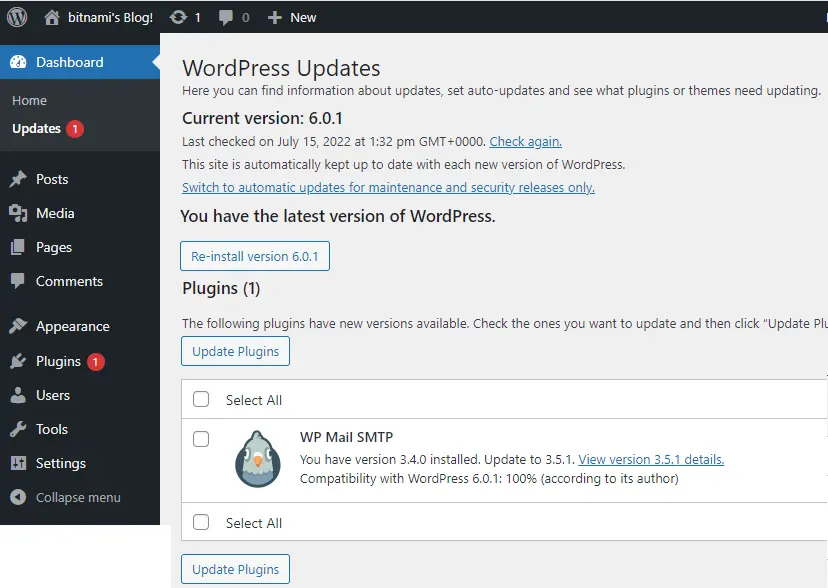
Review the page to see if WordPress needs any updates. If the update is available, you can click on Update Now to install it.
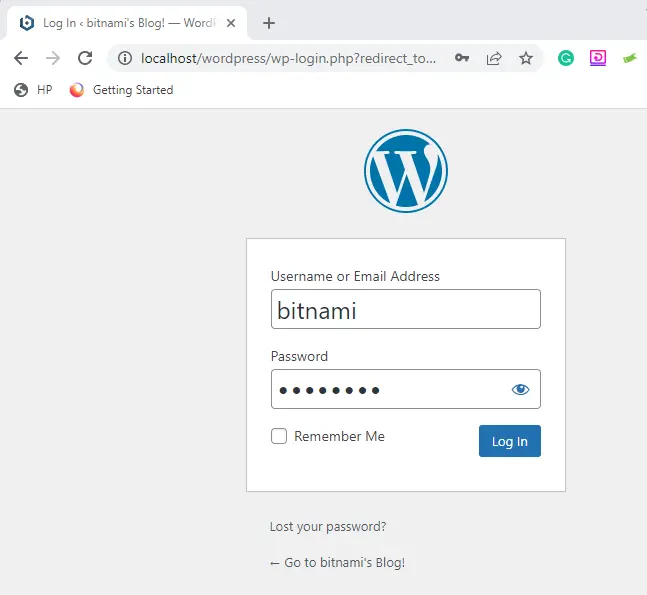
To log in with wp-admin
Type your Bitnami username and password.
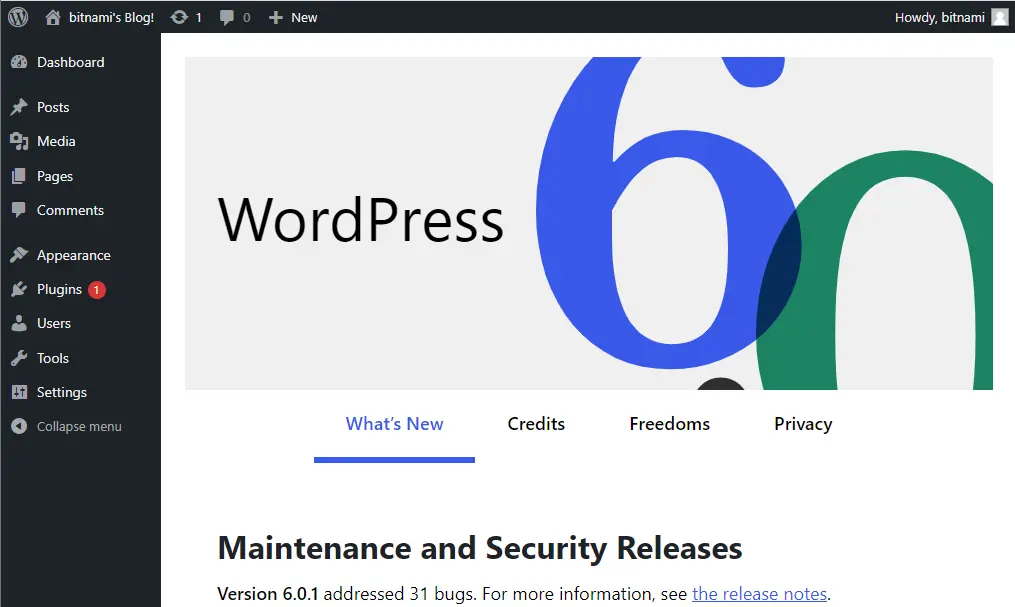
Now you have arrived at the Bitnami WordPress dashboard, which allows you to create posts, pages, and comments. You can customize your WordPress blog with plugins and themes.
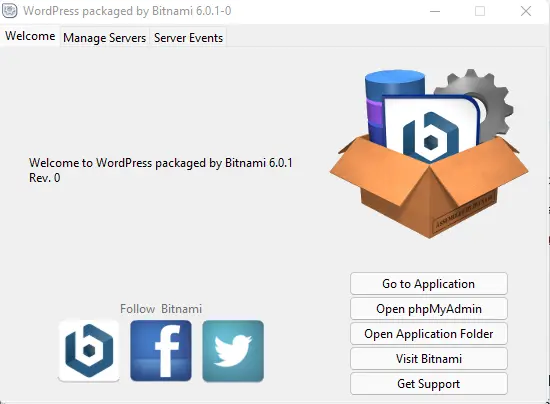
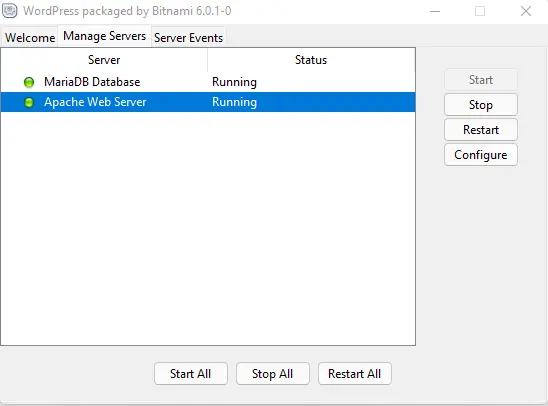
Bitnami installers include a graphical tool to manage the Web server and database. This application is named (manager-windows.exe) on Windows OS, (manager-osx) on macOS, or (manager-Linux-x64.run) on Linux and is placed in the installation folder. To use this application, double-click on the file, and then you can use the graphical interface.
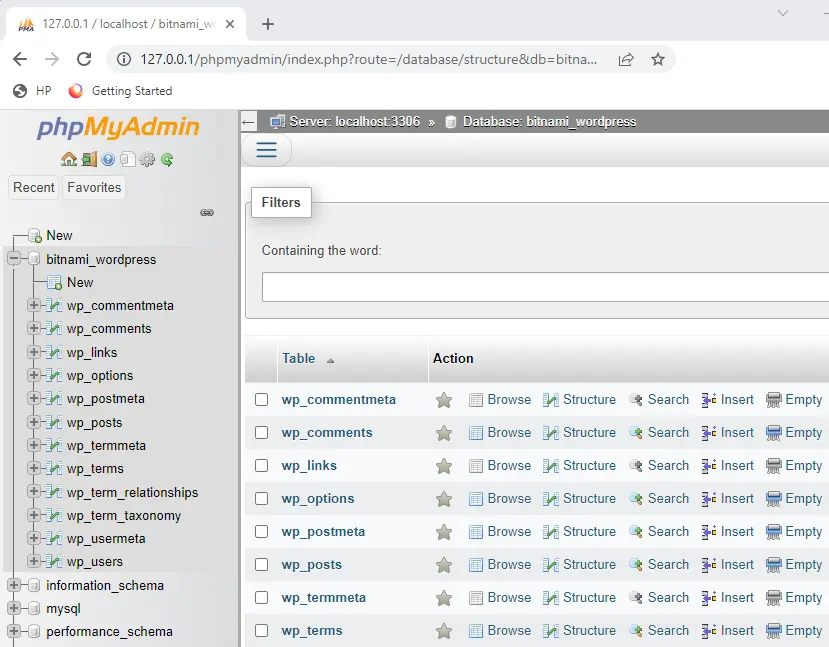
Bitnami WordPress Phpmyadmin login
Username: root
Password: user wp-admin login password
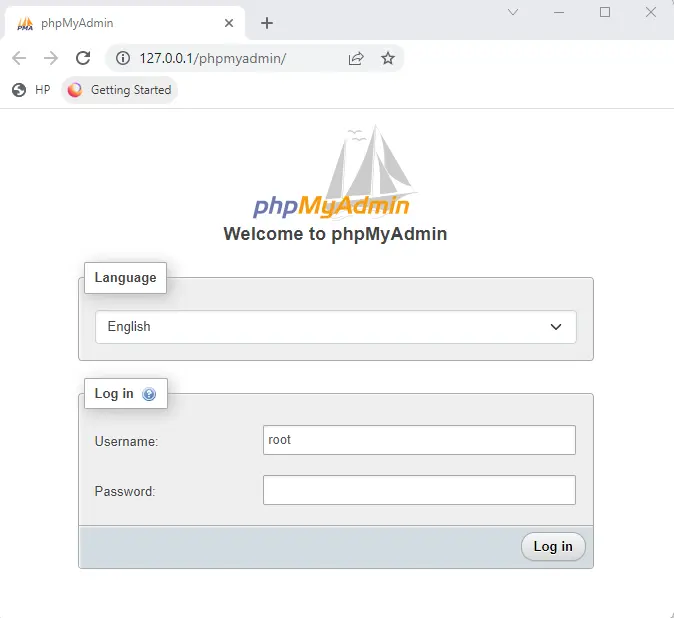
Bitnami WordPress phpMyAdmin
Under the Manage Server tab, you can start, restart, or stop the server.
Related: How to Remove Bitnami WordPress Stack
Refer to this article for more information on how to install WordPress with Bitnami.

