This article will walk you through install BlueStacks Android Emulator on your Windows system. You can download, install, and configure the Bluestacks Emulator on your computer. After installing BlueStacks, you can run games and Android apps on your system as if they were on an actual Android device.
If you’re looking to download and install BlueStacks Android Emulator on your Windows system, you’ve come to the right place. This article will guide you through the process of downloading, installing, and configuring the Bluestacks Emulator, allowing you to enjoy your favorite Android apps and games on your computer.
By default, the BlueStacks app player installs on the system C drive. Although you will be prompted to confirm the directory of the installation, you can change the install directory.
To install BlueStacks, follow the below steps:
Table of Contents
Download BlueStacks
Before you install BlueStacks 5, first visit BlueStacks to download bluestack 5 the latest version of BlueStacks. You can download BlueStacks 5 for PC.
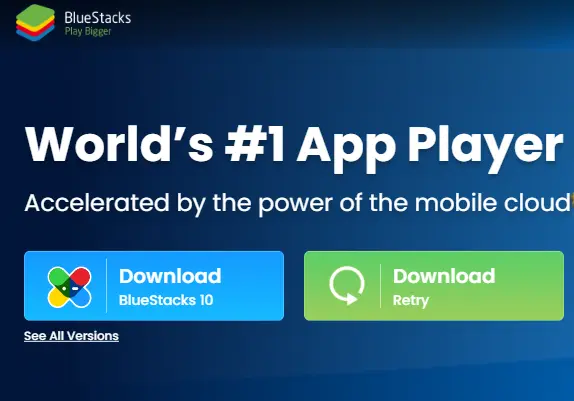
Install BlueStacks Android Emulator on Windows 10/11
The good news is that you can install it on both Windows 10 and Windows 11. Therefore, you can follow the steps given below on any Windows operating system and achieve favorable results.
After downloading the BlueStacks installer file, go to the download directory to find it. Double-click on the setup file to begin the BlueStacks installation.
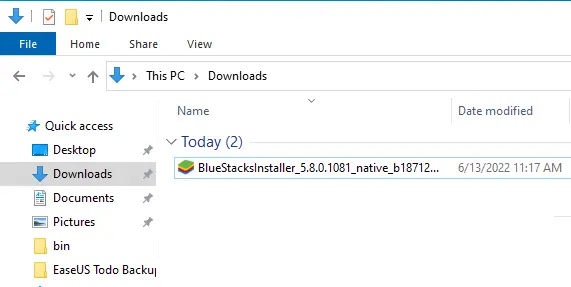
If you have the Offline Installer Downloaded, run it to begin the installation process.
By clicking on Customize Installation Options, you can customize the installation directory.
Click on the Install Now button to install the BlueStacks Android Emulator.
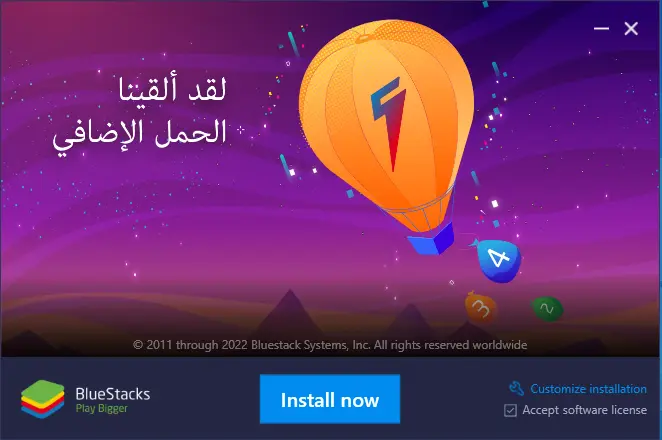
Now it starts downloading BlueStacks.
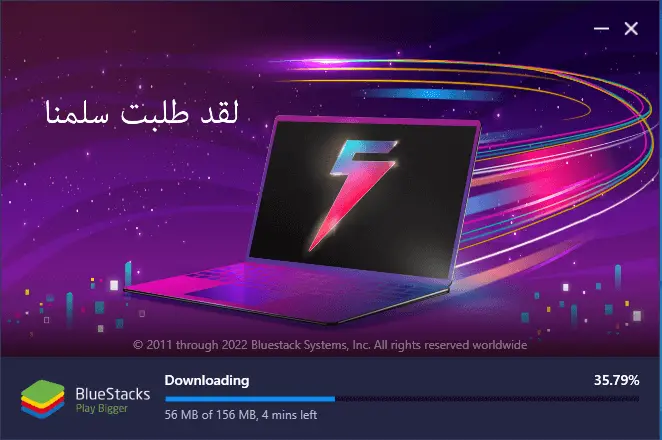
Installing BlueStacks
You need to wait until BlueStacks finishes installing on your Windows computer.
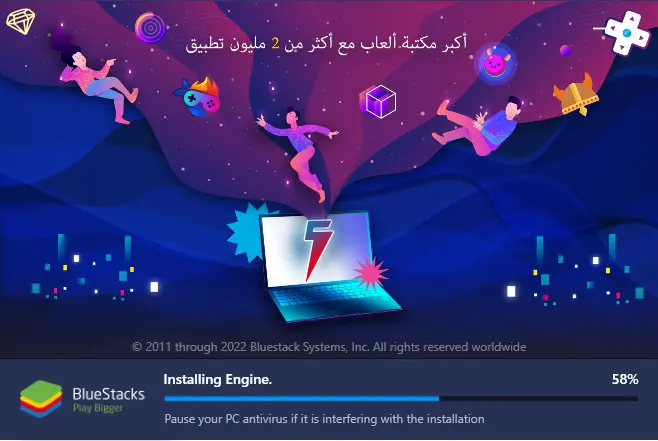
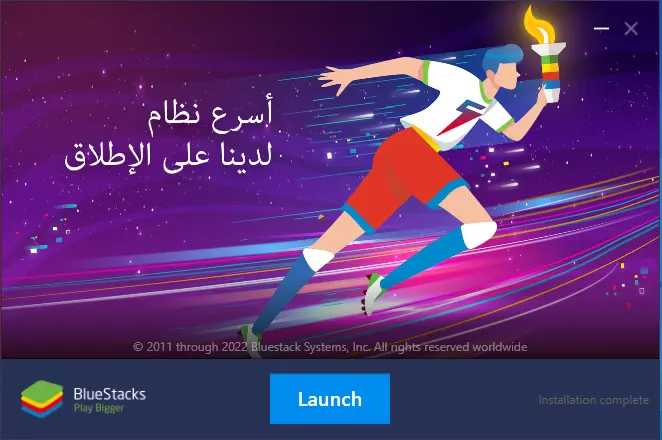
BlueStacks 5 is successfully installed. Click on the Launch button.
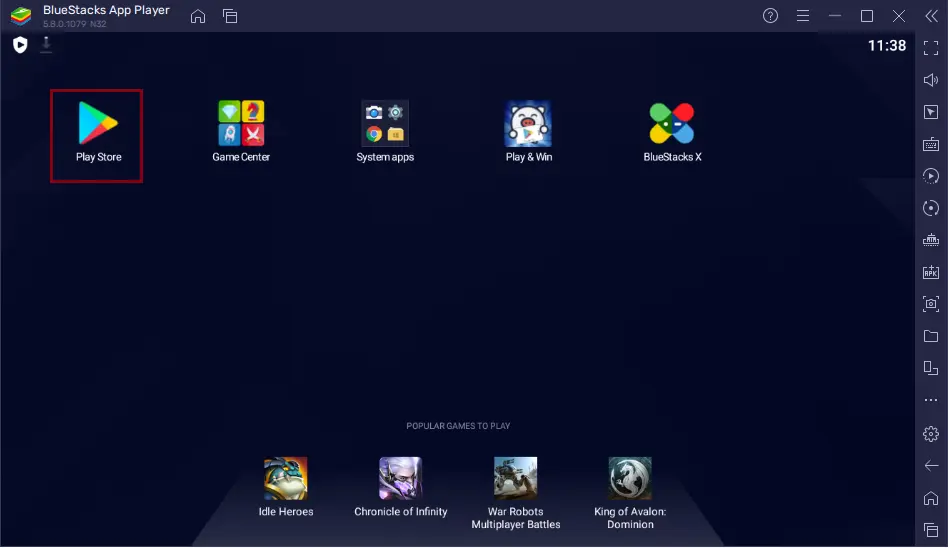
How to Configure Bluestacks 5
The last step after installing Bluestacks is to set up and then install apps. Launch the Google Play Store app.
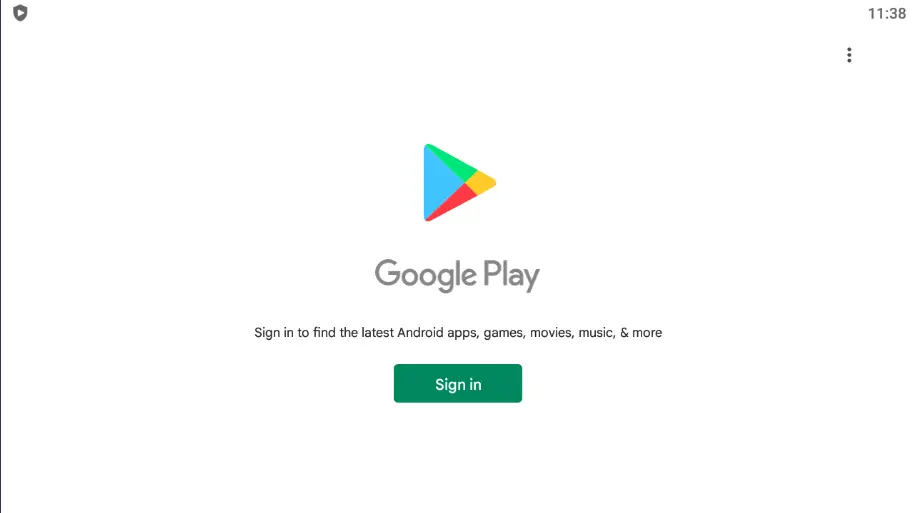
Next, click on sign in.
Add your Google account and then click Next.
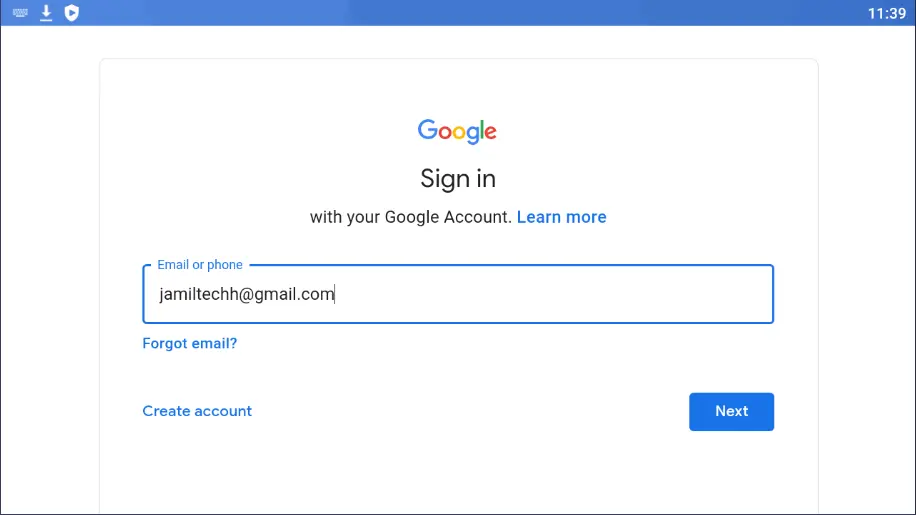
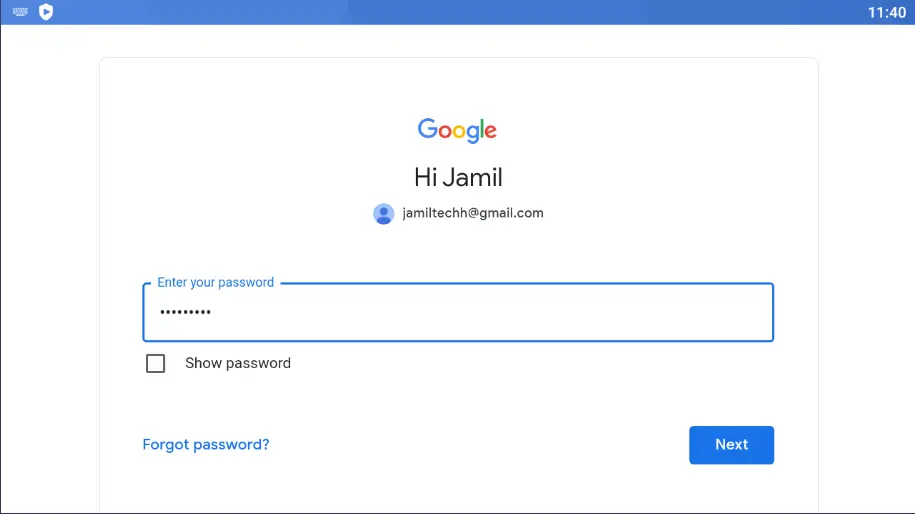
Add your password, and then click next.
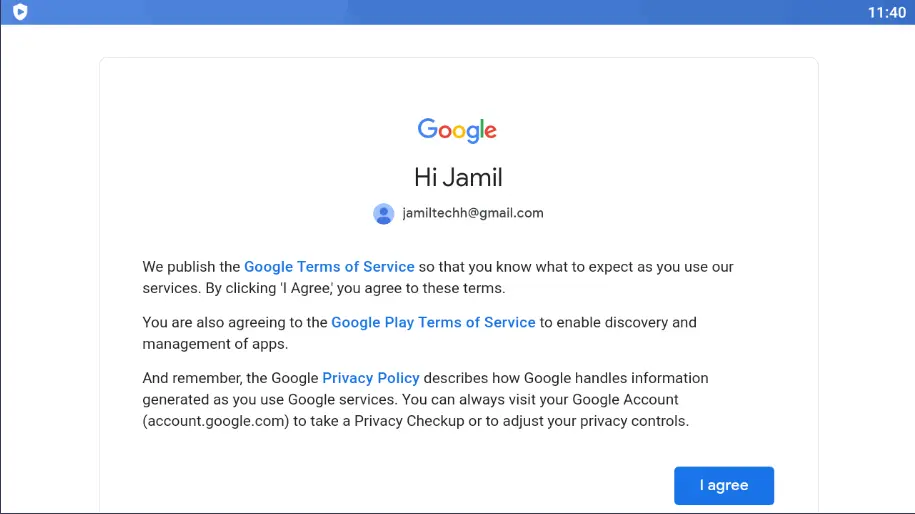
Click on I agree.
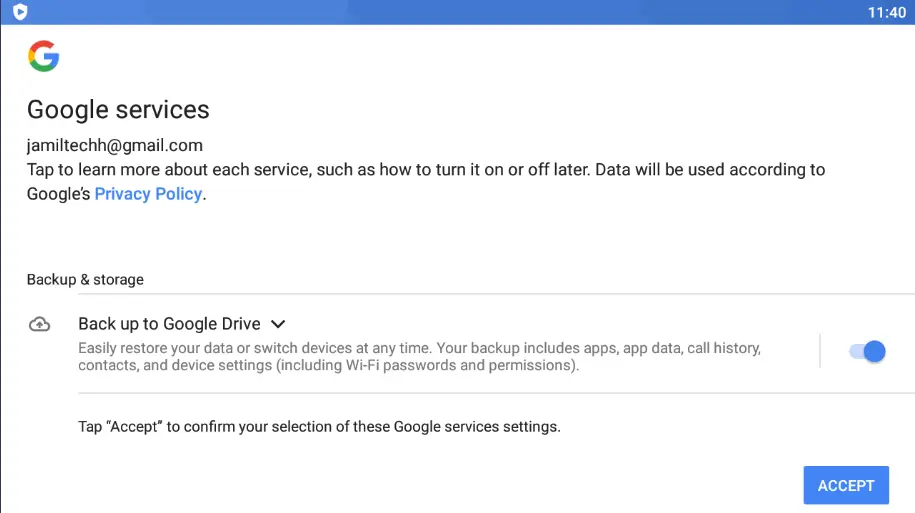
Choose to accept
After successfully signing into the Google Play Store, it will open the Google Play Store, where you can install apps and games.
Install WhatsApp on the BlueStacks Android Emulator
Click on WhatsApp
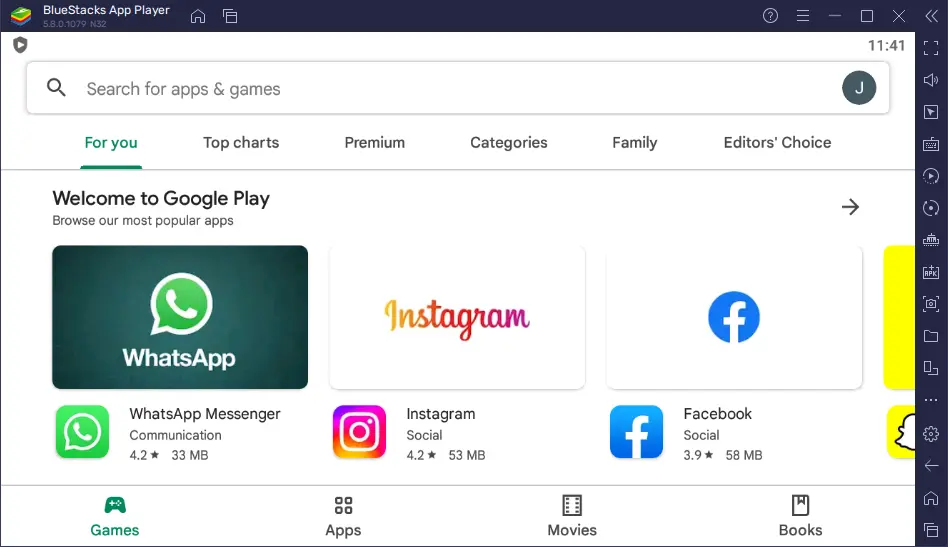
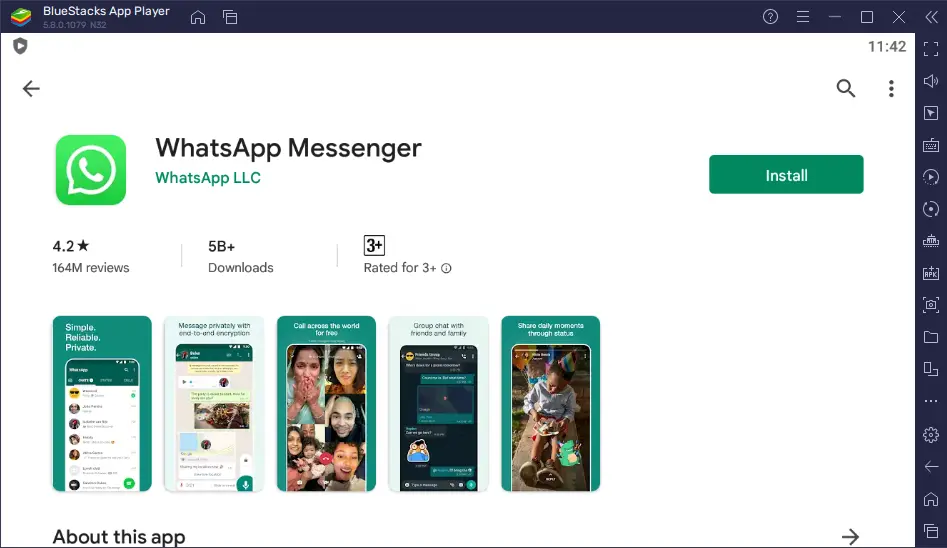
Click on the install button to install WhatsApp Messenger.
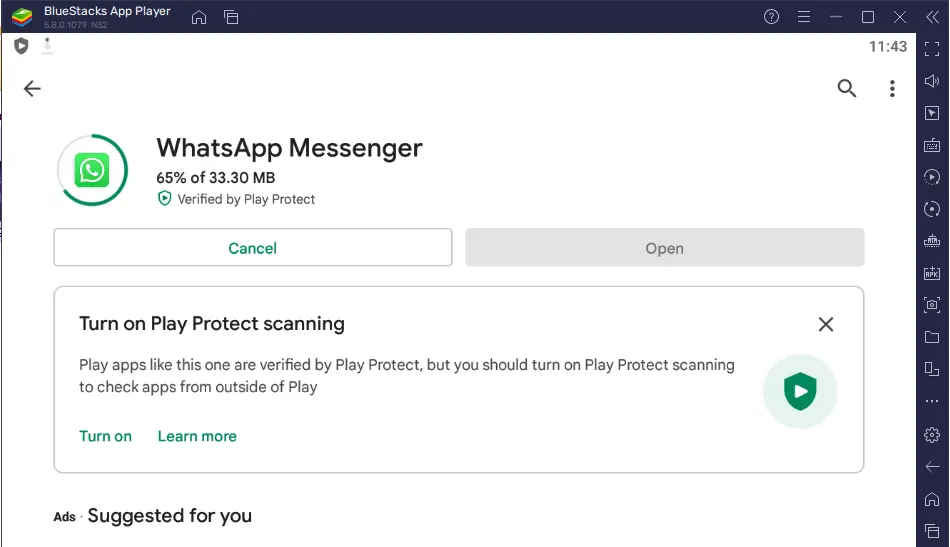
Installing WhatsApp on BlueStacks App Player.
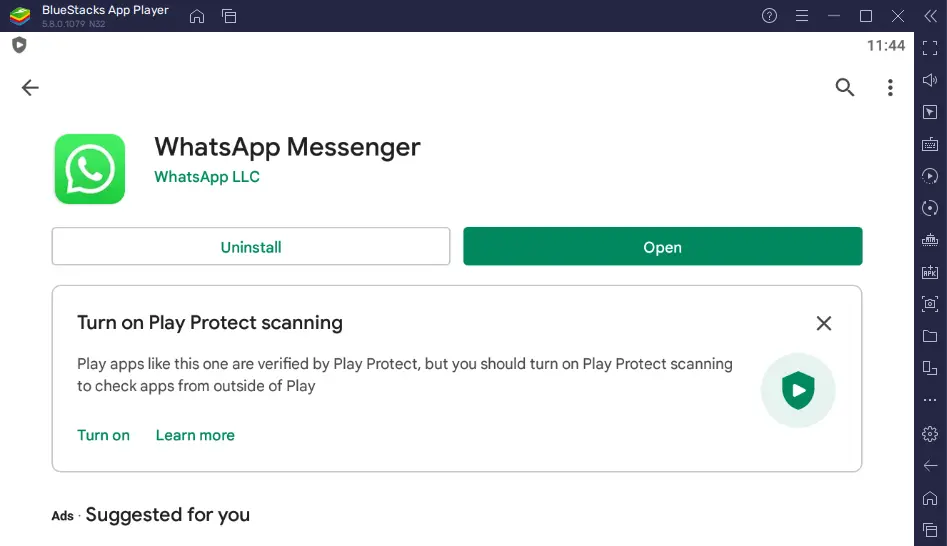
WhatsApp Messenger installed
BlueStacks Android Emulator Settings
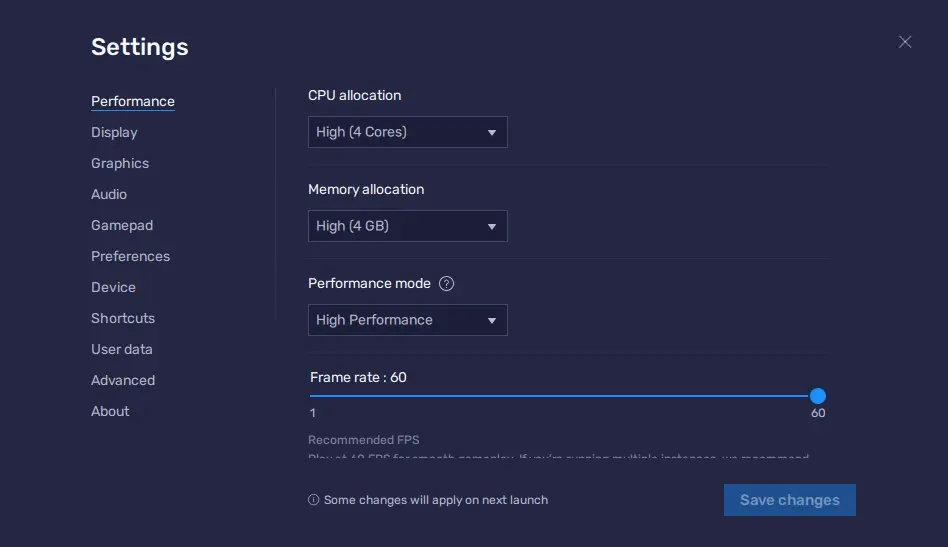
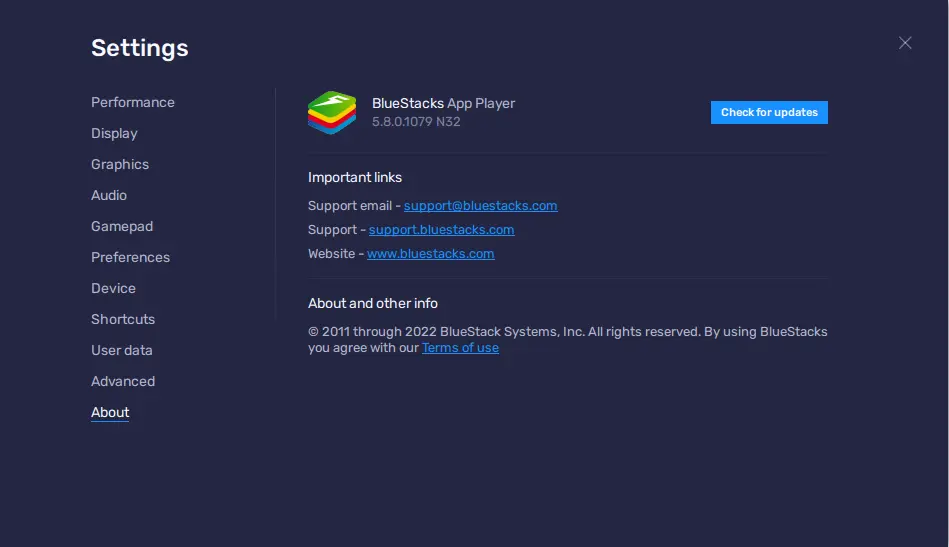
Click on check for Updates in BlueStack Emulator
Conclusion
This complete guide educates you on how to install Bluestacks versions 4 or 5 on your Windows system.
More About BlueStacks
Not every Android app introduces a macOS, Windows, or web-based equivalent. BlueStacks Android Emulator is a simple method to obtain access to Android apps on your Windows PC.
Related: How to Uninstall BlueStacks Android Emulator
Refer to this article for more information about downloading and installing Bluestacks.

