
This article explains to you how to install FileZilla Client on Windows 10 OS. FileZilla Server is one of the most popular desktop FTP clients in use today. FileZilla FTP Client is free and open source software. It is very familiar to install and configure. There are available versions for Microsoft Windows, Linux, and Mac OS.
FileZilla FTP client is a free and cross-platform tool widely used to communicate with the FileZilla FTP Servers to upload and download files. FileZilla consists of both server and client applications. This article provides the steps to install the FileZilla client application on Windows.
If you’re looking for a reliable and user-friendly FTP client for your Windows operating system, FileZilla Client is a great option. In this article, we’ll guide you through the step-by-step process of installing FileZilla Client on your Windows OS, so you can easily manage your FTP connections and transfer files with ease.
Table of Contents
Download FileZilla Client
Go to the Download Page of FileZilla to start downloading the FileZilla Client for Windows 10.

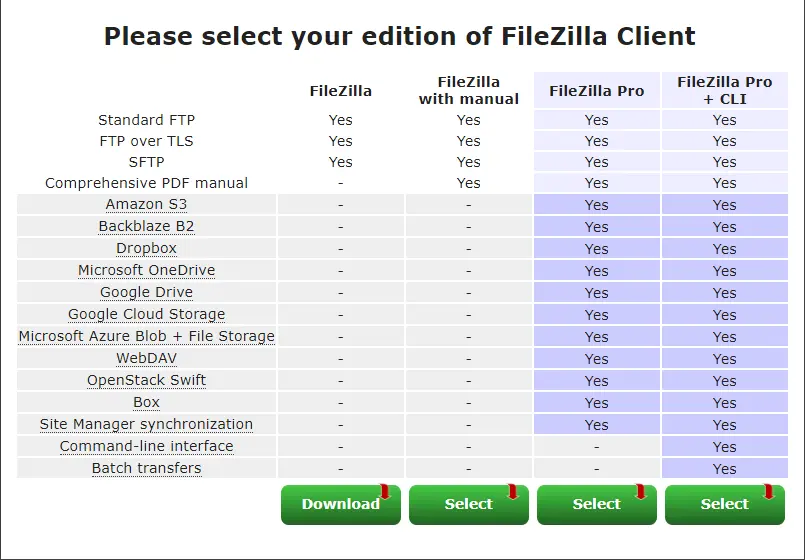
Choose your edition of the FileZilla client.
Install FileZilla Client
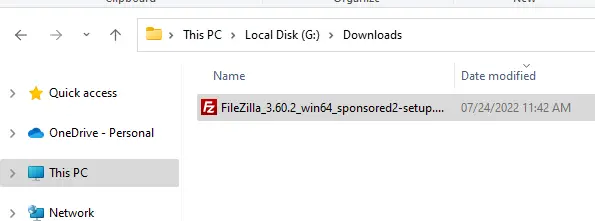
Now double-click on the FileZilla client installer downloaded by us in the previous section. It will begin installing FileZilla.
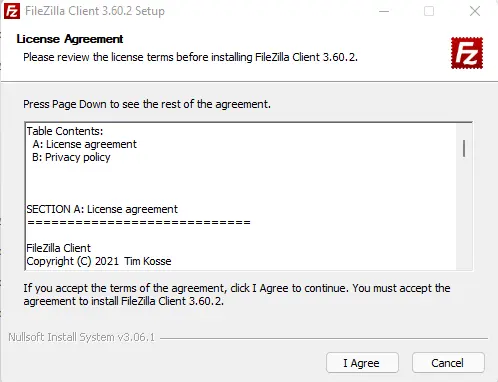
On the FileZilla Client setup page, accept the license agreement to install FileZilla Client on your computer.
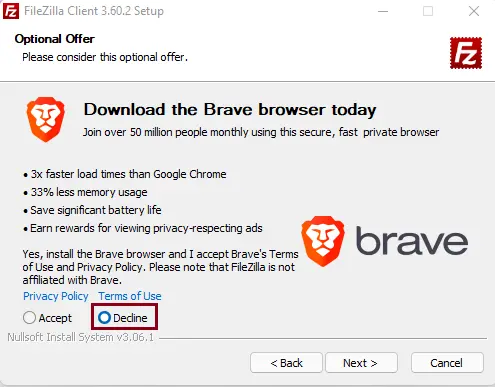
Optional offer: select decline, and then click next.
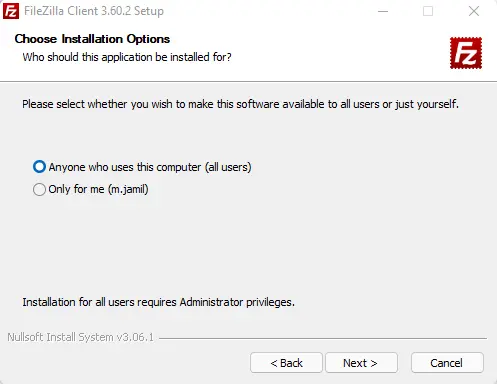
Install the FileZilla client, choose installation options, and then click next.
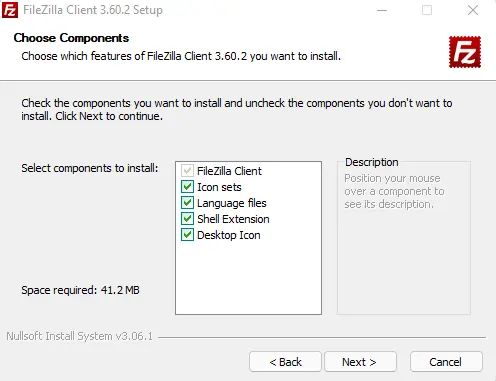
Choose components to install, and then click next.
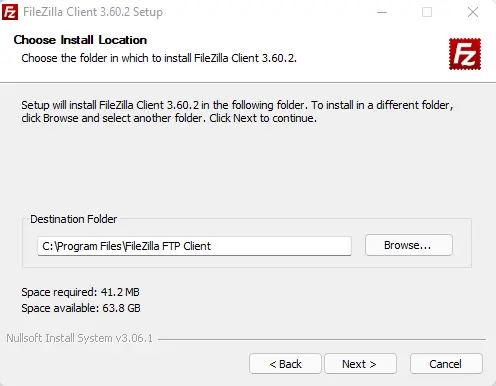
Select the destination folder where you need to install the FileZilla client, and then click next.
Click on the install button to install FileZilla client.
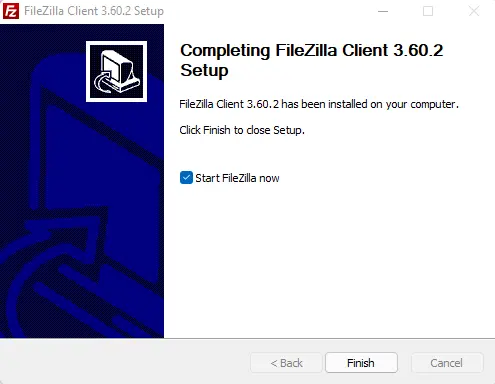
The FileZilla client installation will take a few seconds to complete. Once it done, select the finish button.
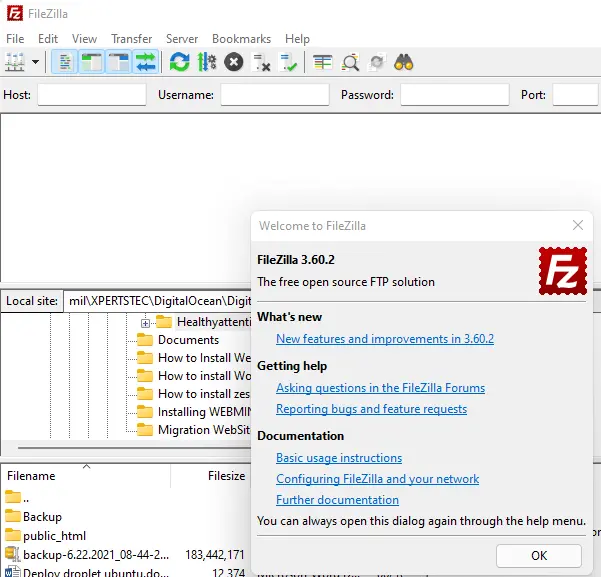
Welcome to FileZilla. Click the OK button.
Connect With FTP Server – Quickconnect
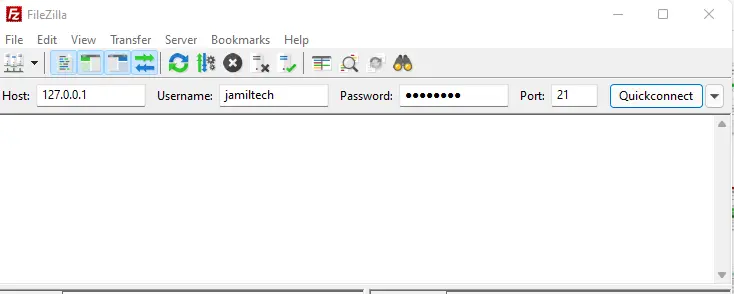
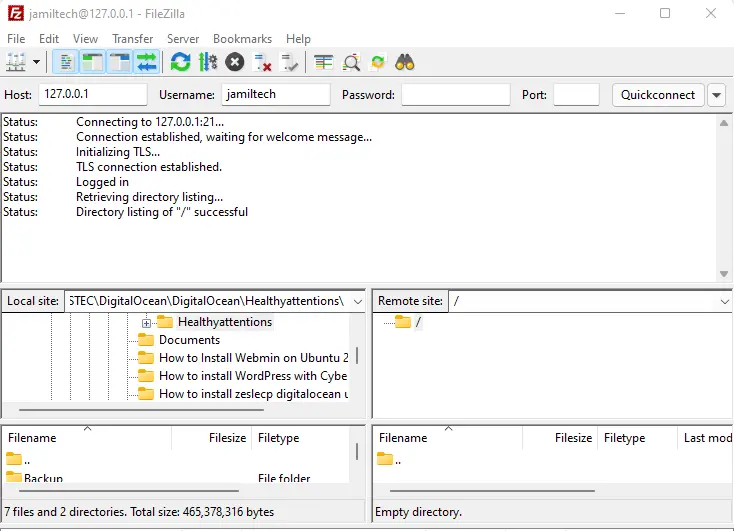
This part provides the steps to quickconnect to the FileZilla FTP server using the FileZilla FTP client. Now enter the server details (username, password, and port) and then click quickconnect.
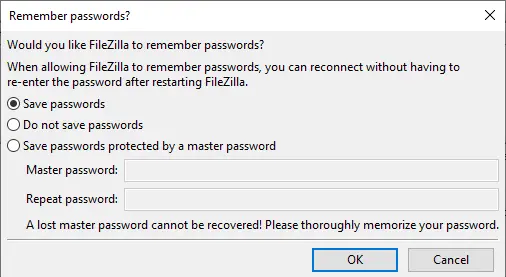
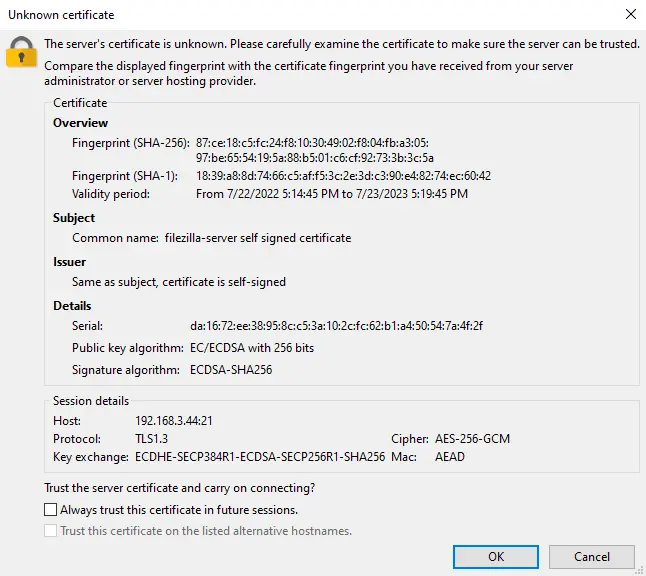
Click on the OK button if you want to save passwords.
Click ok
FileZilla client successfully connected with the server and listed the files and directories available at the root directory of the FTP client user.
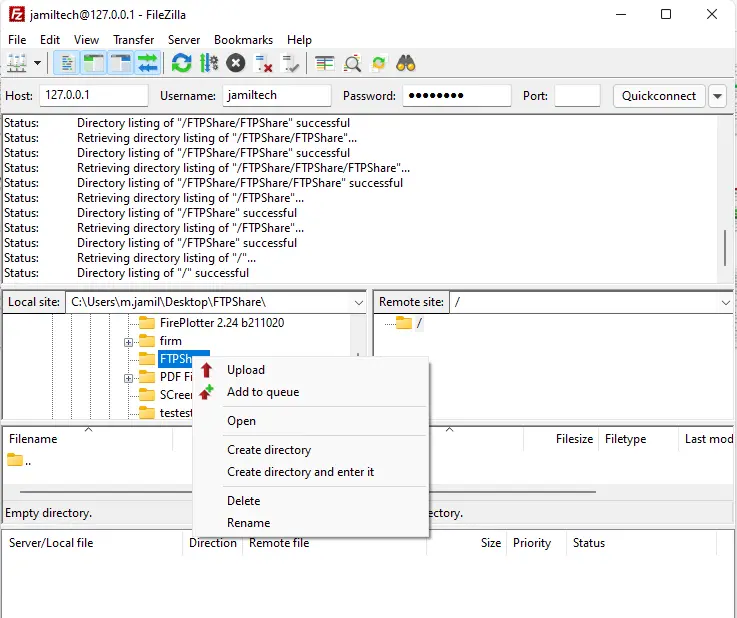
Now you can transfer files by right-clicking on the file or folder and then choosing Upload.
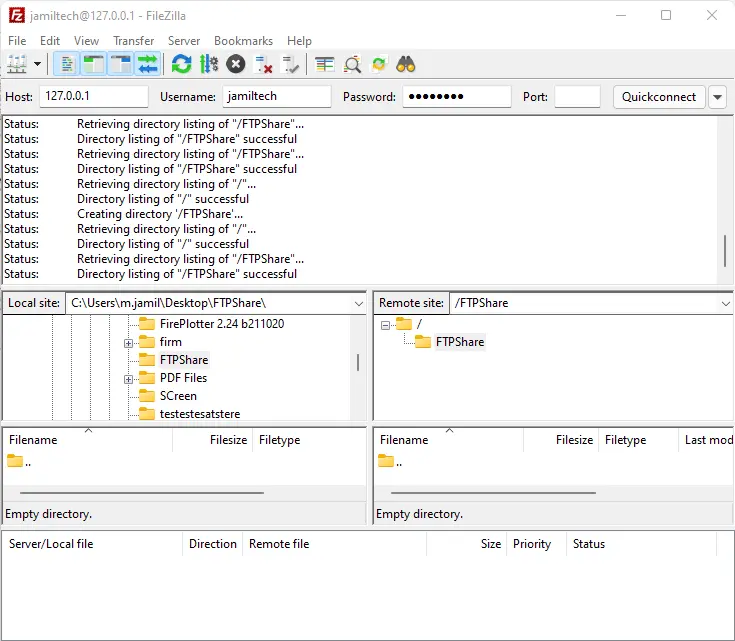
Successfully uploaded the files.
Summary
This article provided the steps required to install the FileZilla client on Windows 10 and also disclosed how to connect with the FTP server via SSL/TLS encryption.
Related: How to Uninstall FileZilla Client
This article provides information about installing FileZilla FTP Client on Windows.
