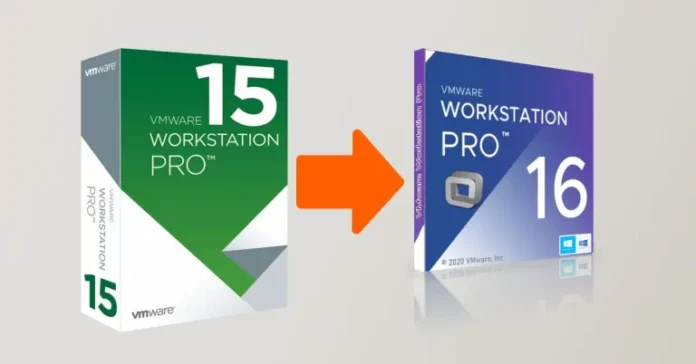
This article will explain how to upgrade VMware Workstation Pro from version 15 to version 16. VMware Workstation Pro 16 is one of VMware’s products that runs many virtual machines on a Windows or Linux operating system. Any IT specialist, developer, or organization that builds and tests applications for any tool, platform, or cloud can use VMware Workstation Pro.
VMware Workstation Pro 16 introduces a few very interesting new options for virtualization devices.
Would you like to view VMware Workstation v16’s new features?
Table of Contents
How to prepare for upgrading VMware Workstation
Before you start upgrading to VMware Workstation Pro v16, please ensure your physical machine meets the system requirements.
Upgrade VMware Workstation Pro v16
To upgrade to VMware Workstation Pro 16, open VMware Workstation 15, select the help menu, and then choose software updates.
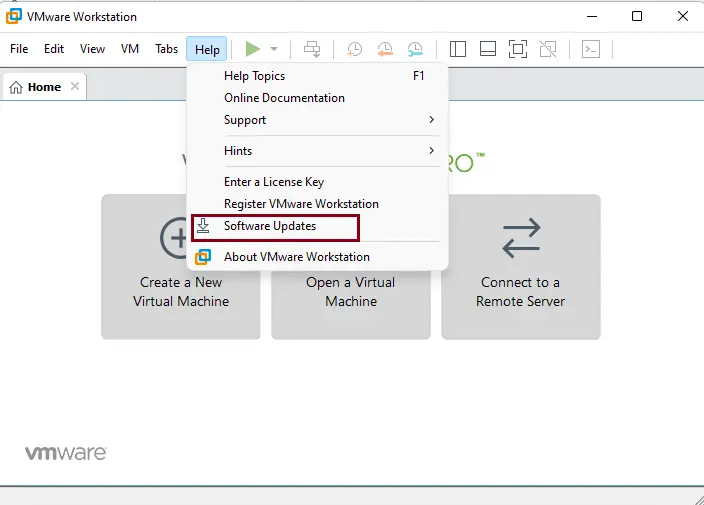
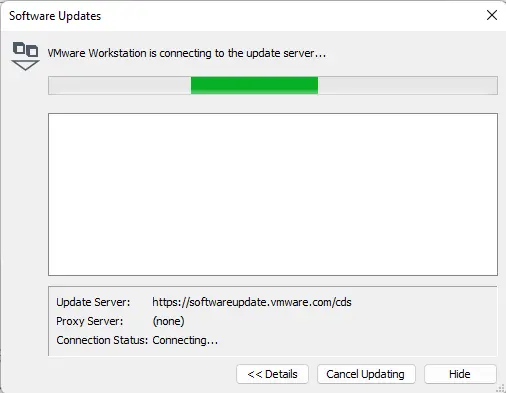
Click on Check for updates.
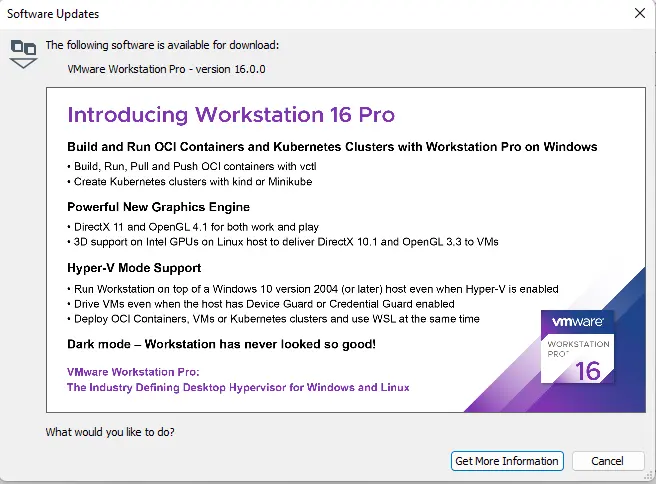
The following VMware Workstation v16 is available for download; click on Get More Information.
Downloading VMware Workstation v16 from VMware
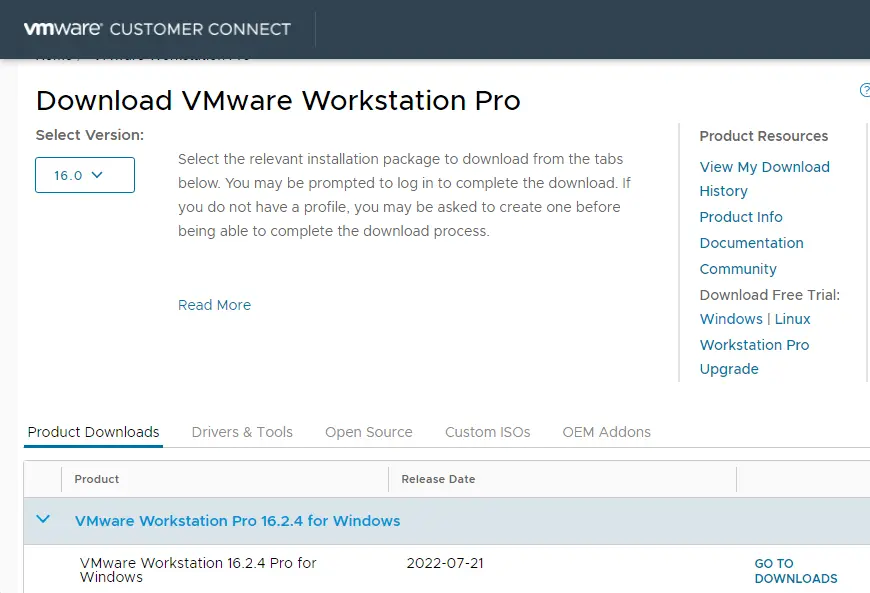
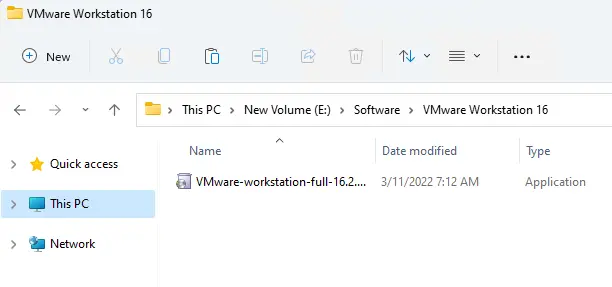
VMware Workstation Pro 16 is downloaded to the download directory. Open the download folder, and then double-click on the installation file to start the process.
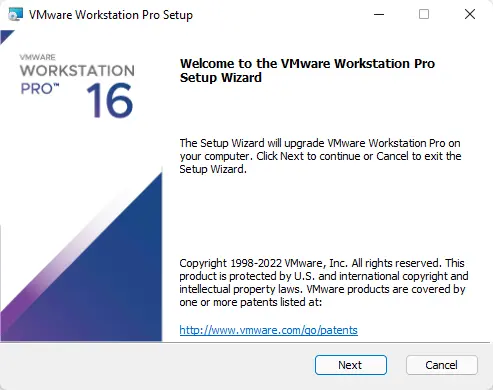
VMware Workstation Pro setup, click next
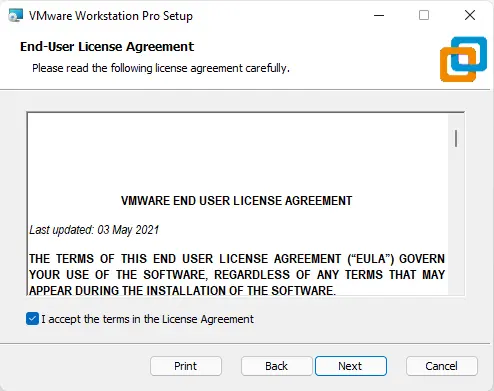
Accept the VMware license agreement, and then click next.
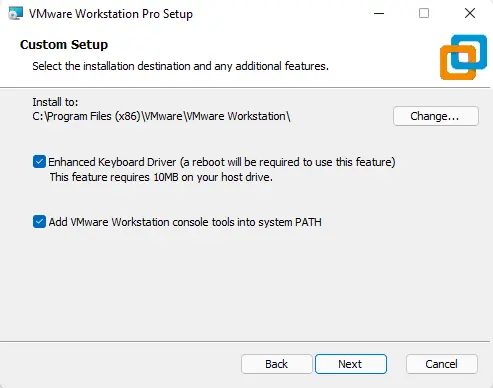
Upgrade VMware Workstation Pro, Leave default settings, and then select next.
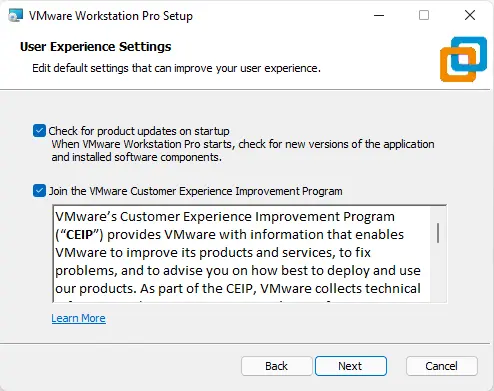
For user experience settings, click next.
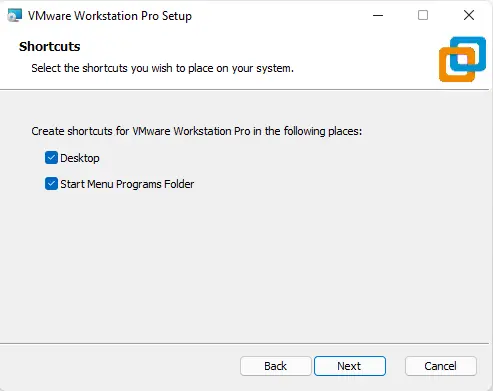
Upgrade VMware Workstation Pro shortcuts and click Next.
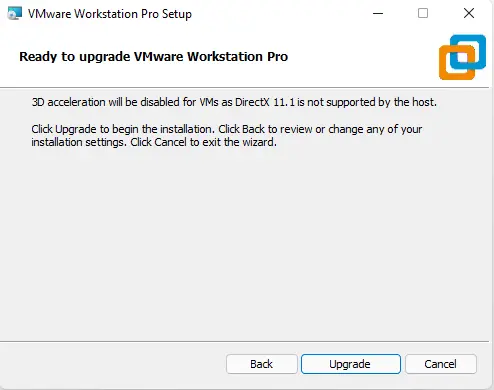
Click on the Upgrade button to begin the upgrading process.
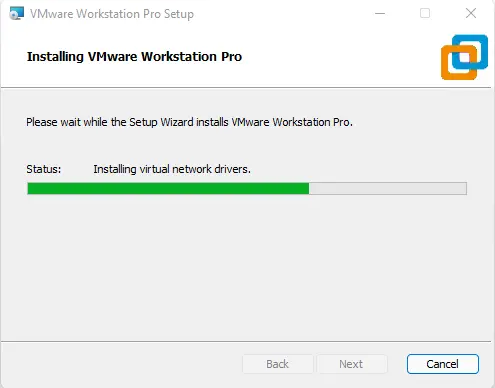
Now it starts the upgrading process, which will take a little time.
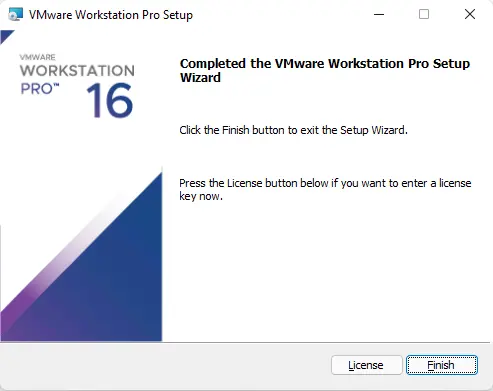
Click on the license button to add the VMware Workstation Pro 16 license.
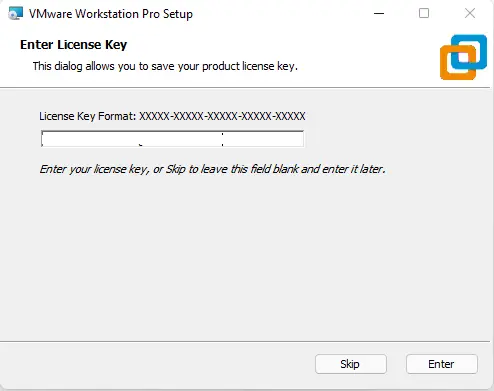
Enter the license key, and then click enter.
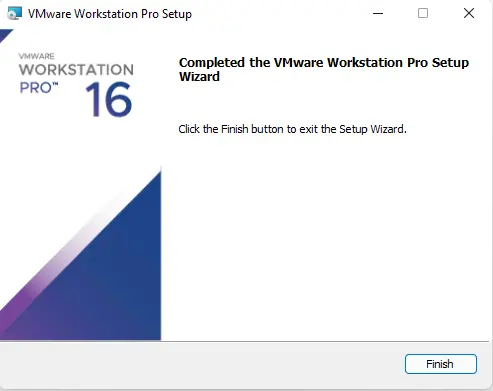
Click finish.
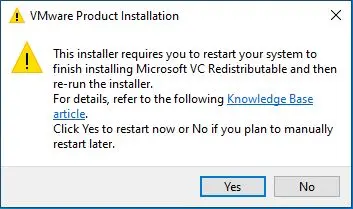
Click yes to restart your system.
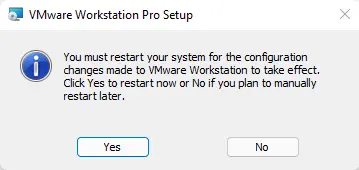
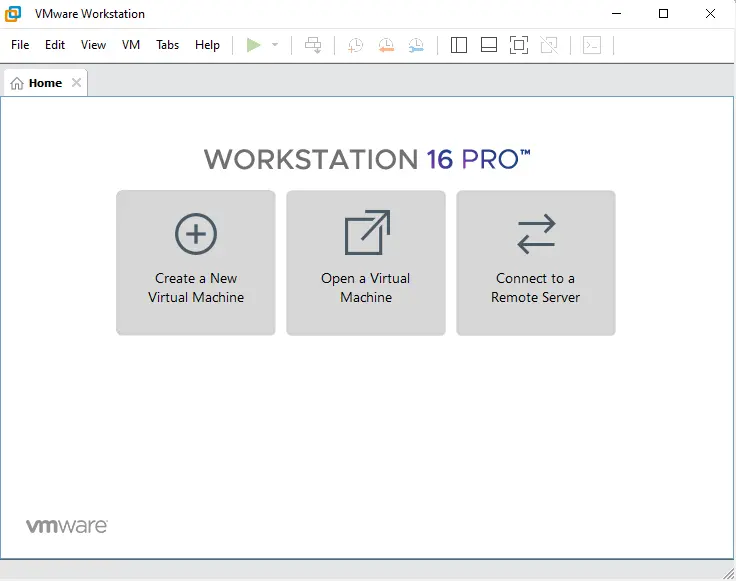
Successfully upgraded VMware Workstation Pro v15 to v16.
Updating VMware Tools
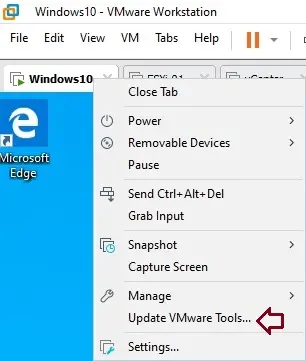
Once upgrading VMware Workstation Pro 16 is done, you will need to upgrade VMware Tools on all of your virtual machines as well. For updating VMware Tools, you need to power on a particular VM, click on the VM menu or right-click on the VM, and click on Update VMware Tools.
It will mount a virtual DVD drive for VMware Tools. Double-clicking on it will begin the process of updating VMware Tools.
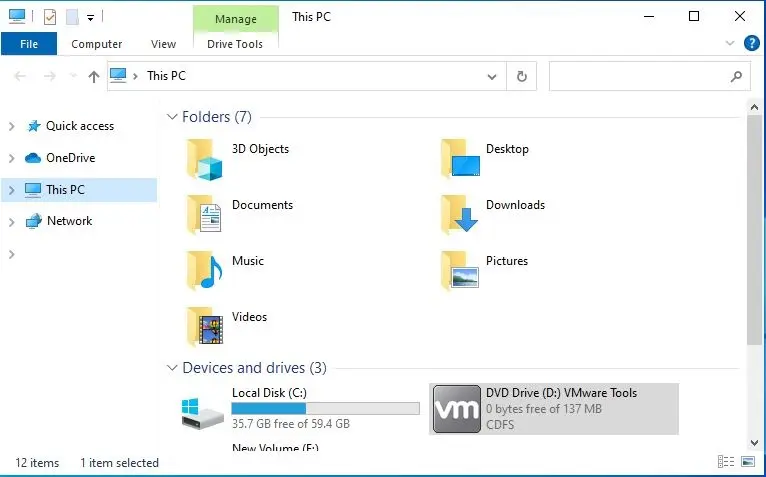
It will mount a virtual DVD drive for VMware Tools. Double-clicking on it will begin the process of updating VMware Tools.
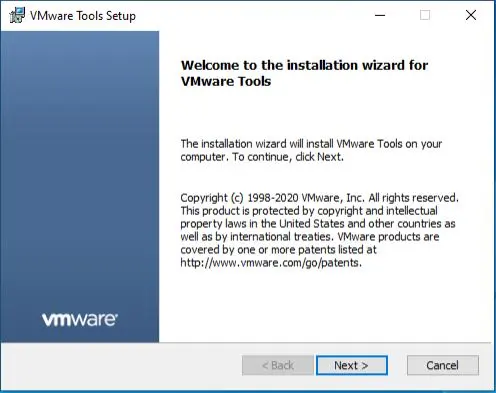
Welcome to the VMware tool setup wizard. Choose next.
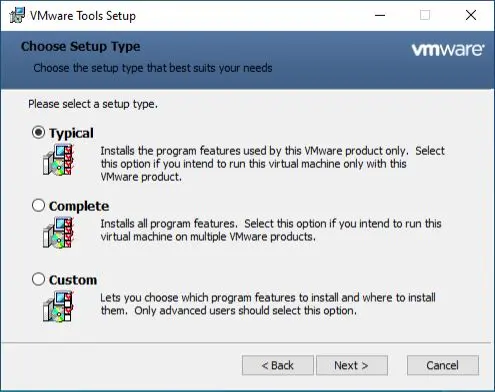
Leave the default and click next.
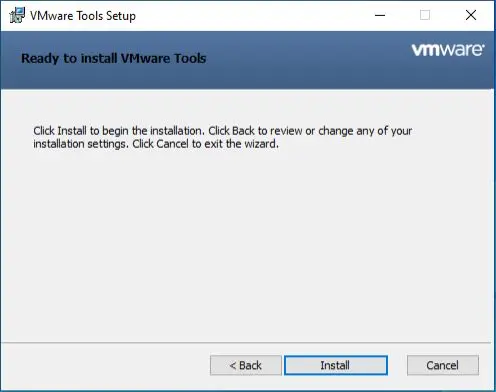
Click on Install to proceed.
Click Finish.
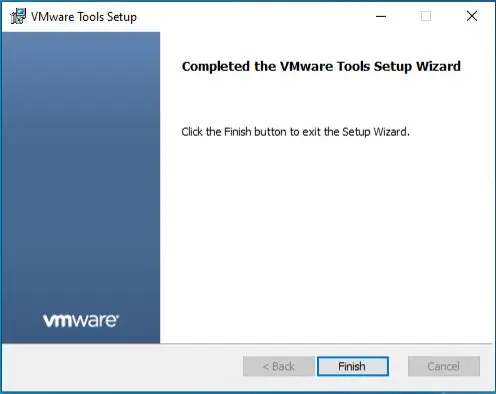
Click Yes to restart it.
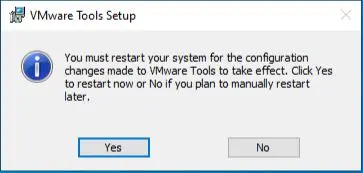
The VMware Tools updating process is done.
We hope that it will be quite easy for you to upgrade your VMware Workstation and use it to manage all of your guest operating systems. You may also be interested in reading.
Refer to this article to learn more about upgrading VMware Workstations.

