In this article, we will look at how to install Deepin Linux in VMware workstation. Deepin Linux is a Debian-based allocation; it is available for different Linux distros like Ubuntu, Arch Linux, Manjaro, and Fedora. Deepin Emulator is dedicated to providing an easy to use, safe, amazing, and dependable operating system. At the time this article was published, Deepin Linux 20.x was the latest version of this Linux distribution.
Deepin OS is an interesting Linux distro developed in China. The Deepin Desktop Environment is like Windows and is presently optimized for desktop use. Some of the built-in Deepin apps, such as the screen recorder,. Deepin is nowadays lacking in features for touchscreens. For example, it doesn’t auto-rotate 2 in 1 adjustable laptop/tablet devices and lacks a usable touchscreen keyboard, making it significantly behind the Gnome/Zorin Desktop Environment for these devices.
Table of Contents
Install VMware Workstation
How to Install VMware Workstation
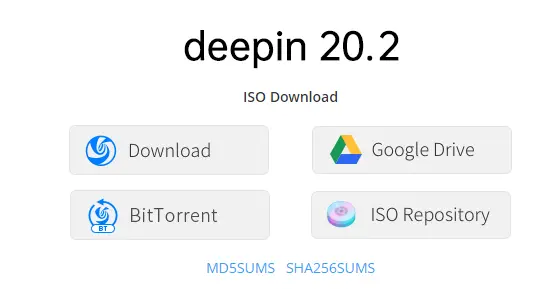
Download Deepin 20 ISO Image file
Download the Deepin 20.7 ISO file on your system from the Deepin website.
Deepin OS Requirements
Make sure your system meets the requirements.
CPU – 2.0 GHz or higher
Ram – 2 GB, 4 GB recommended
Disk – 25 GB free disk space
Create Bootable USB Drive for Deepin
Once a Deepin ISO image file is downloaded on your computer, burn it into a USB flash drive to make it bootable. Download the Rufus tool to create a bootable USB drive
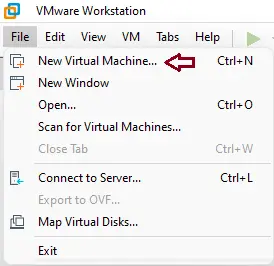
To Create a Virtual Machine for Dolphin in VMware Workstation
Open VMware Workstation, choose the file tab, and then choose New Virtual Machine.
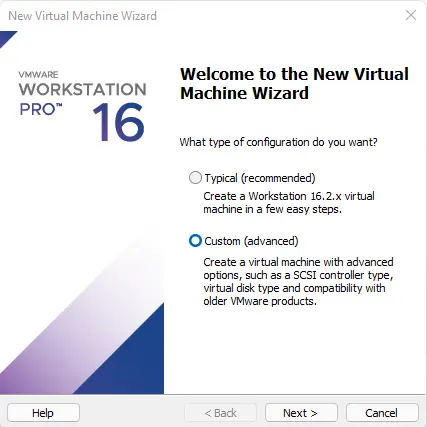
New virtual machine wizard, choose next.
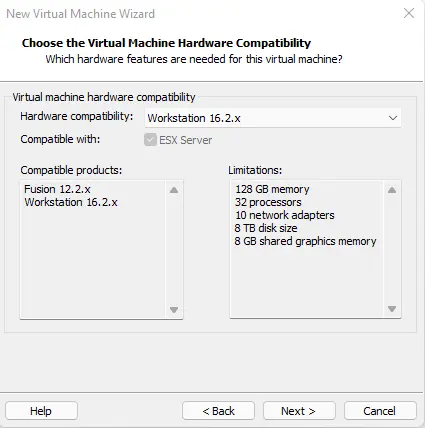
For virtual machine hardware compatibility, choose next.
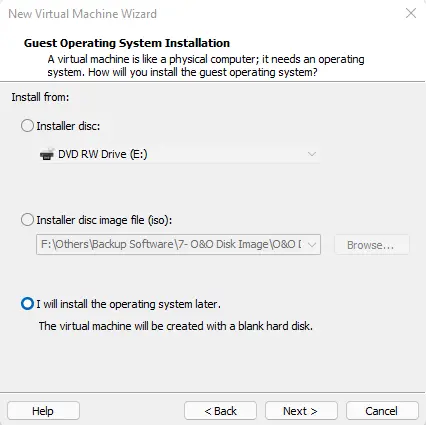
Select Will install later, and then click Next.
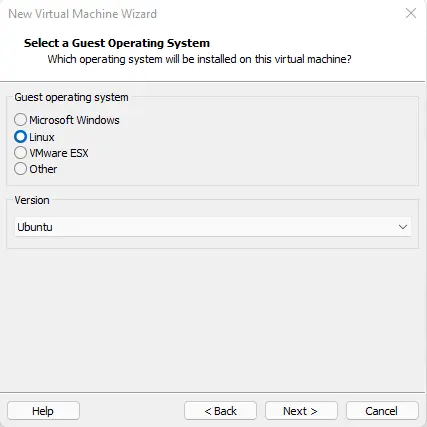
Choose the operating system (Linux) and version, and then choose next.
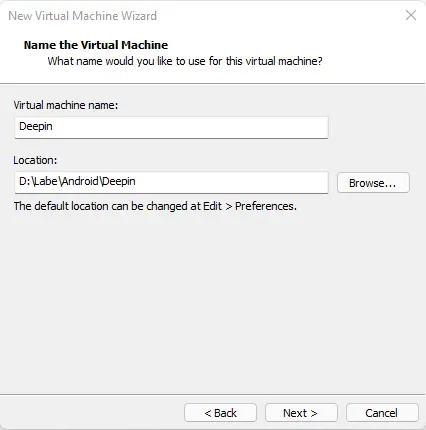
Enter a unique virtual machine name and location, and then choose Next.
Click next
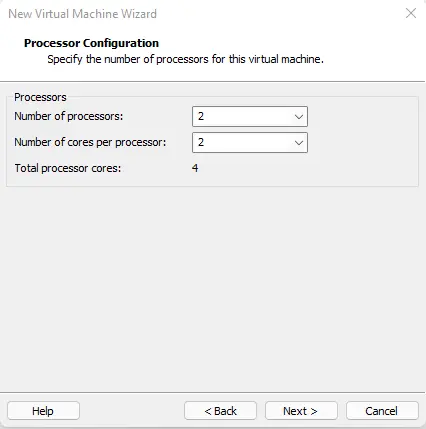
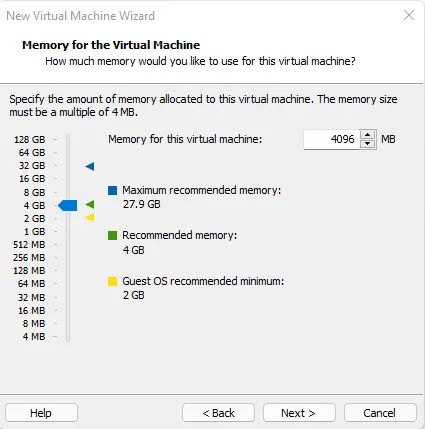
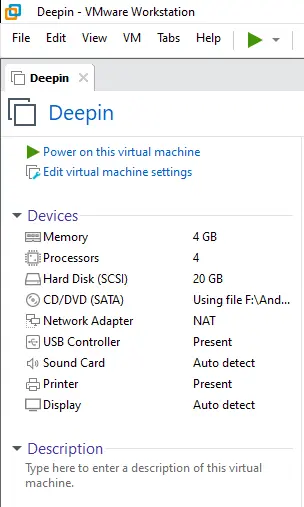
Select memory for the virtual machine, and then choose next.
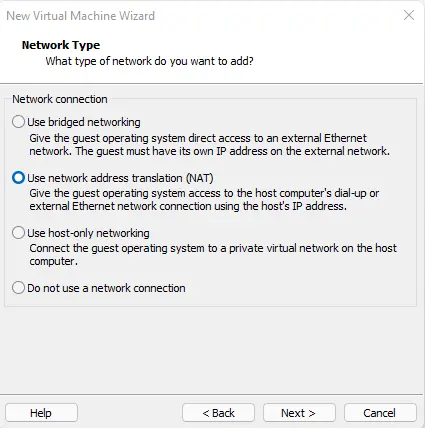
Network type; click next.
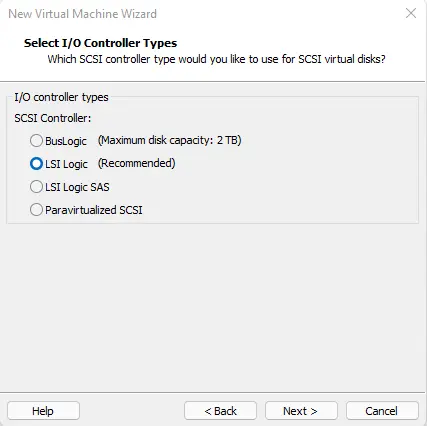
Choose controller type, and click next.
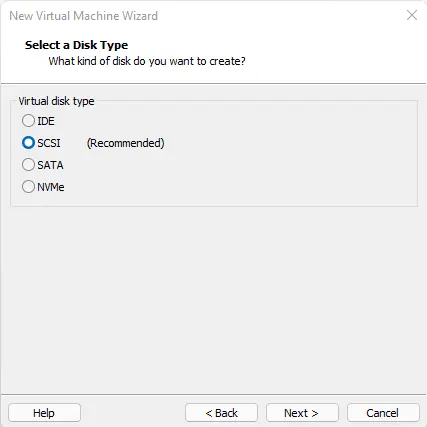
Disk type; choose next.
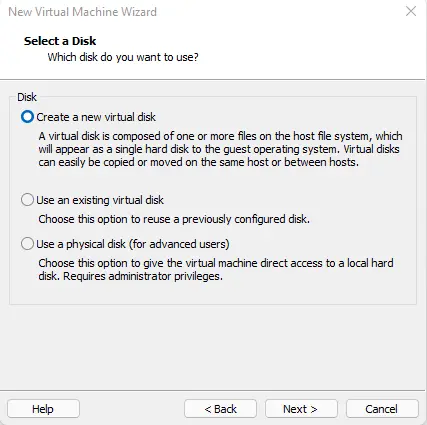
Choose to create a new virtual disk box and click next.
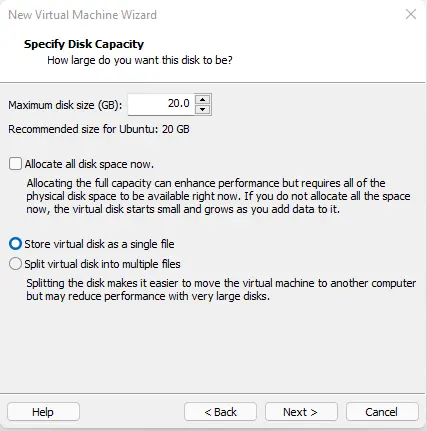
Specify disk capacity, and click next.
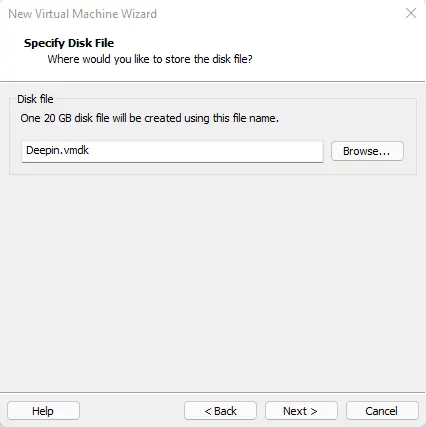
Click next
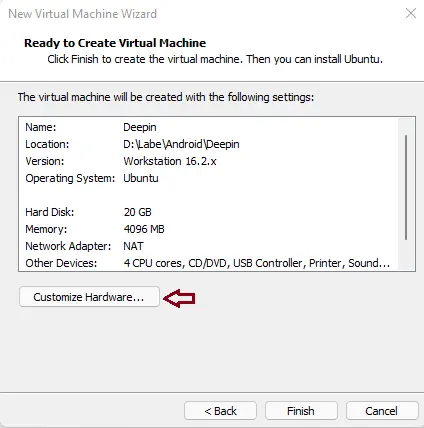
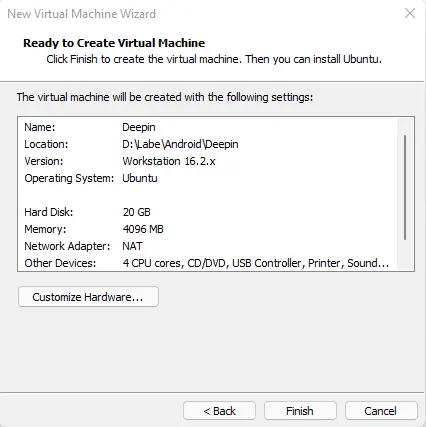
Ready to create the virtual machine, click on customize hardware.
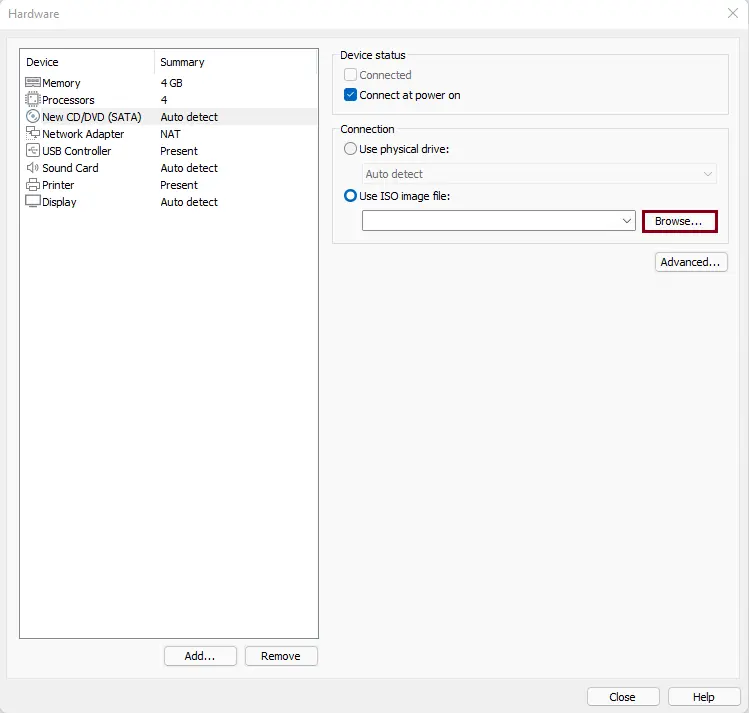
Select and use the ISO image file option, and then click on the browse button.
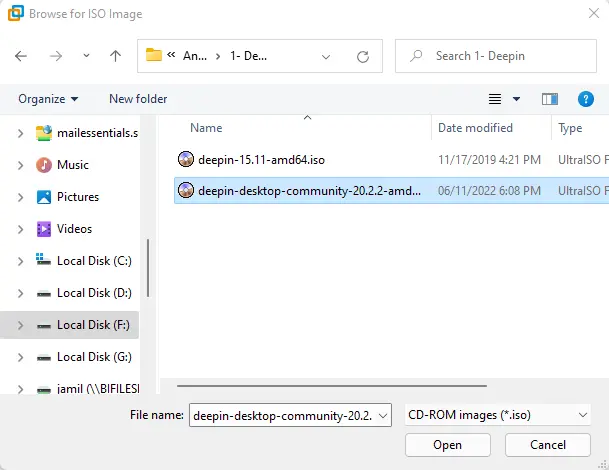
Click on the Deepin desktop community, and then click open.
Choose finish.
Install Deepin Linux in VMware Workstation
Mostly, the system boots from a hard drive, so before Deepin OS installation, you should enable the system BIOS from a USB drive.
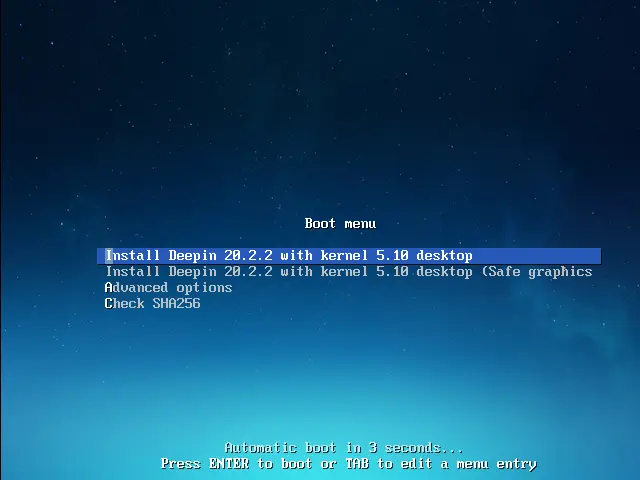
On the first boot, choose to install Deepin.
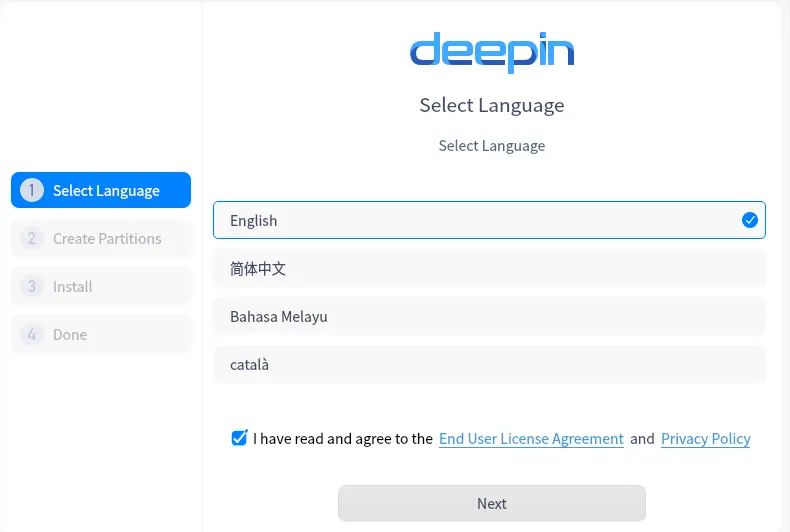
Choose the installation language from the list, accept the deepin software end user license agreement, and then choose next.
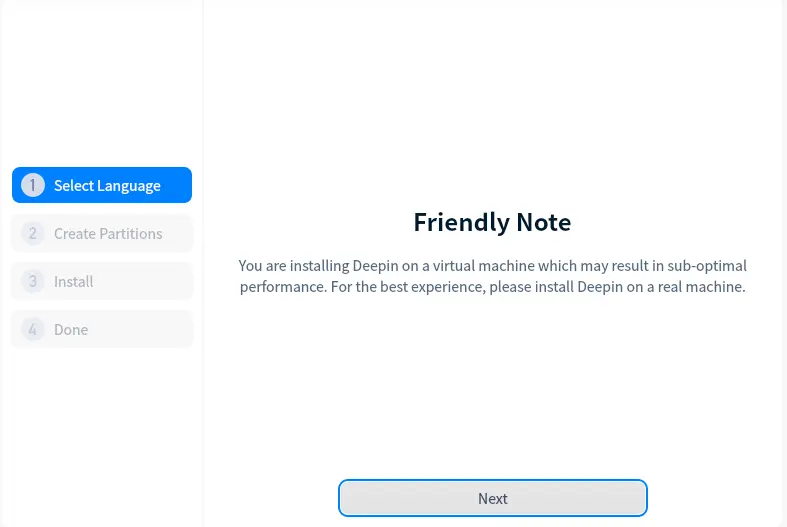
Friendly page; choose next.
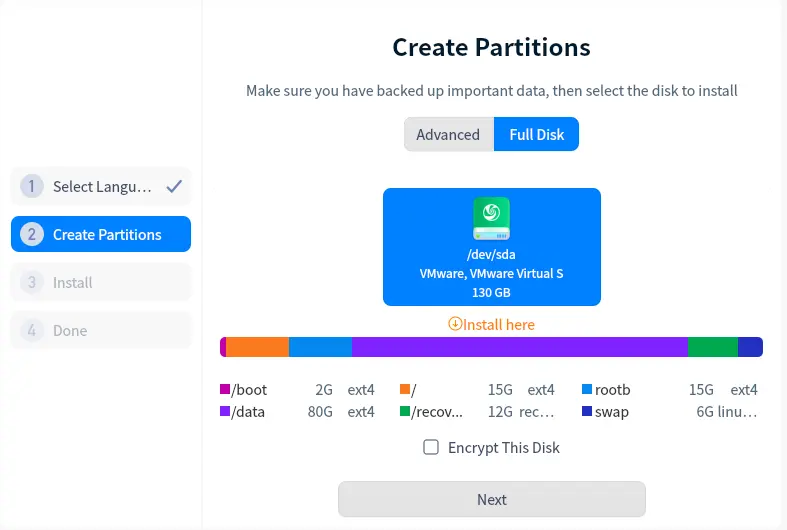
Create partitions in Deepin OS, click on the installation disk, and then choose click.
Deepin OS is ready to install; click continue.

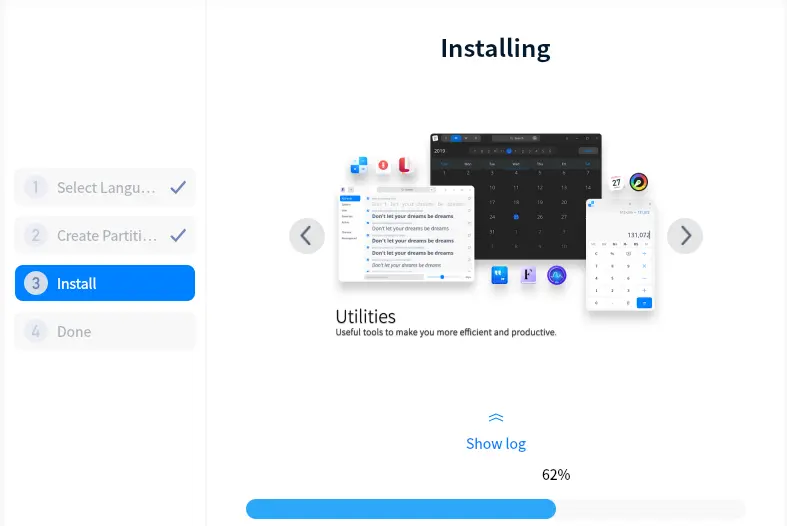
Deepin OS installation is in progress. It will take a few minutes. Wait until the installation process is complete.
Deepin Android OS was successfully installed. Remove the Deepin installation media before restarting.
Click reboot now.

Deepin Linux Configuration
Choose the language, accept the Deepin end-user license agreement, and then choose next.
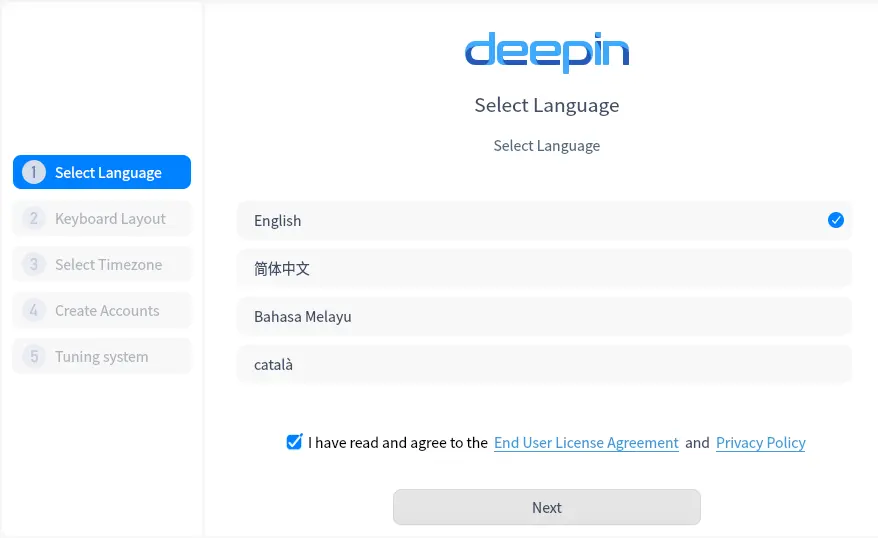
Deepin Linux selects language
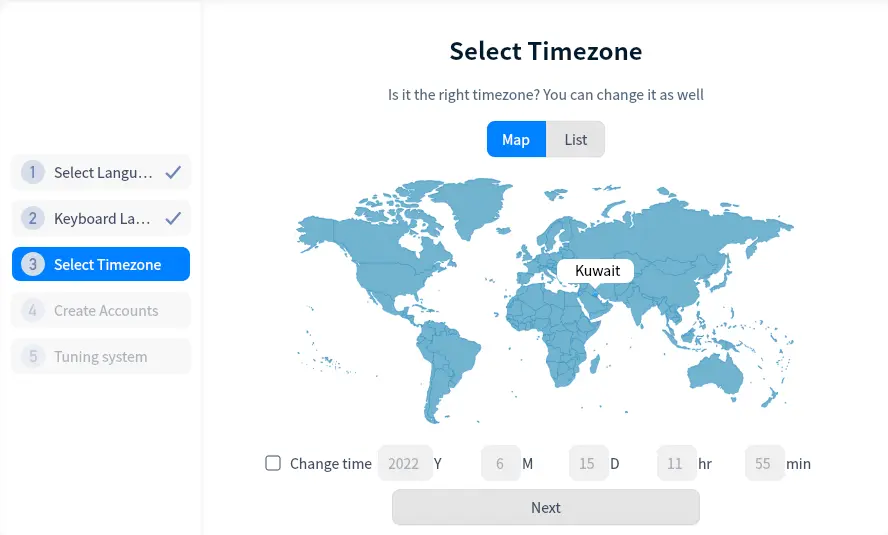
Select the time zone, and then click next.
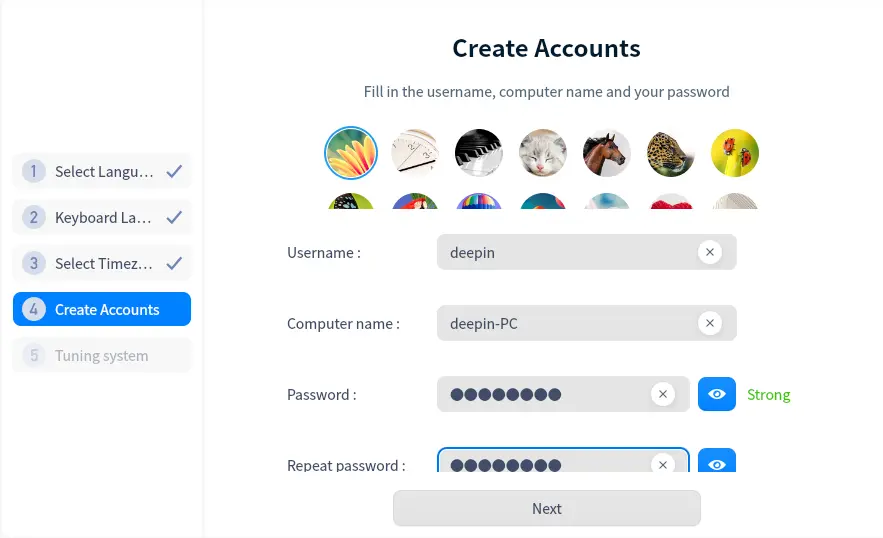
Create a new user account, enter a password, repeat the password, and then choose next.
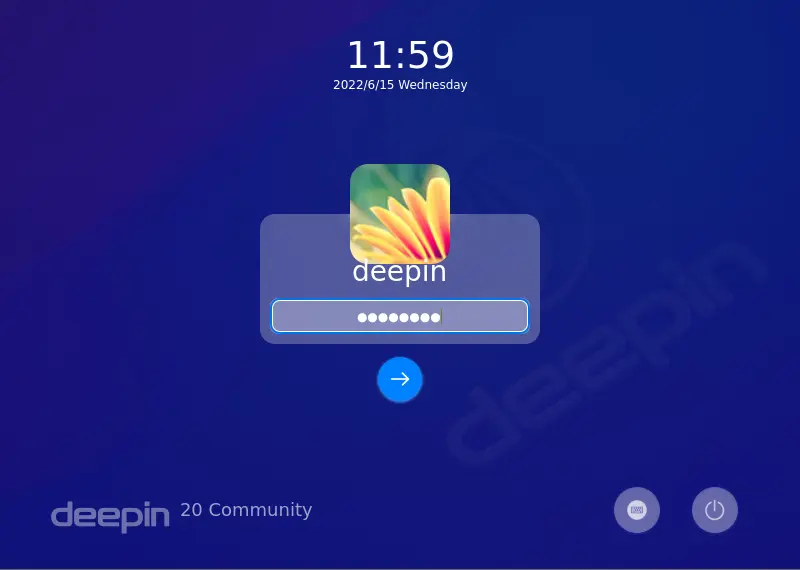
After restarting the Deepin desktop distribution, type your Deepin account password and then hit enter.
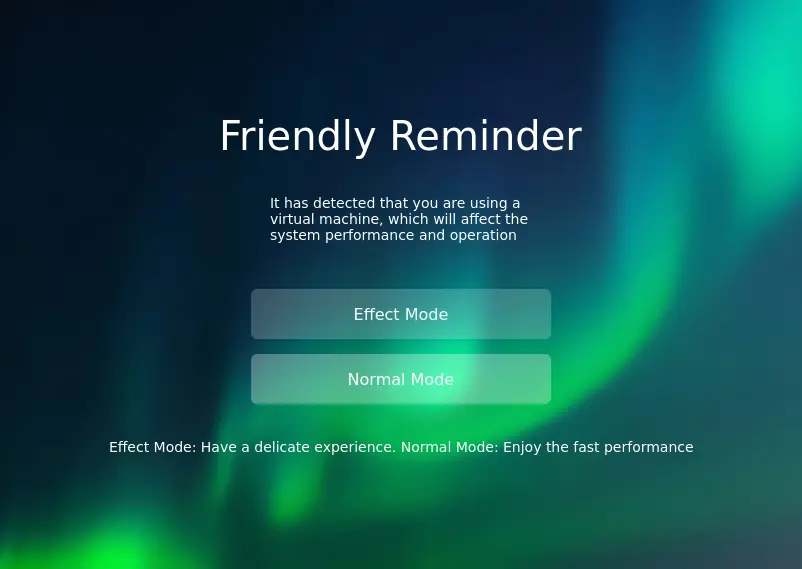
You choose the modes, Effect Mode and Normal Mode.
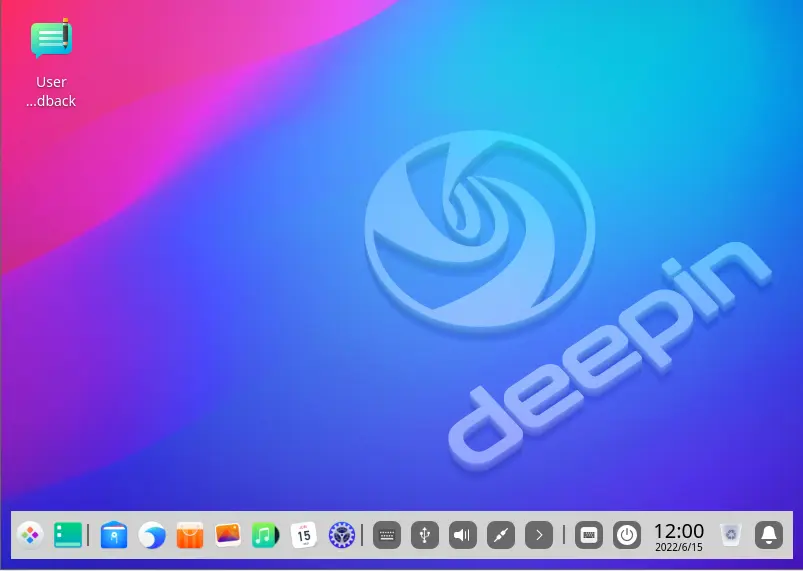
Deepin Linux home screen.